Tiny doors. Miniature furniture. Fiddly LED wires. If you’ve ever built a book nook, you know the frustration of reaching for a specific piece and finding it buried under sixteen other bits that look almost identical. Small parts management isn’t glamorous, but it’s what separates a smooth build from a three-hour search session.
This guide covers practical ways to organise small parts during book nook projects, from sorting before you start to maintaining order mid-build. You’ll get specific container ideas, a labelling system that actually works, and a workspace setup that keeps the chaos contained.
How to Organise Small Parts During Book Nook Projects: Setting Up Before You Build
The best time to sort your parts is before any glue touches wood. That’s when decorative book nooks for adults at Figured’Art shine as a starting point, one option people commonly turn to. These kits often include dozens of micro-components per box, and sorting them by category at the start saves real time once the build is underway.
Sort by Material Type First
Pull everything out of the packaging and group pieces by material: wood, resin, metal hardware, fabric, and electrical components (like LED strips or battery packs). Don’t mix categories. A metal hinge looks nothing like a resin flower in your hand, but both can vanish into the same pile pretty fast. Separating by material makes it easy to find the right piece by texture and weight alone, no squinting at tiny labels required.
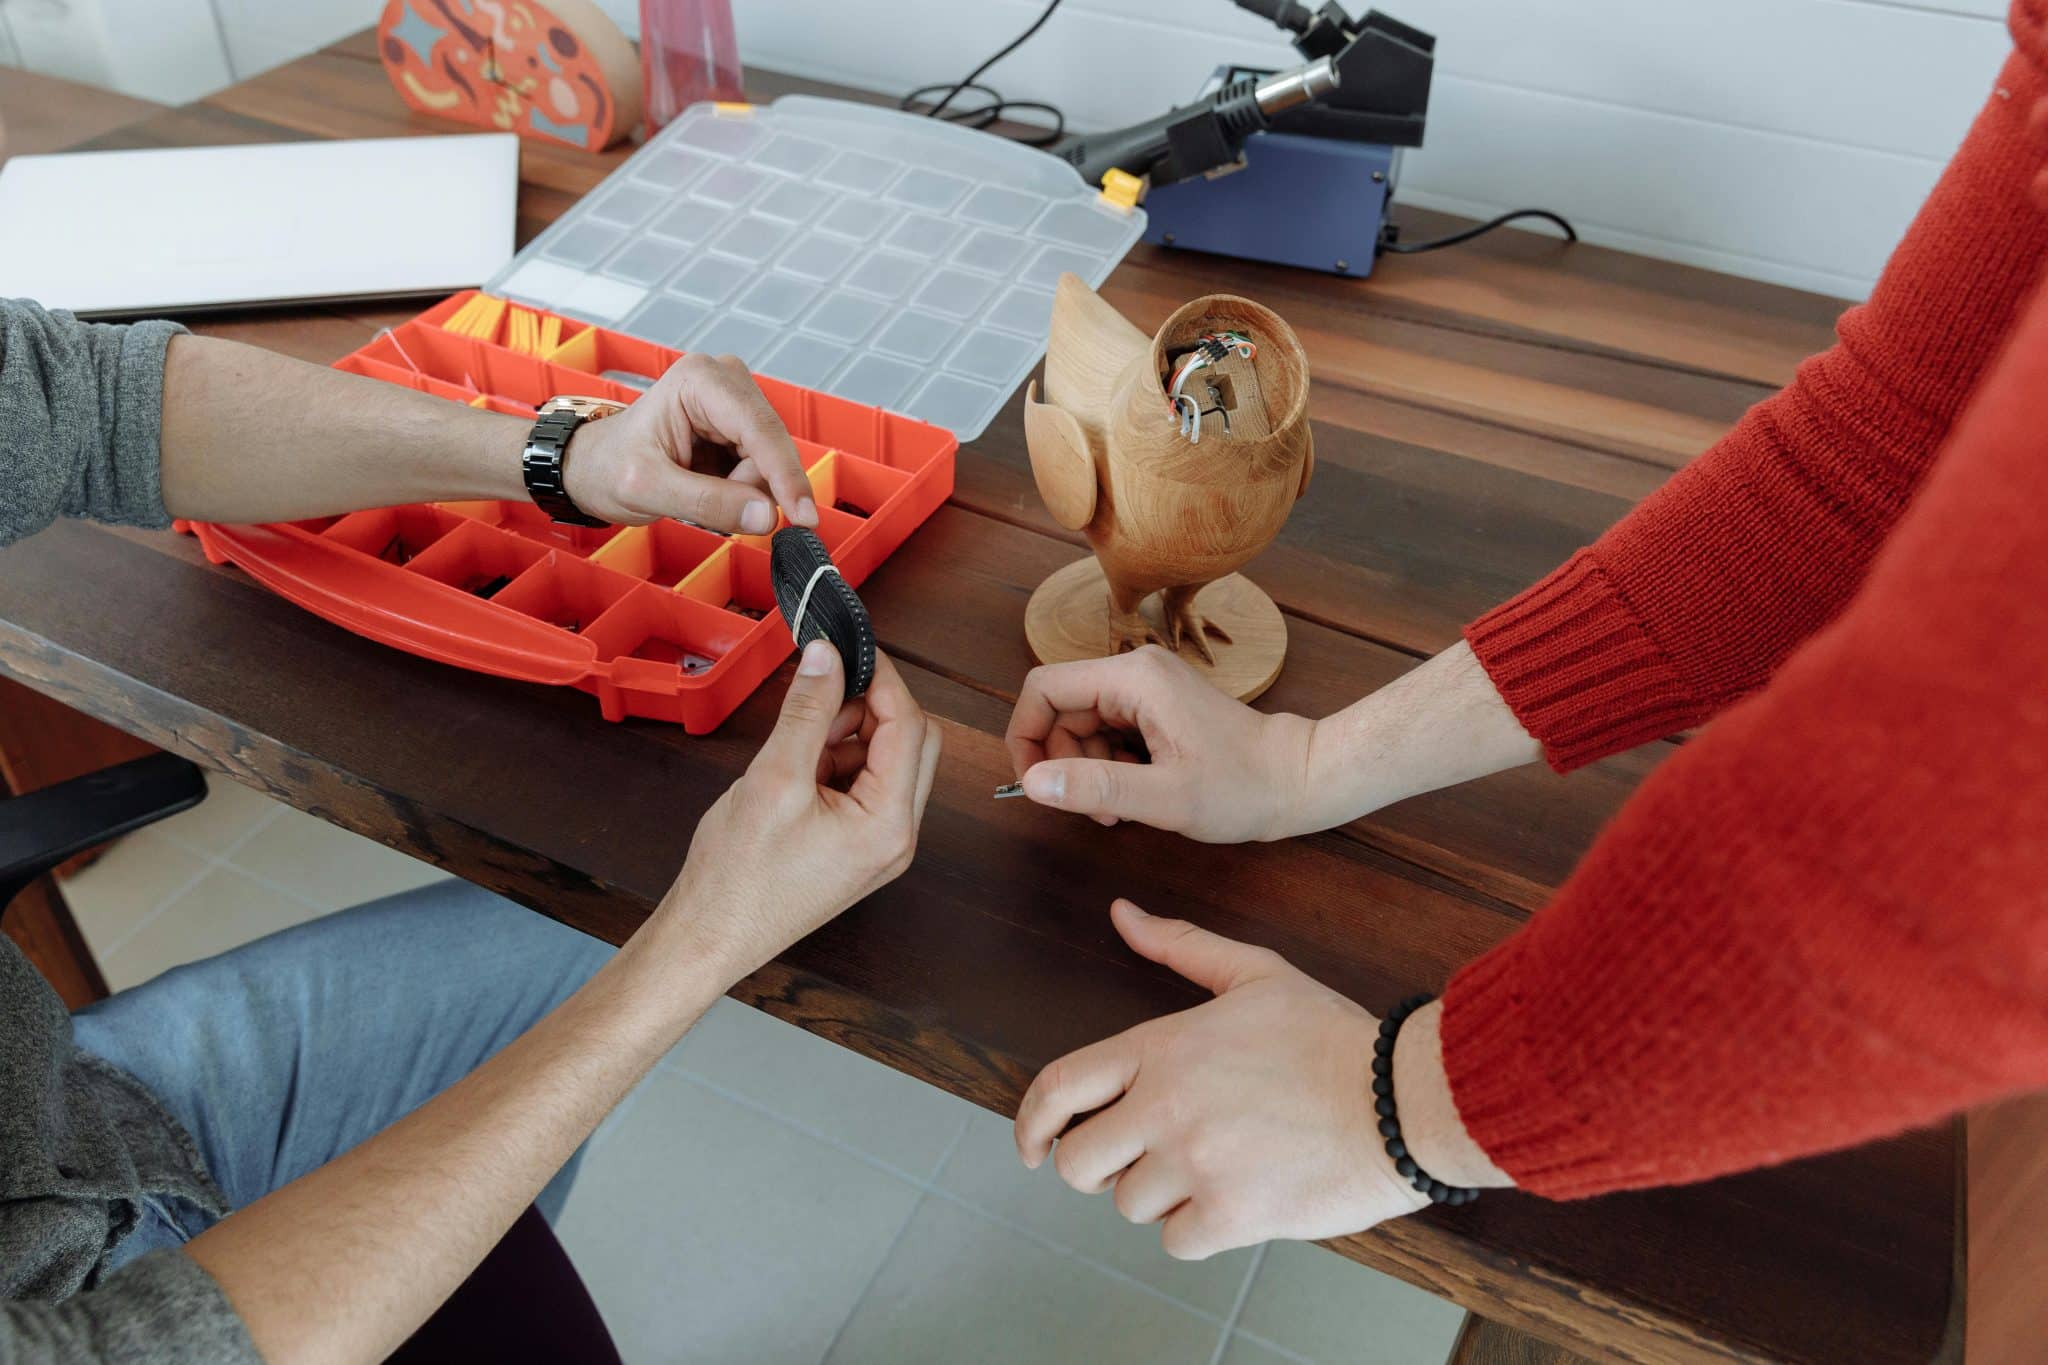
Use a Segmented Organiser Tray
A plastic segmented tray, the kind sold for fishing tackle or bead projects, is honestly the single most useful tool for this job. Pick one with at least 12 adjustable compartments. Each compartment holds one category: hinges in one slot, tiny frames in another, LED connectors in a third. Put the tray where you can see it without moving it; ideally, directly to your right or left, depending on your dominant hand.
Photograph the Parts Layout Before You Start
Take a photo of your organised tray before the first build session. This takes about ten seconds and pays off every time you return to the project after a break. You’ll know instantly if something’s missing or in the wrong slot; it also doubles as a reference if the kit’s instruction sheet doesn’t clearly name each component.
Keeping Parts Organised Mid-Build
Once you start building, the organisational system you set up gets tested hard. Pieces come out of the tray, get handled, and sometimes don’t go back in the right spot right away. Here’s the thing: the fix isn’t perfection. It’s a mid-build routine that keeps the drift manageable.
Use a Work Mat With Defined Zones
A silicone bead mat or a simple piece of felt gives your hands a tactile boundary. Designate one side of the mat as “active parts” (pieces you’re currently working with) and the other as “waiting parts” (pieces you’ve pulled out but haven’t placed yet). This two-zone system stops the creep where every piece gradually migrates to the same corner of the table.
Label Small Bags for Sub-Assembly Groups
Some book nook sections, say a bookshelf unit or a tiny fireplace, require multiple small parts assembled together before they attach to the main frame. Group those sub-assembly parts in small zip-lock bags and write the step number from the instructions on the bag with a marker. You won’t have to re-read the instructions three times to remember what belongs where.
Put Unused Parts Back Immediately
This one’s simple. Most builders skip it anyway. Every time you finish a step, return the leftover parts to their compartment before moving to the next step. Five seconds, that’s all. Skip it, and by step 12, you’re staring at a pile of miscellaneous pieces with no idea what belongs to what; the five-second habit prevents the thirty-minute untangle.
Smart Storage for Multi-Session Builds
Books rarely finish in one sitting. Multi-session projects need storage that protects small parts between builds and makes it easy to pick up exactly where you left off.
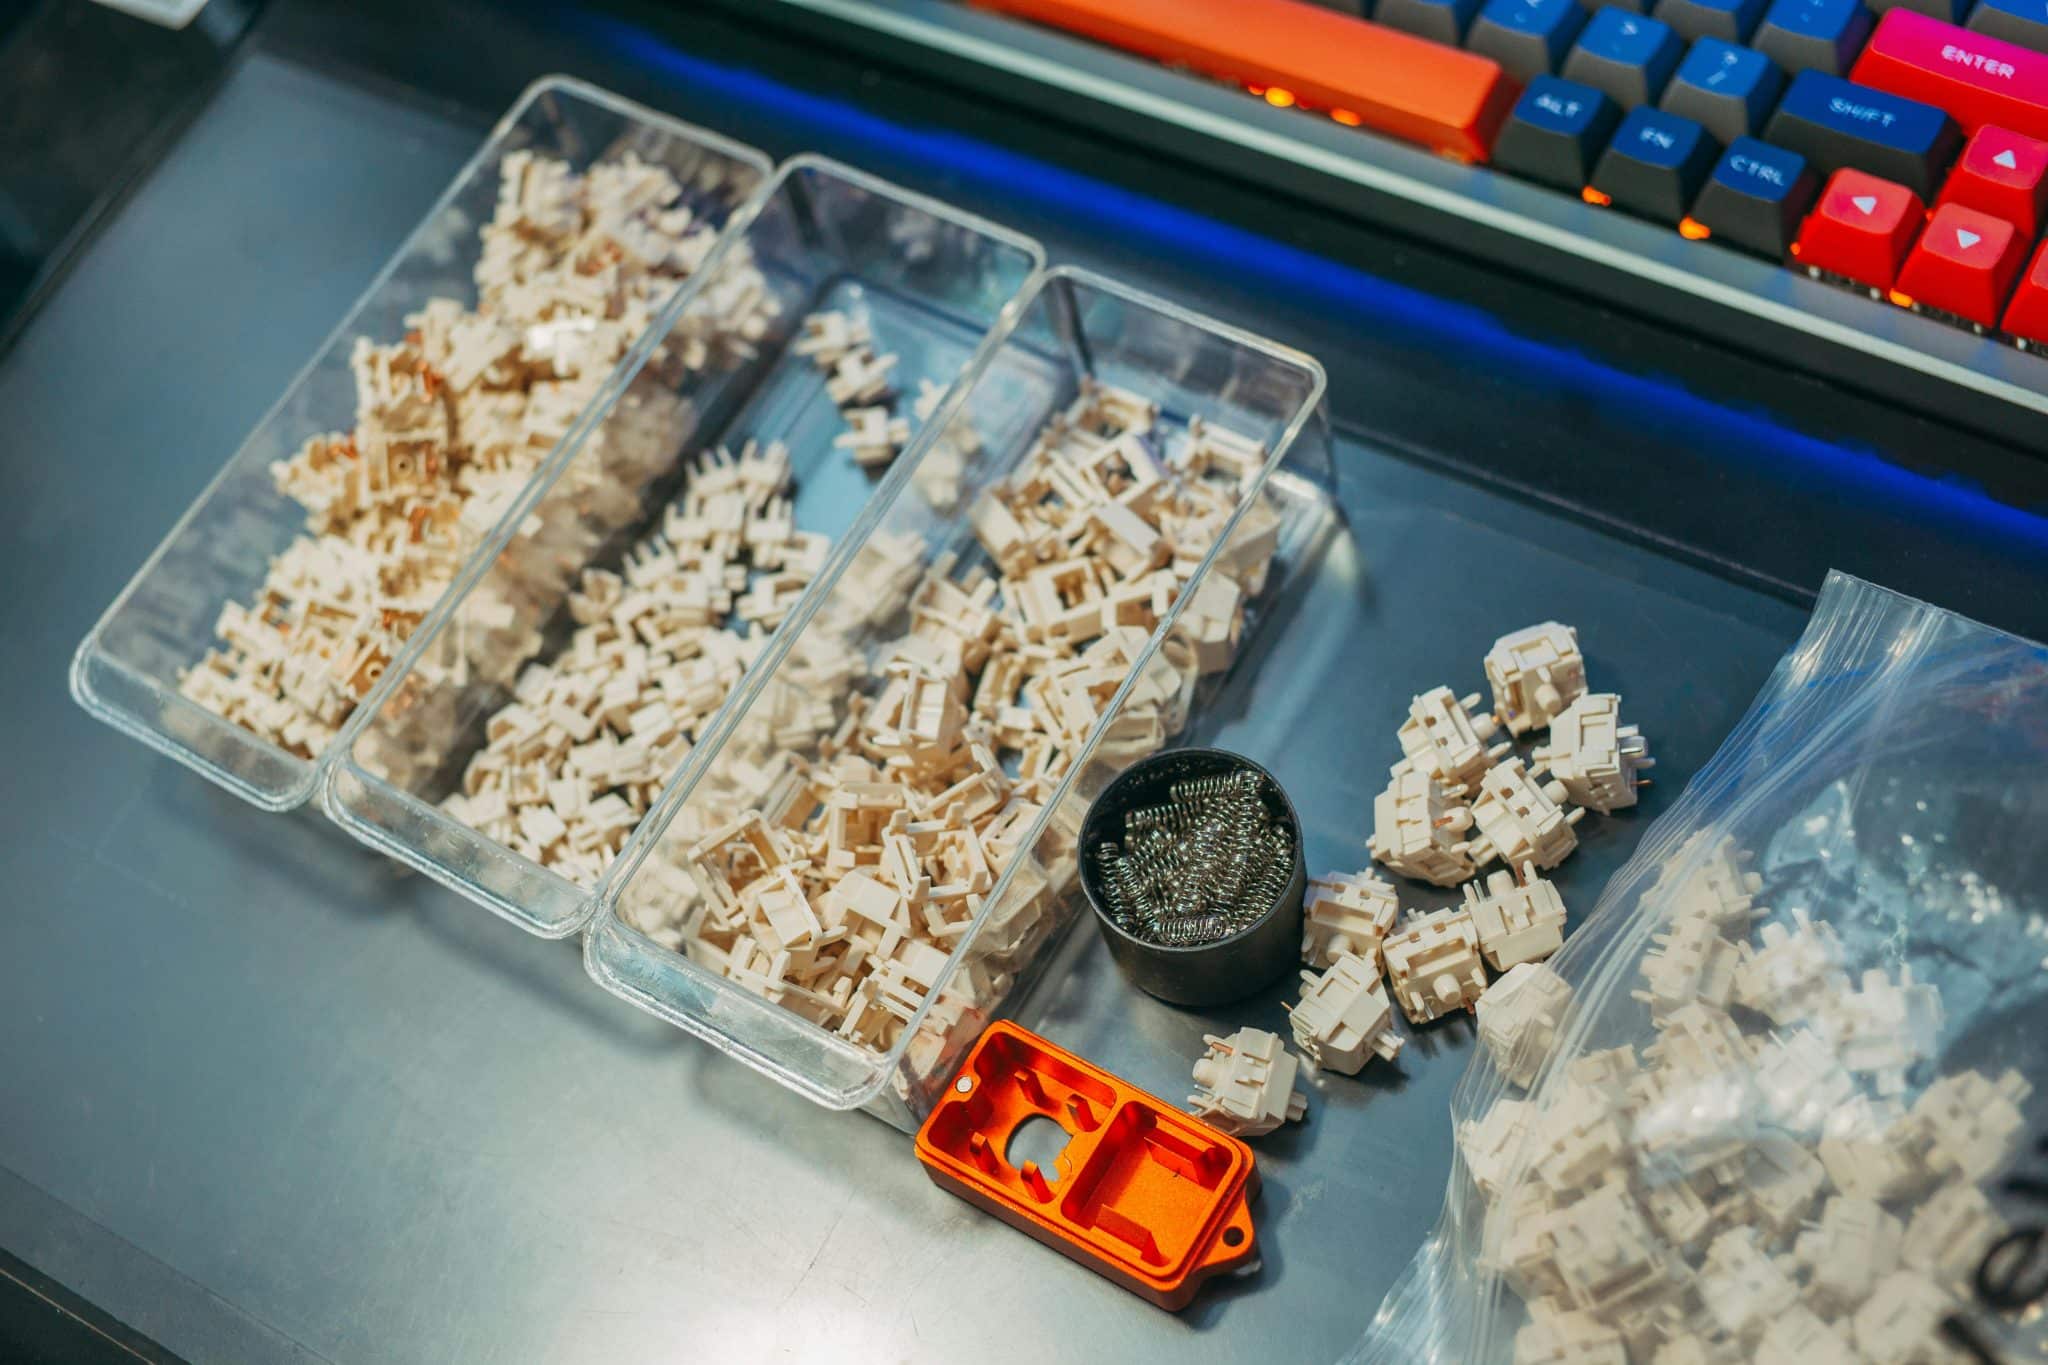
Choose Stackable Containers With Lids
A segmented tray without a lid is a spill risk the moment you move it. Get containers that stack and lock, so you can carry the whole system without pieces shifting around. Plano makes several tackle box styles (the 3700 and 3600 series) that work well for this; each costs under $10 at most hardware or outdoor stores.
Store Electrical Components Separately
LED wires, battery packs, and connectors are the most expensive parts to lose or damage. Keep them in their own small pouch or box, away from the main parts tray. Static-sensitive components (some LED controllers fall into this category) do well in anti-static bags; you can buy packs of 50 for a few dollars online.
Keep a “Found Parts” Cup on the Desk
A small cup or shot glass on your work surface serves as a catch-all for parts you find loose during the build. Don’t identify them immediately. Just drop them in the cup and sort them back into the tray at the end of each session. It sounds backwards, but having a designated place for mystery pieces stops them from getting lost entirely.
Conclusion
Organising small parts during book nook projects comes down to three core moves: sort before you start, maintain zones during the build, and store properly between sessions. A $10 tackle tray, a few zip-lock bags, and the habit of putting parts back immediately will save you more time than any other single change you could make.
Your next build will move faster, and you’ll spend that time on the actual assembly, not digging through piles.