
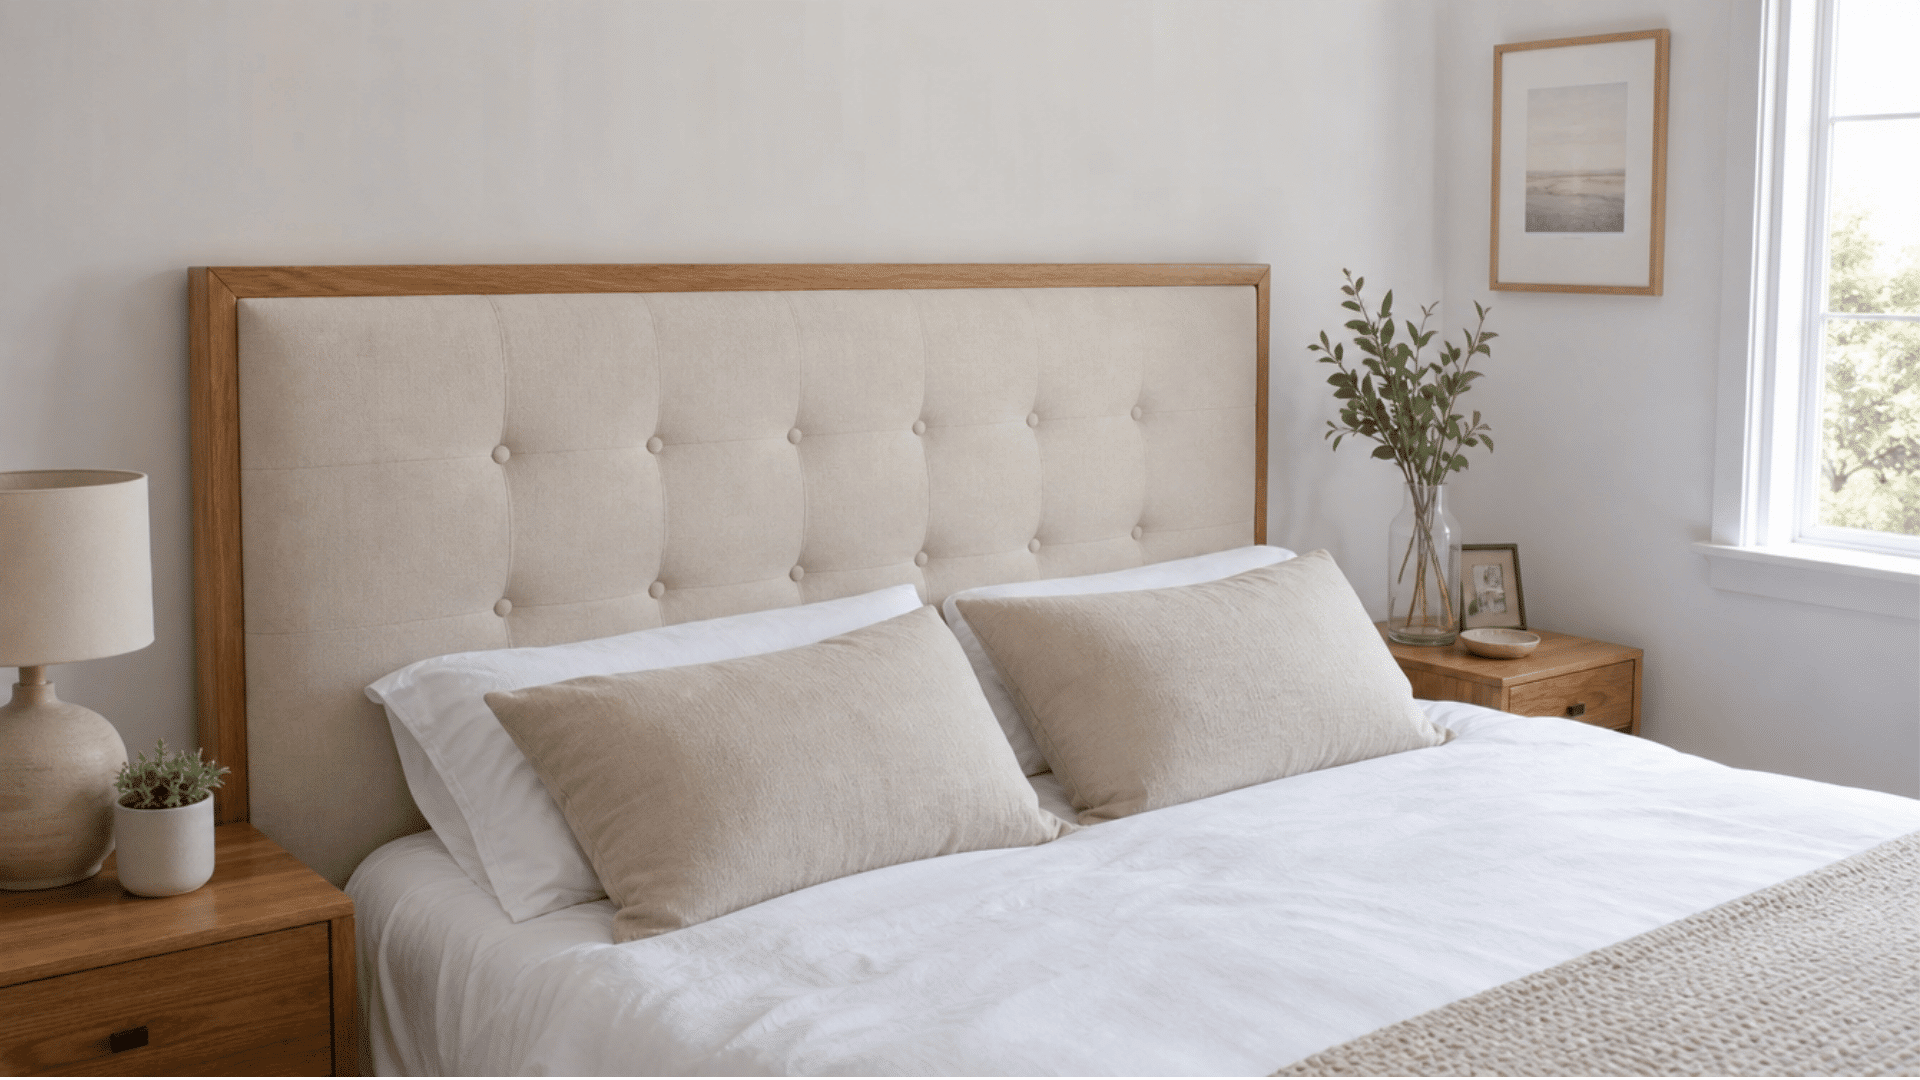
A bedroom can feel complete with just one thoughtful addition, and an upholstered headboard is often the piece that brings everything together.
I have always liked how a simple DIY project can completely change the look and feel of a space without stretching the budget.
Building your own DIY upholstered headboard also gives you the freedom to choose the size, fabric, and finish that match your style.
It may look like a challenging project at first, but breaking it into manageable steps makes it much easier. Keep reading to see how you can create a custom headboard that fits your bedroom perfectly.
What Is an Upholstered Headboard?
An upholstered headboard is a bed headboard covered with soft materials like foam, batting, and fabric to create a comfortable and decorative finish.
Unlike plain wood or metal headboards, it adds extra cushioning and a warmer look to the bedroom.
Most upholstered headboards are built with a strong wooden frame, a padded layer for softness, and a fabric cover that can be customized to match decor.
They are available in many styles, including simple rectangular designs, tufted looks, and panel arrangements.
Making one yourself lets you choose the size, fabric, colors, and details to create a personalized piece for your bedroom.
Materials and Tools Needed
Materials and tools are the foundation of any DIY upholstered headboard project. Gather these essential supplies before starting.
| Materials | Tools |
|---|---|
| Upholstery Fabric | Staple Gun |
| Foam Padding | Cordless Drill |
| Polyester Batting | Measuring Tape |
| Plywood | Utility Knife |
| Wood Screws | Brad Nailer |
Safety Checklist Before You Start
Taking a few simple safety precautions before building your DIY upholstered headboard can help prevent injuries and make the project easier to complete.
- Wear Safety Gear: Use safety glasses, hearing protection, and a dust mask when cutting, drilling, or sanding wood.
- Work in a Ventilated Area: Apply spray adhesive, paint, or wood finishes where there is plenty of fresh air.
- Inspect Your Tools: Check that power tools, blades, and staple guns are working properly before starting.
- Secure Materials: Clamp plywood and lumber firmly to a stable work surface before cutting or drilling.
- Keep Fingers Away from Blades: Maintain a safe distance from saw blades, drill bits, and the staple gun while working.
- Keep Your Workspace Clear: Remove clutter, cords, and offcuts to reduce the risk of slips and trips.
- Lift Large Pieces Carefully: Ask for assistance when moving heavy plywood or the finished headboard to avoid strain or injury.
- Unplug Tools After Use: Disconnect power tools before changing blades, bits, or making adjustments.
How to Make a DIY Upholstered Headboard?
The process to make a diy upholstered headboard at home covers preparing the frame, adding padding, attaching fabric, and finishing the headboard.
Step 1: Cut Materials and Prepare the Supplies
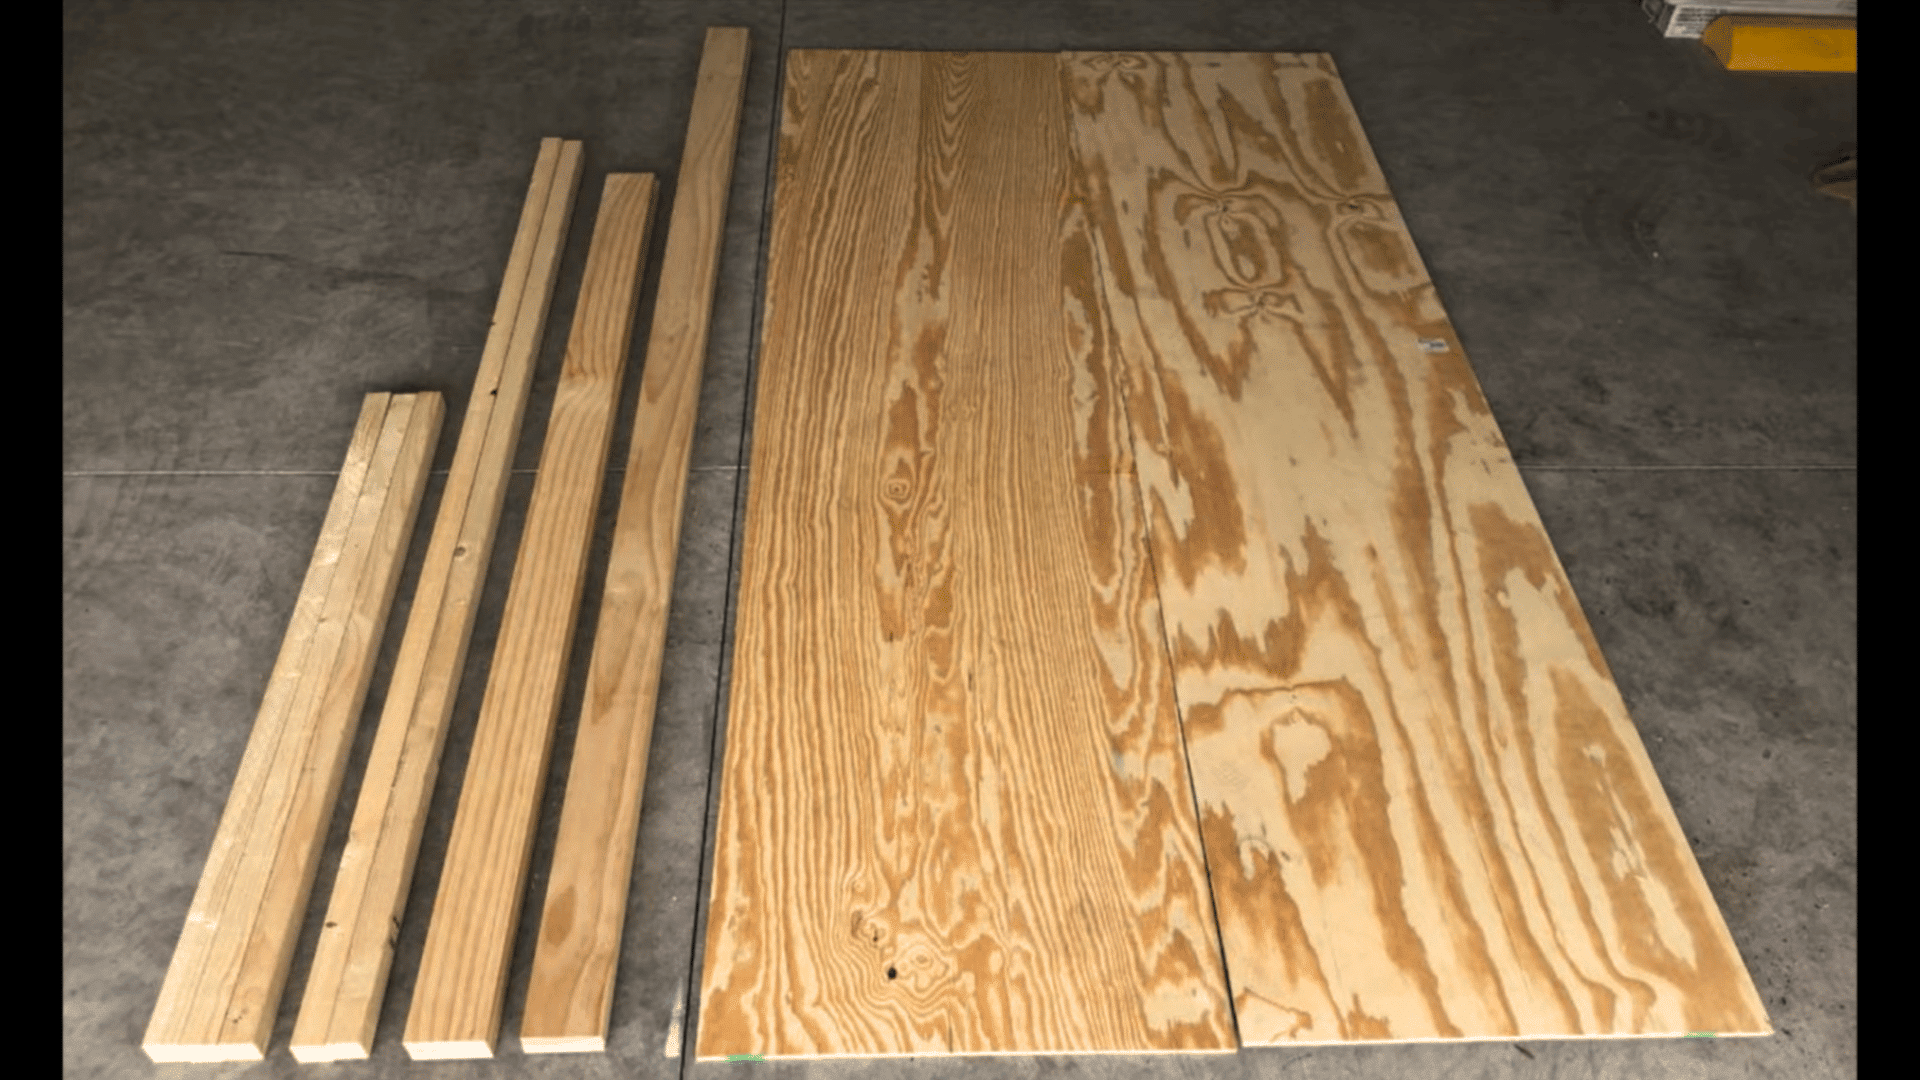
Start by gathering all the materials and tools needed for the upholstered headboard project. Purchase quality lumber, plywood, and upholstery supplies from your preferred home improvement or fabric store.
The lumber pieces are cut according to the measurements required for a king-sized headboard.
Preparing the materials beforehand makes the assembly process easier and helps ensure every piece is ready before building the frame.
Step 2: Assemble the Headboard Frame
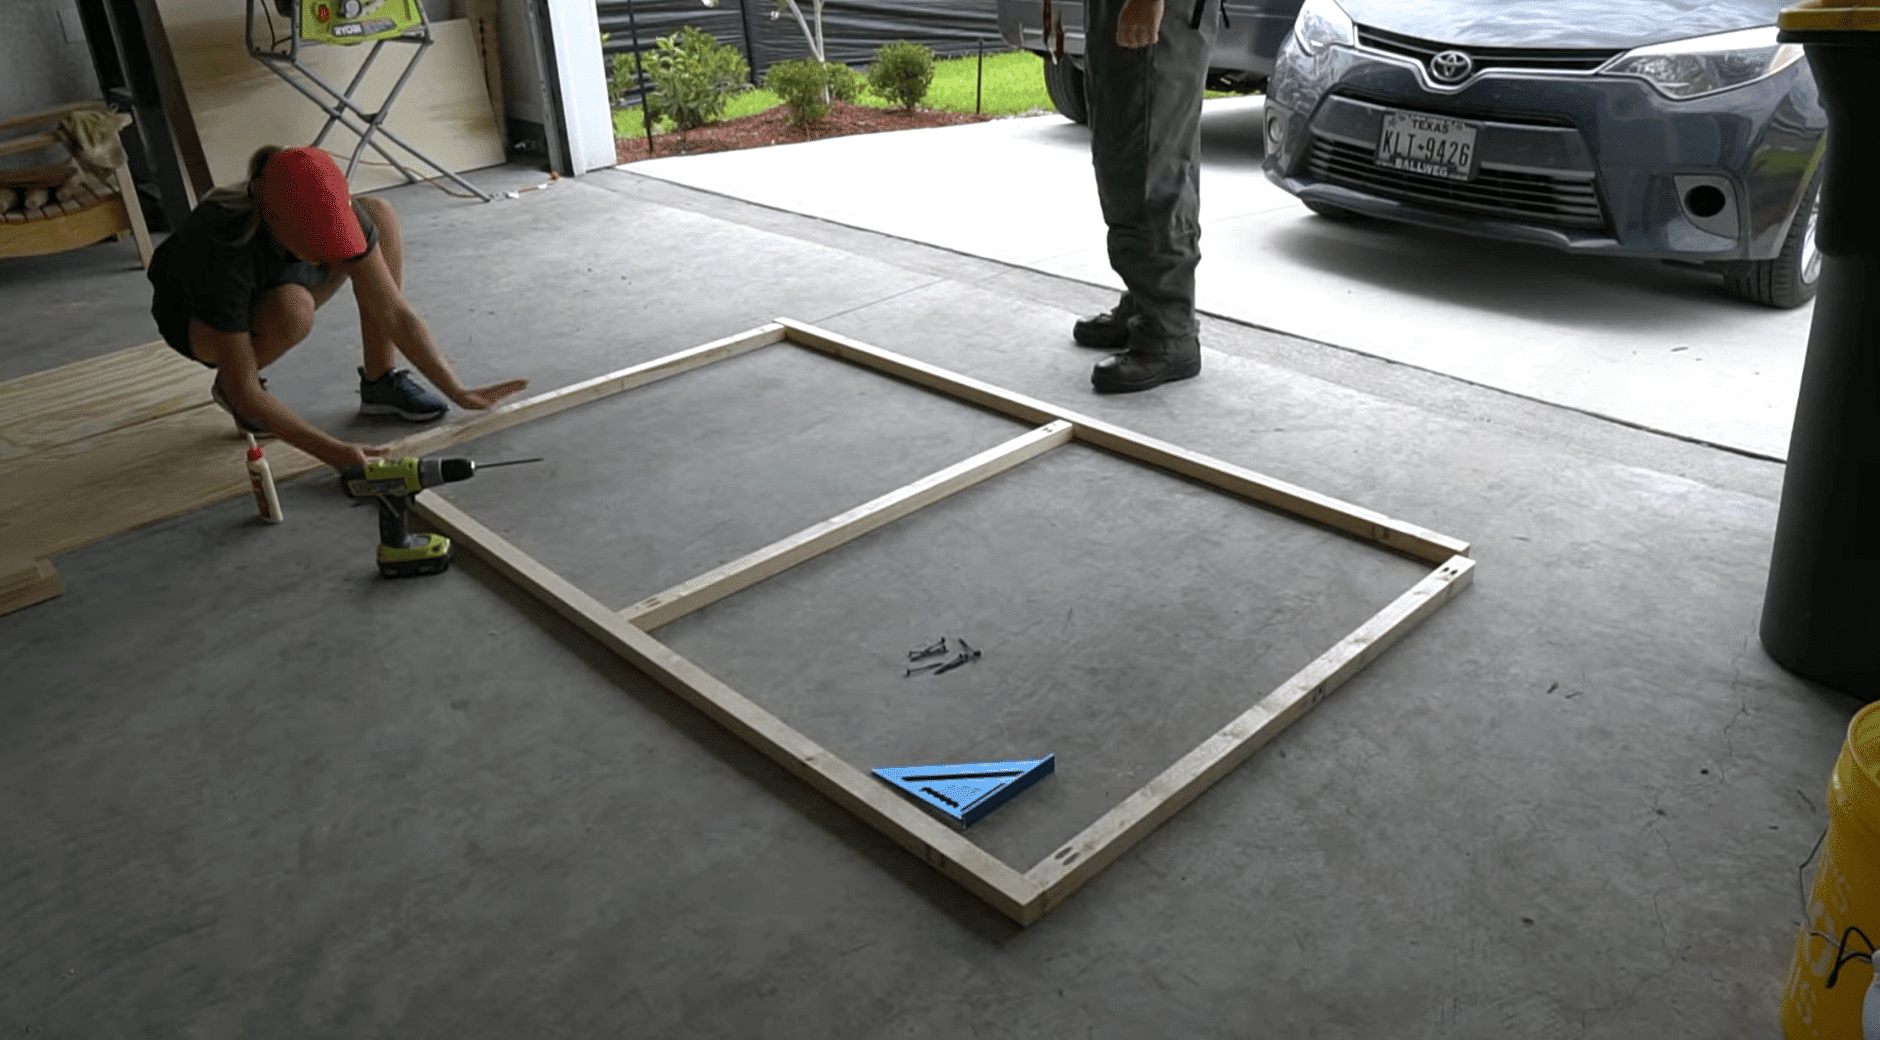
Build the main structure by assembling the wooden frame pieces. Drill pocket holes into both ends of the short 2×2 frame boards using a pocket hole jig.
Arrange the three shorter support pieces between the longer top and bottom boards.
Apply wood glue and secure each connection with screws to create a strong and stable frame. A properly assembled frame provides the support needed for the plywood, foam, batting, and fabric layers.
Step 3: Secure the Plywood to the Frame
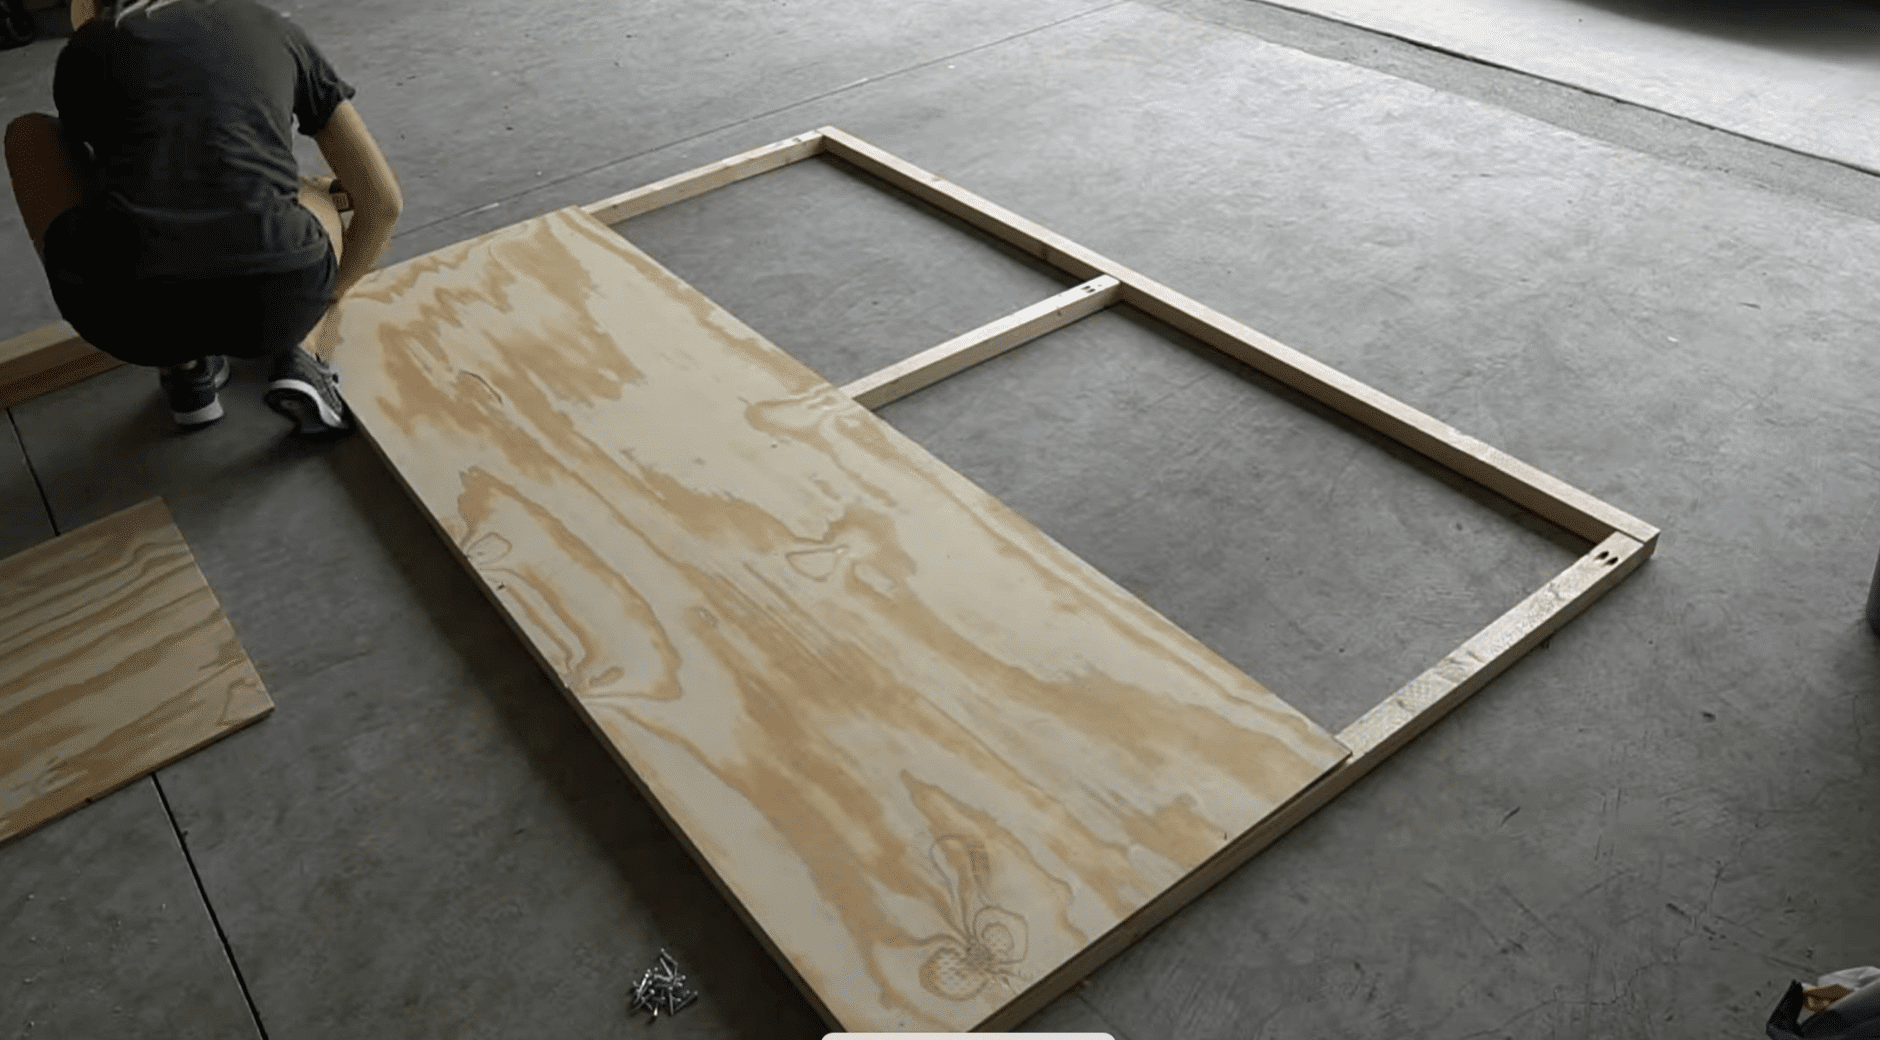
Once the wooden frame is complete, attach the plywood sheet to create a solid surface for the upholstered layers.
Place the plywood over the frame and align the edges carefully before securing it with one-inch screws. Make sure the plywood sits flat against the frame to prevent uneven areas later.
This backing helps hold the foam padding securely and keeps the headboard structure firm as the fabric and finishing details are added.
Step 4: Secure the Foam Padding
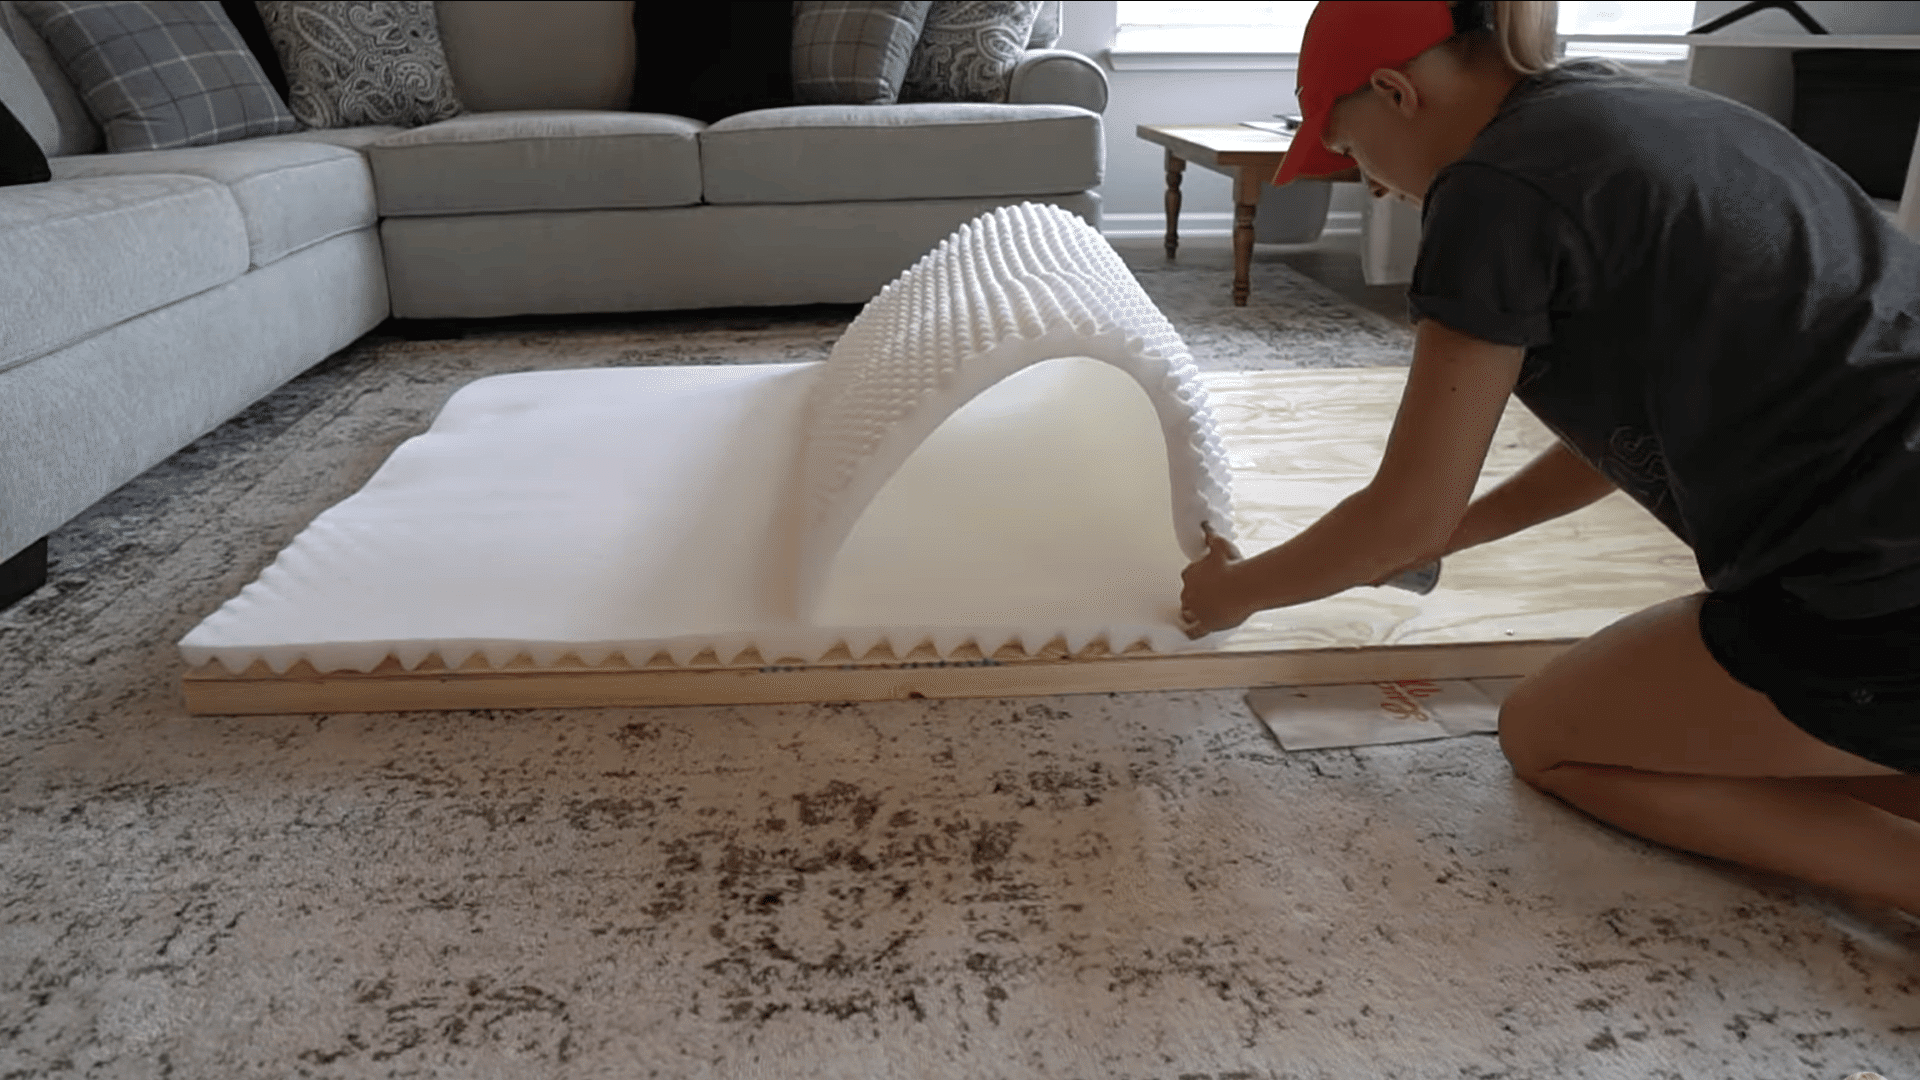
Cut the foam padding according to the size of the plywood surface and place it evenly across the board. The project uses a mattress pad as a more affordable alternative to traditional upholstery foam.
Apply spray adhesive to secure the foam in place and prevent shifting during the upholstery process.
A smooth foam layer creates a comfortable surface and helps the finished headboard achieve a soft, padded appearance.
Step 5: Attach the Batting Layer
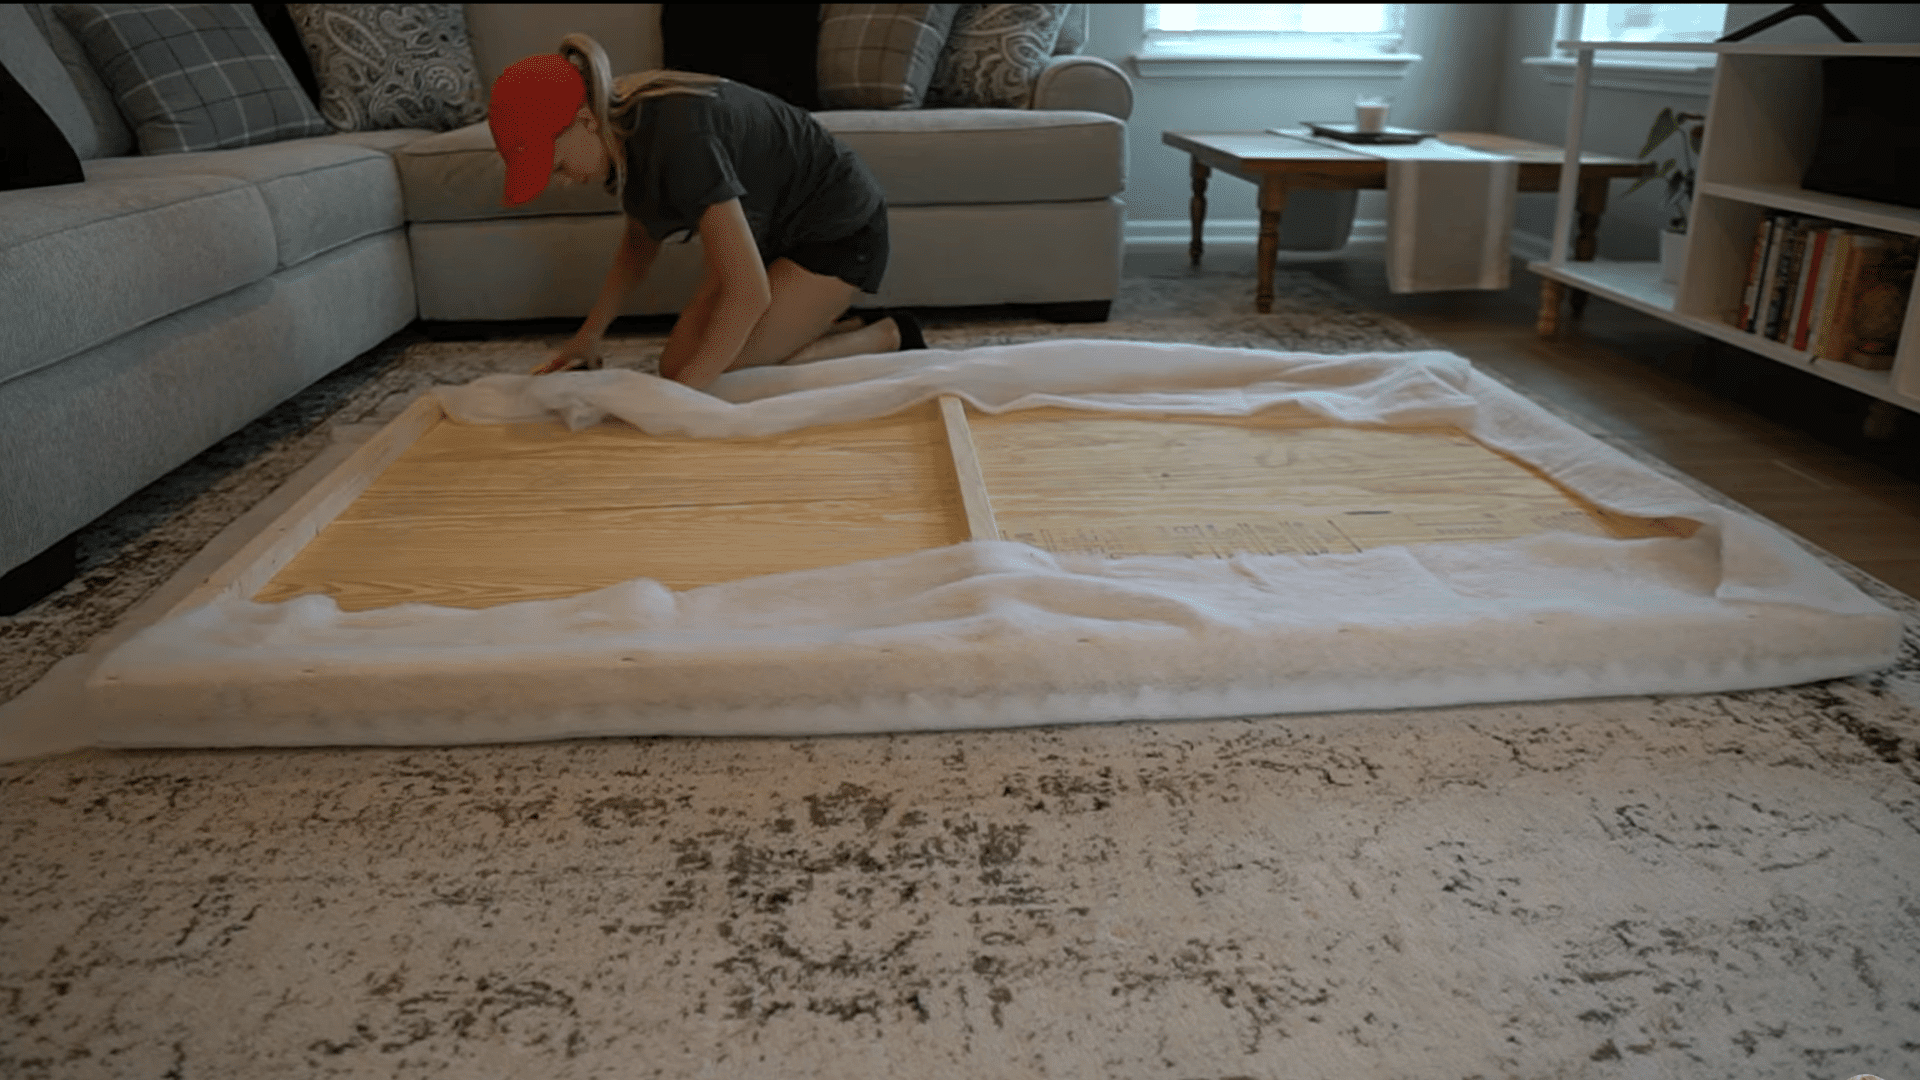
Place the batting over the foam-covered headboard and make sure it lies flat before securing it.
Cut the corners of the batting to reduce bulk and create cleaner edges.
Pull the material tightly around the frame, fold the edges neatly, and staple it securely to the wooden support pieces.
This layer helps smooth the surface, covers imperfections, and creates a softer foundation before adding the final fabric layer.
Step 6: Staple the Upholstery Fabric
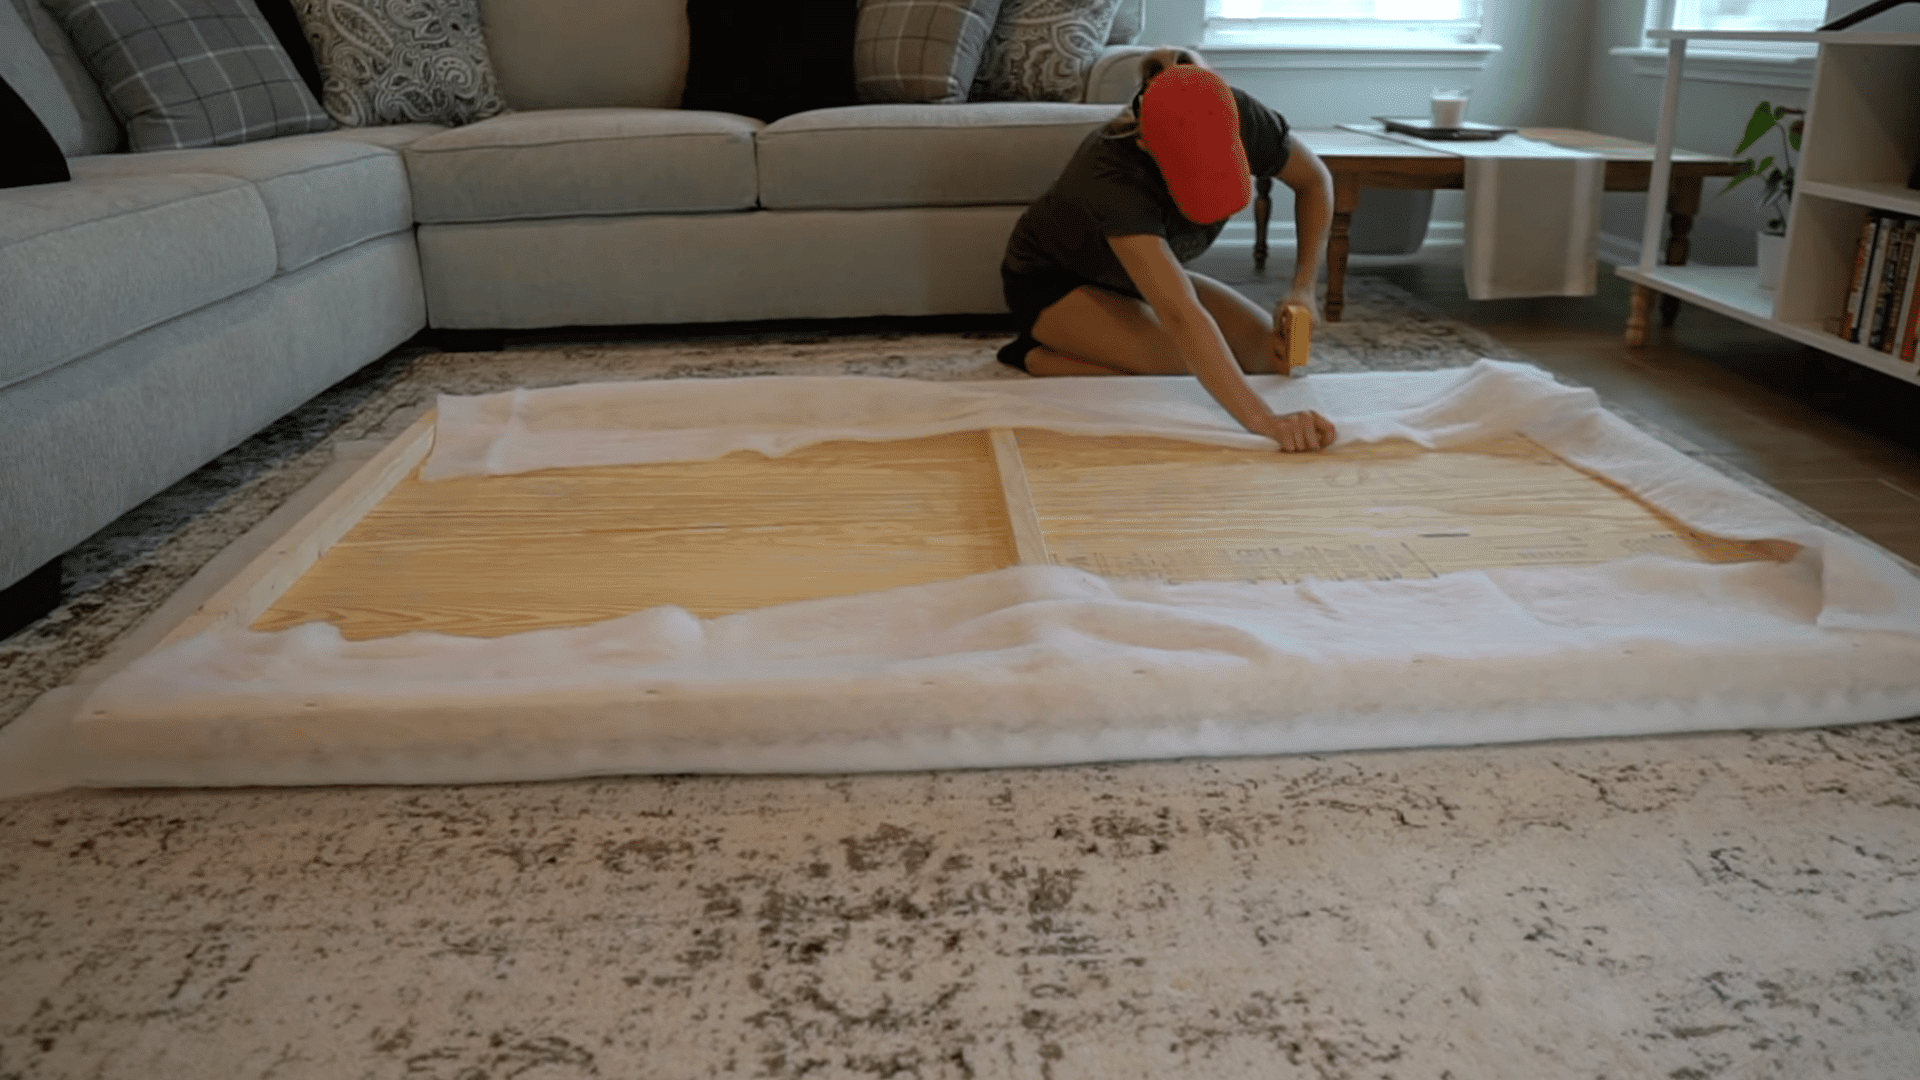
Lay the upholstery fabric flat and place the padded headboard on top. Remove any wrinkles before attaching the fabric to achieve a clean finish.
Start stapling from one side, then move to the opposite side while pulling the fabric tightly. Continue securing the fabric every few inches around the frame.
Trim and fold the corners carefully to avoid bulky edges and create a professional upholstered look.
Step 7: Cut and Finish the Decorative Trim
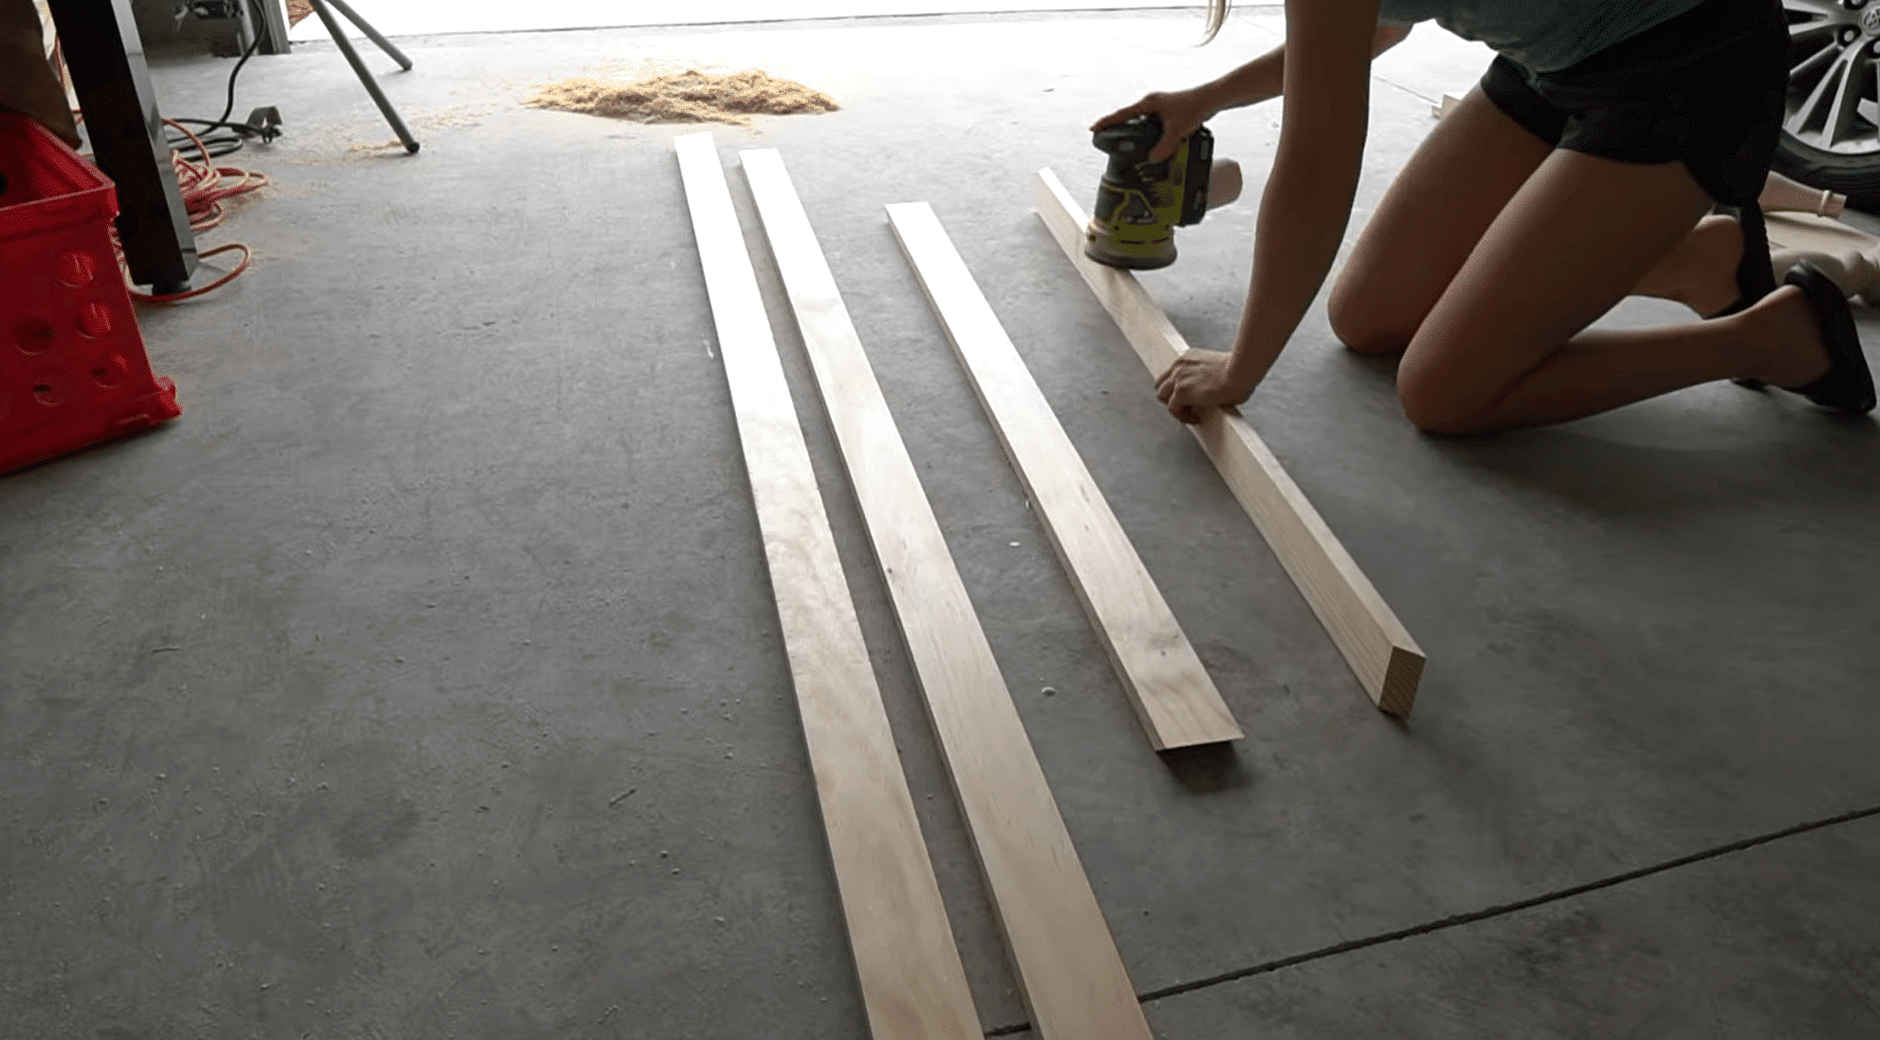
Prepare the trim pieces by measuring the upholstered headboard and cutting the boards to fit the edges.
The project adjusts the trim depth using a table saw and creates 45-degree corners for a polished appearance. Dry-fit the trim pieces first to ensure they align correctly before finishing them.
Apply stain and polyurethane to protect the wood and create the desired look before attaching the trim.
Step 8: Attach the Trim Pieces
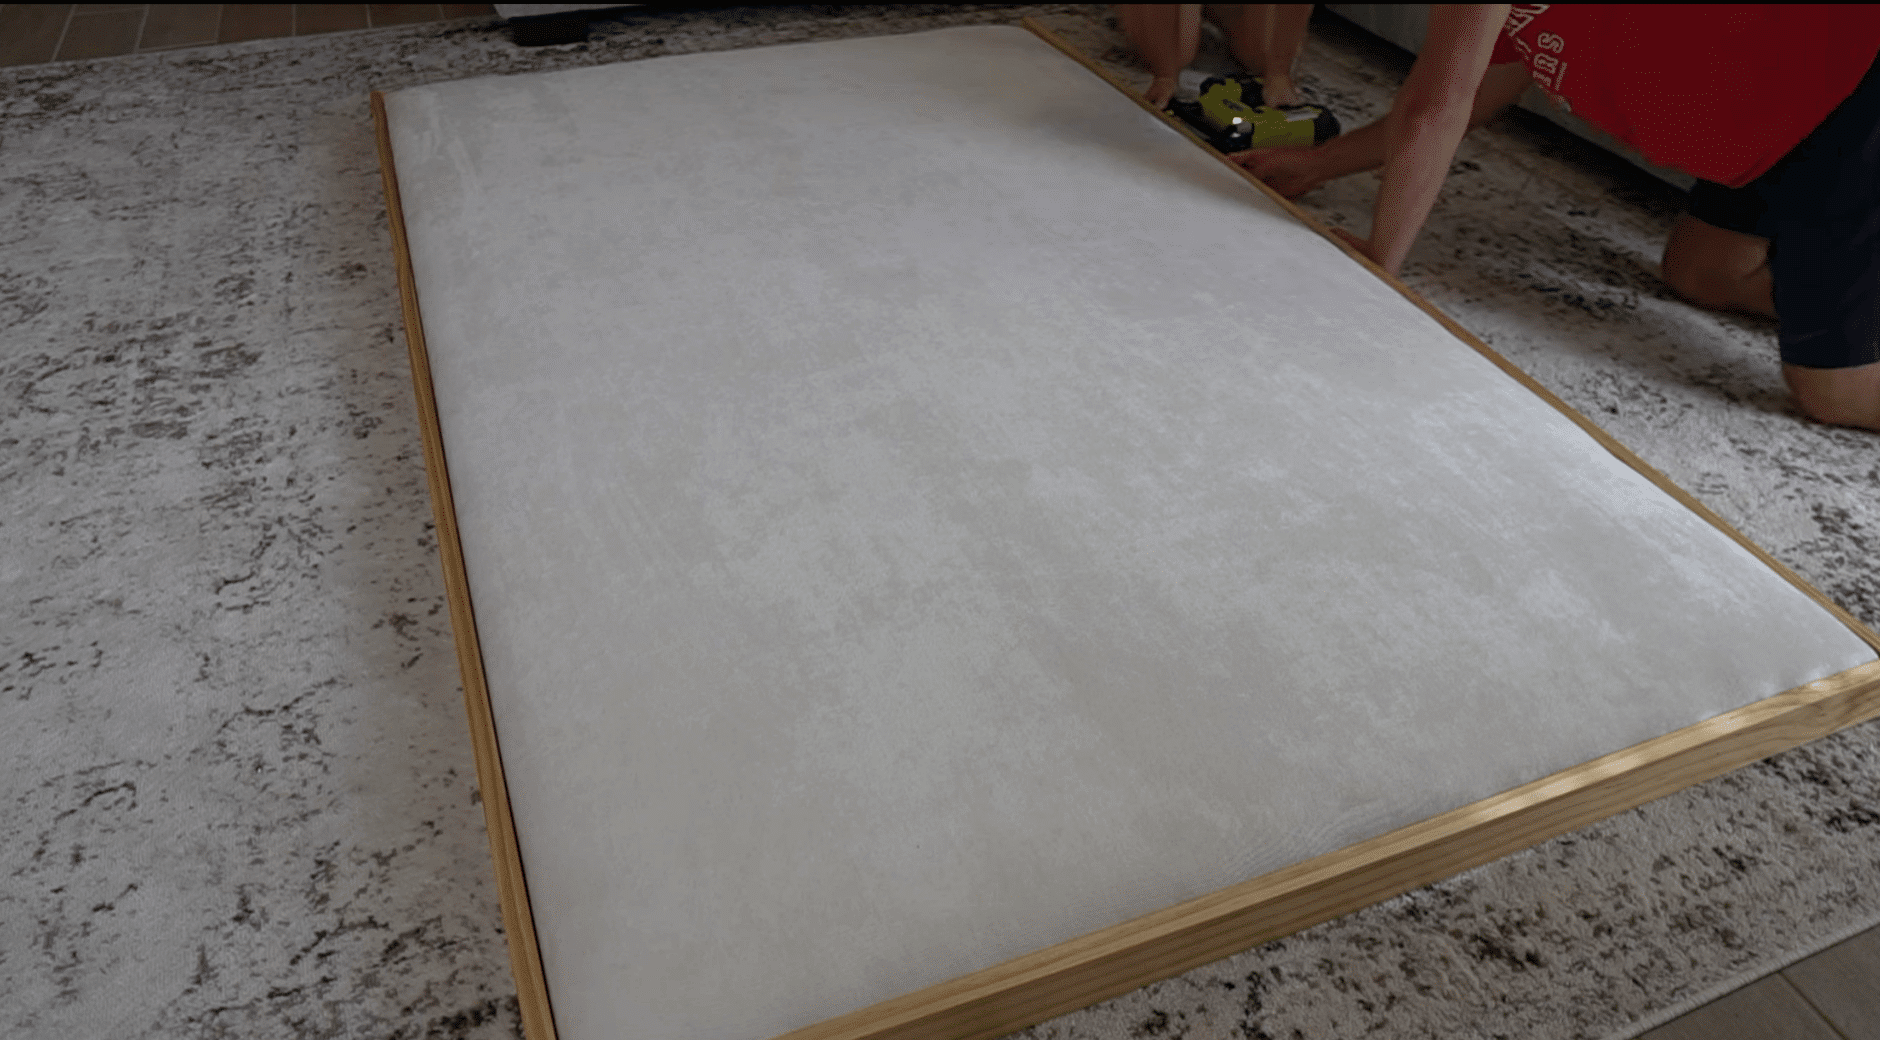
After the trim pieces are completely dry, secure them around the edges of the upholstered headboard.
Use a nailer and one-and-a-half-inch brad nails to attach each piece firmly. Make sure the trim sits evenly along the edges for a clean frame-like finish.
If any nail holes are visible, fill them with wood filler and smooth the surface. This final detail gives the headboard a finished and customized appearance.
Step 9: Hang the Finished Headboard
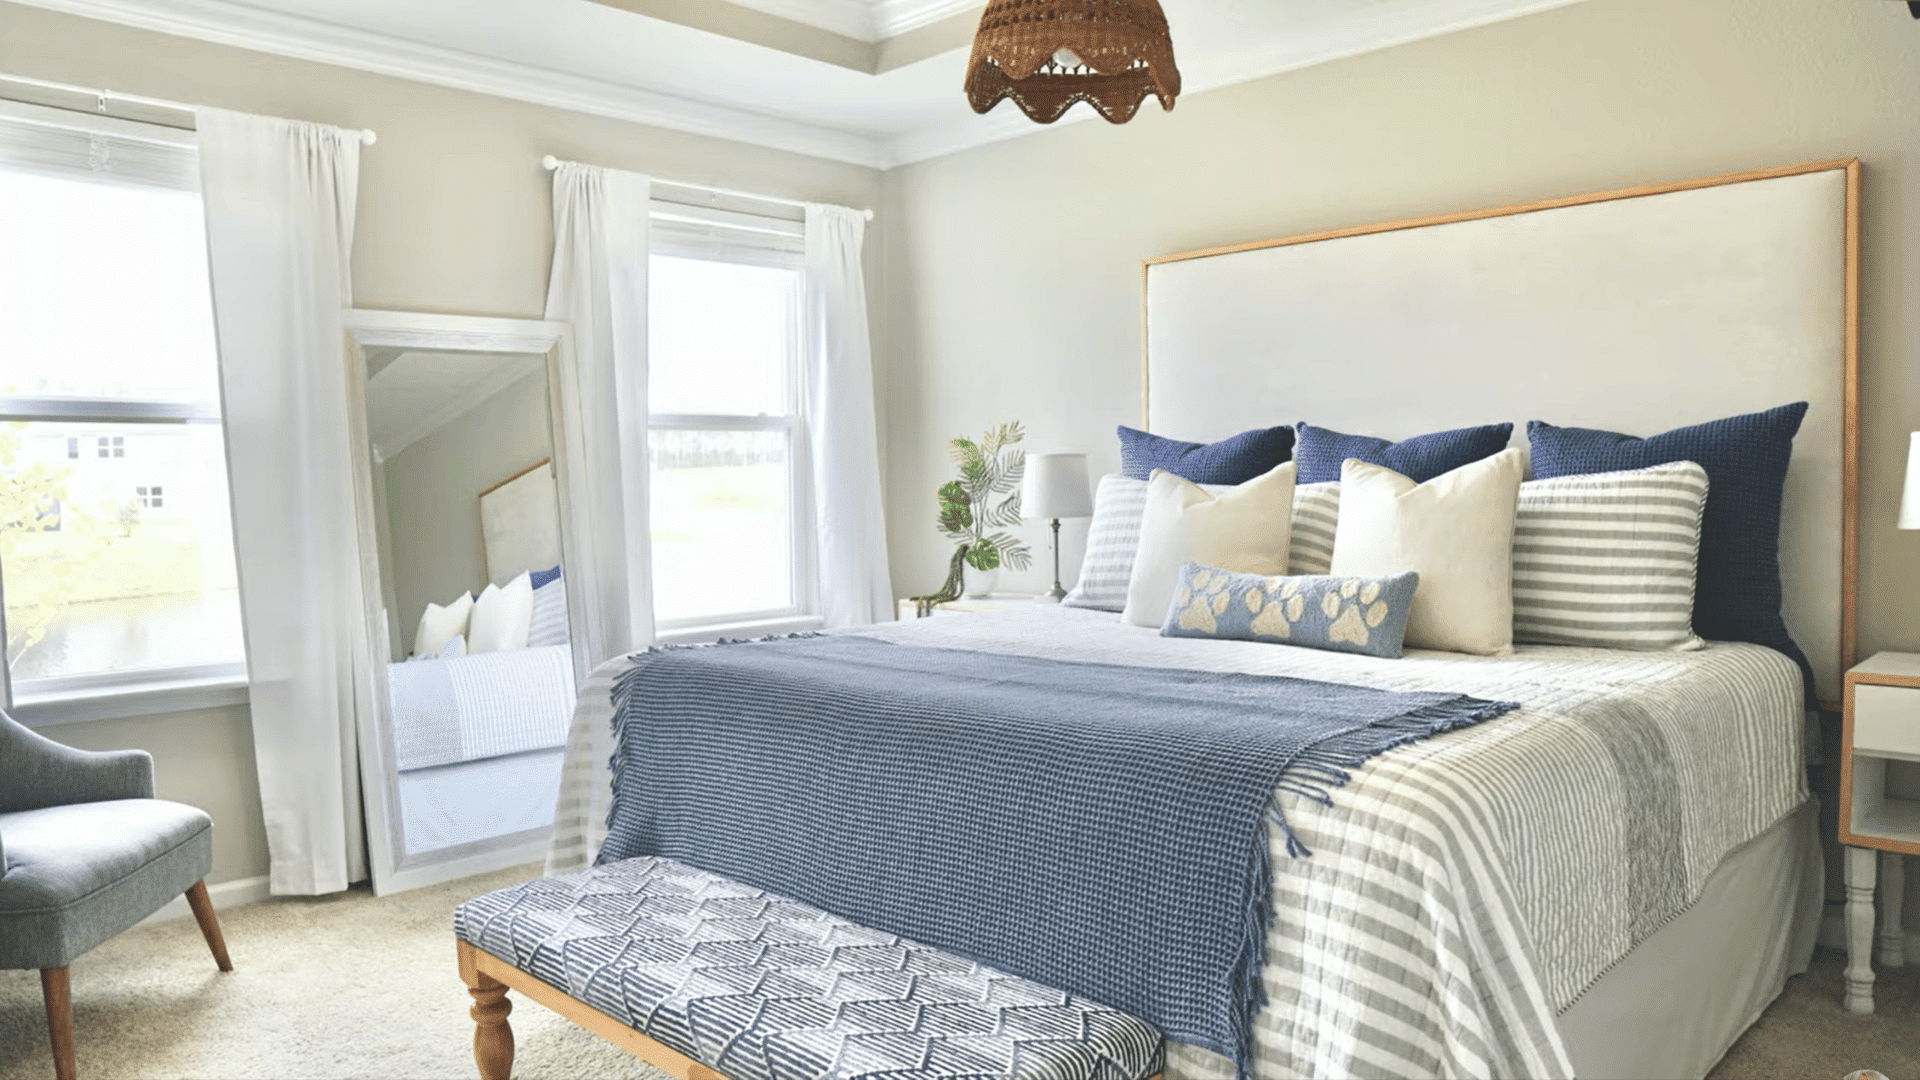
The final step is mounting the completed upholstered headboard on the wall. Measure the desired placement behind the bed and install heavy-duty picture frame hangers according to the hardware instructions.
Carefully hang the headboard and check that it is level and securely supported.
Once installed, the custom upholstered headboard is ready to enhance the bedroom with a personalized design, fabric choice, and decorative finish.
This tutorial is based on a helpful video by Home with Stefani. You can check out the original video on their YouTube channel here or watch it below.
Headboard Size Guide for Different Bed Sizes
Choosing the correct headboard size before you start building helps prevent fitting issues and unnecessary material waste. Use the table below as a general reference for common mattress sizes.
| Bed Size | Typical Headboard Width | Typical Headboard Height |
|---|---|---|
| Twin | ~41 in | ~14 in |
| Full | ~56 in | ~28 in |
| Queen | ~62 in | ~28 in |
| King | ~80 in | ~58 in |
| California King | ~74 in | ~58 in |
These dimensions are general guidelines, so always measure your mattress and bed frame before cutting materials. For taller or wingback designs, a height of 65–70 inches is commonly used for king and California king beds.
Styling Your DIY Upholstered Headboard
Your finished upholstered headboard can become the main feature of the bedroom when it is paired with the right colors, bedding, lighting, and décor.
- Choose Coordinating Bedding: Select sheets, pillows, and blankets that complement the headboard fabric without matching it exactly.
- Add Layered Pillows: Use pillows in different sizes and textures to create a fuller and more comfortable bed arrangement.
- Balance the Colors: Repeat one or two colors from the headboard in curtains, rugs, cushions, or nearby décor.
- Use Suitable Lighting: Add bedside lamps, pendant lights, or wall sconces to frame the headboard and improve bedroom lighting.
- Keep Wall Decor Simple: Avoid overcrowding the wall above a tall or detailed headboard. One artwork piece or a simple mirror is usually enough.
- Coordinate the Nightstands: Choose nightstands with similar finishes, shapes, or colors to create a more balanced bedroom layout.
Custom Features You Can Add to Your DIY Upholstered Headboard
Once your DIY upholstered headboard is complete, you can add decorative features to give it a more customized look.
1. Nailhead Trim
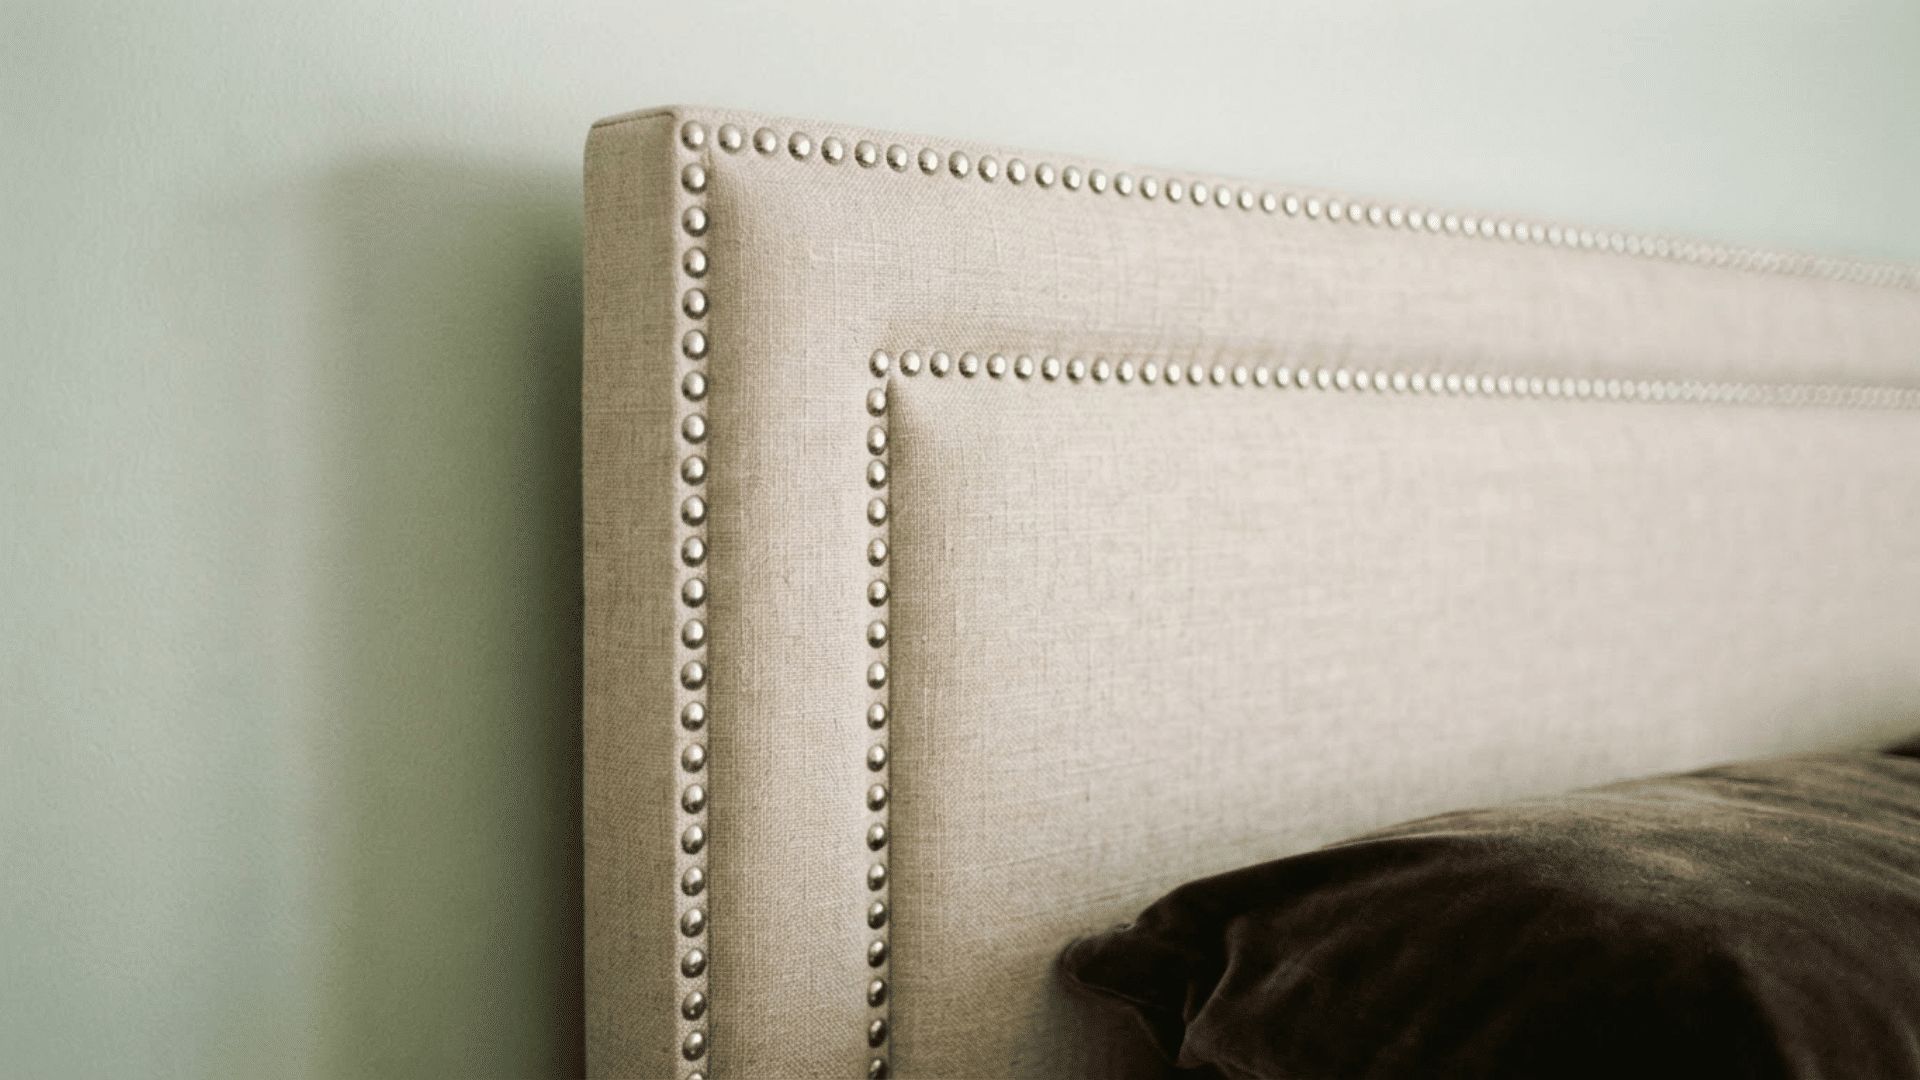
Nailhead trim is a popular way to give a DIY upholstered headboard a more polished and decorative appearance.
Small metal studs are placed evenly around the edges of the fabric to create a defined border.
They are available in finishes such as bronze, black, silver, and brass, making it easy to match different bedroom styles.
Nailhead trim works well with linen, velvet, and faux leather upholstery while adding a classic detail without changing the overall headboard design.
Best for:
- Traditional and classic bedrooms
- Farmhouse and transitional decor
- Adding a decorative border without major changes
2. Button Tufting
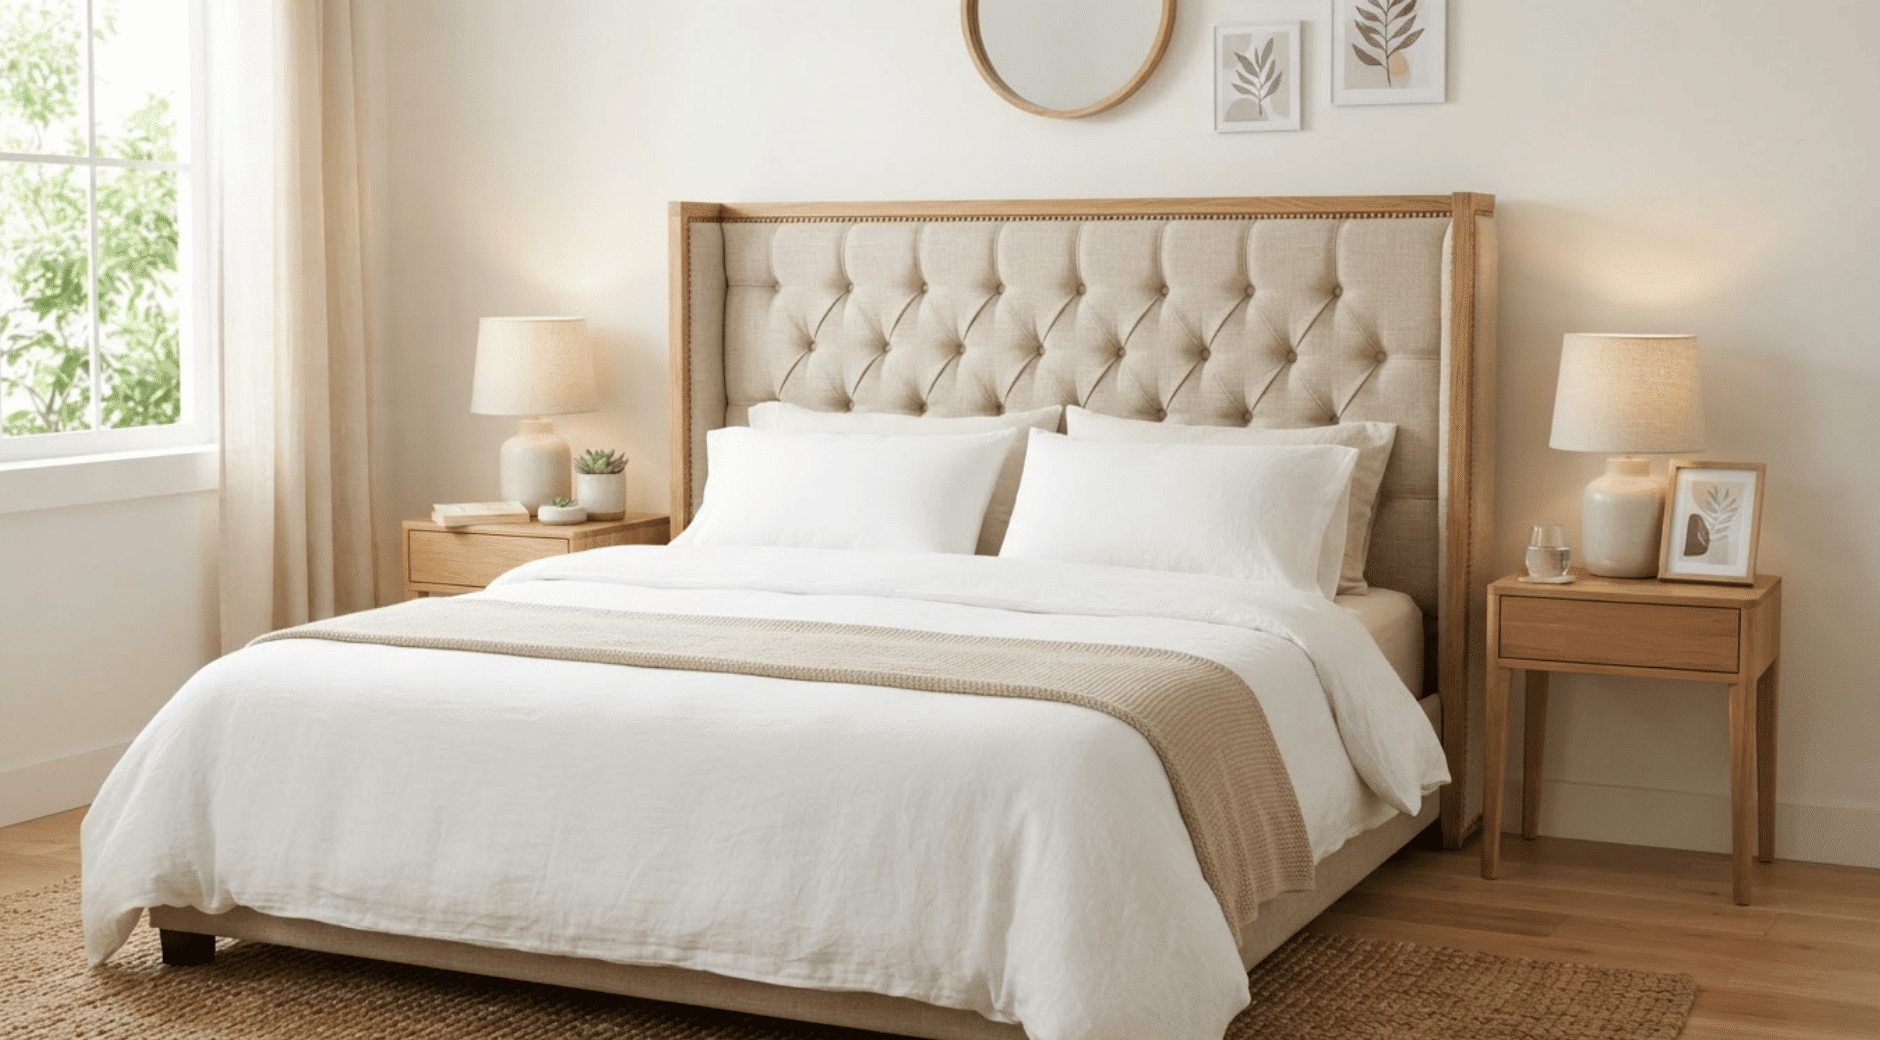
Button tufting creates a textured pattern by pulling buttons through the fabric and foam at evenly spaced points.
This feature gives the headboard a fuller and more luxurious appearance while adding extra depth to the upholstery.
Common patterns include diamond, square, and straight-row tufting.
It works best with thicker foam and durable upholstery fabric that can withstand the tension created by the buttons.
Best for:
- Elegant and luxurious bedrooms
- Deep, cushioned headboards
- Classic and timeless designs
3. Wooden Trim Frame
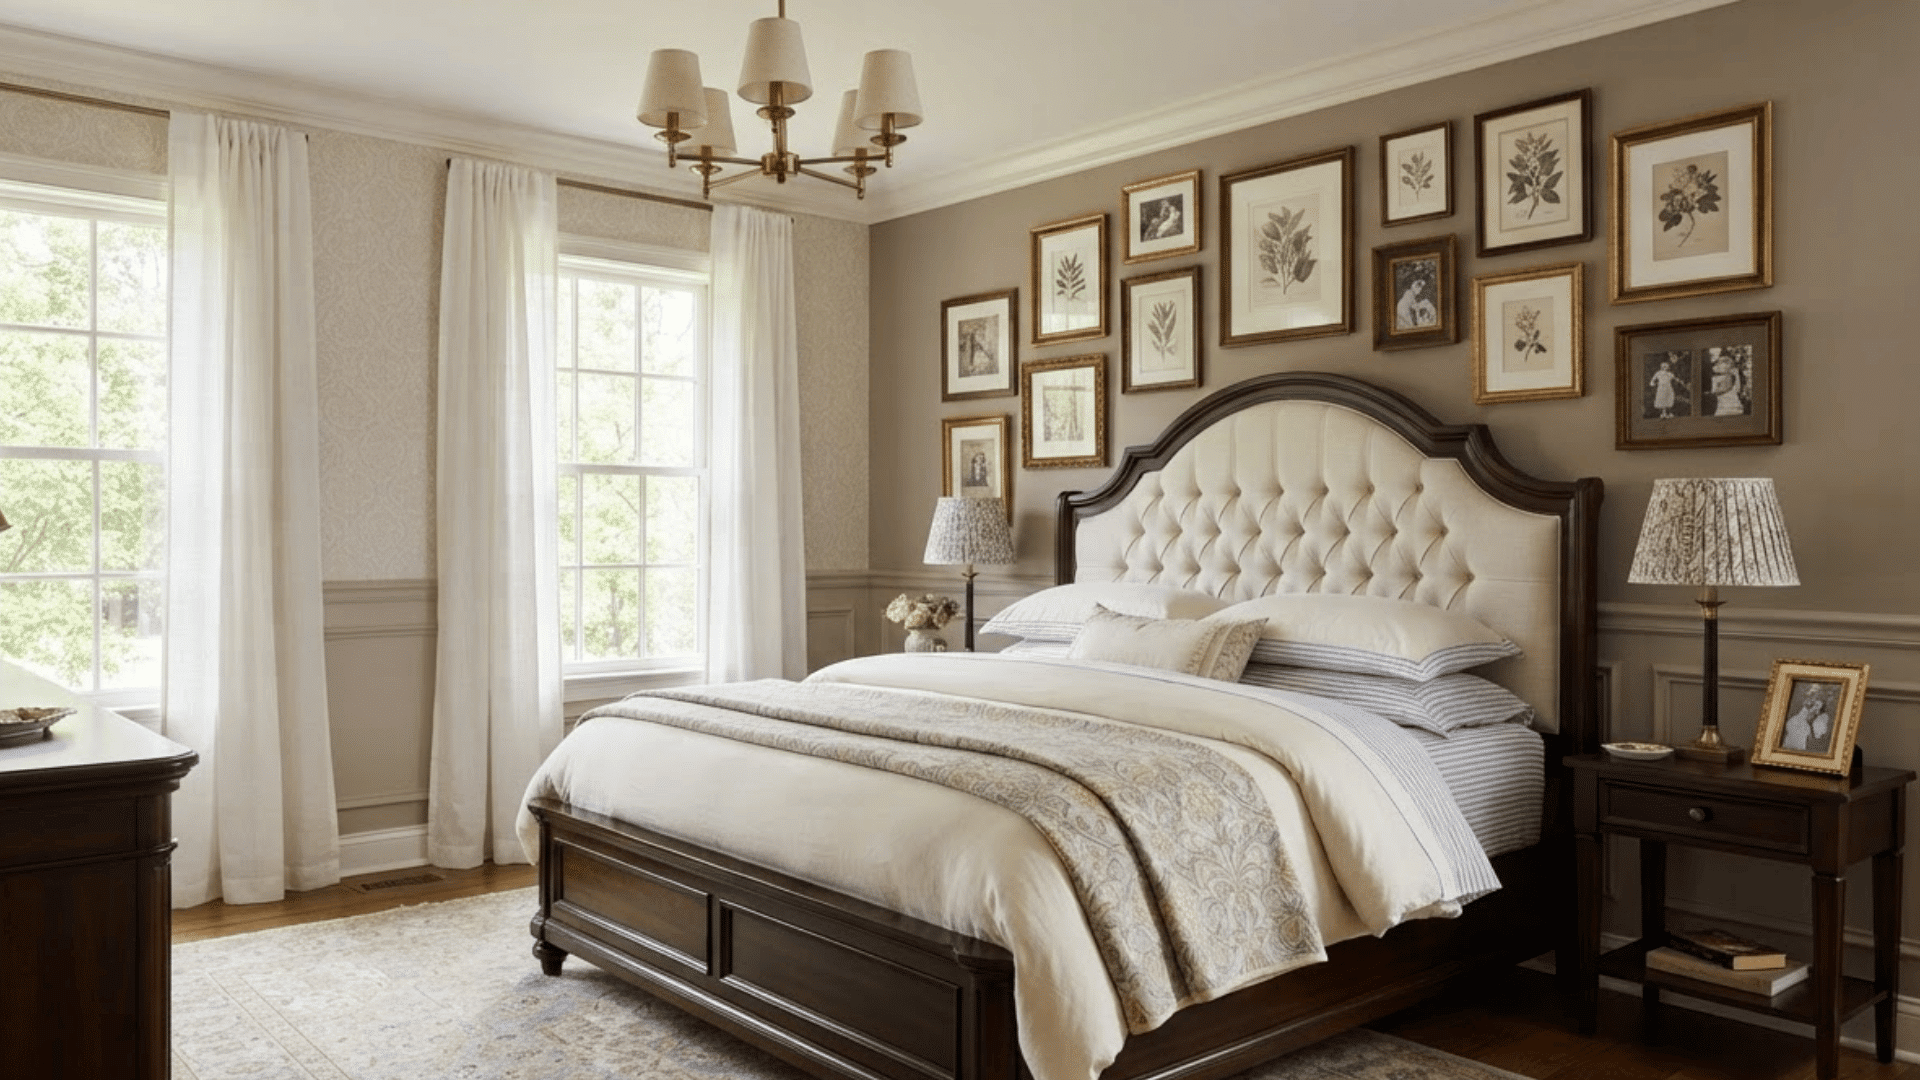
Adding a wooden trim frame creates a clean border around the upholstered section and gives the headboard a finished appearance.
The trim can be painted, stained, or sealed to match other bedroom furniture or flooring. It also helps protect the fabric edges from wear over time.
Simple flat boards create a modern look, while wider decorative molding suits more traditional interiors.
Best for:
- Modern and rustic bedrooms
- Protecting fabric edges
- Creating a framed, furniture-style finish
4. Wingback Sides
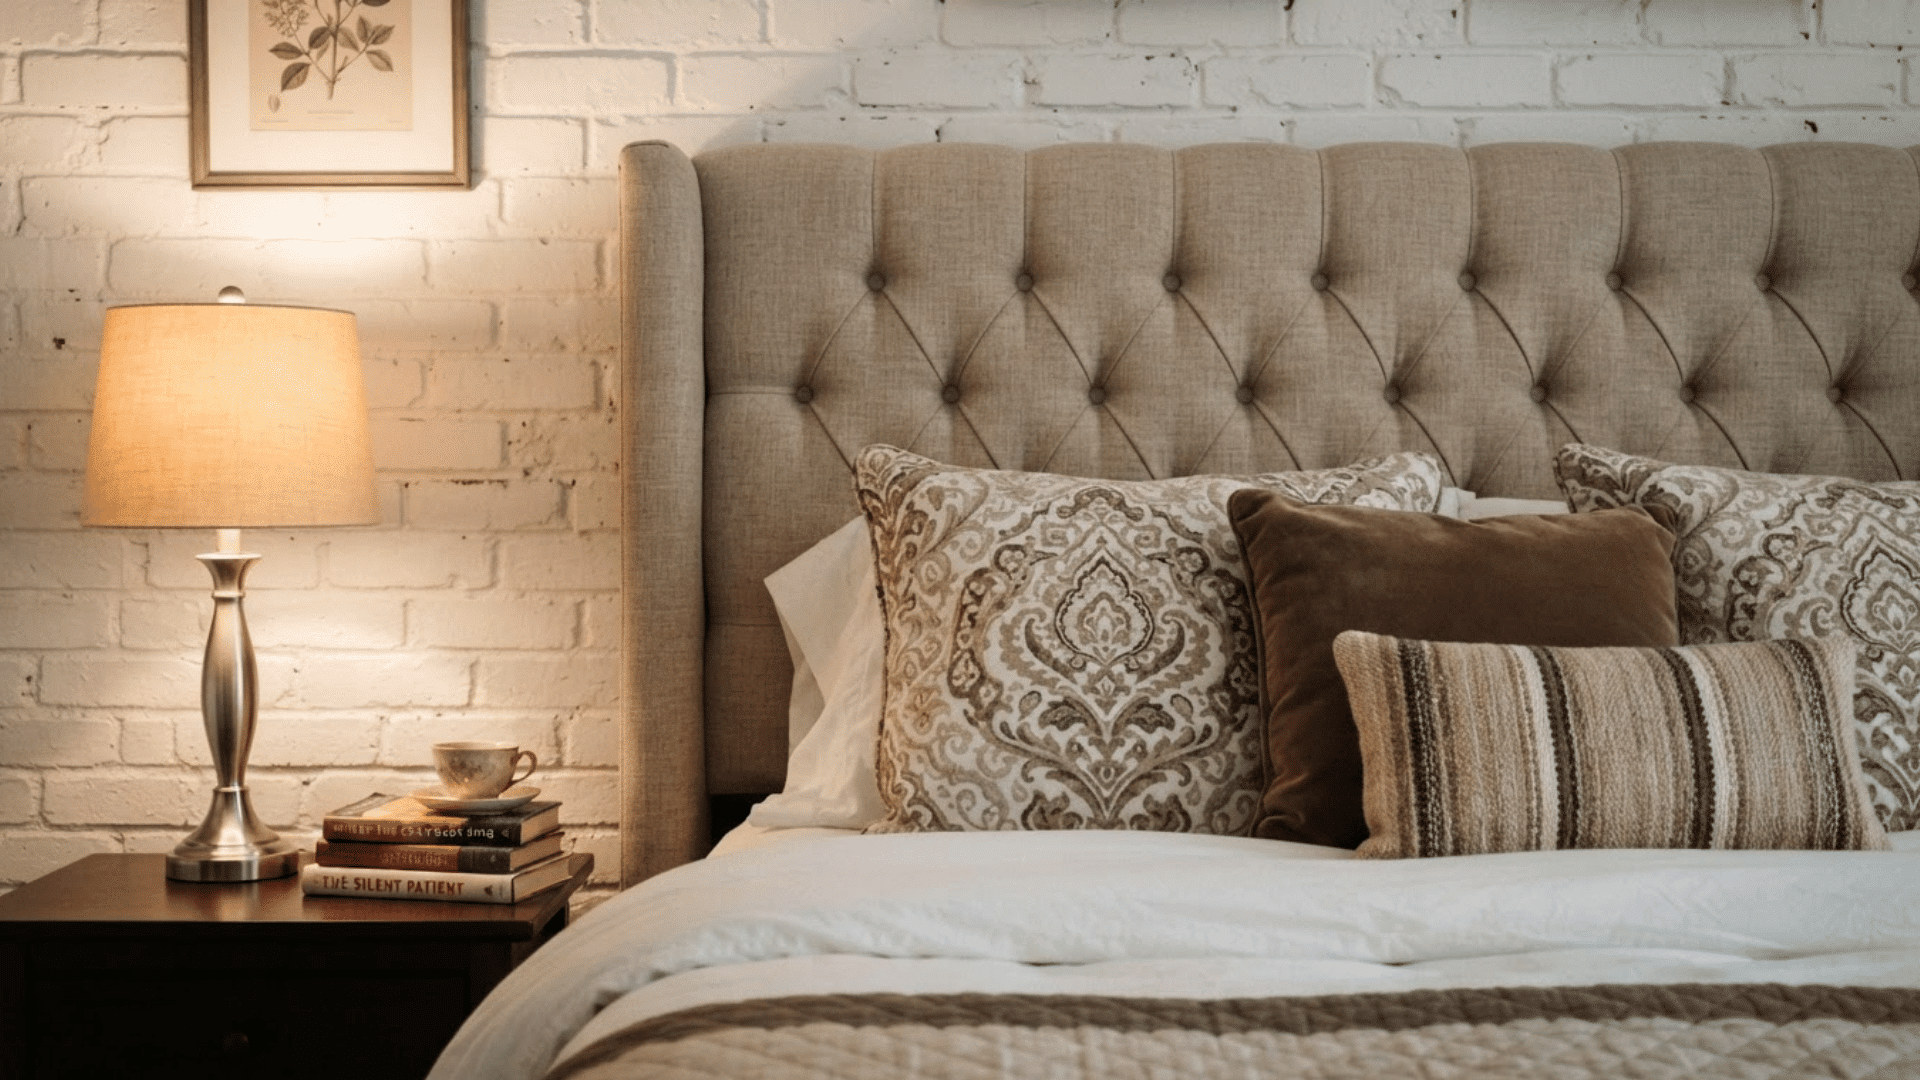
Wingback sides extend slightly beyond the edges of the headboard to create a framed and more enclosed look around the bed.
This feature adds extra height and visual depth while making the headboard stand out as the focal point of the room.
Wingback designs work well in traditional, transitional, and luxury-style bedrooms.
They require additional framing and upholstery but can provide a more custom appearance than a standard flat headboard.
Best for:
- Large bedrooms
- Statement headboards
- Traditional and luxury interiors
5. Decorative Piping
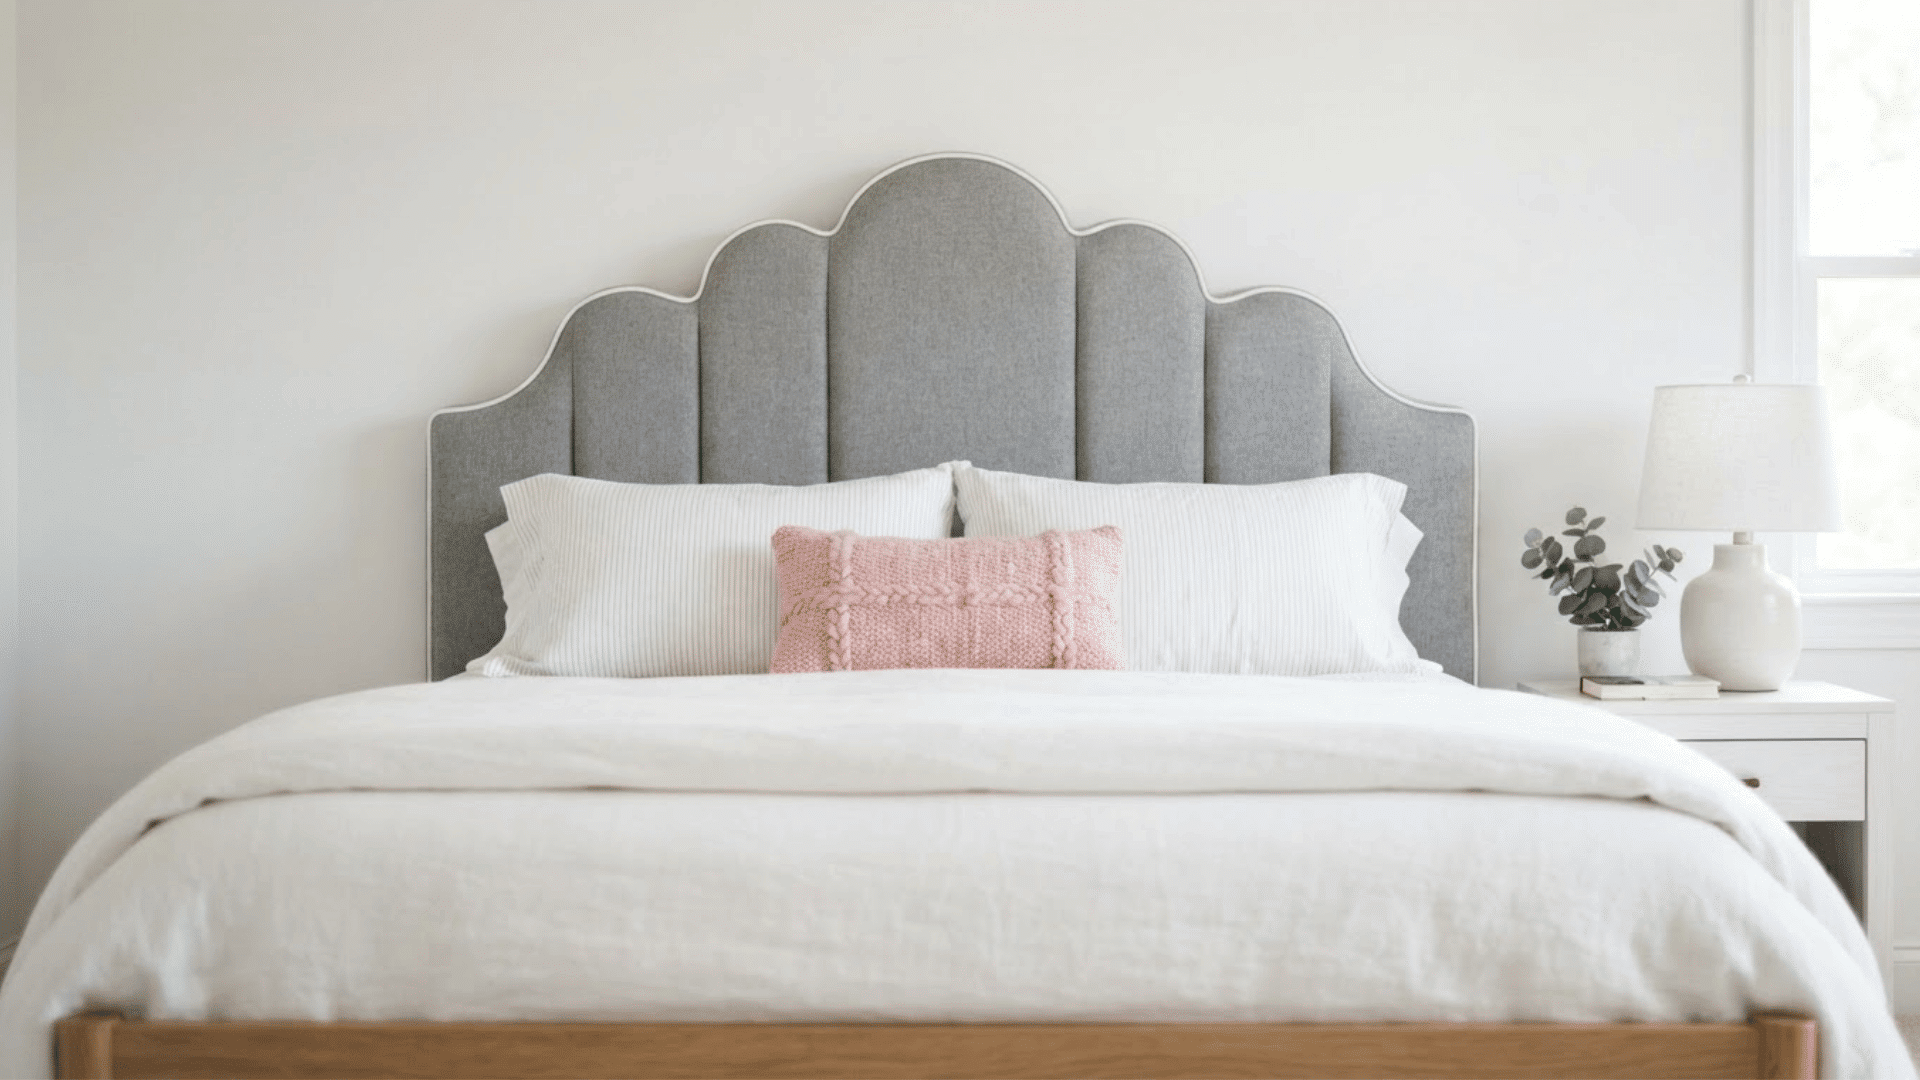
Decorative piping adds a narrow fabric-covered cord along the edges of the upholstered headboard.
It creates a crisp border that highlights the shape of the headboard and separates the fabric from the surrounding trim or wall.
Piping can be made from matching fabric for a subtle finish or a contrasting color for extra detail.
This simple addition works with both modern and traditional headboard designs while giving the finished project a cleaner, more refined appearance.
Best for:
- Contemporary and minimalist bedrooms
- Highlighting the headboard shape
- Creating a clean, tailored finish
How to Choose the Right Fabric and Foam for Your Headboard?
Choosing the right fabric and foam helps create a comfortable, durable, and stylish upholstered headboard.
- Choose a Durable Fabric: Pick strong fabrics like linen, velvet, or upholstery fabric that suit your style and last longer.
- Pick the Right Texture: Choose a fabric texture that matches your bedroom look, from soft velvet to simple linen.
- Select Foam Thickness: Use thin foam for a basic design and thicker foam for extra comfort.
- Consider Foam Quality: Choose dense foam that keeps its shape and provides lasting support.
- Match Your Design: Select materials that fit your style, whether tufted, panel, or simple upholstered.
DIY Upholstered Headboard Styles to Try
Different upholstery styles can create unique looks based on your bedroom design and DIY skill level.
| Style | Description | Best For |
|---|---|---|
| Simple Upholstered Headboard | A basic padded design using foam, batting, and fabric. It is easy to customize with different colors and materials. | Beginners and Minimal Bedrooms |
| Tufted Upholstered Headboard | Features buttons or stitched sections that create a classic, textured appearance. | Traditional and Elegant Spaces |
| Upholstered Panel Headboard | Made with separate padded sections arranged together for a modern, structured look. | Contemporary Bedrooms and Large Beds |
| Piped Upholstered Headboard | Includes fabric-covered piping along the edges for a neat, finished border. | Clean and Detailed Designs |
| Wingback Upholstered Headboard | Has extended sides that create a framed look and add extra height to the bed area. | Cozy and Traditional Bedroom Styles |
Common Mistakes to Avoid when Making an Upholstered Headboard
Avoiding common mistakes can help you achieve a stronger, cleaner, and more professional-looking upholstered headboard. Keep these tips in mind before and during your project.
- Using Low-Quality Materials: Cheap fabric, weak wood, or poor foam can affect the headboard’s comfort, durability, and final appearance.
- Skipping the Batting Layer: Batting helps smooth the surface and creates a softer finish between the foam and fabric layers.
- Choosing the Wrong Foam Thickness: Very thin foam may look flat, while overly thick foam can make fabric wrapping more difficult.
- Pulling Fabric Unevenly: Loose or uneven fabric can create wrinkles and make the upholstered surface look unfinished.
- Ignoring Measurements: Incorrect measurements can result in a headboard that does not fit the bed size or the desired space.
- Poorly Securing the Headboard: Weak mounting hardware can make the headboard unstable and unsafe after installation.
Conclusion
A DIY upholstered headboard is a practical project that lets you create a comfortable, personalized bedroom feature with basic materials and tools.
You now know how to build, pad, upholster, trim, and customize the frame.
This guide answers the main question of how to make an upholstered headboard at home while avoiding common mistakes and keeping the design suited to your space.
Choose your preferred fabric and headboard style, gather the supplies, and begin the project when you have enough time to work carefully.
Frequently Asked Questions
What Can You Use Instead of a Headboard?
You can use a painted accent wall, decorative wall panels, large artwork, a folding screen, or floating shelves as stylish alternatives to a traditional headboard.
How to Make a Standalone Headboard?
Build a reinforced wooden frame with sturdy support legs or attach the headboard to a freestanding base so it remains stable without wall mounting.
How Much Does It Cost to Make a DIY Headboard?
A DIY upholstered headboard typically costs$75–$250, depending on the bed size, fabric quality, foam thickness, and decorative features you choose. Reusing materials or selecting budget-friendly fabric can help keep costs lower