
A beautiful canvas painting can completely change the feel of a room, but finding the right frame often becomes the most frustrating part.
Custom framing services can quickly become expensive, especially for larger artwork.
I have always loved the idea of creating a finished, gallery-style look without spending more than necessary, and building a DIY canvas frame is one of the easiest ways to achieve that.
With a few wood pieces, basic tools, and careful measurements, you can build a floating frame or wooden support for your artwork.
If you are framing a painting you already own or preparing a canvas from scratch, the process can be simple, affordable, and rewarding.
What Is a DIY Canvas Frame?
A DIY canvas frame is a handmade wooden structure created to support, display, and enhance canvas artwork.
Instead of buying a ready-made frame, you can build one using wood pieces cut according to your canvas size and preferred style.
Many modern artworks use floating frames, where the canvas sits slightly inside the frame with a small gap around the edges, creating a shadow effect and a professional gallery-style appearance.
A canvas frame can be a floating or traditional frame for artwork or a wooden support for stretching canvas before painting.
Creating your own frame allows greater control over its size, color, finish, and overall design.
Materials and Tools Needed for a DIY Canvas Frame
Before starting your project, prepare all materials and tools needed to cut, assemble, and finish the frame. Having everything ready makes the process smoother and helps prevent measurement mistakes.
|
Material or Tool |
Purpose |
|---|---|
|
Creates the main frame structure |
|
|
Helps achieve accurate dimensions |
|
|
Marks cutting points |
|
|
Cuts wood pieces to size |
|
|
Strengthens frame joints |
|
|
Holds corners securely |
|
|
Smooths rough wood surfaces |
|
|
Keeps pieces aligned during assembly |
|
|
Adds the desired finish |
|
|
Allows secure wall mounting |
How to Measure Your Canvas Before Building the Frame?
Accurate measurements are essential for creating a well-fitted DIY canvas frame. A frame that is too tight can damage the canvas, while an oversized frame may create uneven spacing.
Before building, measure the canvas’s width, height, and depth (or thickness) carefully. For a standard frame, match the inside dimensions closely with the canvas size.
If creating a floating frame, add extra space around each side to achieve the desired gap between the artwork and frame.
Use the formula: frame opening size = canvas size + desired floating space.
For example, a 24-inch canvas with a ¼-inch gap on each side needs a slightly larger frame opening. Always measure the actual canvas for accuracy.
How to Build a DIY Canvas Frame?
Building a canvas frame requires more patience than advanced woodworking skills. Taking time with each step helps create a stronger structure and a cleaner final appearance.
Step 1: Prepare and Place the Canvas
Before attaching the canvas, check that the stretched artwork fits properly inside the wooden frame.
Make sure the frame size matches the canvas dimensions to avoid loose or tight placement. Position the canvas carefully with equal spacing around all sides for a balanced look.
Adjust the placement if needed, ensuring the artwork sits straight and centered before moving forward with the securing process.
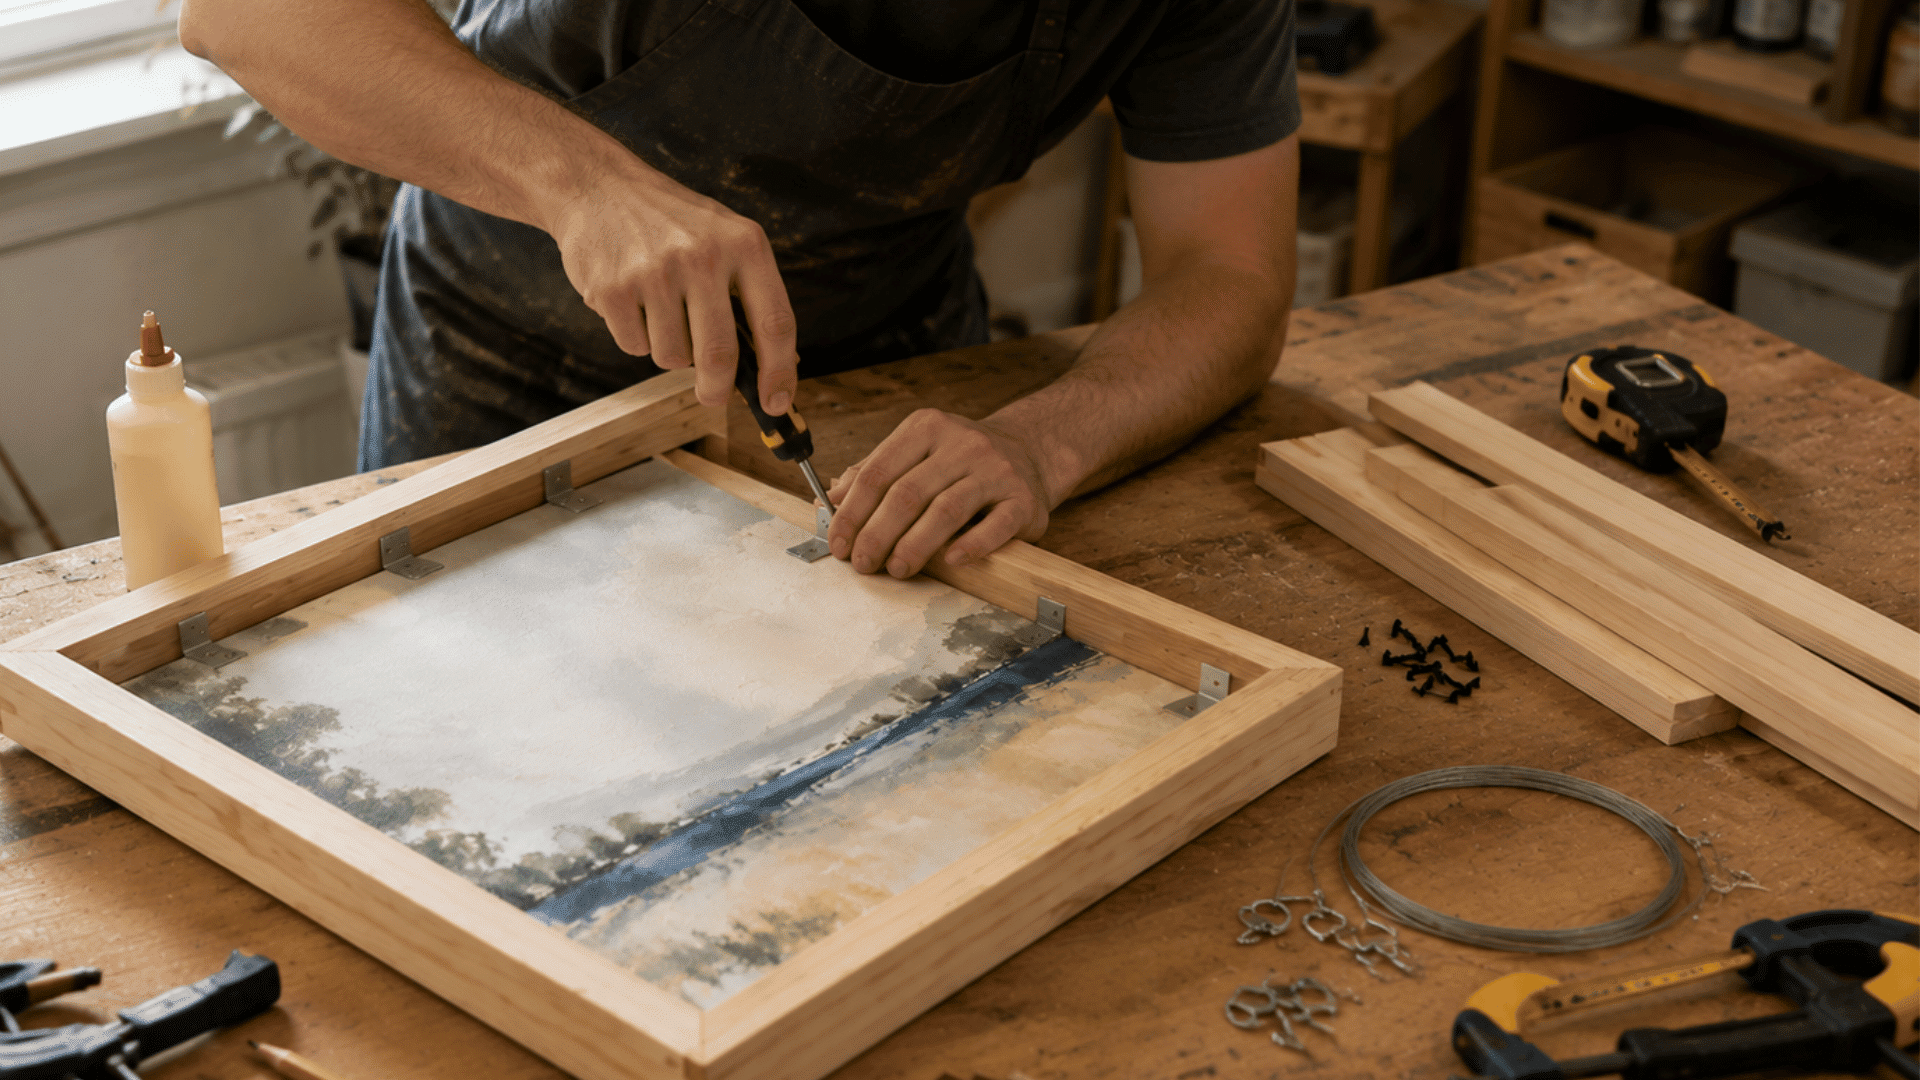
Step 2: Attach the Canvas with Clips
Secure the canvas inside the frame using offset clips and screws. Position the clips along the frame edges and place them about every 6 inches for consistent support.
Tighten each screw carefully to hold the canvas firmly without applying too much pressure.
Properly attached clips keep the artwork stable, prevent movement, and ensure the canvas remains securely positioned inside the frame for a clean finished appearance.
Step 3: Add the Dust Cover
Protect the back of the canvas by applying a dust cover over the frame. Place double-sided tape along the edges, position the cover carefully, and press from the center toward the corners for a smooth finish.
Trim away any extra material around the edges for a clean appearance. Create a small breathing hole in the cover to allow airflow and prevent moisture buildup.
This helps protect the canvas from temperature and humidity changes while keeping the artwork in good condition over time.
Step 4: Attach Hanging Wire
Add hanging wire to the back of the frame for secure wall mounting. Measure about one-third of the frame height from the top and attach hooks or screws on both sides.
Thread the wire through the hooks and secure it using wire sleeves or suitable fasteners. Pull the wire firmly, then cut off any extra length for a neat finish.
Ensure the wire is tight and properly attached so the canvas hangs safely and remains balanced on the wall.
Step 5: Finish and Hang
Before displaying your canvas, check that all clips, screws, dust cover, and hanging wire are properly secured.
Make sure the artwork sits firmly within the frame, with no movement or uneven spacing. Once everything is in place, carefully hang the canvas on the wall and adjust its position until it appears straight.
A final inspection helps ensure your framed artwork looks neat, balanced, and ready for long-term display.
Types of Canvas Frames You Can Make at Home
Each frame type offers a different look and purpose. If you enjoy creating customized wall features, projects like how to build a floating shelfcan also complement framed artwork by adding functional and stylish display space to your home.
|
Canvas Frame Type |
Description |
Best For |
|---|---|---|
|
Floating Canvas Frame |
Holds the canvas with a small gap around the edges, creating a modern shadow effect and gallery-style look. |
Abstract art, photography, and contemporary decor |
|
Traditional Canvas Frame |
Place the canvas directly against the frame for a classic and formal appearance. |
Portraits, vintage artwork, and decorative pieces |
|
Wooden Support Frame |
A stretcher frame that keeps canvas fabric tight and flat before painting. |
Creating new canvas artwork and preventing wrinkles |
How to Build a Frame for Stretching Canvas Onto Wood?
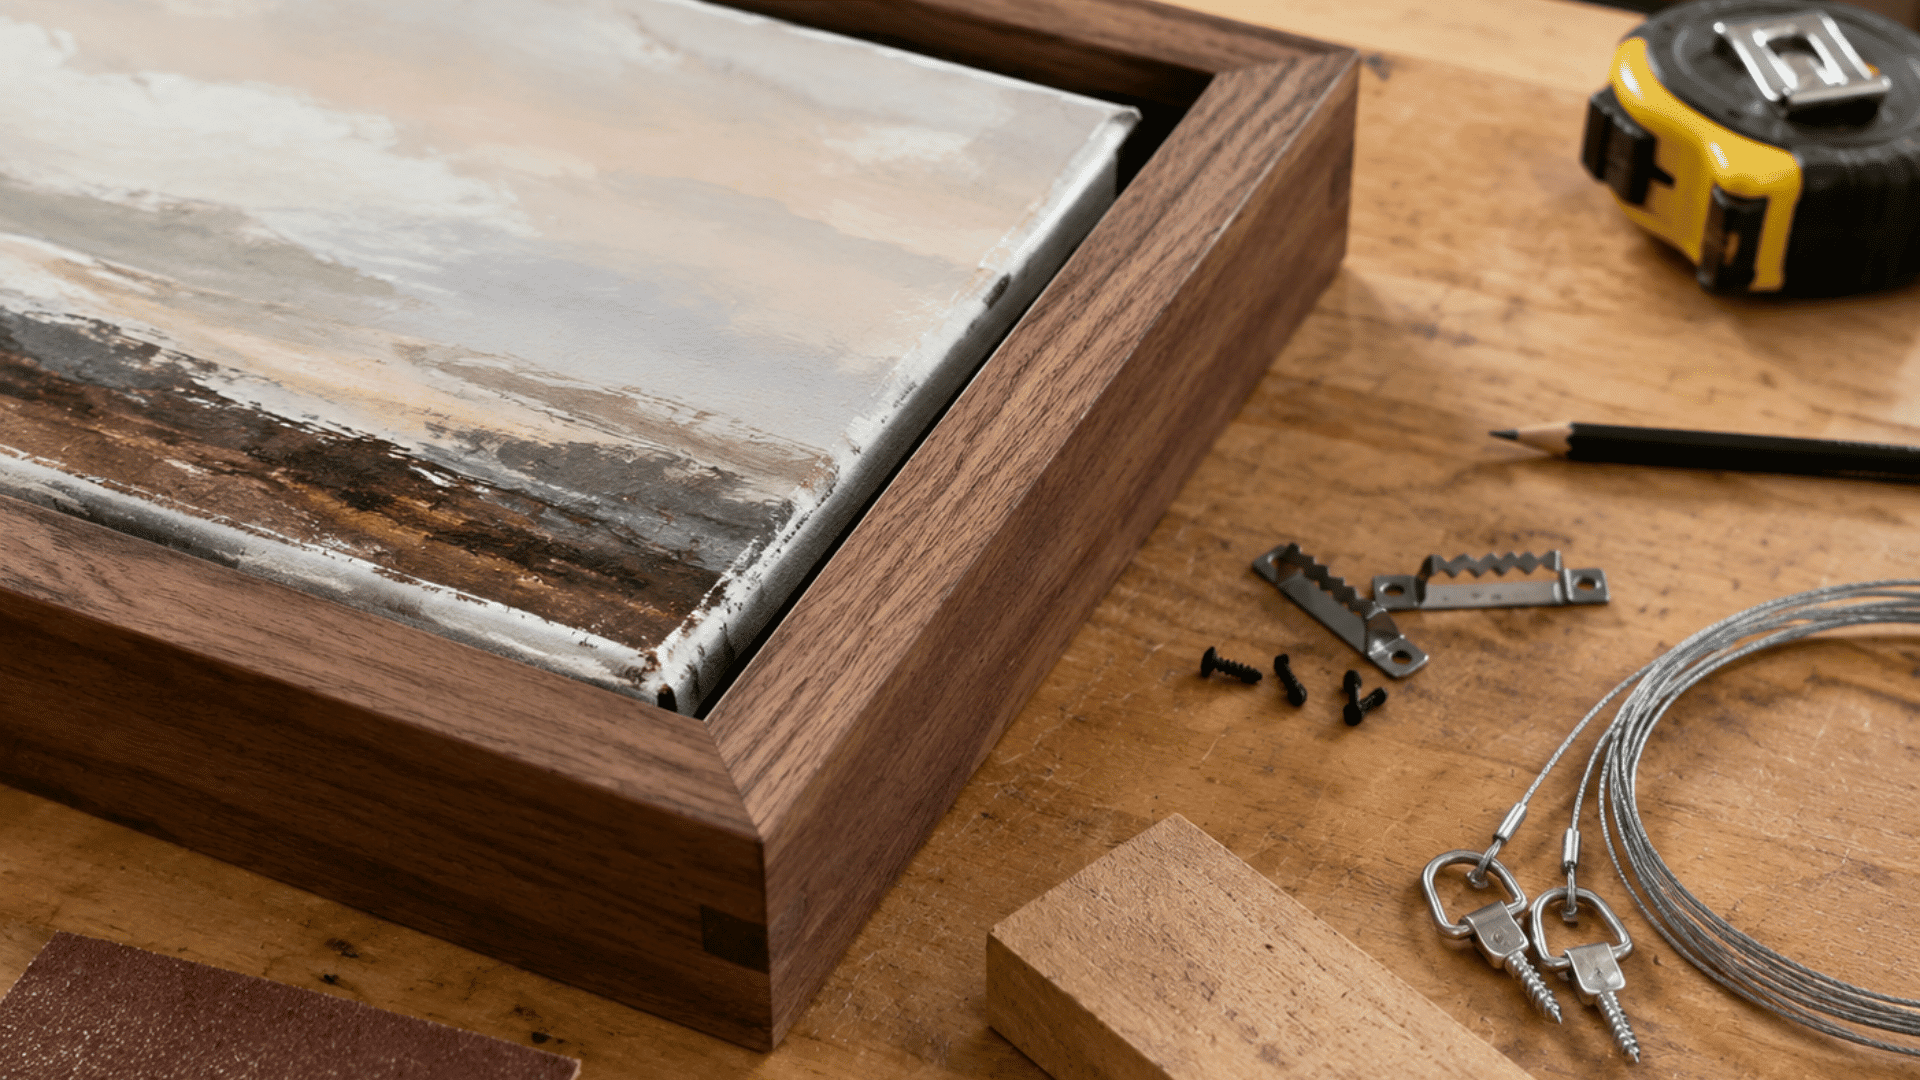
If you’re starting from raw canvas fabric instead of a pre-stretched piece, you’ll need to build the support frame first and stretch the fabric onto it yourself.
Step 1: Cut and Assemble the Stretcher Bars
Cut four stretcher bars to your desired canvas size, using wood at least 1×2 inches thick so the frame won’t bow under tension.
Join the corners with wood glue and clamp them at true right angles, then reinforce each corner with corner braces or finishing nails.
Check that the frame sits flat on a table without rocking, since a warped frame will pull the finished canvas out of square.
Let the glue cure fully before moving on, so the joints hold under the pulling force of the fabric.
Step 2: Stretch and Staple the Canvas Fabric
Lay the canvas fabric face down and center the frame on top, leaving at least 2 inches of extra material on every side.
Fold one edge over the bar and staple it at the center point, then repeat on the opposite side, pulling the fabric taut before each staple.
Work outward from the center toward the corners on all four sides, alternating sides to keep tension even. Uneven pulling at this stage is the most common cause of a sagging or wrinkled canvas later.
Step 3: Fold and Secure the Corners
At each corner, fold the fabric like wrapping a gift box, tucking the excess into a neat triangular pleat against the back of the frame.
Staple the folded corner flat, then trim away any bulky extra fabric with scissors so the corner sits smooth.
Check the front of the canvas for tension by pressing lightly with a fingertip, since a properly stretched canvas should feel firm with almost no give.
Repeat the same fold on all four corners before hanging or painting.
How Much Does It Cost to Make a DIY Canvas Frame?
The cost of a DIY canvas frame depends on the canvas size, wood choice, tools, and finishing materials. Making your own frame is often more affordable while allowing full customization.
|
Option |
Approximate Cost |
Cost Consideration |
|---|---|---|
|
DIY Canvas Frame |
$10–$35 |
Lower cost when using basic pine or trim and tools you already own |
|
Ready-Made Frame |
$25–$100 |
Price varies depending on canvas size, frame material, depth, and style |
|
Custom Framing Service |
$100–$300+ |
Higher cost because the price includes professional labor, materials, and customization |
How to Choose the Right Wood for a DIY Canvas Frame?
The type of wood you choose plays an important role in the strength, appearance, and durability of a DIY canvas frame. Selecting straight, lightweight, and stable wood helps create a frame that stays aligned and properly supports artwork.
Pine and poplar are popular options because they are easy to work with and provide a smooth surface for finishing.
Avoid wood with cracks, warping, or excess moisture, as these issues can affect the frame’s stability over time.
Consider the canvas size before choosing wood thickness, as larger artwork may need stronger boards or extra support bars.
A good wood choice makes assembly easier and helps create a professional-looking frame that lasts longer.
Tips to Make Your DIY Canvas Frame Look Professional
Small details can make a DIY canvas frame look more polished and professionally finished. Follow these simple tips to improve the appearance and durability of your handmade frame.
-
Choose Quality Wood: Use straight, smooth wood pieces to create a cleaner, stronger frame.
-
Align Corners Properly: Keep all corners even and secure to maintain a balanced frame shape.
-
Smooth Before Finishing: Sand the surface before applying paint or stain for a refined look.
-
Match the Artwork Style: Select a frame finish that complements your canvas and room decor.
-
Keep Floating Gaps Equal: Maintain consistent spacing around the canvas for a professional appearance.
-
Use Proper Hardware: Choose hanging hardware appropriate to the canvas weight.
-
Add Support for Large Frames: Reinforce oversized frames to prevent bending or structural issues.
Common Mistakes When Making a DIY Canvas Frame
Even simple woodworking projects can have small mistakes that affect the final result. Knowing what to avoid helps you create a stronger and cleaner frame.
|
Common Mistake |
Better Approach |
|---|---|
|
Cutting wood without measuring carefully |
Measure each piece twice before cutting |
|
Using uneven wood pieces |
Select straight boards with minimal warping |
|
Ignoring corner alignment |
Check angles before securing joints |
|
Creating inconsistent floating gaps |
Use spacers for equal spacing |
|
Skipping sanding |
Smooth surfaces before finishing |
|
Adding canvas too early |
Complete and inspect the frame first |
Conclusion
Creating a DIY canvas frame is an affordable way to give artwork a finished look. With accurate measurements and careful assembly, beginners can achieve clean, professional results.
Whether you choose a floating or wooden frame, your own frame lets you customize the size, style, and finish to match your artwork
The process also adds a personal touch that store-bought options often cannot provide. A well-made frame does more than hold a canvas; it enhances the artwork and helps it become a lasting part of your space.
Following proper artwork care guidelines can also help protect your framed canvas and maintain its appearance over time.
Start with a small project, learn the basics, and build confidence as your skills improve.
Frequently Asked Questions
Can I Make a Canvas Frame without Power Tools?
Yes, you can make a small DIY canvas frame using basic hand tools such as a hand saw, hammer, measuring tape, and sandpaper. Power tools mainly speed up cutting and assembly.
Can I Frame a Canvas without Stretching It?
Yes, unstretched canvas can be mounted in different ways, including attaching it to a support board or stretching it onto a wooden frame before framing.
Is It Cheaper to Build Your Own Canvas Frame?
Making your own frame is often more affordable than custom framing, especially when you already have basic tools and can reuse leftover wood materials.