
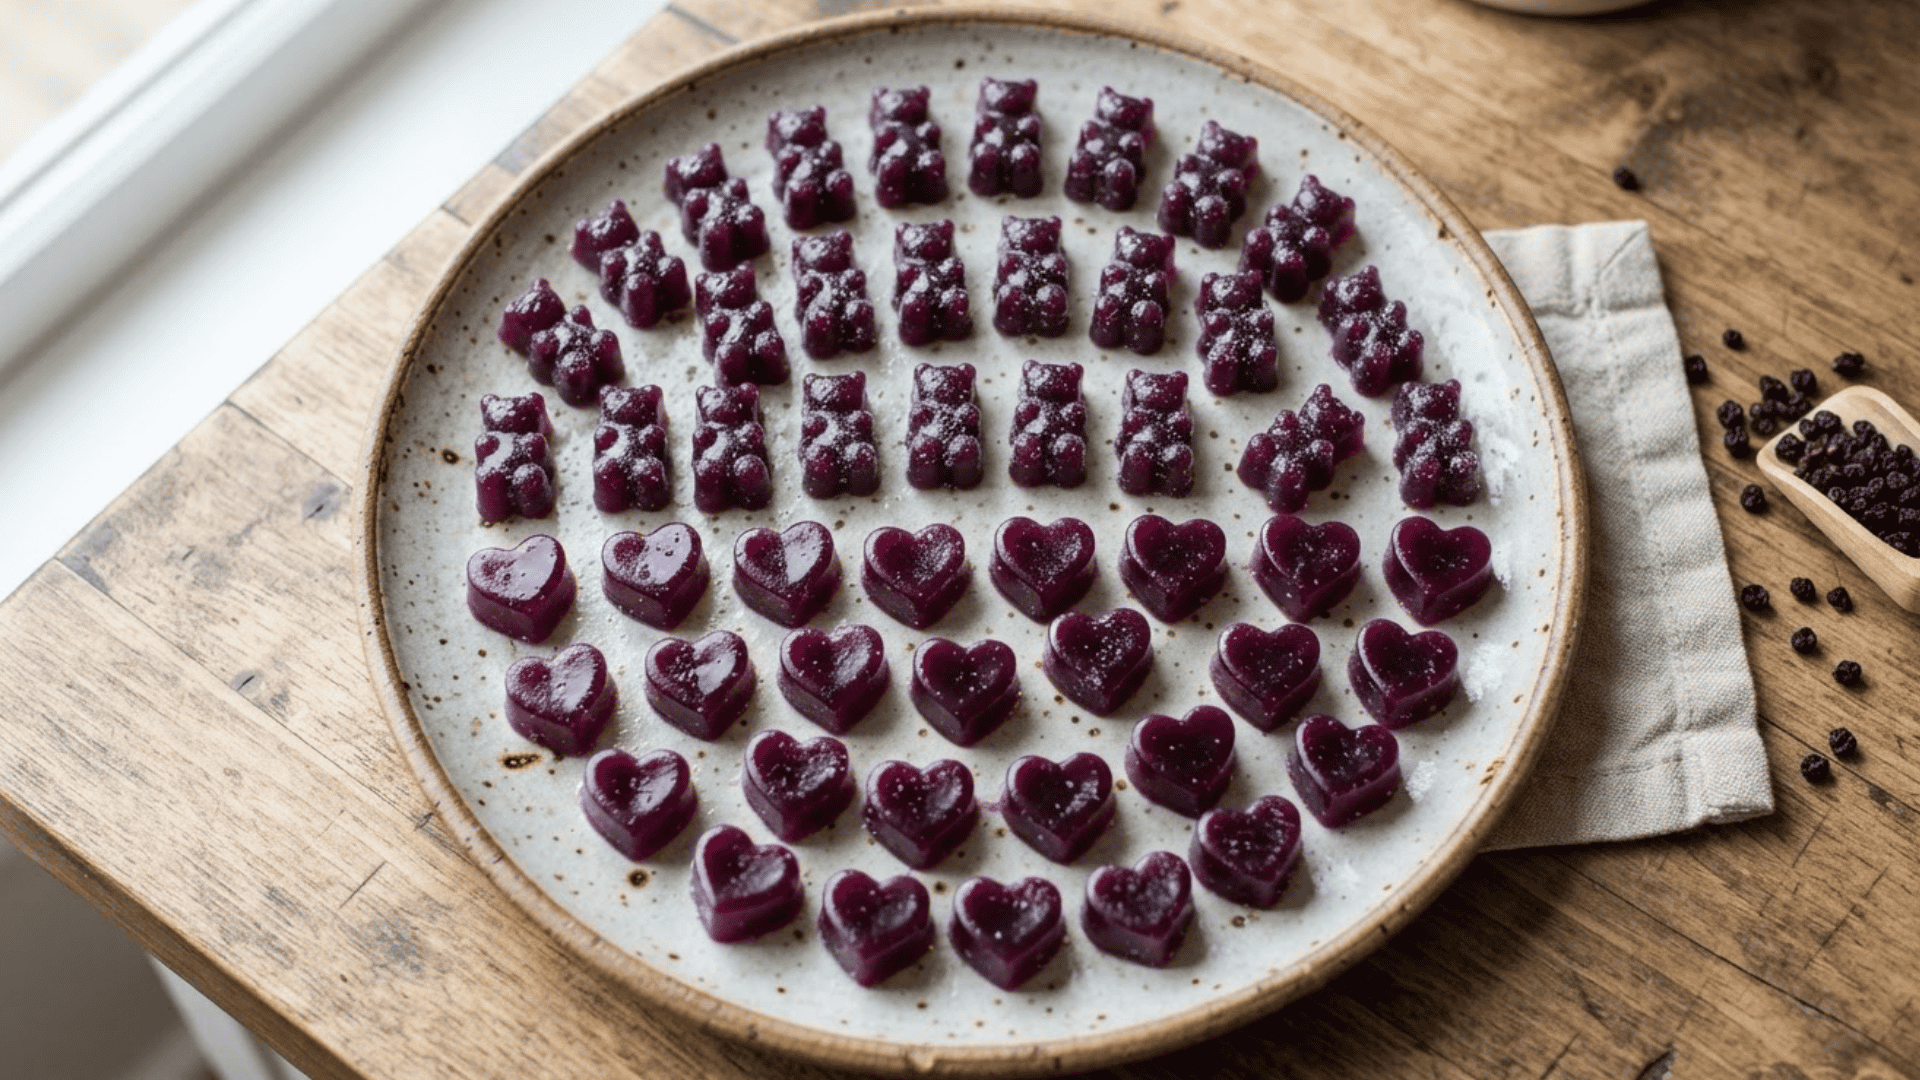
Store-bought gummies are handy, but I prefer making them at home because I can control the sweetness and keep the ingredients simple.
This elderberry gummies recipe turns elderberry syrup into soft, chewy gummies with just a few basic ingredients. Gelatin does most of the work, and once you know how to bloom it properly, the process is very easy.
I’ll show you the ingredients, simple steps, storage tips, and quick fixes if your gummies turn out too soft or too firm.
Elderberry Gummies Recipe at a Glance
This quick recipe overview gives you a clear idea of what to expect before making homemade elderberry gummies from start to finish.
|
Recipe Detail |
Information |
|---|---|
|
Prep time |
10–15 minutes |
|
Chill time |
1–3 hours |
|
Main ingredient |
Elderberry syrup |
|
Setting ingredient |
Unflavored gelatin |
|
Sweetener |
Honey if needed |
|
Equipment |
Silicone gummy molds |
|
Storage |
Refrigerator |
Ingredients for Elderberry Gummies
You only need a handful of ingredients for a basic batch.
-
1 cup elderberry syrup
-
3 tablespoons unflavored gelatin
-
1–2 tablespoons honey
-
1 tablespoon lemon juice
How to Make Elderberry Gummies
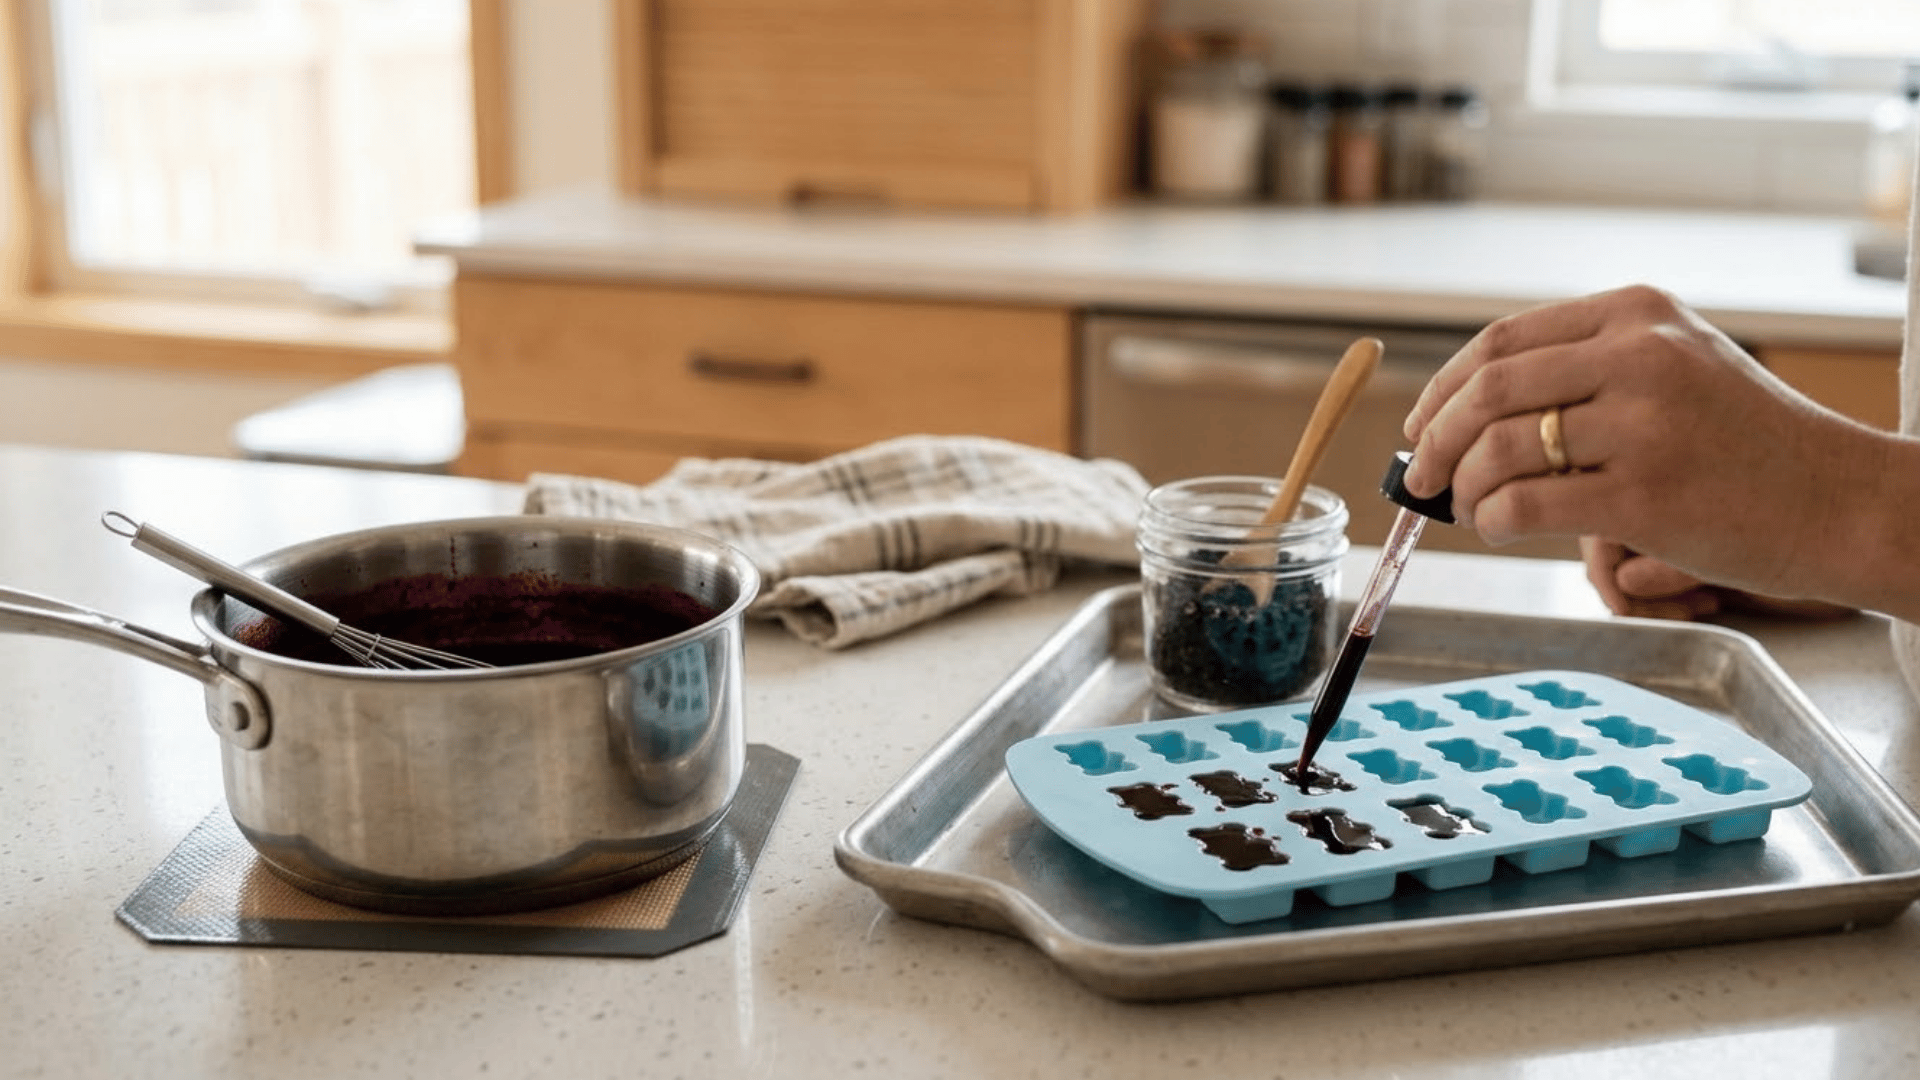
The key is to dissolve the gelatin smoothly without overheating the mixture.
1. Prepare the Gummy Molds
Place clean silicone gummy molds on a baking sheet or flat tray to keep them steady while you fill them.
Keep the molds close to the stove because the mixture may begin to thicken as it cools. Having everything ready first makes the filling step much easier.
2. Bloom the Gelatin
Pour about ½ cup of elderberry syrup into a bowl or saucepan.
Sprinkle the gelatin evenly over the top instead of adding it all at once.
Let it sit for about five minutes until the gelatin absorbs the liquid and becomes thick, soft, and slightly wrinkled.
3. Warm the Mixture
Add the remaining ½ cup elderberry syrup and place the saucepan over low heat.
Whisk gently until the gelatin fully dissolves and the mixture looks smooth.
Keep the heat low and avoid boiling, as gentle warming helps maintain a better texture in the finished gummies.
4. Add Honey and Lemon
Remove the saucepan from the heat once the gelatin has dissolved.
Stir in honey if you want a sweeter flavor, then add the lemon juice for a brighter taste.
Taste the mixture carefully and adjust the sweetness before moving on to the molds.
5. Fill the Gummy Molds
Use a dropper, small measuring spoon, or pitcher to pour the warm mixture into each mold cavity.
Work at a steady pace because gelatin can begin setting as it cools. Fill each cavity evenly so the gummies are similar in size and firm at the same rate.
6. Chill Until Firm
Carefully transfer the filled molds to the refrigerator and let the gummies chill for about 1–3 hours.
They should feel firm and hold their shape when you touch them. Smaller molds may set faster, while larger or deeper molds can need a little more time.
7. Remove and Store
Gently press each gummy out of the silicone mold once it is fully firm.
If the gummies still feel soft or sticky, chill them a little longer.
Place the finished gummies in a covered container and keep them refrigerated to help maintain their texture.
How to Get the Right Gummy Texture
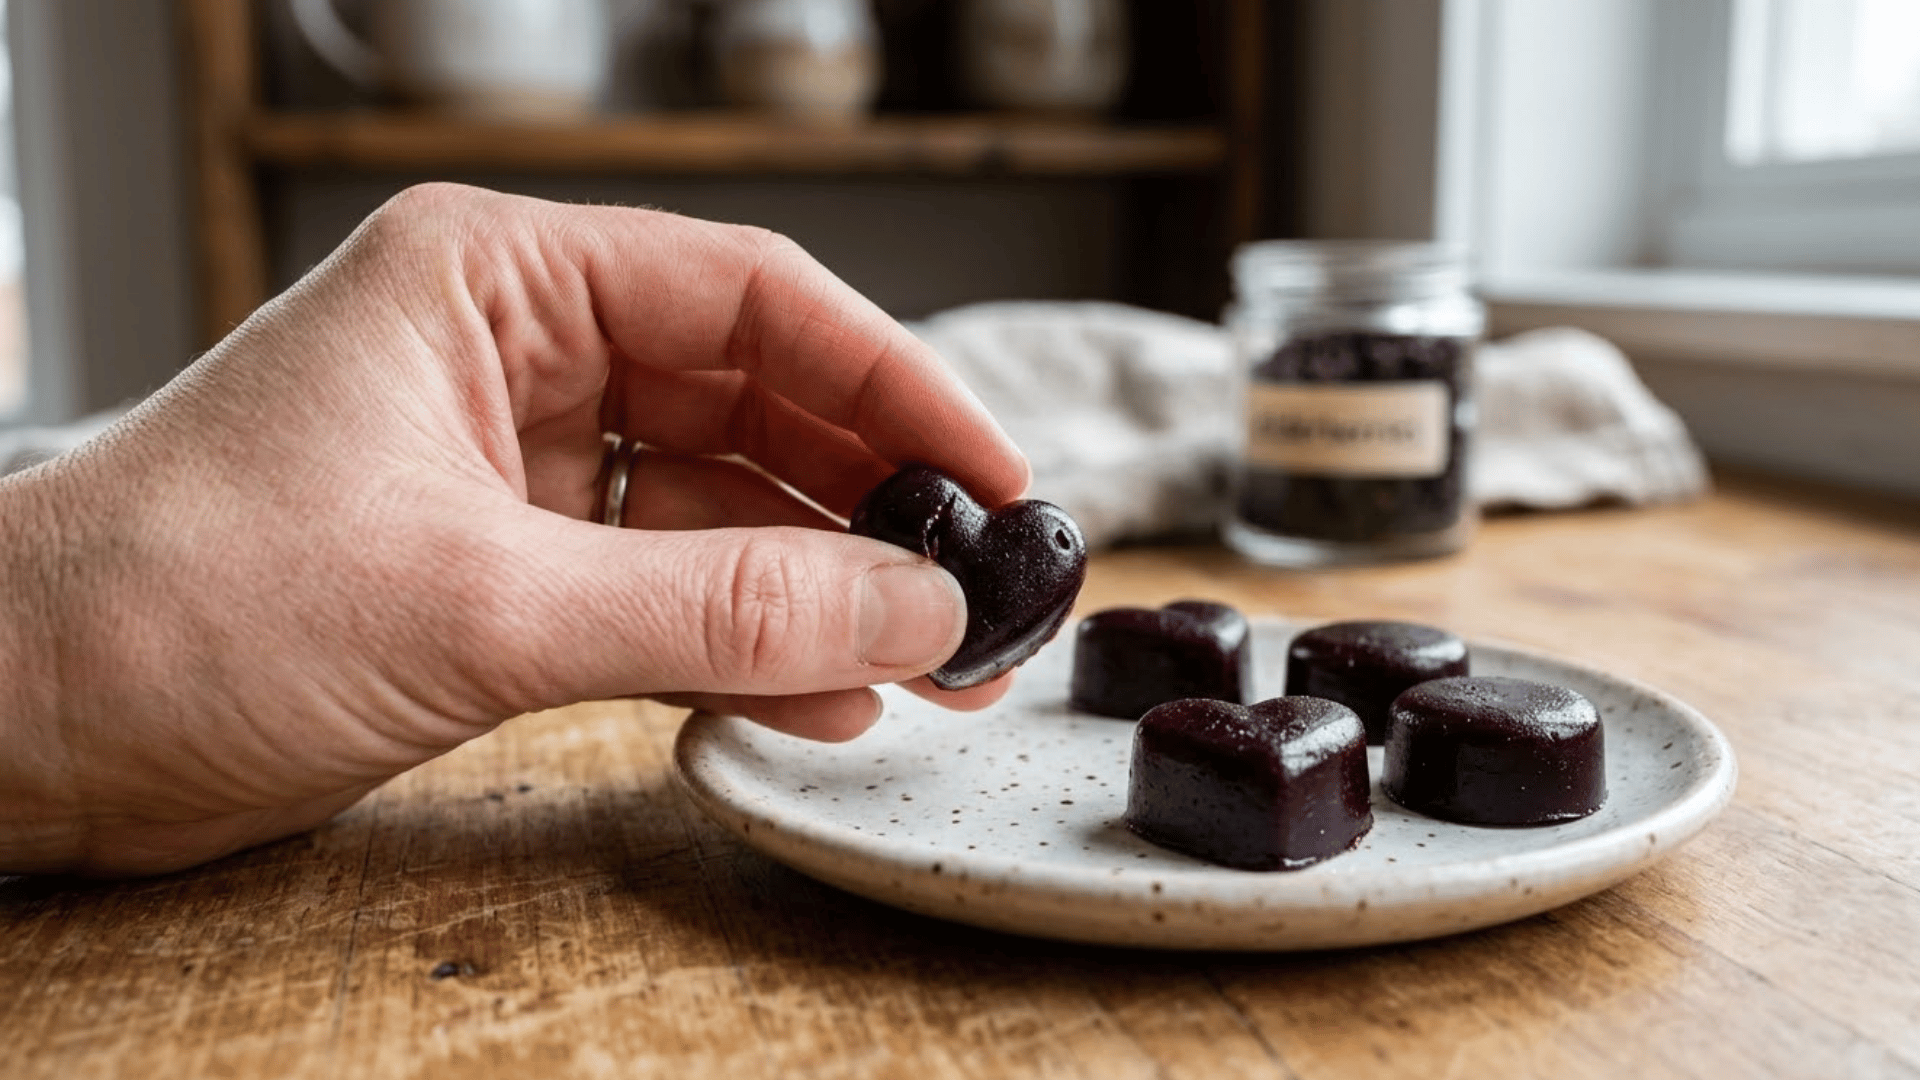
Getting the texture right comes down to how much gelatin you use and how you handle it. A few small adjustments can make your gummies softer, firmer, and smoother.
-
For softer gummies: Use slightly less gelatin in your next batch for a more tender bite.
-
For firmer gummies: Increase the gelatin slightly if you prefer gummies that hold their shape better.
-
For a smooth texture: Let the gelatin bloom fully before warming it so it dissolves evenly.
-
For clean shapes: Chill the gummies until completely firm before gently removing them from the molds.
Your first batch may help you decide which texture you prefer. Make small changes to the gelatin each time rather than changing too much at once.
Common Elderberry Gummy Mistakes
A few small preparation mistakes can affect how well your gummies set.
-
Gelatin becomes lumpy: Sprinkle it evenly over cool liquid and give it time to bloom.
-
Gummies remain too soft: There may be too much liquid for the amount of gelatin used.
-
Gummies become too firm: Reduce the gelatin slightly the next time you make them.
-
Mixture sets before pouring: Have your molds prepared before warming the ingredients.
-
Gummies break during removal: Chill them longer before trying again.
-
Uneven texture develops: Make sure the gelatin is fully dissolved before filling the molds.
Can You Make Elderberry Gummies Without Gelatin
Yes, agar agar can be used to make plant-based elderberry gummies, but it is not a direct one-for-one replacement for gelatin.
Agar comes from seaweed and normally creates a firmer, less chewy texture.
It also needs different heating and setting conditions.
For the most reliable results, follow a recipe specifically developed for agar rather than simply replacing the gelatin in this recipe with the same amount.
Easy Elderberry Gummy Flavor Ideas
Once you are comfortable with the basic recipe, small flavor changes can make each batch a little different.
-
Lemon elderberry: Add a little lemon juice for extra tartness.
-
Orange elderberry: Pair the elderberry flavor with orange.
-
Berry blend: Combine elderberry syrup with a compatible berry juice.
-
Less sweet: Leave out additional honey when the syrup is already sweet.
-
Sweeter gummies: Add a small amount of honey to taste.
How to Store Homemade Elderberry Gummies
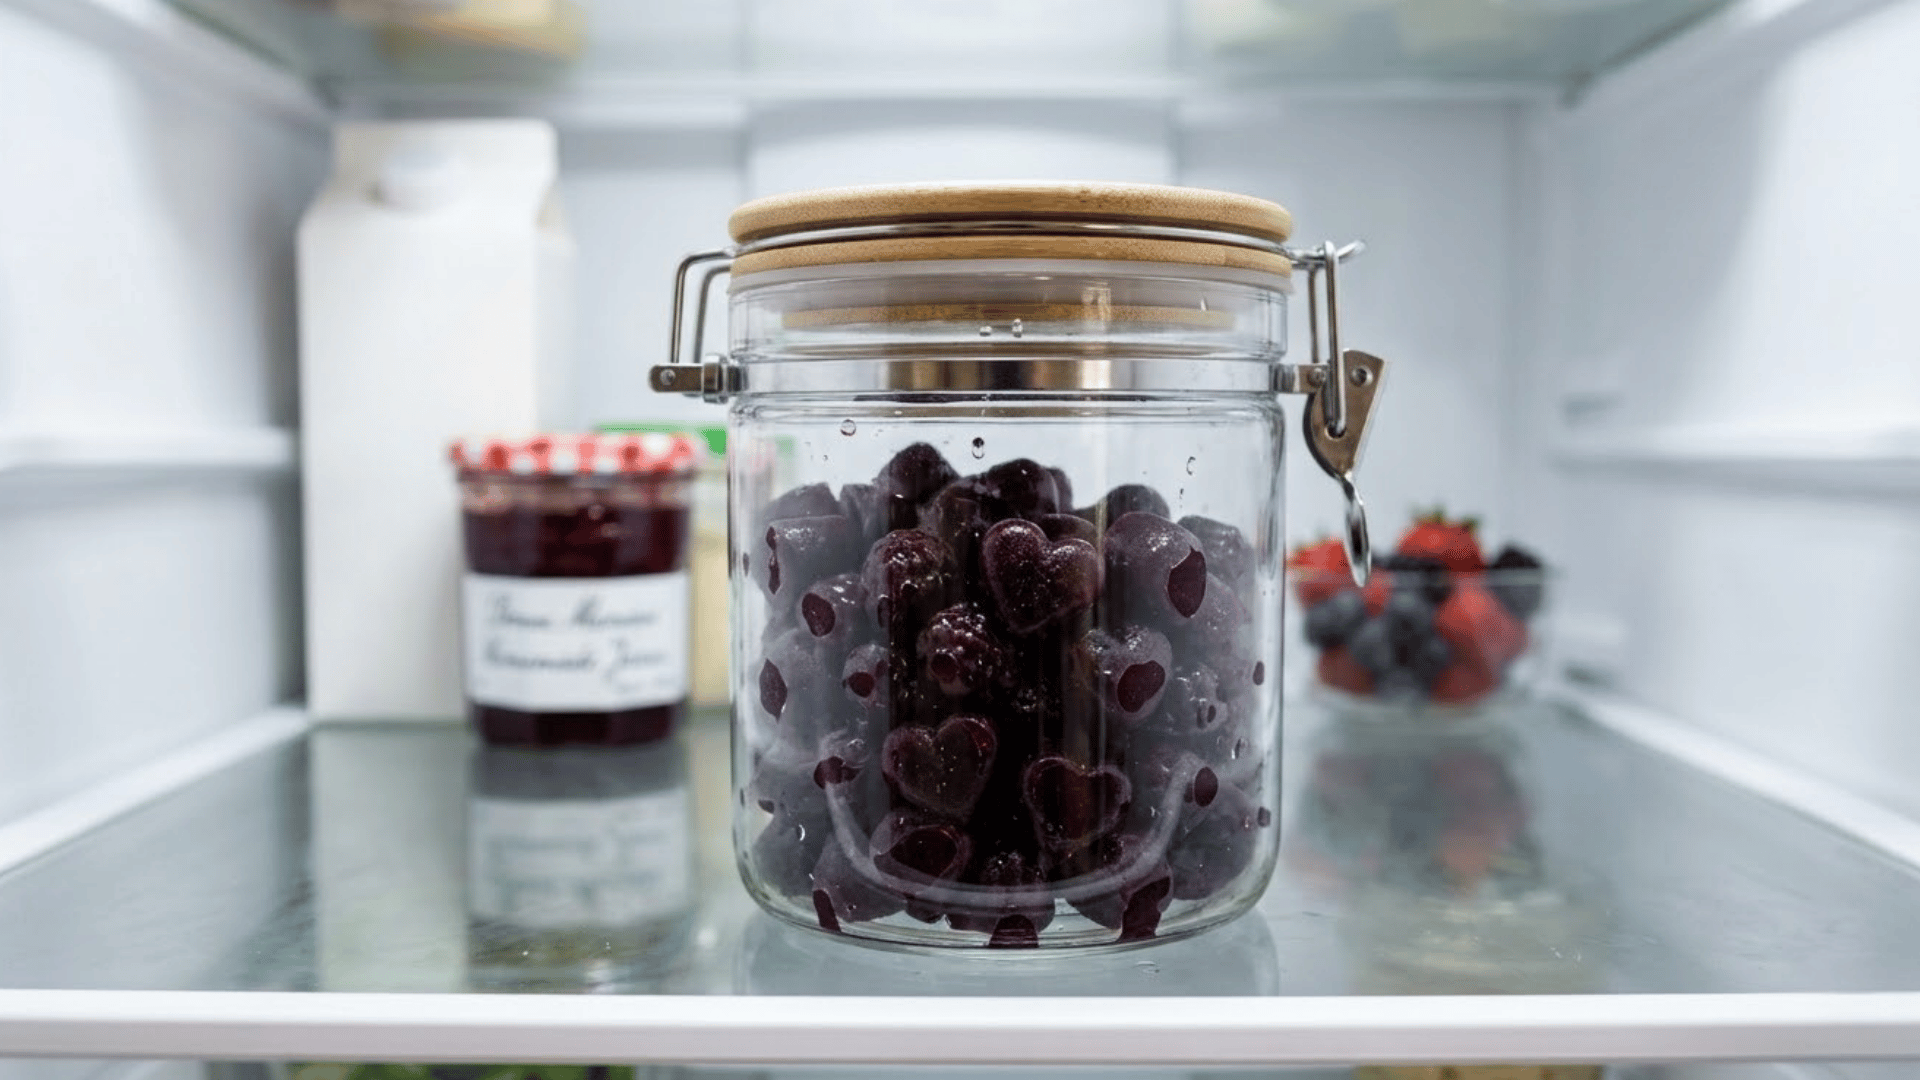
Keep homemade elderberry gummies in an airtight container in the refrigerator.
Unlike many packaged gummies, homemade versions usually do not contain preservatives designed for room-temperature storage.
For the best quality, make small batches that can be used relatively quickly.
Always discard gummies if you notice mold, an unusual smell, unexpected discoloration, or other signs of spoilage.
Avoid leaving the container somewhere warm because gelatin-based gummies can soften as their temperature rises.
Elderberry Gummies Recipe Safety Tips
-
Use prepared elderberry syrup: Avoid raw elderberries because they can cause illness.
-
Avoid honey for babies: Never give honey to children under 12 months.
-
Refrigerate the gummies: Homemade gummies spoil faster than store-bought ones.
-
Keep away from young children: Gummies may be a choking risk.
-
Check medications: Ask a healthcare professional if you take medicines or have a health condition.
-
Mind the serving size: Homemade batches vary in strength depending on your syrup’s concentration, so there’s no single serving amount that fits every batch
Conclusion
Making an elderberry gummies recipe at home comes down to getting the gelatin-to-liquid balance right, and after one batch you’ll have a feel for it.
I like starting with a basic batch because it makes it easy to adjust the sweetness and texture the next time. Keep the gummies chilled, use properly prepared elderberry syrup, and make small batches for the best results.
Once you’re comfortable with the recipe, try a little lemon, orange, or another flavor you enjoy.
What flavor twist would you try first? If you make them, share your favorite version in the comments.
Frequently Asked Questions
How Long Do Homemade Elderberry Gummies Last in the Fridge?
Most batches stay good for about one to two weeks when kept in an airtight container in the refrigerator.
Can You Make Elderberry Gummies Without Honey?
Yes. If your elderberry syrup is already sweet enough, simply leave out the honey.
Can You Use Juice Instead of Elderberry Syrup?
Yes, but the flavor and sweetness will change. You may also need to adjust the gelatin depending on the amount and type of liquid used.