
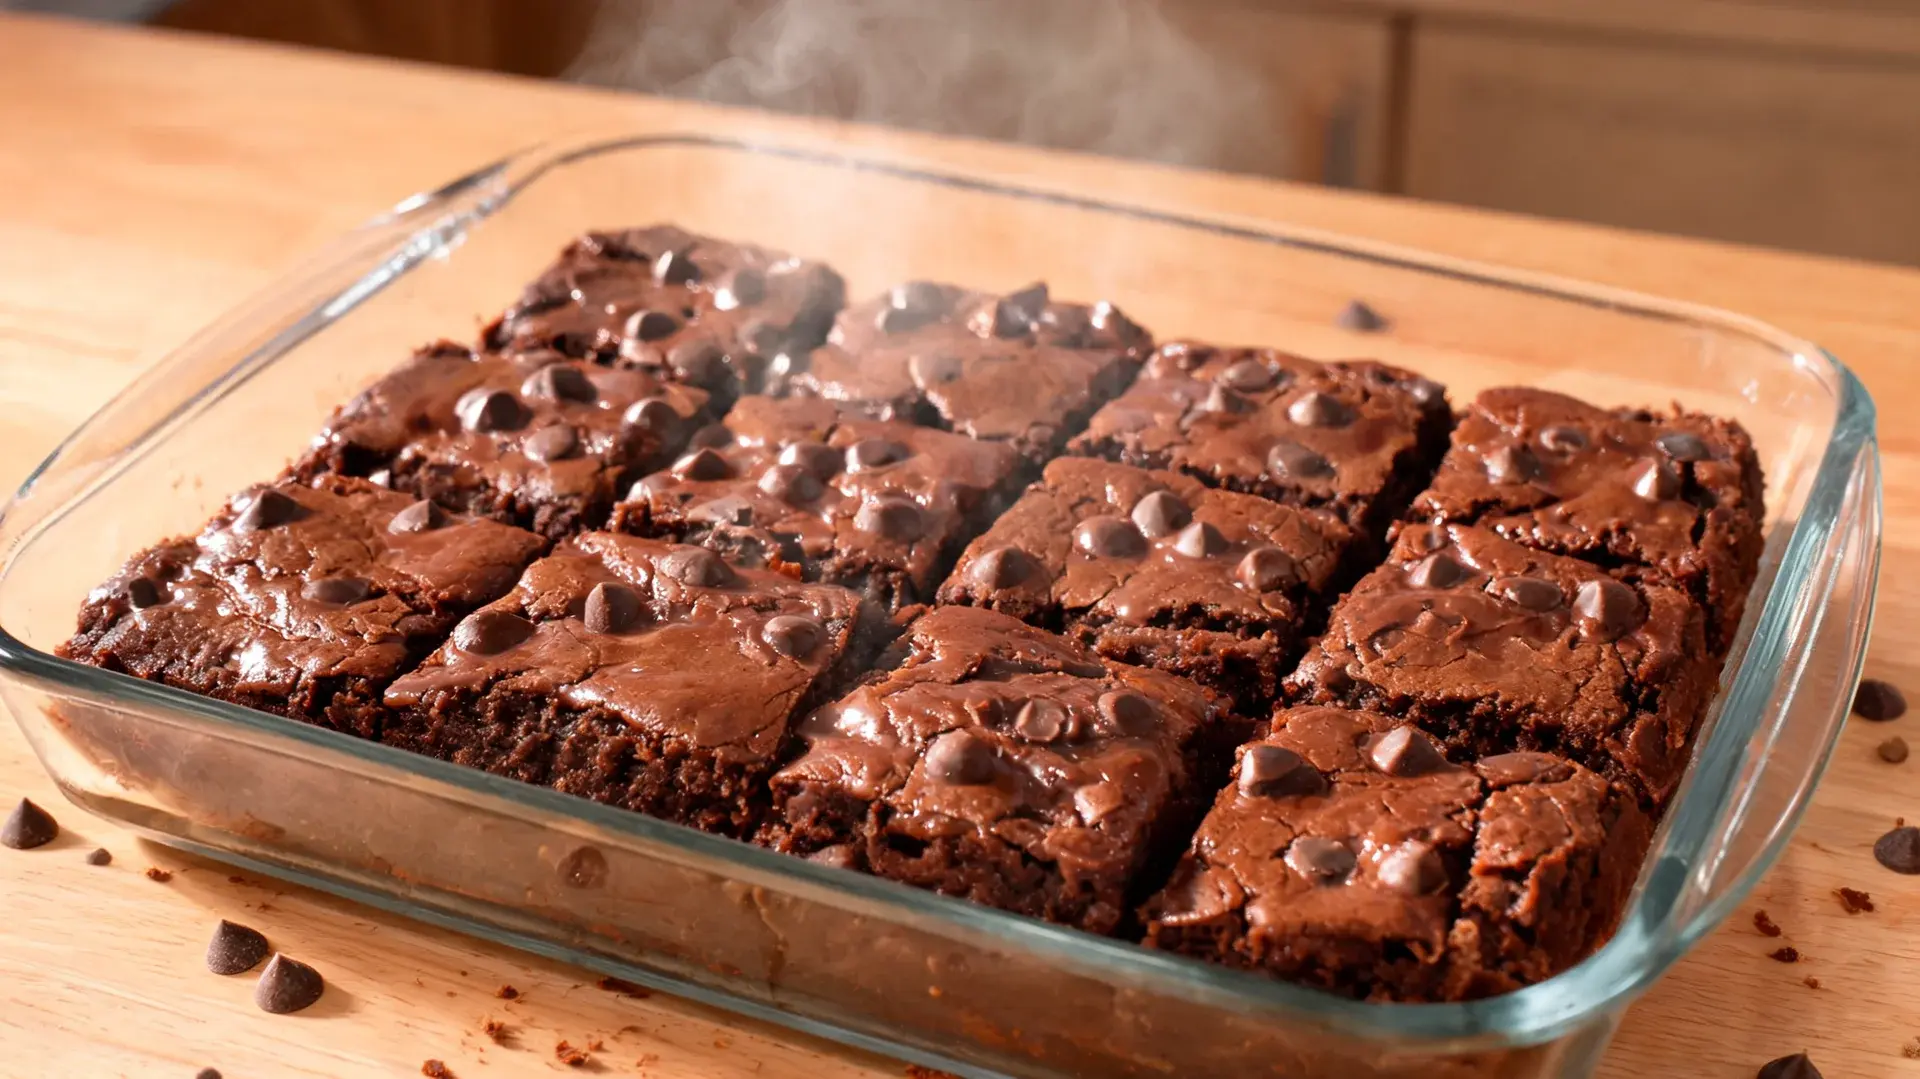
A brownie should not make you feel like you settled for the healthy version. It should taste rich, cut clean, and still have that soft center you want.
These paleo brownies are made for that kind of bite. The recipe keeps things grain-free and gluten-free while staying close to a classic brownie texture. You get almond flour, cocoa, coconut sugar, maple syrup, eggs, coconut oil, and dark chocolate in a batter that bakes fudgy instead of dry.
Below, I cover how to avoid crumbly slices, bitter flavor, and overbaked edges, based on the batches that didn’t turn out right before I landed on this version.
| Servings | 9 brownies |
| Time | About 35 minutes (10 min prep, 20 to 24 min bake), plus 30 to 60 minutes cooling |
| Difficulty | Easy |
| Equipment | 8×8-inch pan, mixing bowl, whisk, spatula |
| Per serving | About 260 calories, 16g fat, 28g carbs, 4g protein, 2g fiber |
These fudgy paleo brownies come together in one bowl with no mixer required, which is part of why I keep coming back to this recipe on busy weeknights.
What Makes These Brownies Taste Close to Classic
A grain-free brownie still needs the same balance that makes a regular brownie taste good.
Classic brownies rely on fat, sugar, chocolate, eggs, and flour. This recipe keeps that same idea but uses paleo-friendly ingredients instead.
Almond flour gives the batter a soft base. Cocoa adds the chocolate flavor. Coconut oil adds richness. Eggs help the brownies hold together. Coconut sugar and maple syrup add sweetness while keeping the center moist.
These grain-free brownies are meant to be soft in the center, slightly chewy at the edges, and rich enough to feel close to classic brownies. The goal is not a light cake square. The goal is a dense, fudgy brownie that still fits a grain-free and gluten-free way of eating.
When I tested this batter against a wheat-flour version side by side, the almond flour batch actually held its shape better once it cooled, which surprised me the first time I tried it.
Ingredients Needed for These Almond Flour Brownies
These ingredients work together to give the brownies a soft center, rich flavor, and clean slices after cooling.
Here’s what you’ll need:
- 2 large eggs, room temperature
- 1/2 cup coconut sugar
- 1/4 cup maple syrup
- 1/3 cup melted coconut oil, cooled
- 1 teaspoon vanilla extract
- 1/2 cup blanched almond flour
- 1/3 cup unsweetened cocoa powder
- 2 tablespoons tapioca flour or arrowroot starch
- 1/4 teaspoon fine salt
- 1/2 cup dairy-free dark chocolate chips or chopped dark chocolate
Measure everything before you start mixing, especially the almond flour, cocoa, and oil. If you enjoy baking with almond flour, a few muffin recipes built on that same base use a similar wet-to-dry ratio if you want more practice with the ingredient before trying this one. Once the ingredients are ready, the batter comes together fast and stays much easier to control.
Step-by-Step Method
Follow these steps in order so the batter stays smooth and the brownies bake evenly.
Step 1: Preheat the Oven and Prepare the Pan
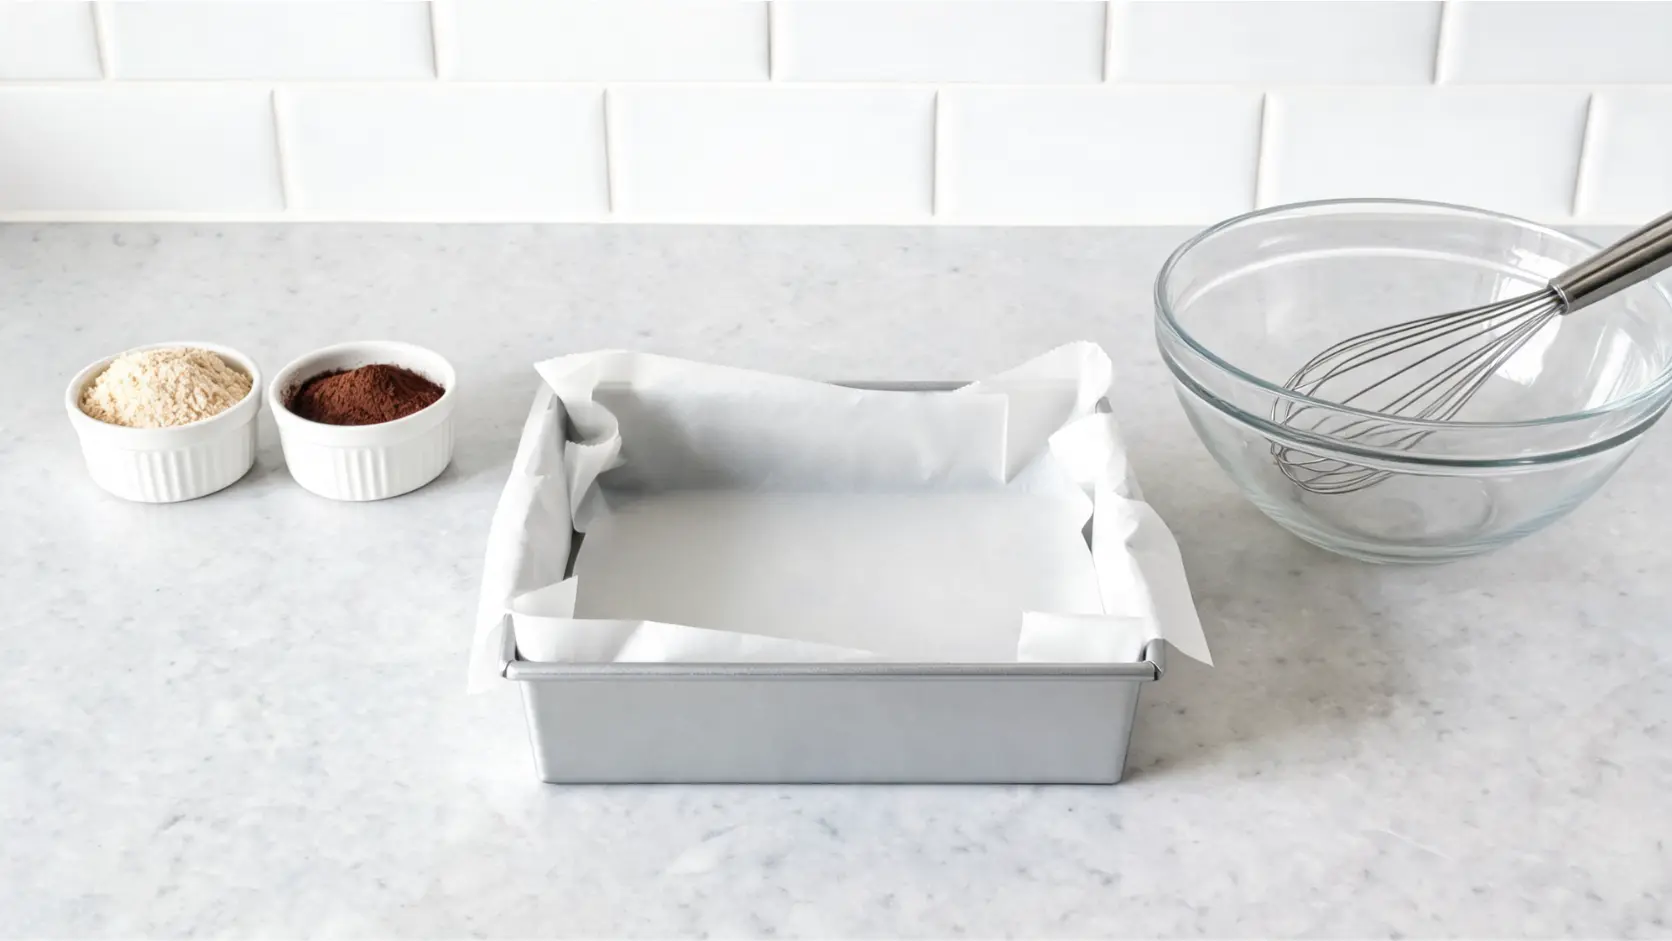
Preheat your oven to 350°F or 175°C. Line an 8×8-inch square pan with parchment paper before you start mixing the batter.
Leave a little extra parchment hanging over two sides. This gives you small handles, so you can lift the brownies out after cooling. It also helps you cut cleaner squares without digging into the pan.
Tip: Press the parchment into the corners so the batter spreads evenly.
Step 2: Whisk the Eggs and Coconut Sugar
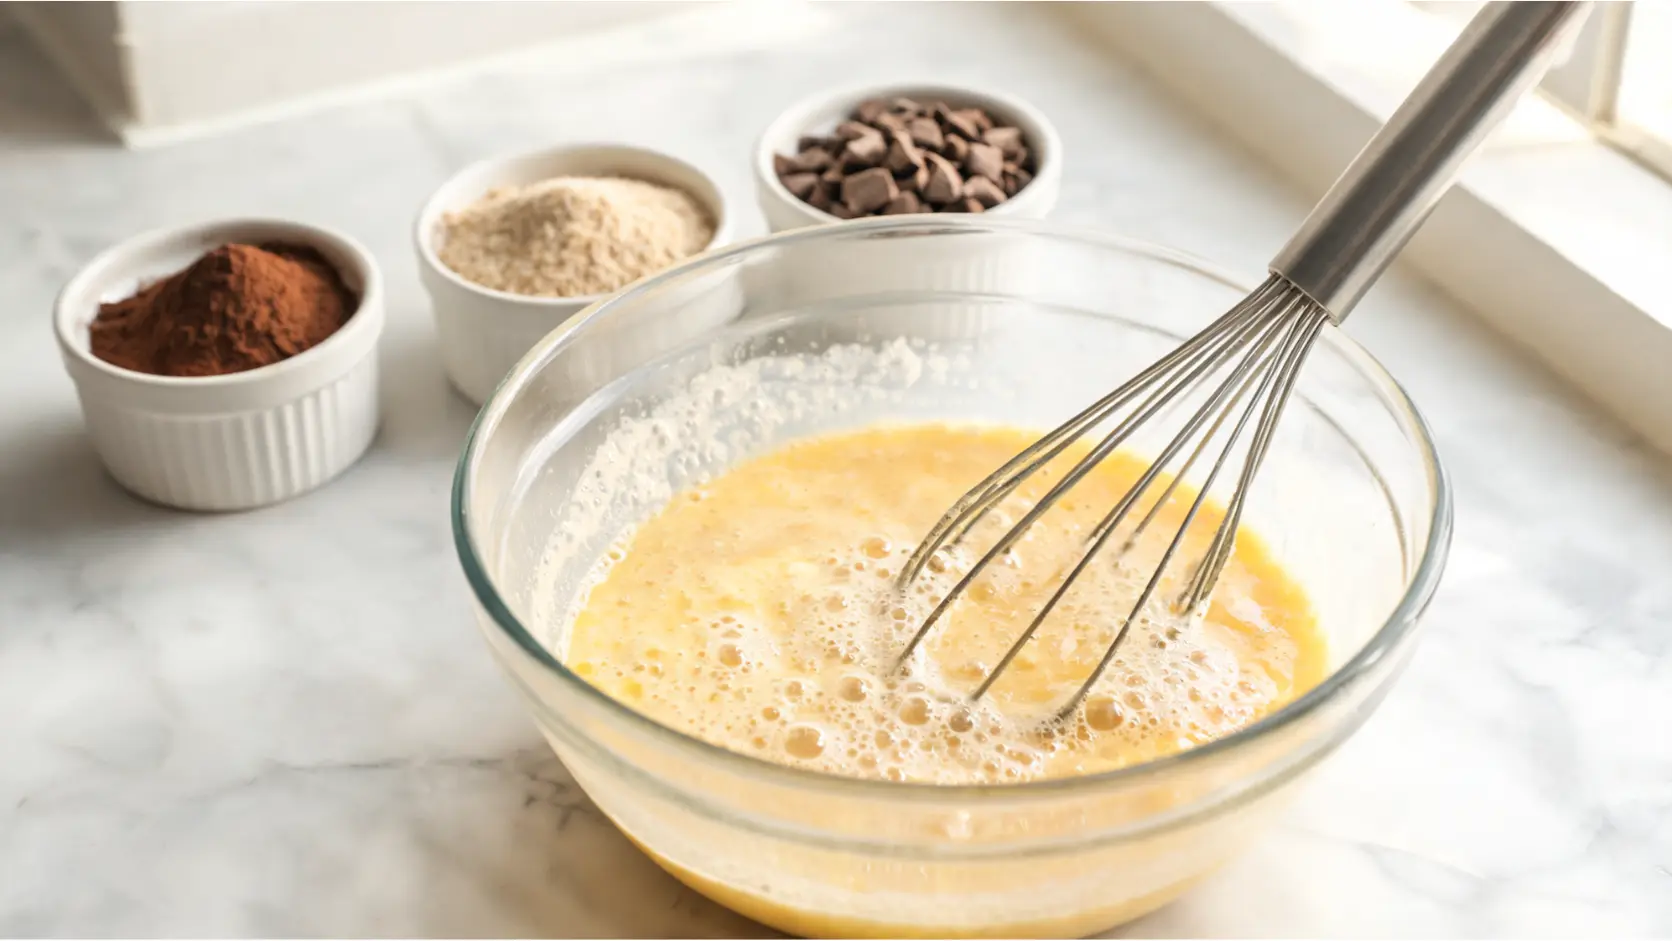
Add the eggs and coconut sugar to a large mixing bowl. Whisk for 60 to 90 seconds, until the mixture looks smooth, glossy, and slightly lighter.
This step helps the sugar break down a little. It also gives the brownies a better top after baking. You do not need a mixer here. A regular whisk works fine.
Small cue: If the mixture looks grainy at first, keep whisking a bit longer.
Step 3: Add the Wet Ingredients
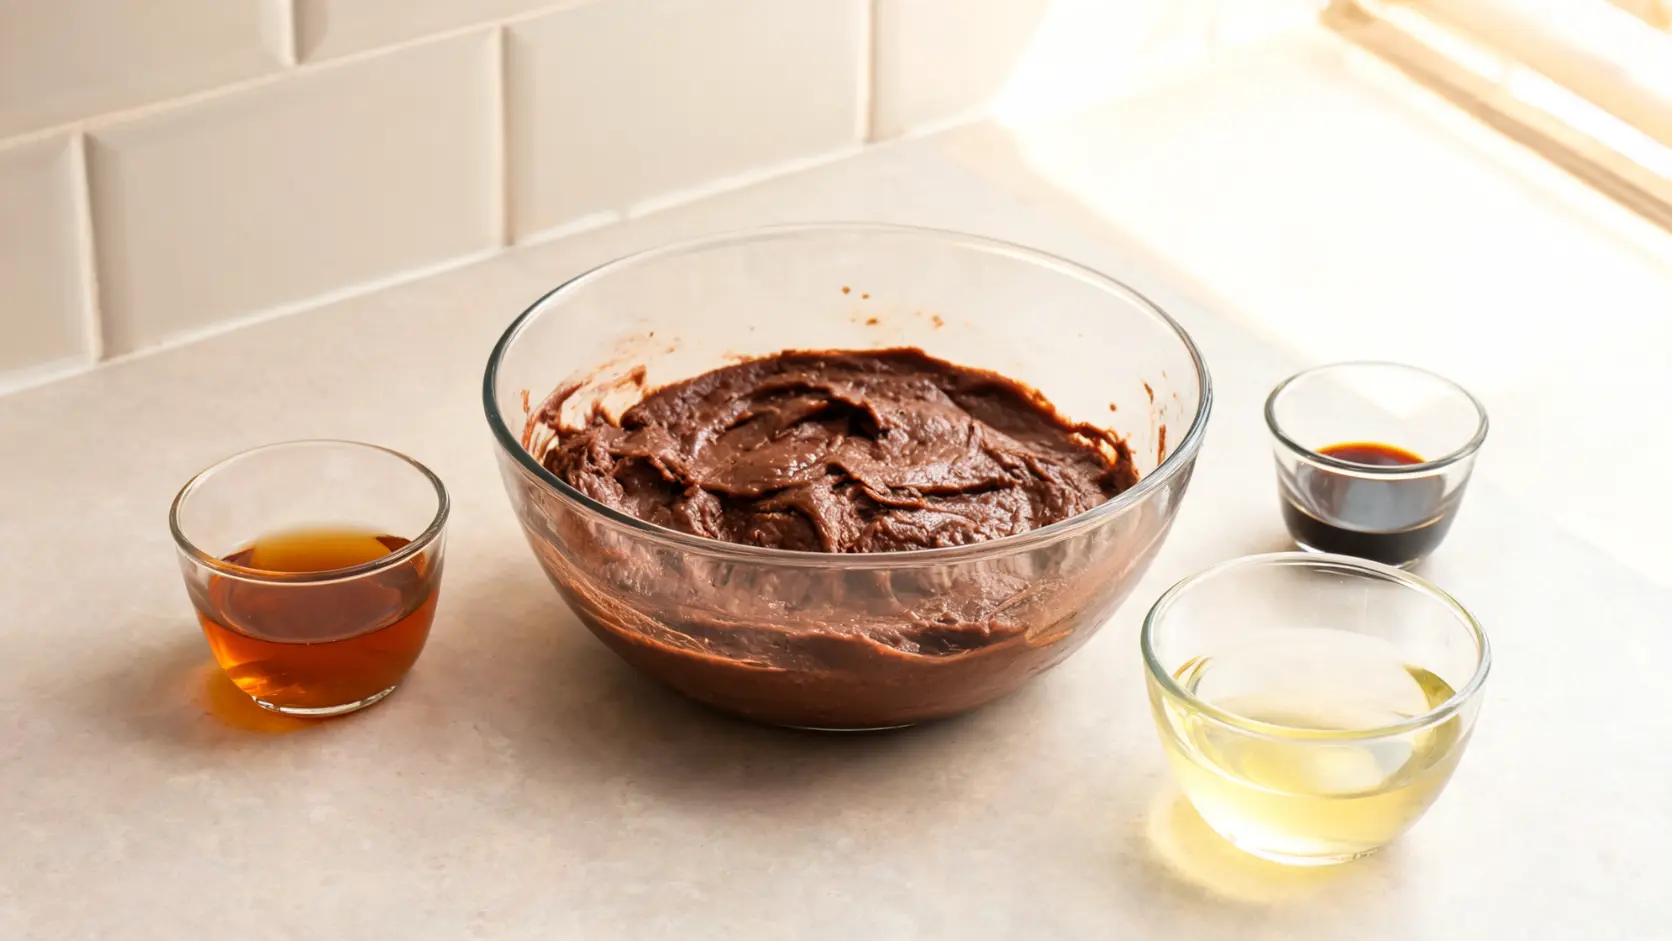
Pour in the maple syrup, cooled melted coconut oil, and vanilla extract. Whisk again until the mixture looks even and smooth.
The coconut oil should be melted, but not hot. If it feels warm like bath water, let it sit for a few minutes first. Hot oil can affect the eggs and make the batter look uneven.
Tip: Add the oil slowly while whisking so it mixes in better.
Step 4: Add the Dry Ingredients
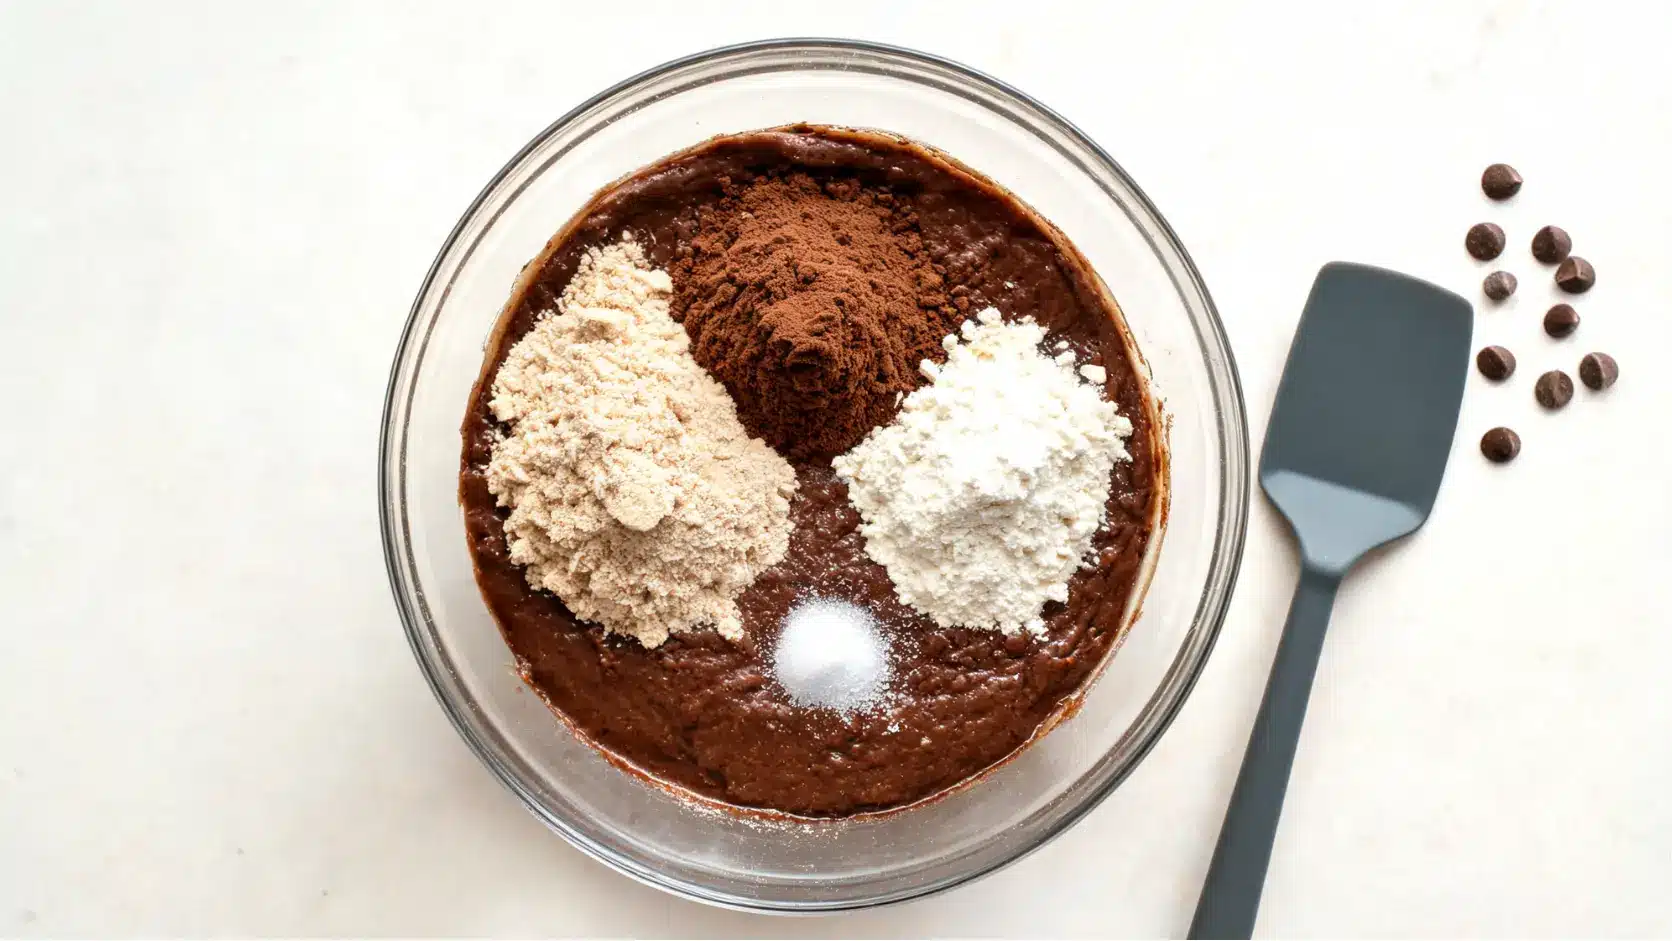
Add the almond flour, cocoa powder, tapioca flour, and salt to the bowl. Stir gently with a spatula until the batter looks thick, dark, and smooth.
Stop mixing as soon as you no longer see dry patches. Overmixing is not needed here and can make the batter feel heavy.
Quirky cue: Think glossy brownie batter, not chocolate cement.
Step 5: Fold in the Chocolate
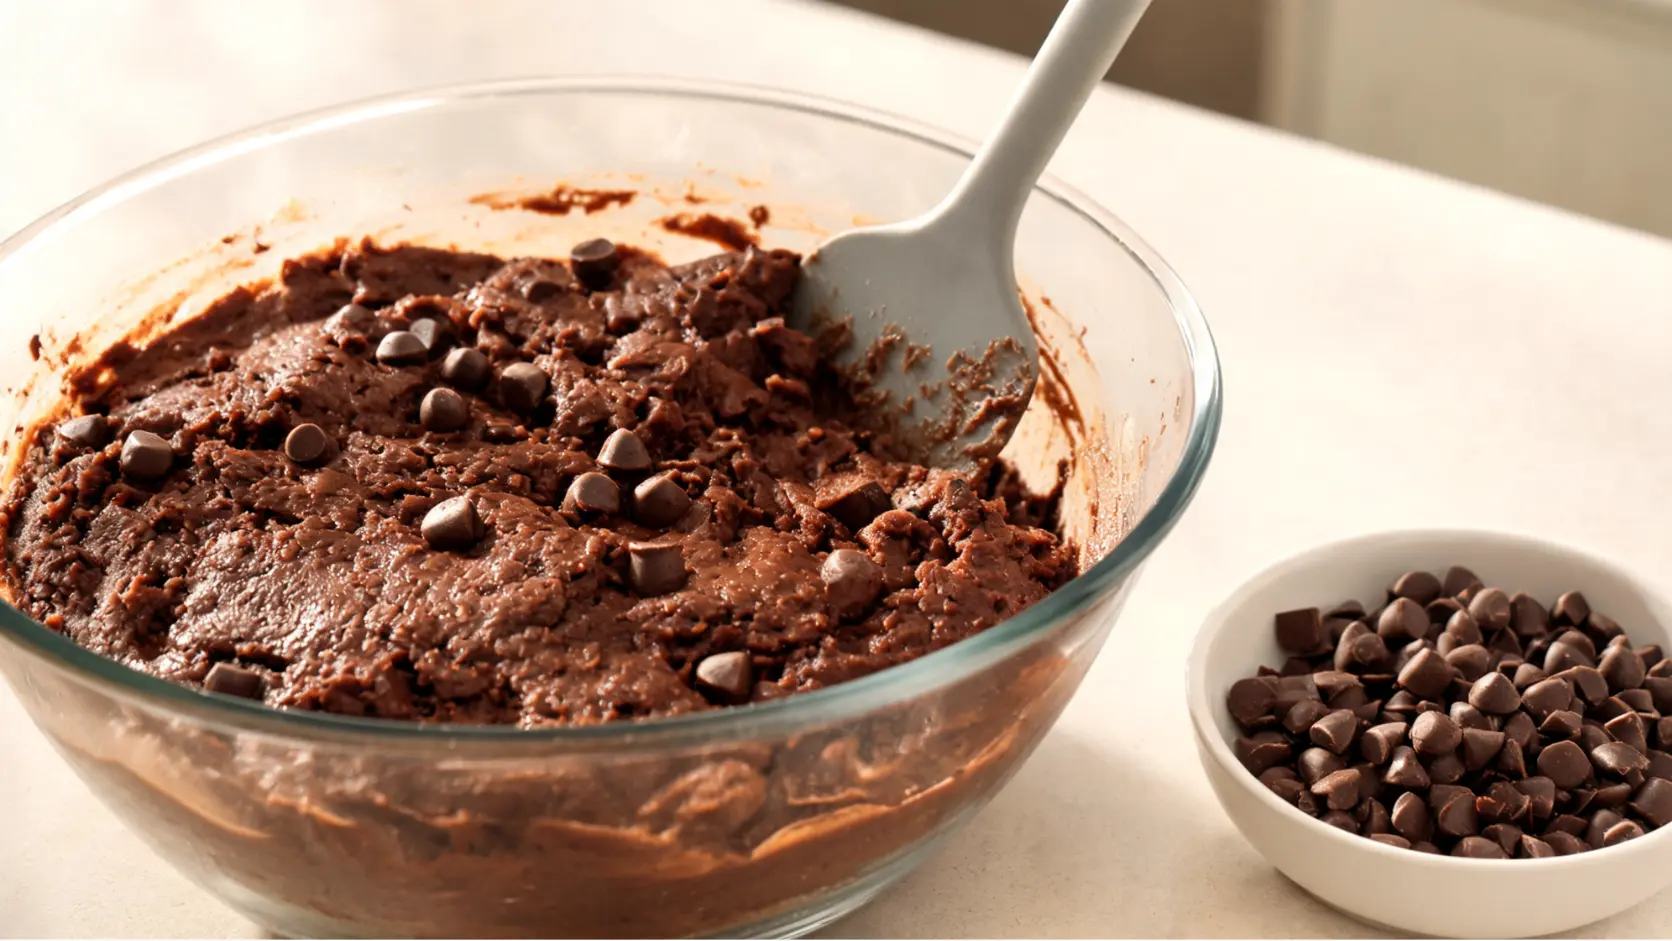
Add most of the dark chocolate chips or chopped dark chocolate. Fold them in with a spatula using slow turns from the bottom of the bowl.
Save a small handful for the top if you want the brownies to look nicer after baking. Chopped chocolate will melt more into the batter, while chocolate chips hold their shape more.
Tip: Do not stir too hard here. Gentle folding keeps the batter thick and smooth.
Step 6: Spread the Batter in the Pan
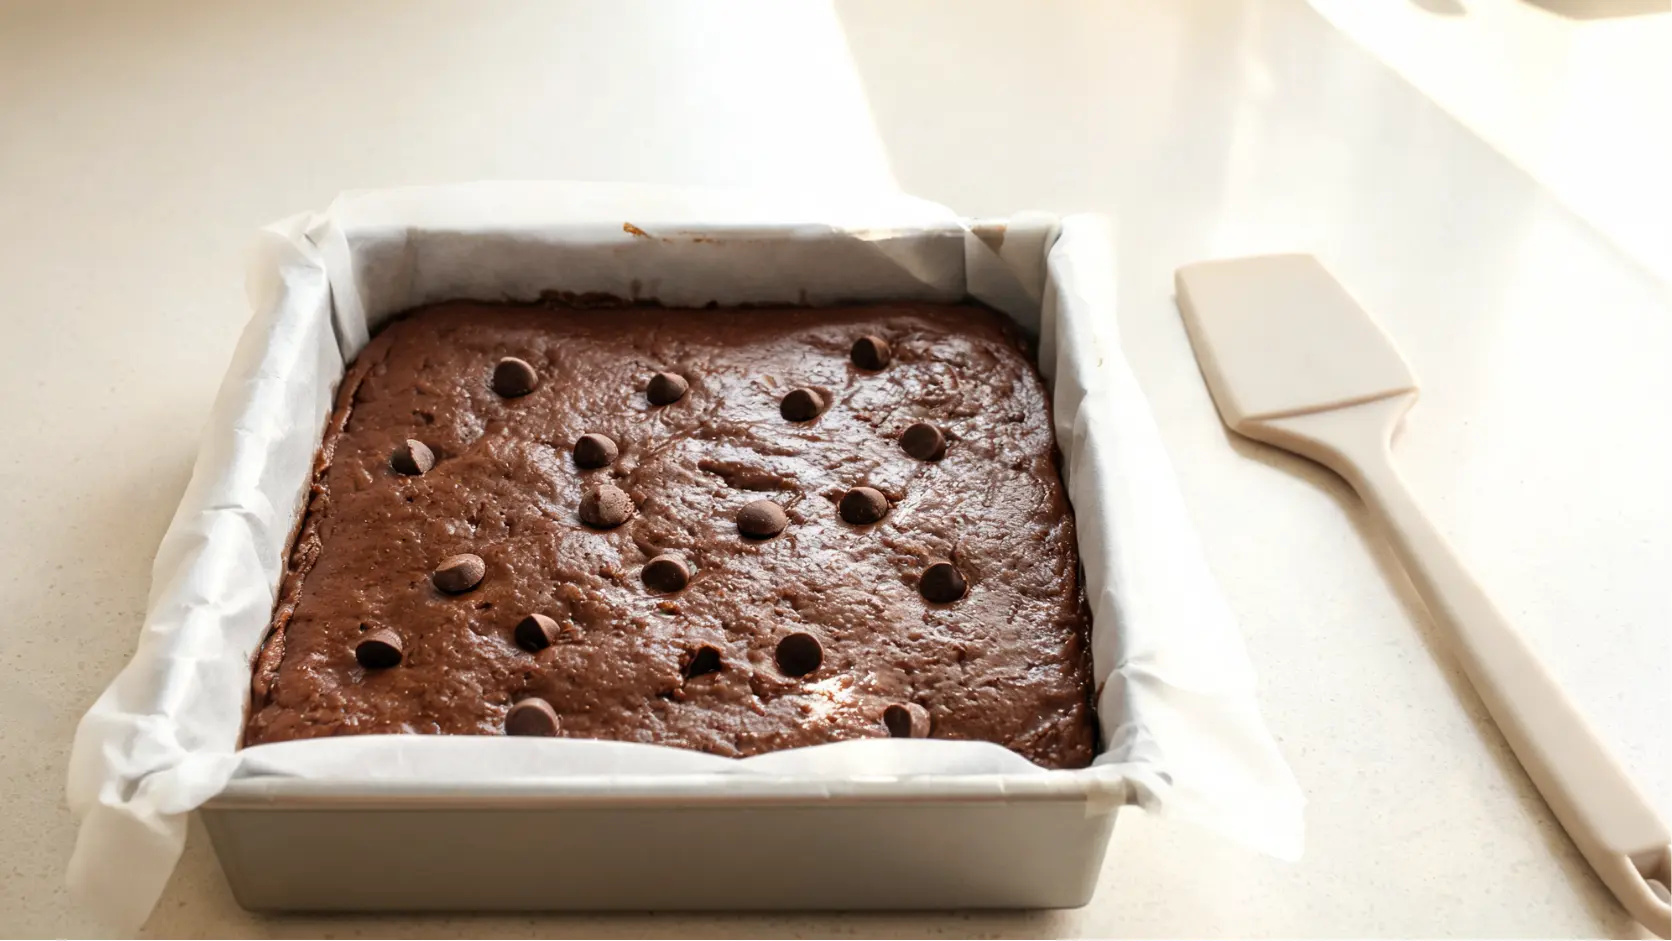
Spoon the batter into the prepared pan. Use a spatula to spread it into an even layer from corner to corner.
Try not to press the batter down too firmly. Just smooth the top enough so the brownies bake at the same speed. Sprinkle the saved chocolate over the top if you kept some aside.
Small cue: A flat top now means cleaner slices later.
Step 7: Bake Until Just Set
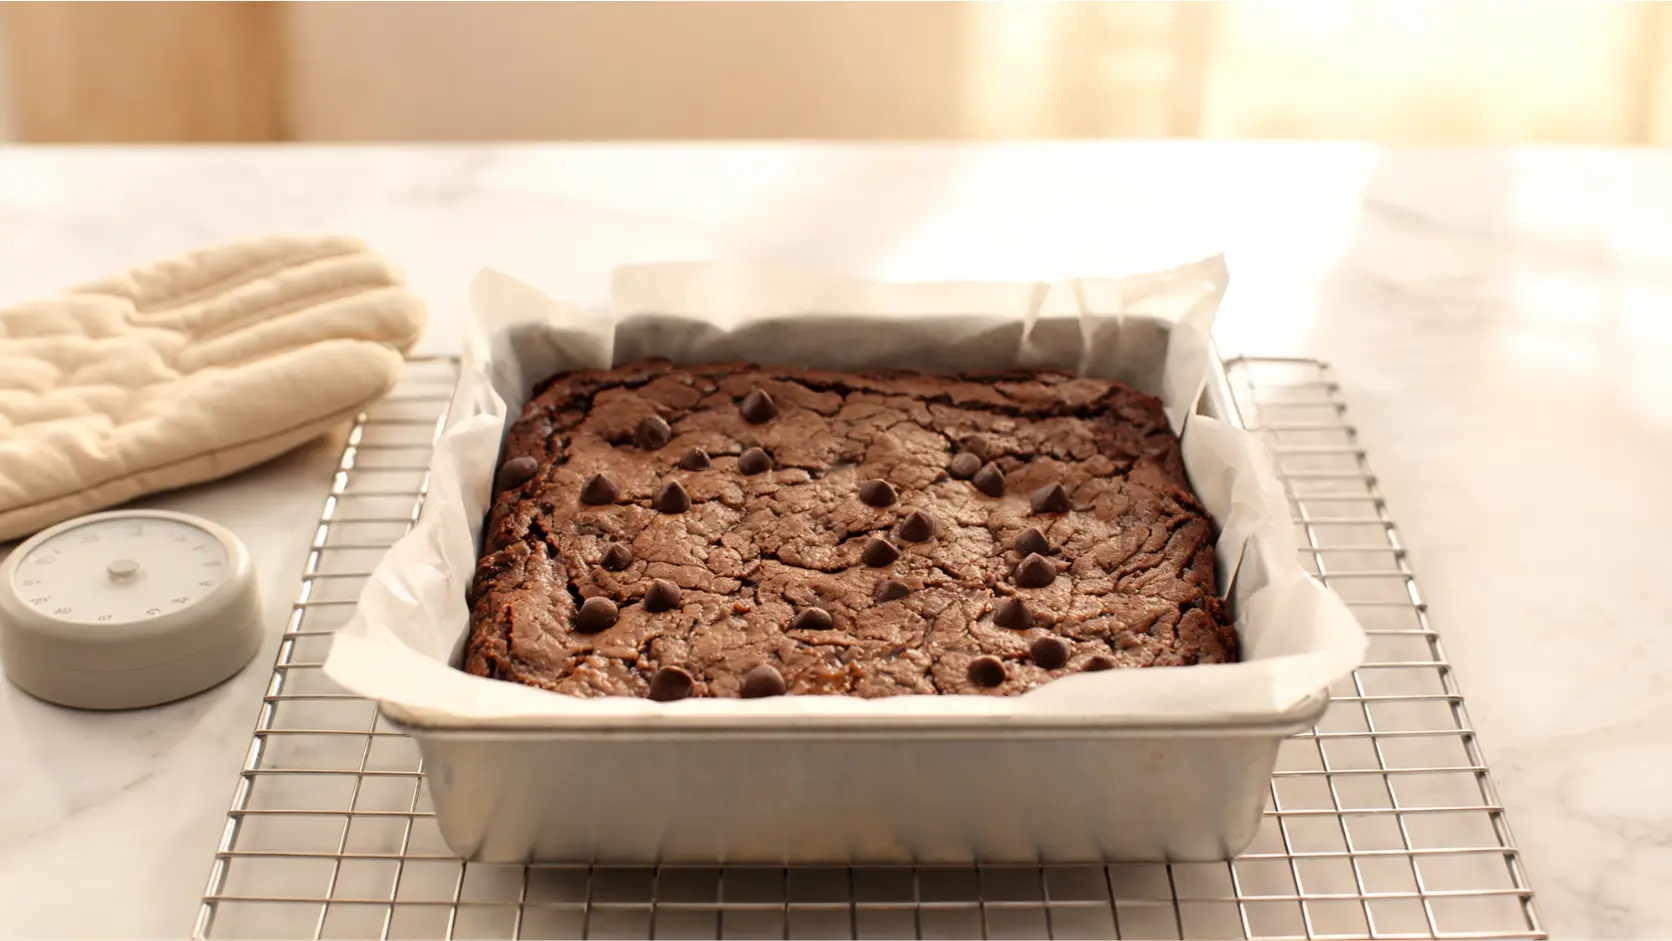
Bake for 20 to 24 minutes. The edges should look set, and the center should look soft but not wet.
Do not wait for the brownies to look fully dry in the oven. A toothpick should come out with a few moist crumbs. If it comes out completely clean, the brownies may be overbaked.
Tip: Start checking at 20 minutes. Ovens can run hotter than the number on the dial. The one time I let a pan run five minutes past the timer, I ended up with something closer to a dry cocoa cake than a brownie, so I now set a second timer at the twenty-minute mark every time.
Step 8: Cool Before Slicing
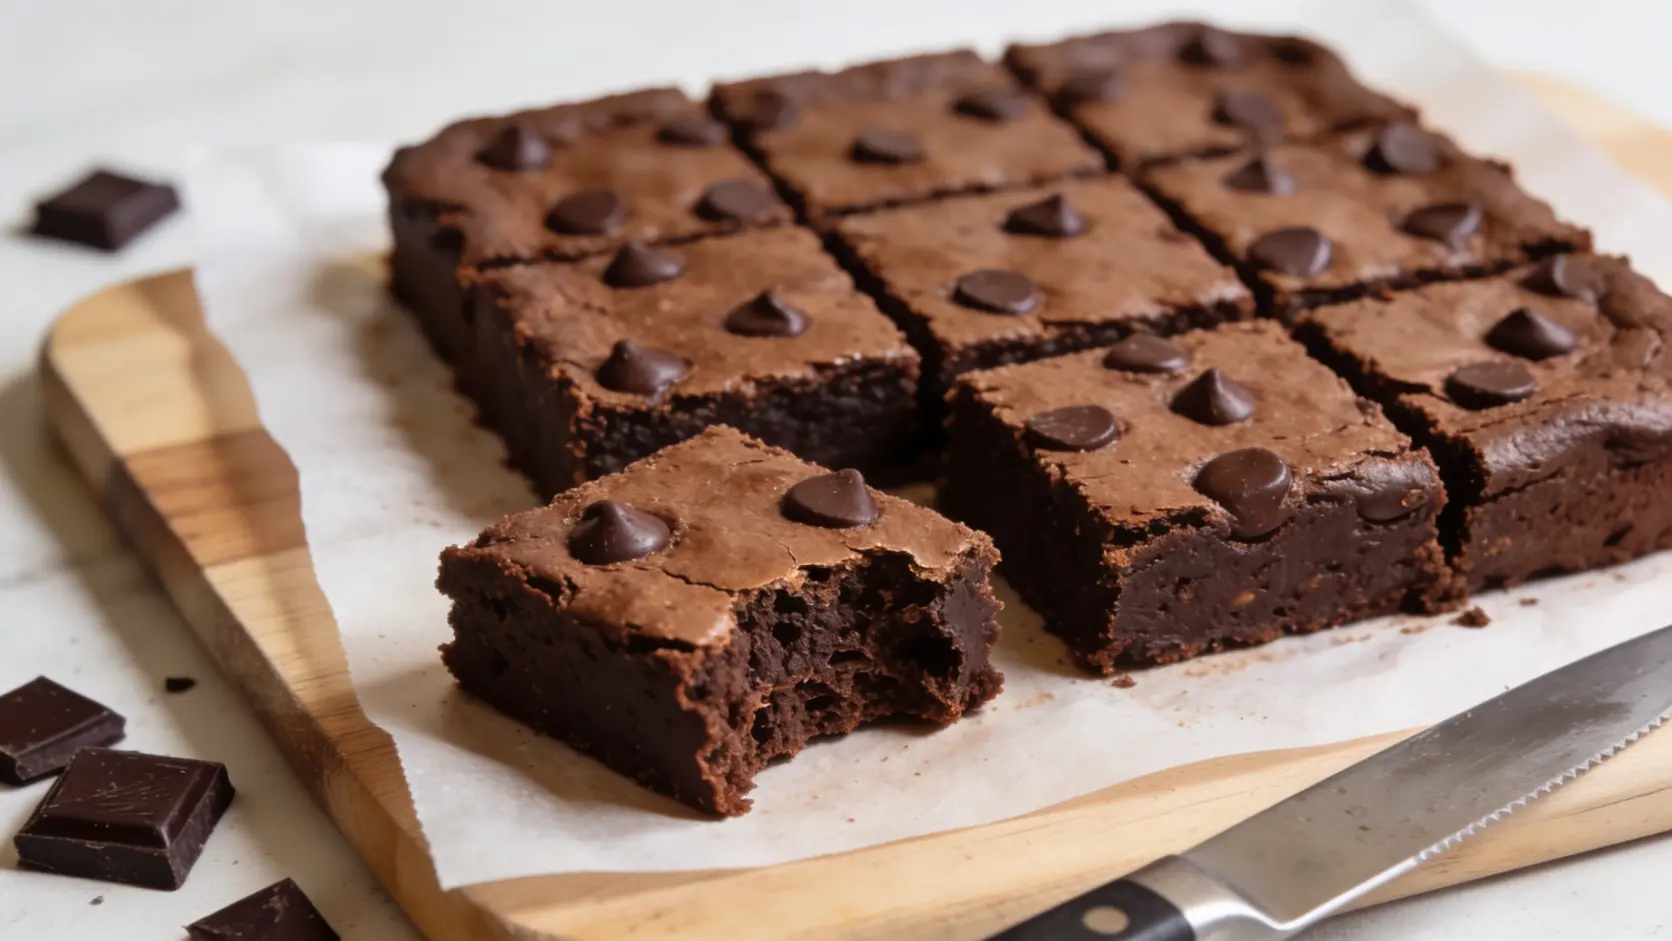
Let the brownies cool fully in the pan. For cleaner cuts, chill them for 30 to 60 minutes before slicing.
This rest time matters because grain-free brownies need time to firm up. Cutting too early can make them break apart, even if they are baked correctly.
After cooling, the brownies should feel dense, soft, and easy to slice, with a rich chocolate flavor that does not taste dry or grainy.
How to Keep the Batter Fudgy and Moist
The secret to fudgy paleo brownies is not one ingredient. It is the balance between flour, fat, chocolate, and bake time.
Use these tips for the best texture:
- Measure almond flour lightly instead of packing it into the cup.
- Bring eggs to room temperature before whisking; cold eggs make the batter seize slightly when the oil is added.
- Do not add extra cocoa powder unless the recipe is adjusted.
- Pull the brownies out when the center is just set.
- Weigh the almond flour if you have a kitchen scale, about 56 grams for the half cup, since scoop sizes vary more than people expect.
- Chill them if you want a denser, cleaner cut.
A slightly soft center is usually a good sign. The brownies keep setting as they cool, so they do not need to look fully firm in the oven. Once you learn the right doneness point, your batch will turn out much more consistent.
How to Get a Better Brownie Top
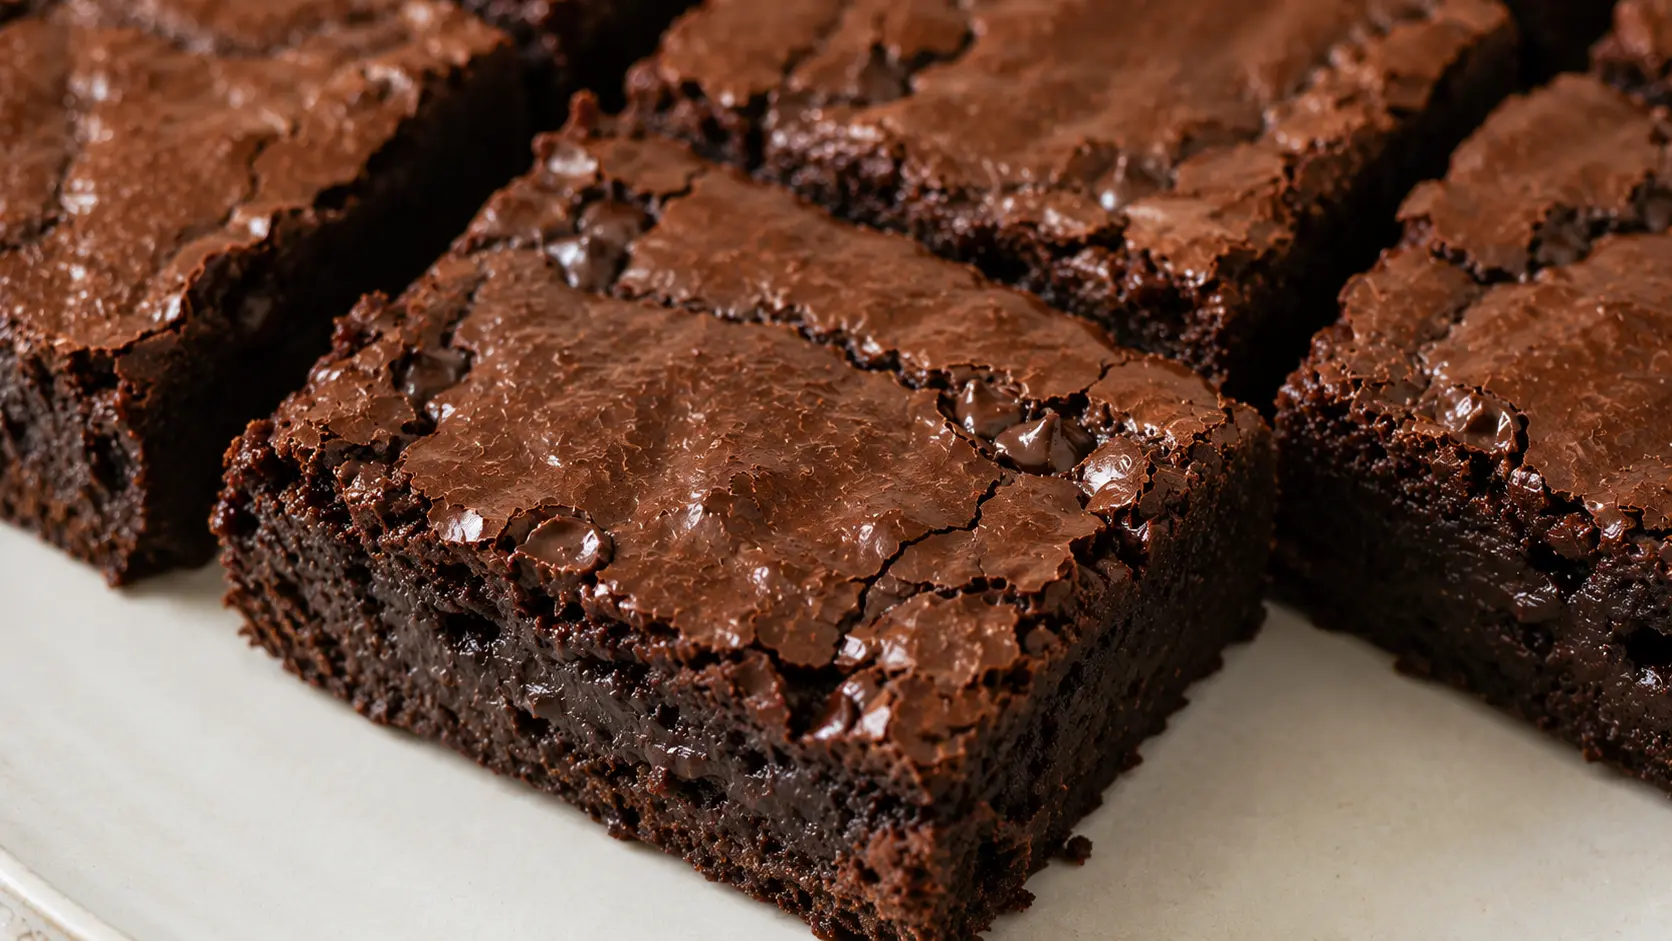
A thin, crackly top can be harder to get with paleo sweeteners, but the mixing order from Step 2 does most of the work.
- Whisking the eggs and sugar first, before the oil goes in, is what sets up that thin shell. Skip this step and the top usually stays matte instead of glossy.
- A small amount of melted dark chocolate can also help the top look smoother and richer. Avoid adding too much coconut oil because extra oil can sit on top of the batter.
- If you use only maple syrup or honey, the top may turn out softer. The brownies can still taste rich, but the surface may not look as set.
Almond Flour Brownie Swaps and Variations
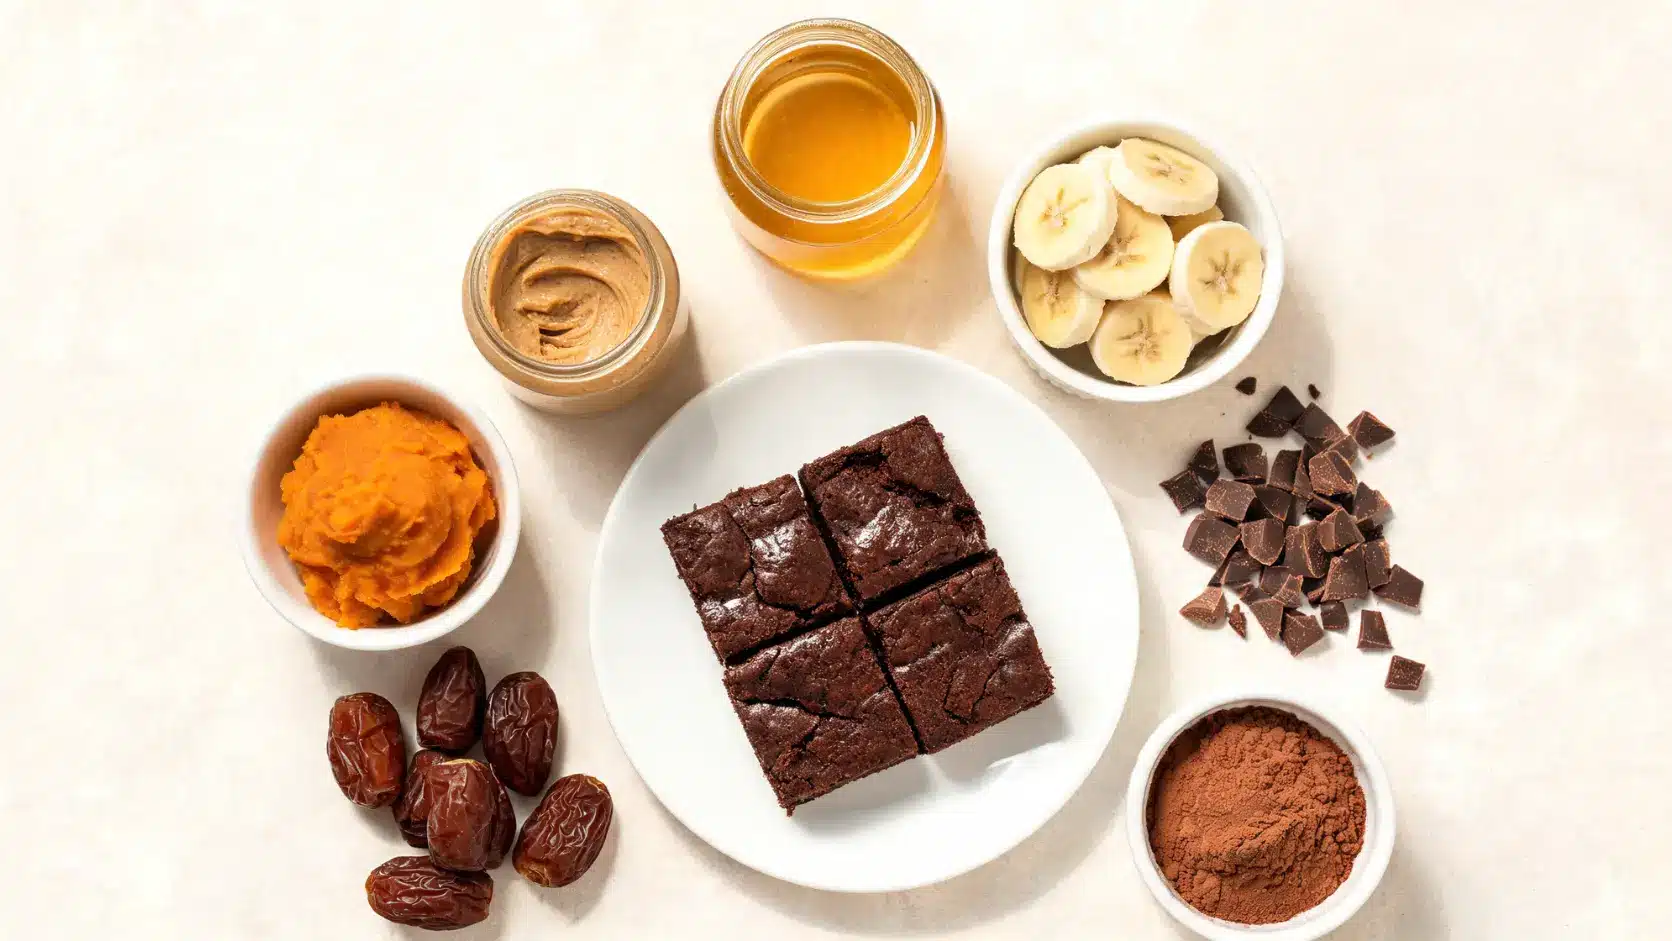
After you make the base recipe once, you can adjust it based on what you have at home or the texture you want.
| Original Ingredient | Possible Swap | What to Know |
|---|---|---|
| Maple syrup | Honey | Sweeter with a stronger taste |
| Coconut oil | Avocado oil | More neutral flavor |
| Almond flour | Cashew flour | Similar soft texture |
| Tapioca flour | Arrowroot starch | Similar chew |
| Cocoa powder | Cacao powder | Stronger and more bitter |
| Chocolate chips | Chopped dark chocolate | More melted texture |
| Eggs | Vegan substitute Flax eggs | Softer and less firm |
You can also try these versions:
- 3-ingredient version: Usually made with banana, almond butter, and cocoa powder. It is simple, but it tastes more like a chocolate banana bar.
- Sweet potato version: Mashed sweet potato adds moisture and a softer texture.
- Banana version: Banana adds natural sweetness, but the flavor will come through.
- Honey version: Honey makes the brownies sweeter and softer, but it has a stronger taste than maple syrup.
- Almond butter version: Almond butter adds body and makes the brownies denser.
- No-added-sugar version: Dates, banana, applesauce, or sweet potato can add sweetness, but the texture will be different from classic brownies.
Change only one thing at a time so you can see how each swap affects the final pan.
Quick Troubleshooting Table
If something feels off after baking, this table can help you fix the next batch faster.
| Problem | Likely Cause | Easy Fix |
|---|---|---|
| Dry brownies | Baked too long | Pull them out when moist crumbs remain |
| Crumbly slices | Cut too early | Cool fully before slicing |
| Bitter flavor | Too much cocoa or cacao | Use cocoa powder or add chocolate chips |
| Oily top | Too much coconut oil | Measure oil carefully |
| Too soft | Not baked enough | Add 2 more minutes next time |
| No thin top | Eggs and sugar not mixed enough | Whisk longer before adding oil |
| Heavy texture | Too much flour | Spoon and level flour lightly |
Most brownie problems come from bake time, flour swaps, or cutting too soon, so those are the best places to check first.
Make-Ahead and Storage
These brownies actually improve slightly overnight, as the texture gets denser and slices look cleaner. Bake them a day ahead, cool fully, and chill in an airtight container; bring them near room temperature before serving if you want a softer bite.
At room temperature, they’ll hold for about 2 days in a sealed container. In the fridge, they keep for up to a week. To freeze, wrap individual squares tightly and store in a freezer bag for up to 3 months, then thaw at room temperature for about an hour.
I’ve frozen this batch before and found the texture held up well for about a month; past that, the edges start to dry out a bit. I use the same wrap-and-freeze method for a blueberry puree I make on repeat, so it’s worth keeping a few freezer bags on hand if you bake often.
Frequently Asked Questions
Can I use a glass pan?
Yes, but check the brownies a little earlier. Glass holds heat longer than metal, so the edges may bake faster. Lower the oven by 25°F if your glass pan often makes baked goods dry or firm.
Can I double the batch?
Yes. Use a 9×13-inch pan and start checking near the same time, then add a few minutes if needed. The center should look set, not wet, before the pan comes out of the oven.
Can I make them nut-free?
Yes, but you’ll need to adjust the recipe rather than swap flours directly, since almond flour does a lot of the structural work here. Sunflower seed flour is a common 1:1 nut-free substitute. It’s worth knowing that sunflower seed flour can turn baked goods slightly green when it reacts with baking soda or baking powder; this particular recipe doesn’t use either, so that reaction is less likely, but keep it in mind if you’re adapting other paleo recipes that do.
Why did the center sink?
The center can sink when the batter has too much air, too much liquid, or too little baking time. Let the pan sit longer in the oven if the middle still moves when nudged gently.
Why is my batter separating when I add the wet ingredients?
This usually happens when the coconut oil has cooled too much and started to solidify again before it’s whisked in. Warm it gently for a few seconds until it’s liquid but not hot, then add it back in slowly while whisking.
Why are my brownies greasy on the bottom?
A greasy bottom layer usually means the oil didn’t fully incorporate into the batter before baking, or the pan sat too long before going into the oven and the fat began to separate. Whisking the wet ingredients a bit longer in Step 3 usually solves it.
To Sum Up
Good paleo brownies come down to how well the wet and dry ingredients balance each other, and how much restraint you show once the timer goes off. Almond flour, coconut oil, and coconut sugar behave differently than their classic counterparts, but once you know how the batter should look at each stage, the results are just as rich and fudgy.
Save this one for the next time you want a grain-free dessert that still delivers a real brownie bite. If you give it a try, I’d love to hear how your first pan turned out in the comments.
| Nutrition figures are estimated using standard ingredient data and will vary by brand and exact measurements. |