If your knife is crushing tomatoes instead of slicing them, I know how frustrating that feels. A dull knife makes cooking harder, and honestly, more dangerous.
That’s why I put together this simple guide on how to sharpen a knife, no matter your skill level or what tools you have at home.
I’ll walk you through the most effective sharpening methods, from using a whetstone step by step, to quick tricks that work without any special equipment.
I’ll also cover the right angles to use, how to test if your knife is actually sharp, and how to keep it that way longer. By the end, you’ll have everything you need to get that razor-sharp edge back.
Always use a stable surface, keep your fingers away from the blade edge, move slowly and carefully, and consider wearing cut-resistant gloves.
Why Sharpening Knives Is Important?
Keeping your knives sharp is more important than most people think. A dull knife is not just annoying to use, it can also be dangerous.
When a blade is dull, it slips easily while cutting, which increases the risk of accidents. A sharp knife cuts smoothly and with less effort, making chopping and slicing faster and safer.
Sharp knives also last longer because you don’t have to force them through food, which can damage the blade over time.
Understanding the knife’s edge and keeping the correct sharpening angle, usually 15–20 degrees for most kitchen knives, helps maintain performance. Learning proper sharpening keeps your cooking safer, easier, and more efficient.
To sharpen a knife, hold the blade at a 15–20 degree angle and slide it across a whetstone or sharpener from heel to tip. Repeat evenly on both sides until sharp. Finish by honing and testing the edge on paper or a tomato.
What You Need Before You Start
Before learning how to sharpen kitchen knives, you need the right tools. You don’t need expensive equipment, just tools that match your skill level, time, and knife type. Here’s a quick comparison to help you choose.
| Tool | Best For | Skill Level | Speed | Precision |
|---|---|---|---|---|
| Whetstone | Deep sharpening & restoring dull edges | Beginner–Advanced | Moderate | High |
| Honing Steel | Maintaining edge between sharpenings | Beginner | Fast | Medium |
| Pull-through Knife Sharpener | Quick, simple home sharpening | Beginner | Fast | Medium |
| Electric Knife Sharpener | Fast, low-effort sharpening | Beginner | Very Fast | Medium |
| Diamond-Coated Sharpening Steel | Hard steel or very dull knives | Intermediate | Fast | High |
|
Household Alternatives: ceramic mug or sandpaper |
Emergency sharpening when tools aren’t available | Beginner | Moderate | Low |
Using the right sharpening tool ensures better results, safer cutting, and longer-lasting knives, while household alternatives work best only in emergencies.
Different Methods to Sharpen a Knife
Keeping your knives sharp doesn’t have to be difficult. With the right care and simple habits, you can maintain their performance and extend their lifespan.
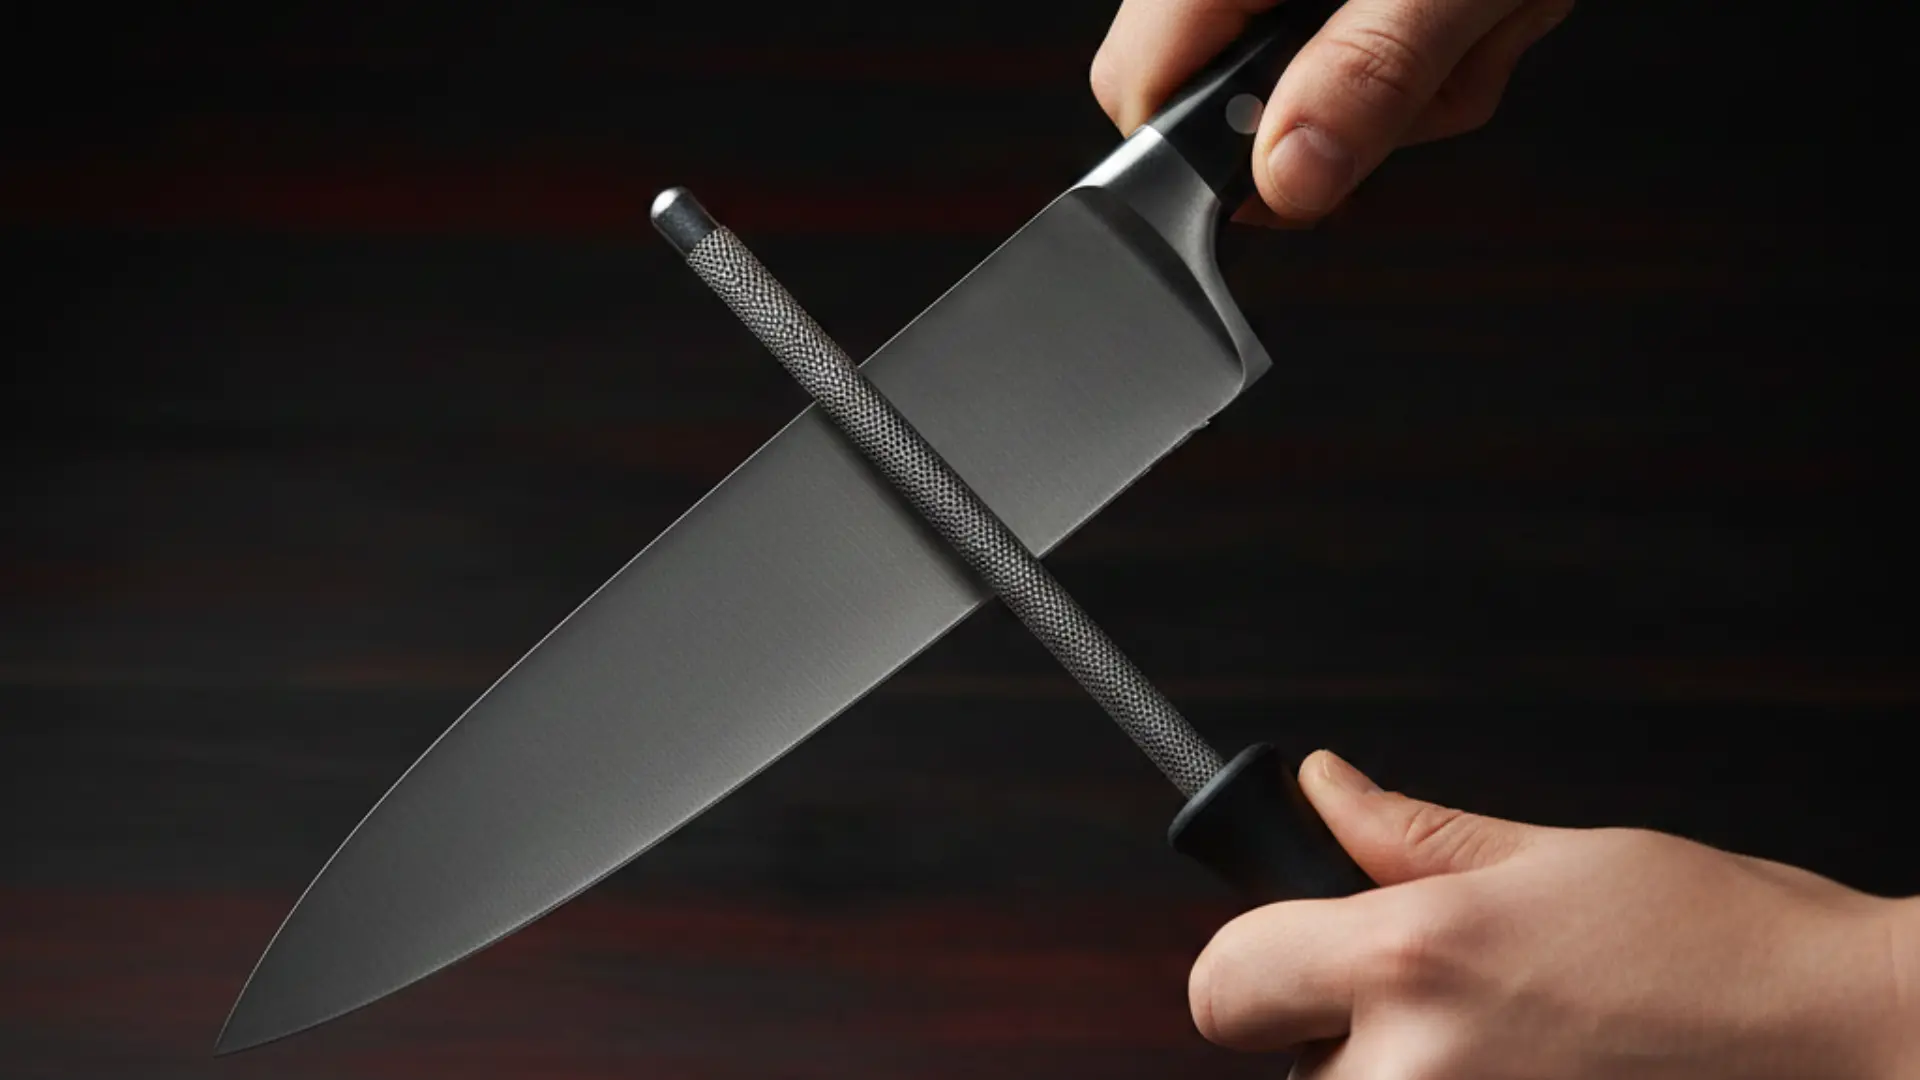
Method 1: Using a Honing Steel
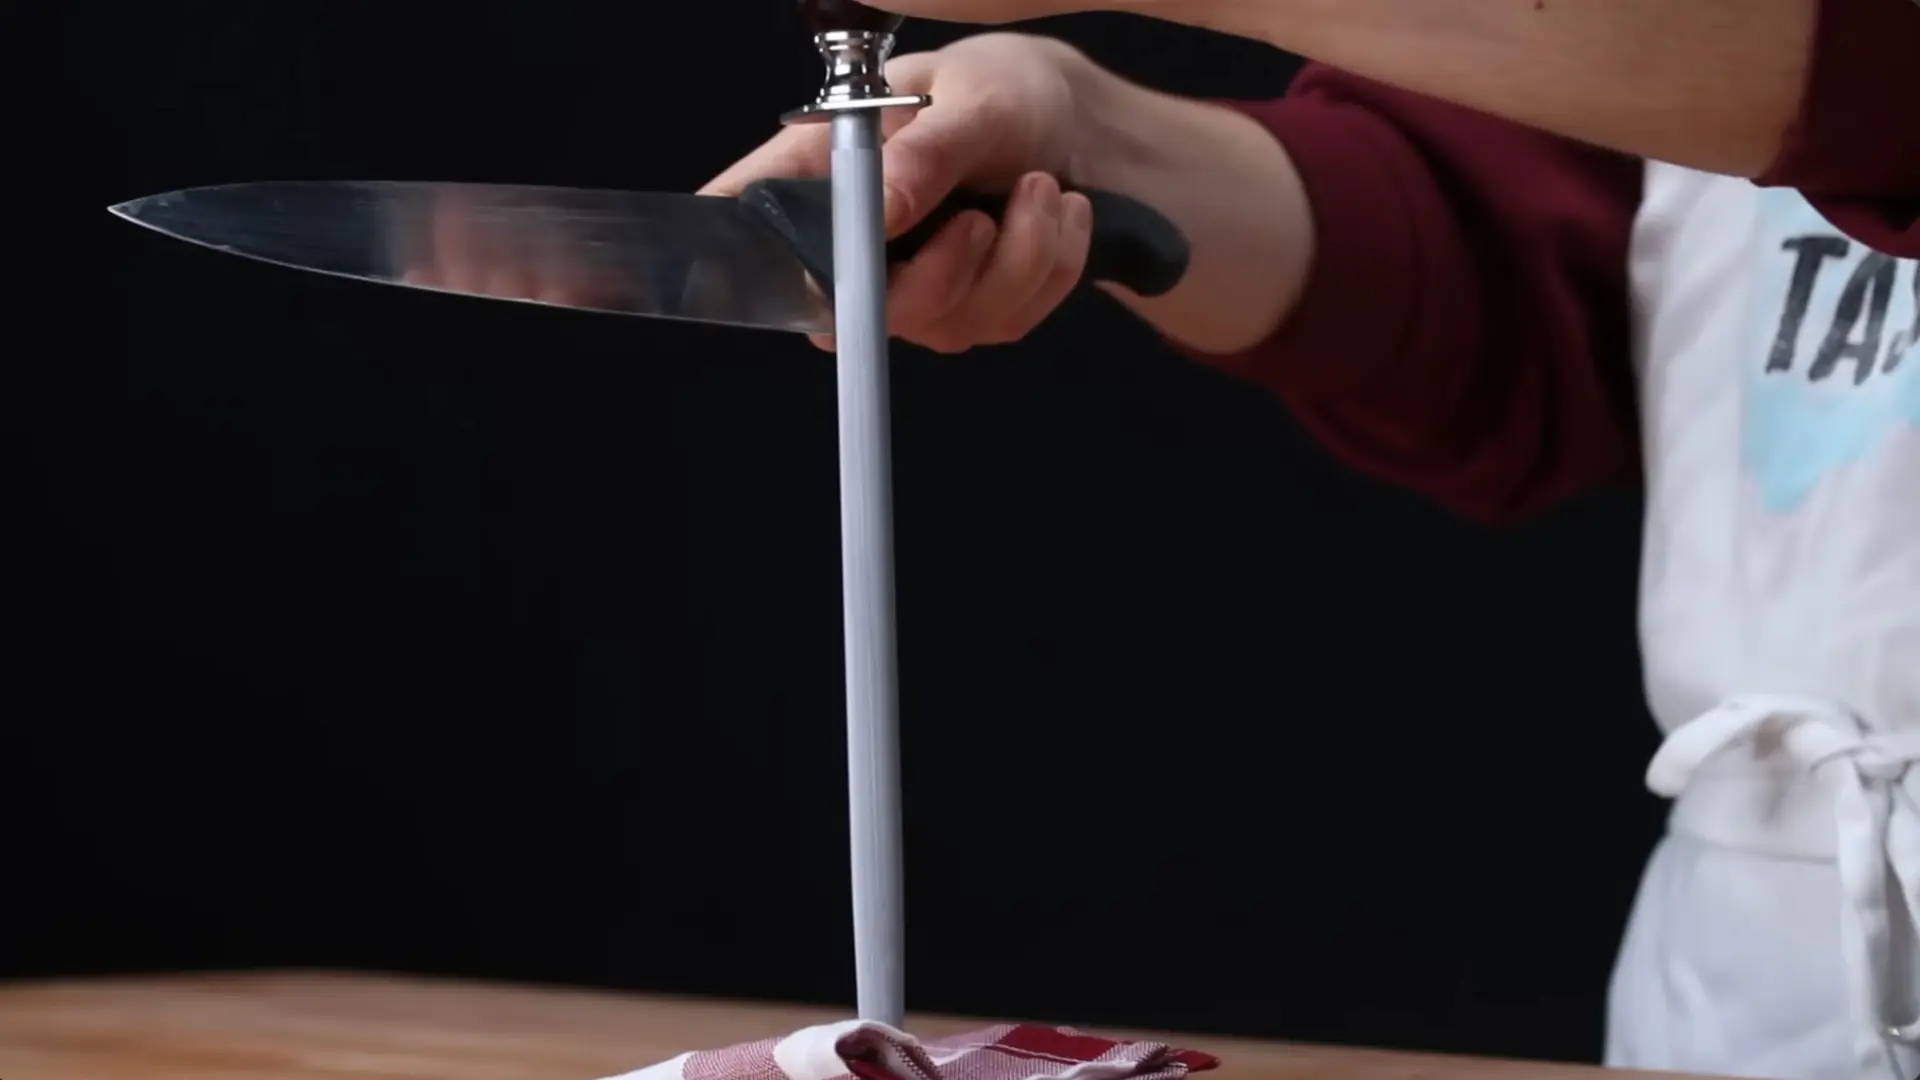
A honing steel is a long metal rod that most people think sharpens a knife, but it actually doesn’t. With regular use, the knife’s edge bends slightly out of line. The honing steel simply straightens it back. It’s perfect for quick, daily maintenance.
Step 1: Place the Rod on a Stable Surface
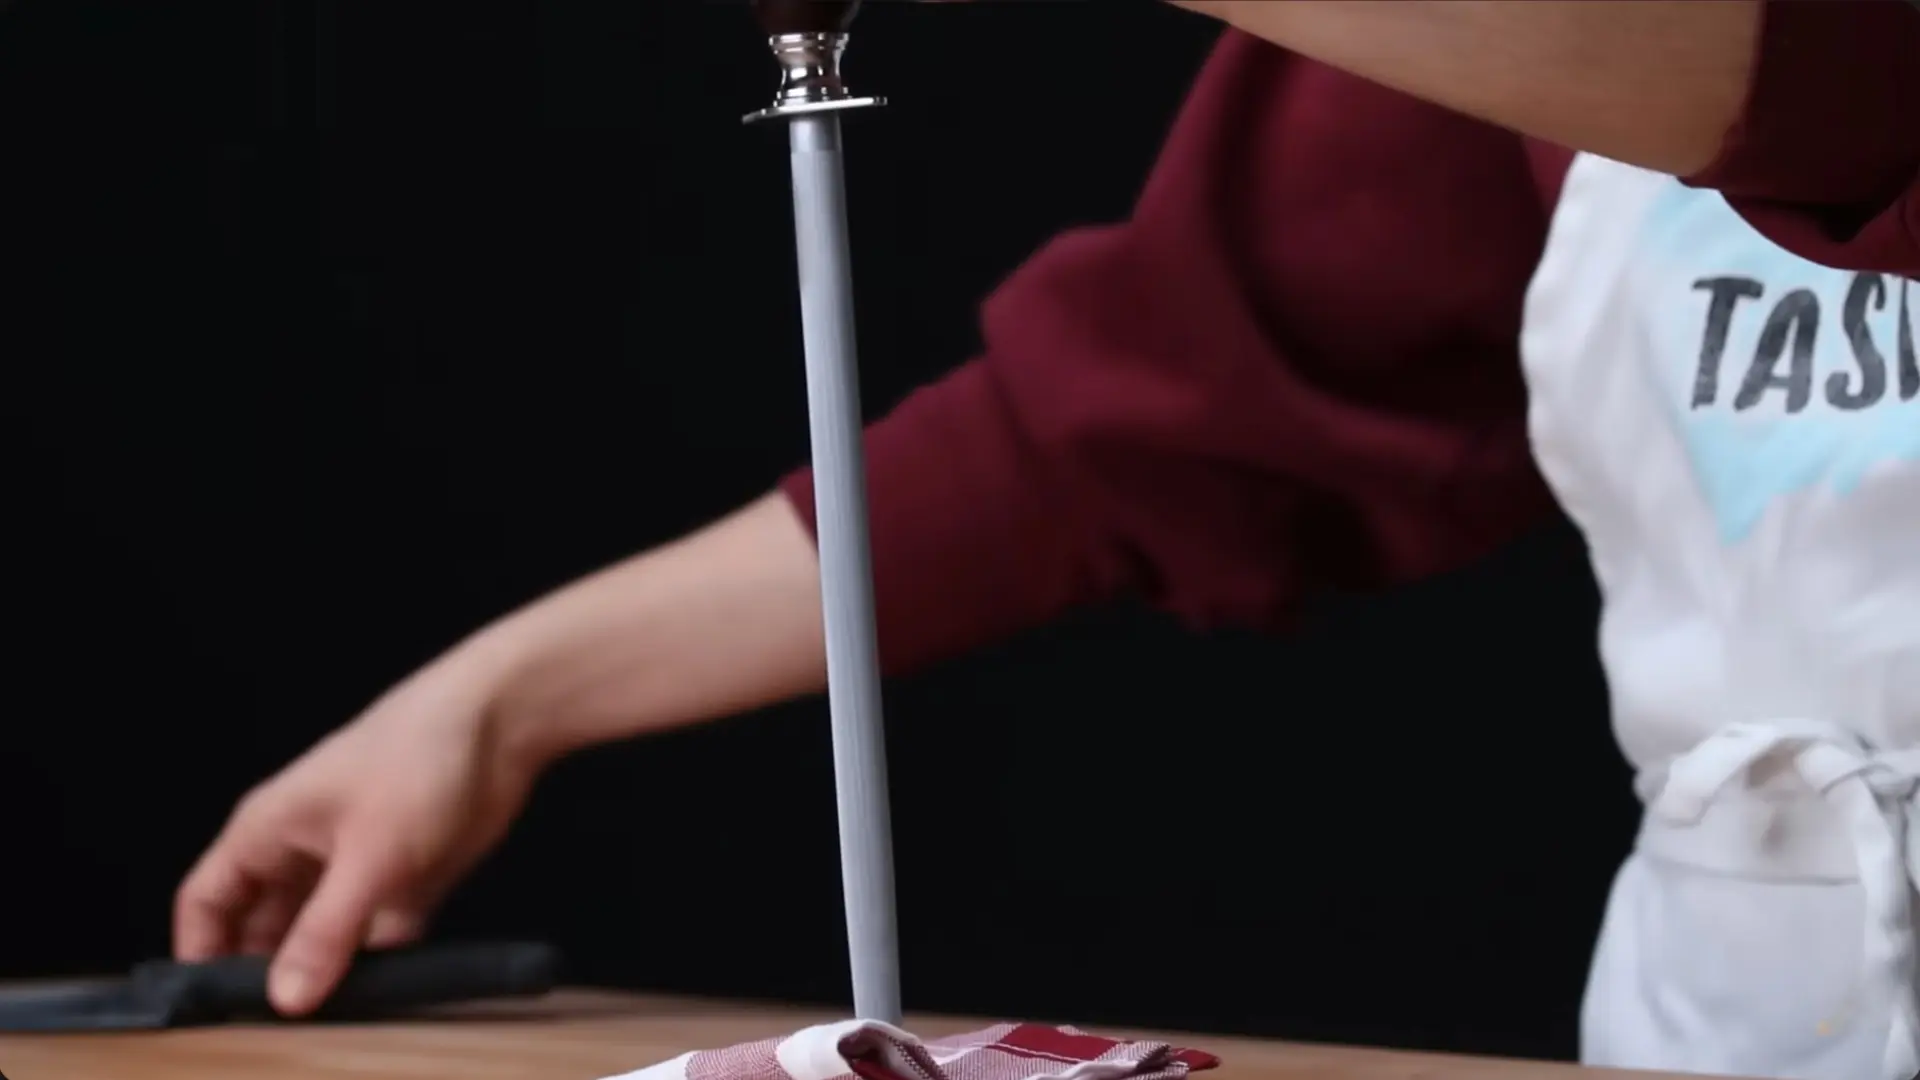
Don’t try to hone your knife up in the air like you see chefs do on TV. Instead, rest the tip of the honing steel on a cutting board or a folded cloth on the counter. This gives you stability and way more control, especially when you’re just starting out.
Step 2: Find the Right Angle
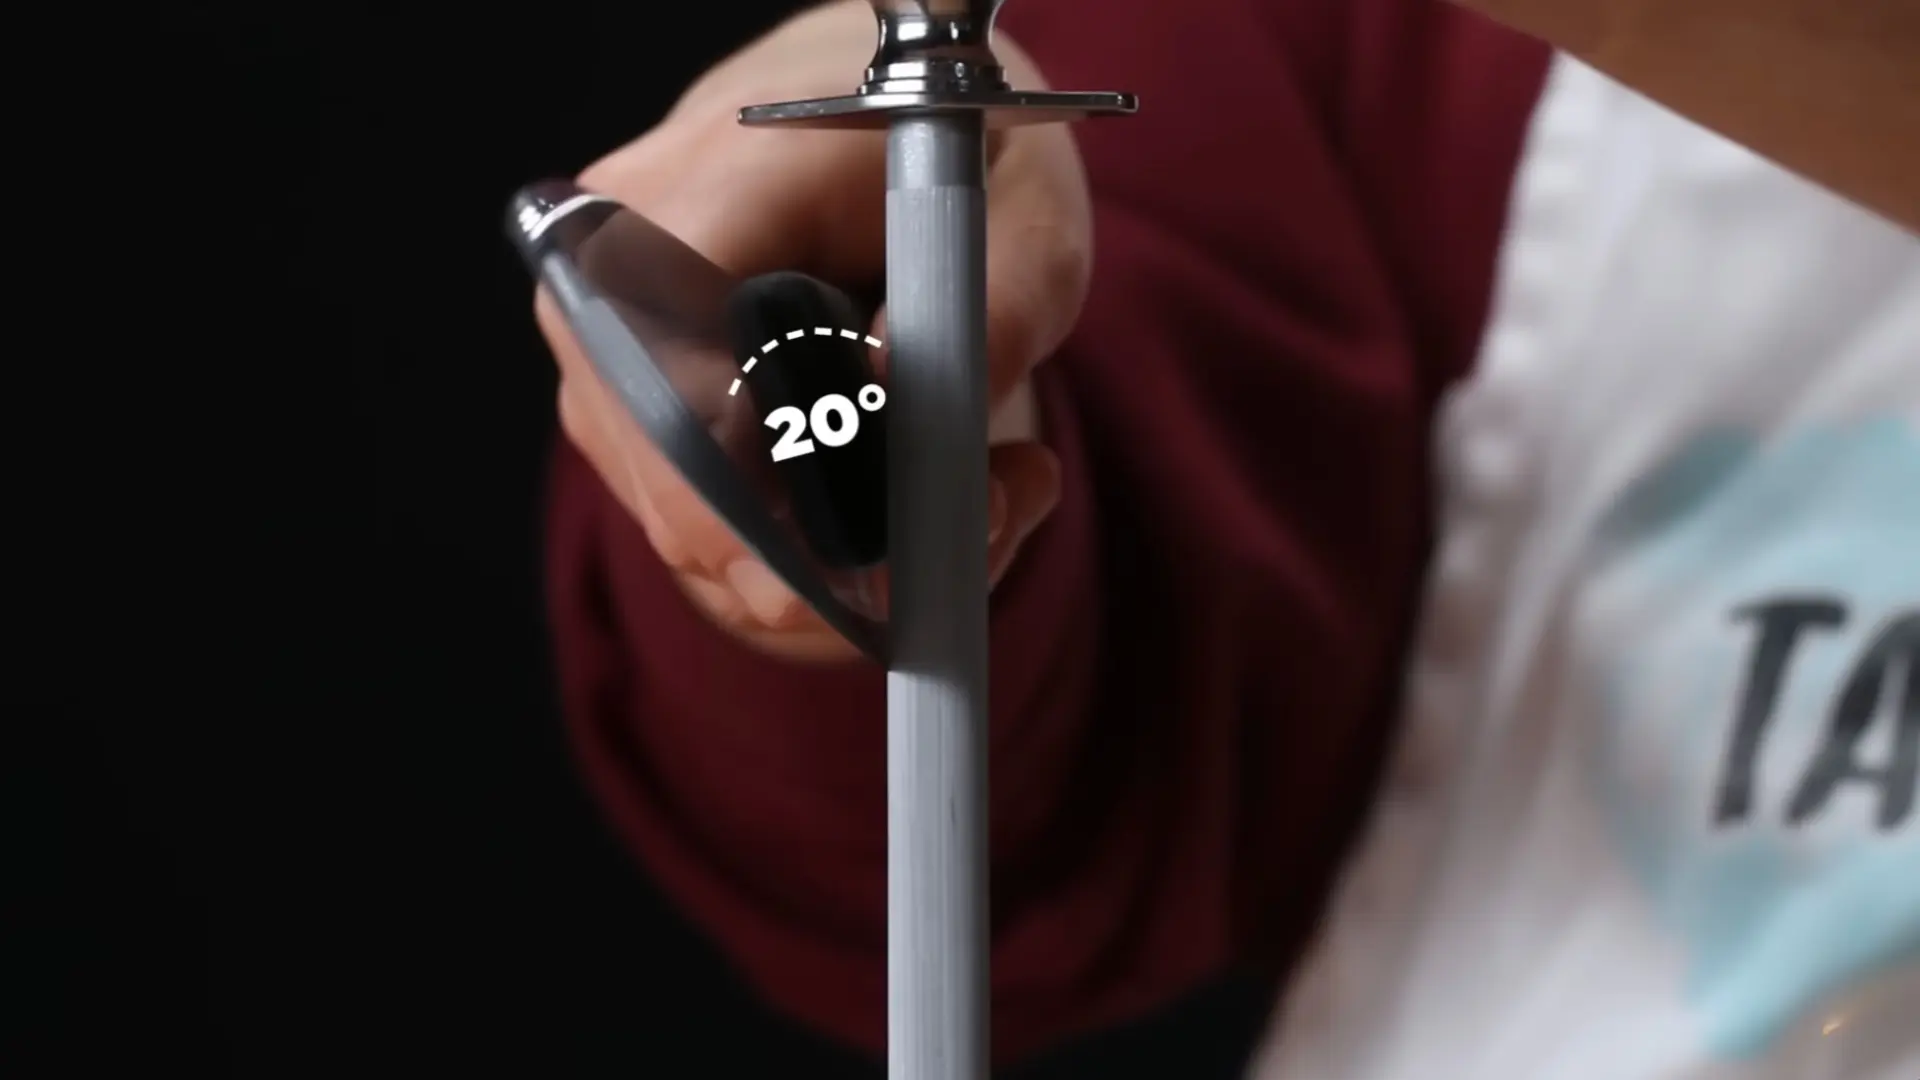
You want to hold your knife at about a 20-degree angle against the steel. If you can’t picture that, here’s an easy trick: start at 90 degrees (straight up), cut that in half to get 45 degrees, then cut it in half again. That gives you roughly 22.5 degrees, which is right where you want to be.
Step 3: Swipe the Blade
Place the heel of the knife, the back part, closest to the handle, at the top of the steel. Now pull the knife downward and toward you in one smooth stroke, moving from the heel all the way to the tip. Keep the pressure firm and even the whole way through.
Step 4: Alternate Sides and Repeat
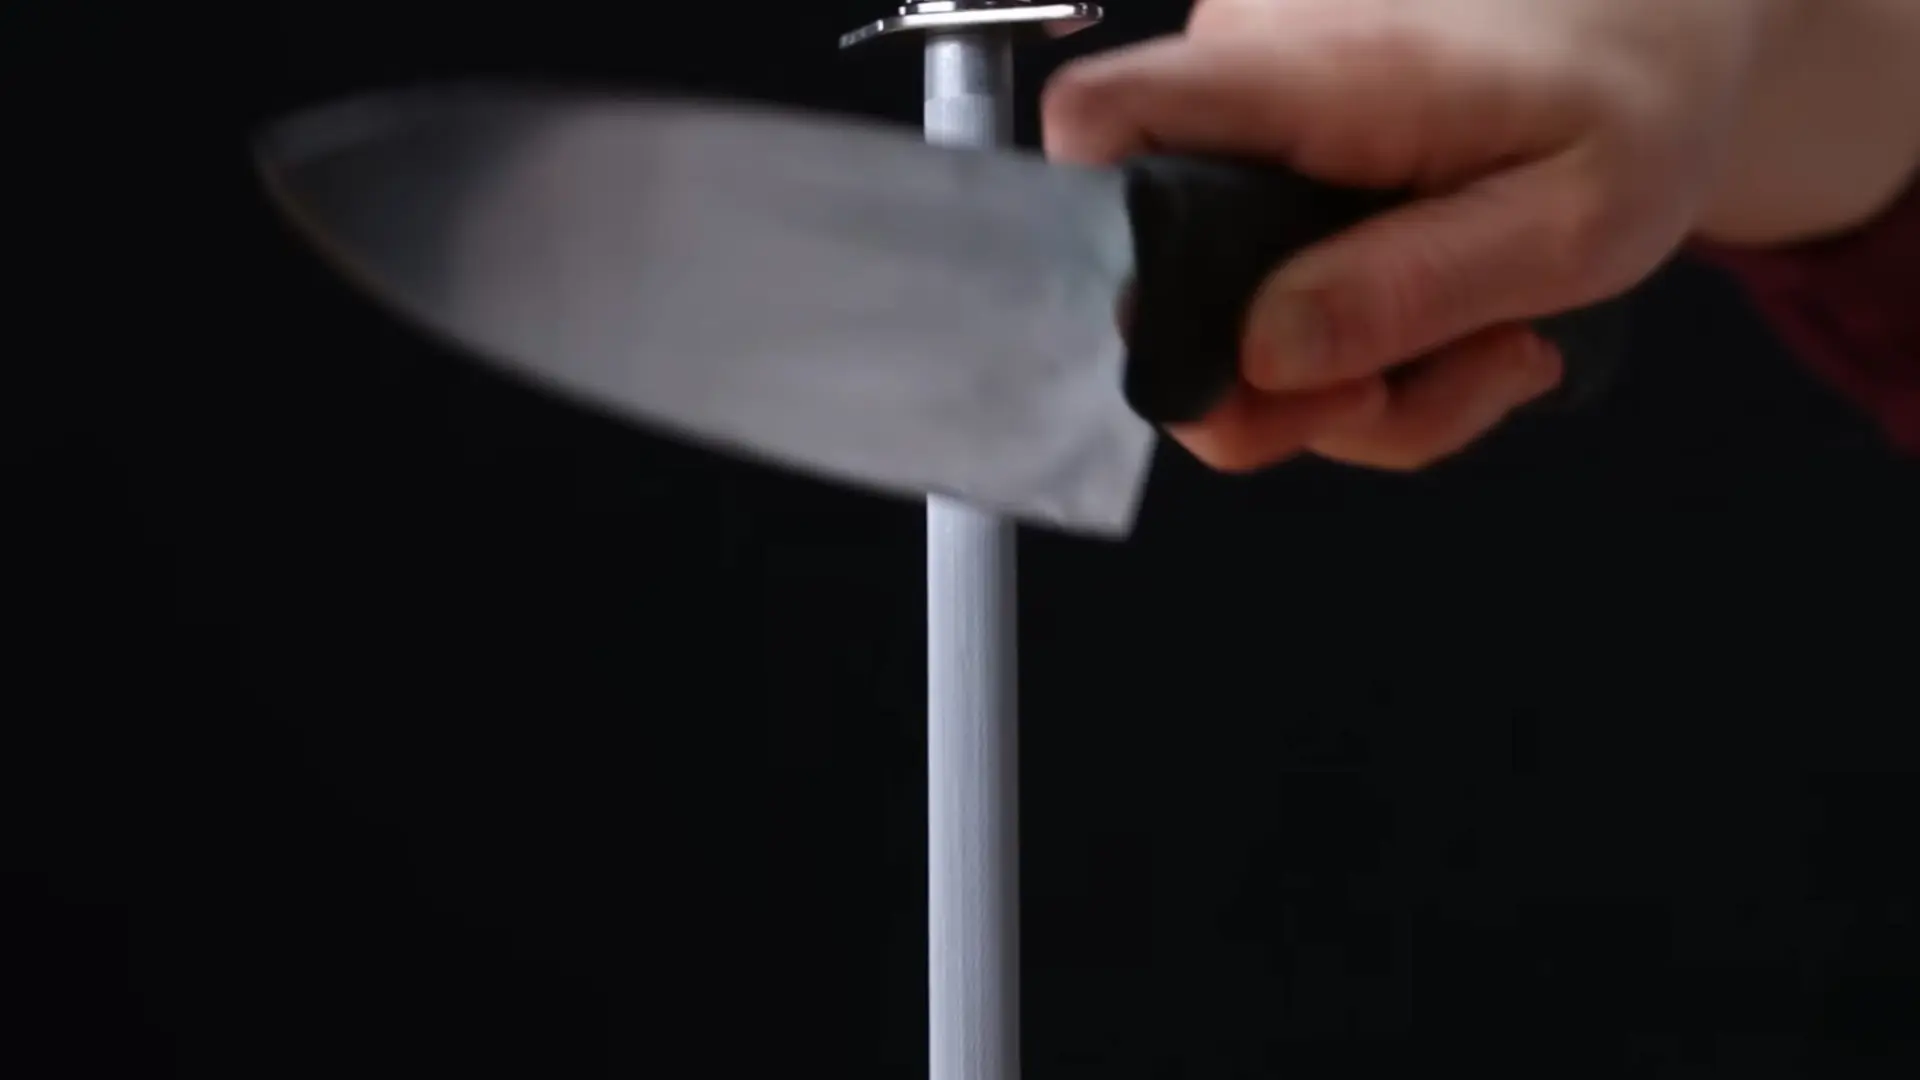
After each stroke, switch to the other side of the blade. This keeps both sides even. You only need to do this a few times, about 3 to 6 strokes per side is enough for regular maintenance. Remember, you’re just realigning the edge, not reshaping it.
Method 2: Using a Pull-Through Knife Sharpener
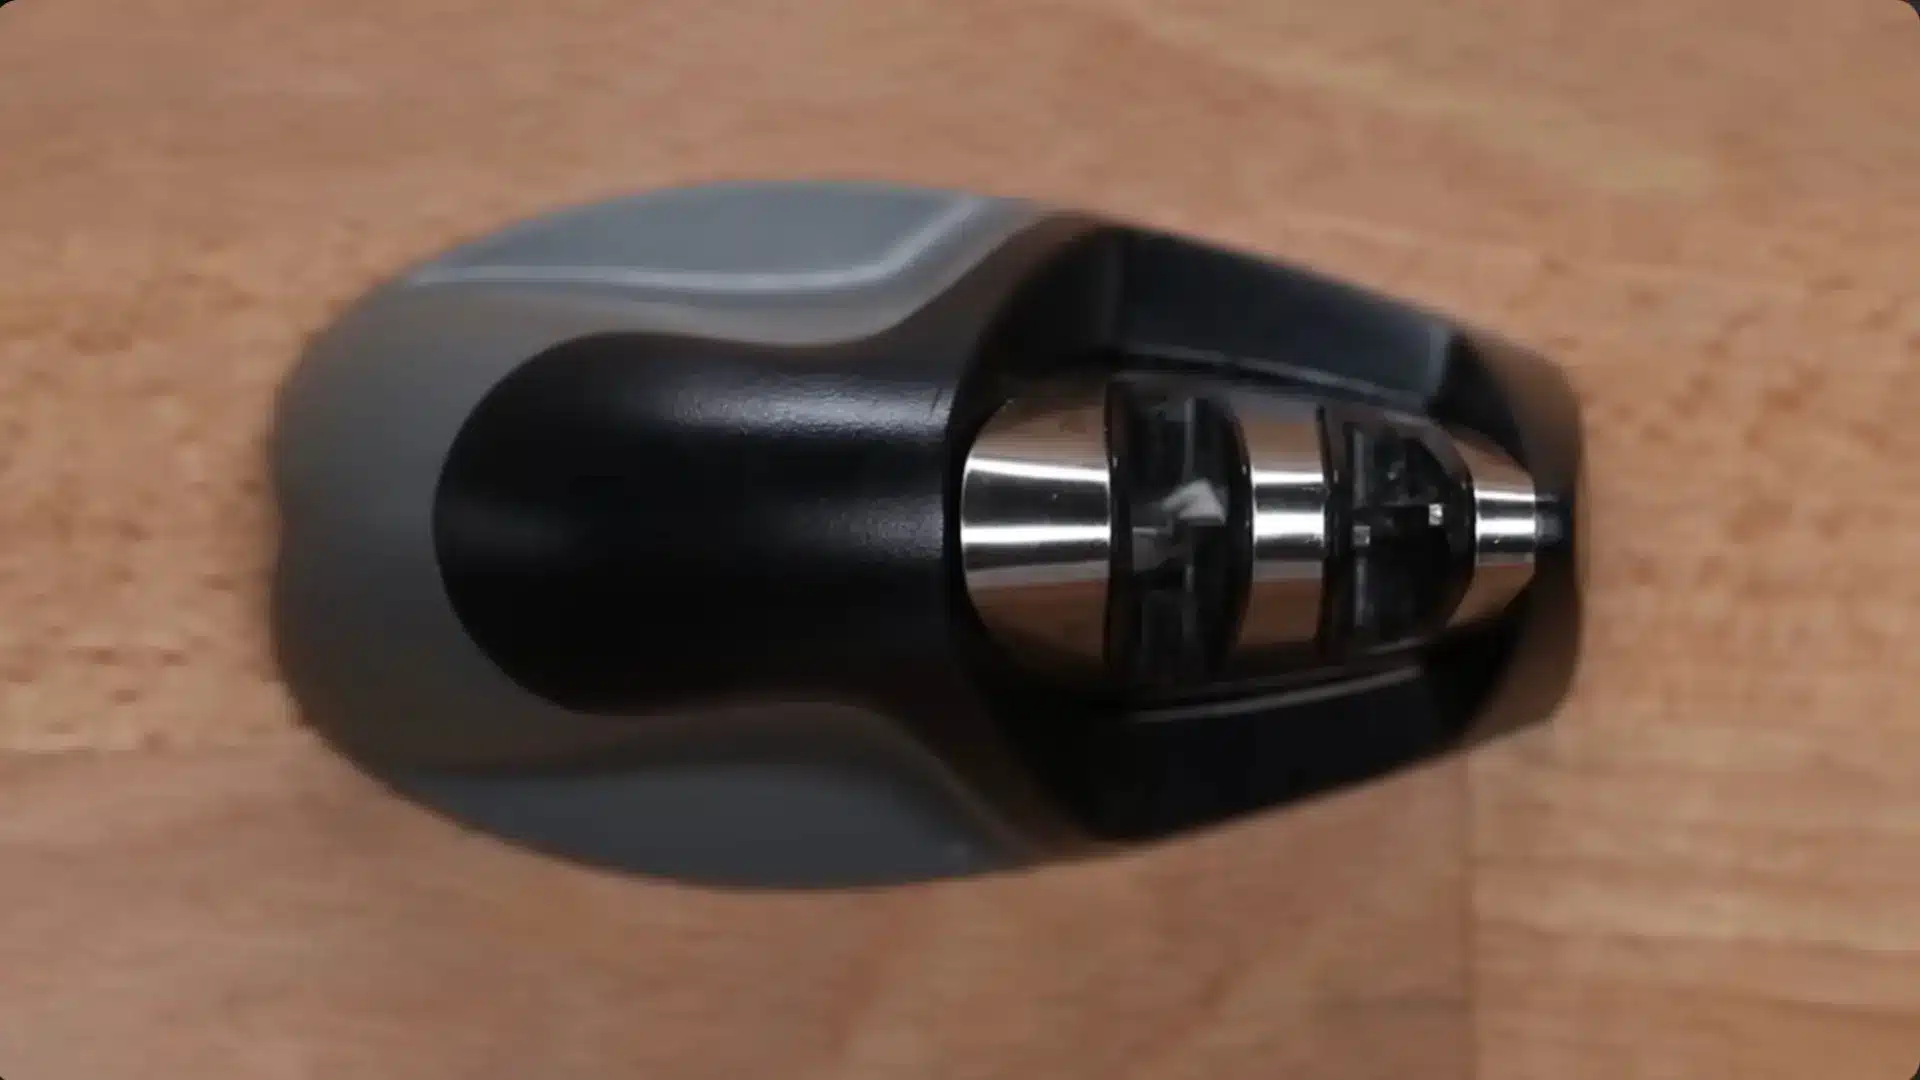
A pull-through sharpener is a simple, beginner-friendly tool that actually removes a small amount of steel to sharpen the blade.
It has two slots, a coarse side and a fine side. You always start with the coarse side first, then finish with the fine side.
Step 1: Place It on a Stable Surface
Set the sharpener flat on your counter. Make sure it’s not going to slide around while you use it. Some sharpeners have a rubber base, if yours doesn’t, place it on a damp cloth to keep it steady.
Step 2: Start with the Coarse Slot
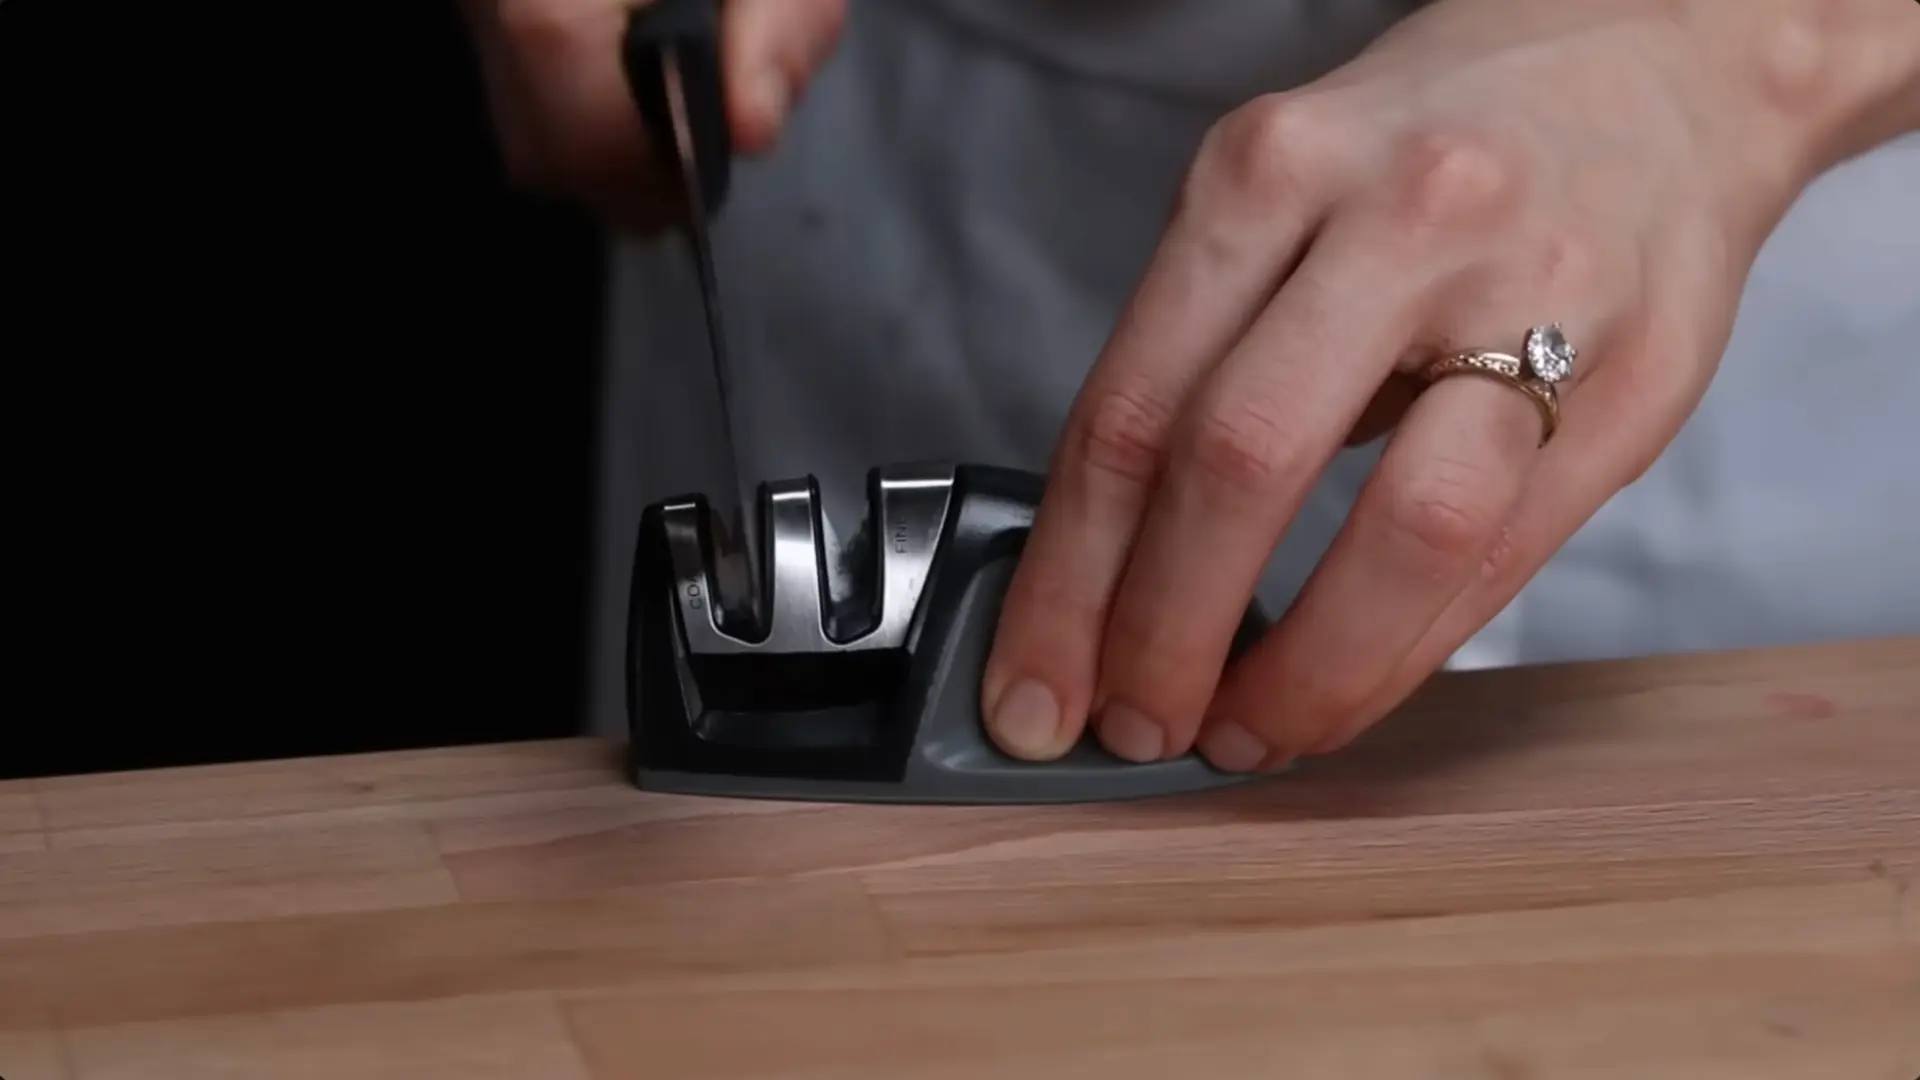
Slide the heel of your knife into the coarse slot. Pull the knife slowly toward you, from heel to tip, using firm and even pressure the whole time. Keep the knife straight, don’t let it tilt to one side. An uneven pull means an uneven edge.
Step 3: Move to the Fine Slot
After a few swipes on the coarse side, move to the fine slot and repeat the same motion. The fine slot smooths and polishes the edge. Again, only a few passes are needed. This tool works great for regular upkeep, but is not ideal for very damaged or badly chipped blades.
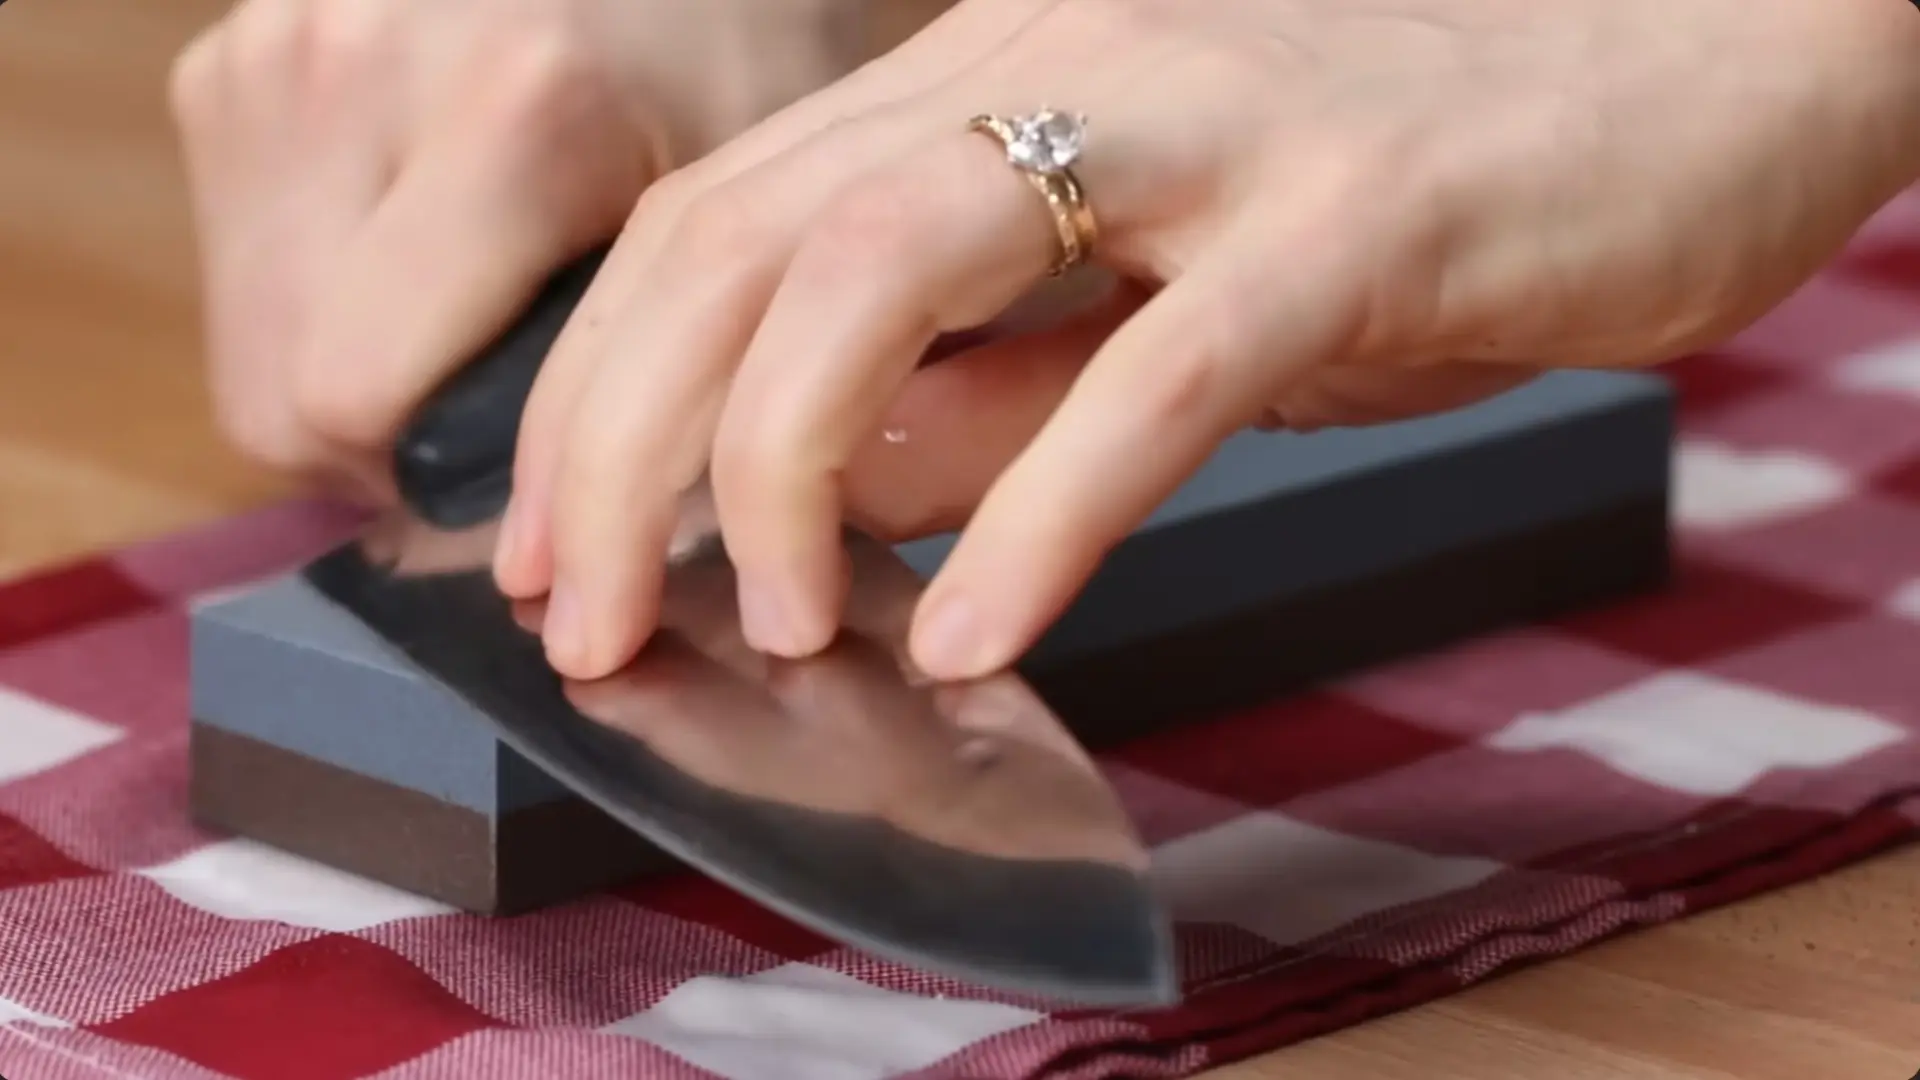
Method 3: Using a Whetstone
A whetstone (also called a wet stone) is the most effective way to sharpen a knife properly. Just like the pull-through sharpener, it has a coarse side and a fine side.
You always start on the coarse side. This method takes a little more practice but gives the best results, especially for dull or damaged knives.
Step 1: Soak the Stone
Place the whetstone in water and let it soak until all the small bubbles disappear and the stone is fully saturated. This is important, the water keeps the surface lubricated so the knife glides smoothly and doesn’t grind harshly.
Step 2: Find the 20-Degree Angle
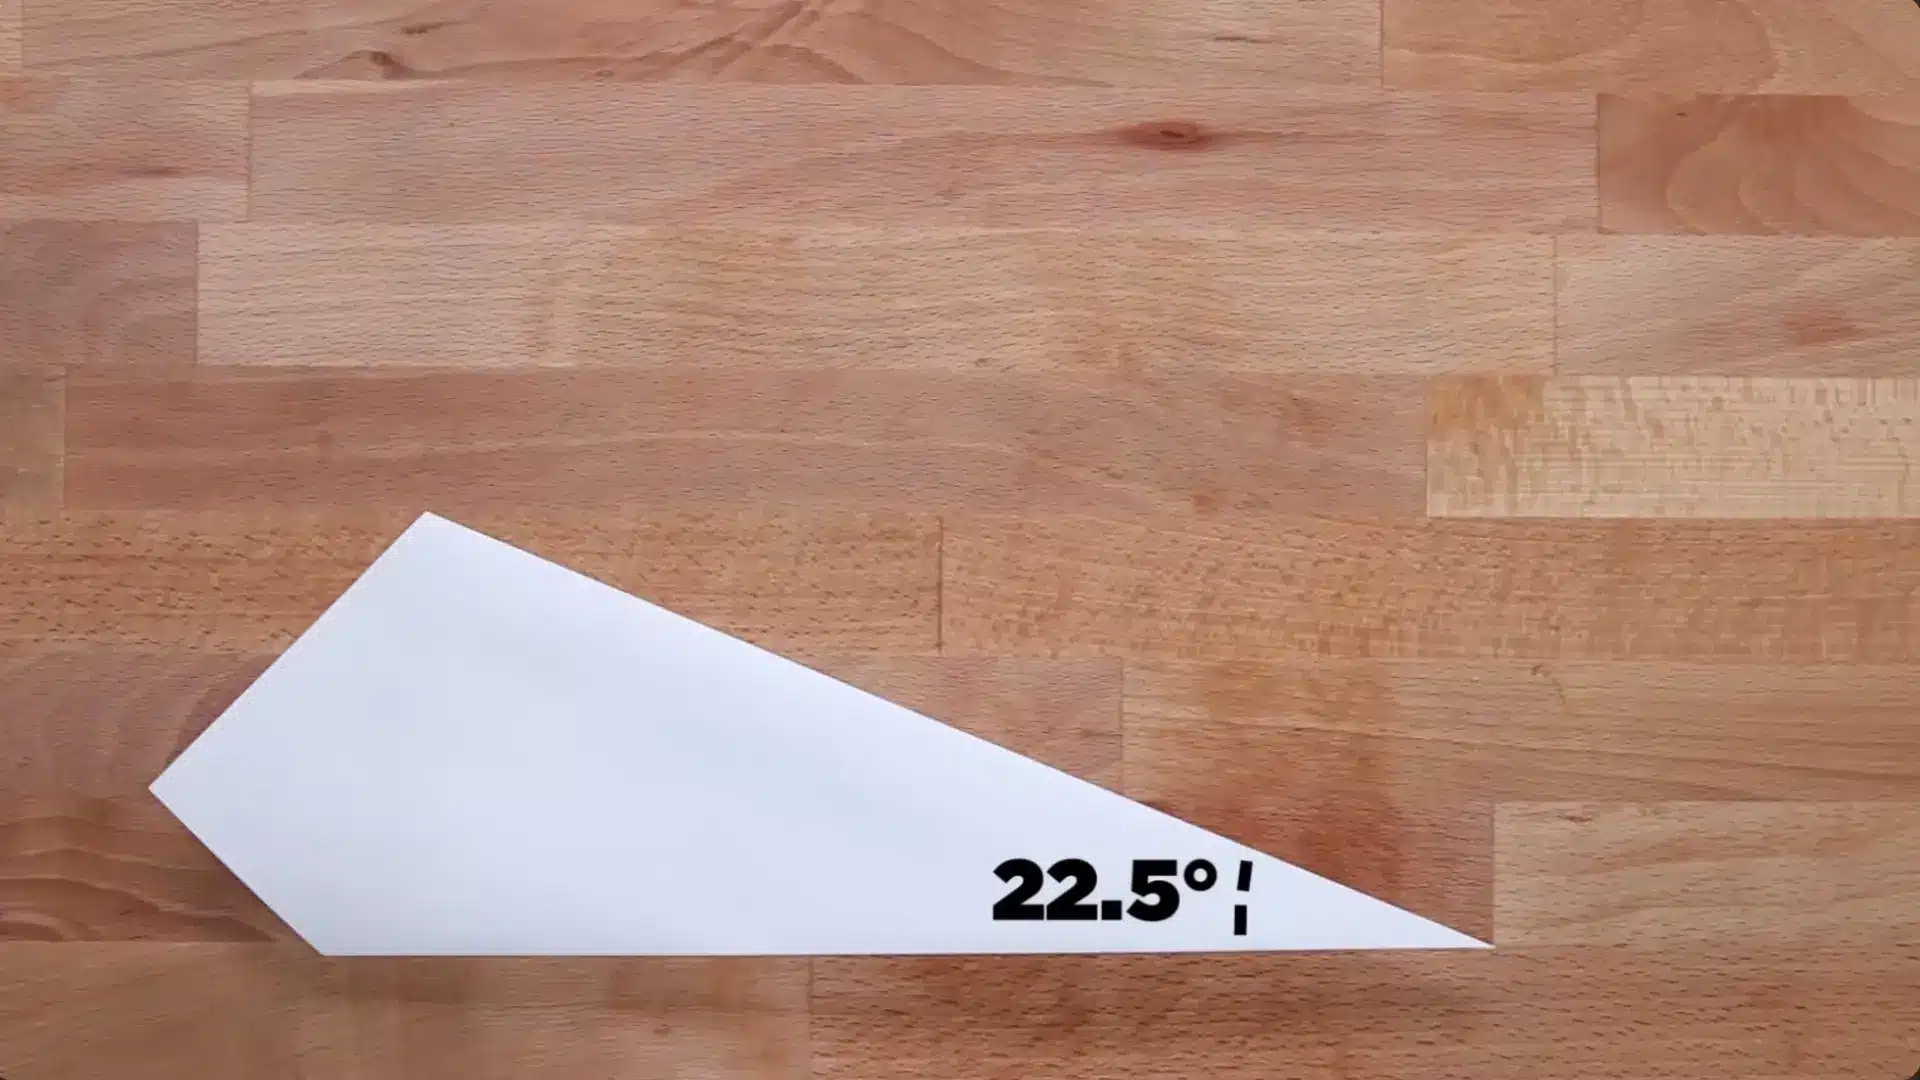
Just like with the honing steel, you want a 20-degree angle. Here’s a helpful trick from the video: fold a piece of paper diagonally. That corner is 90 degrees.
Fold it in half to get 45, then fold in half again to get roughly 22.5 degrees. Lay that folded paper flat on the stone and rest your knife on top, that’s your angle guide.
Step 3: Sharpen on the Coarse Side
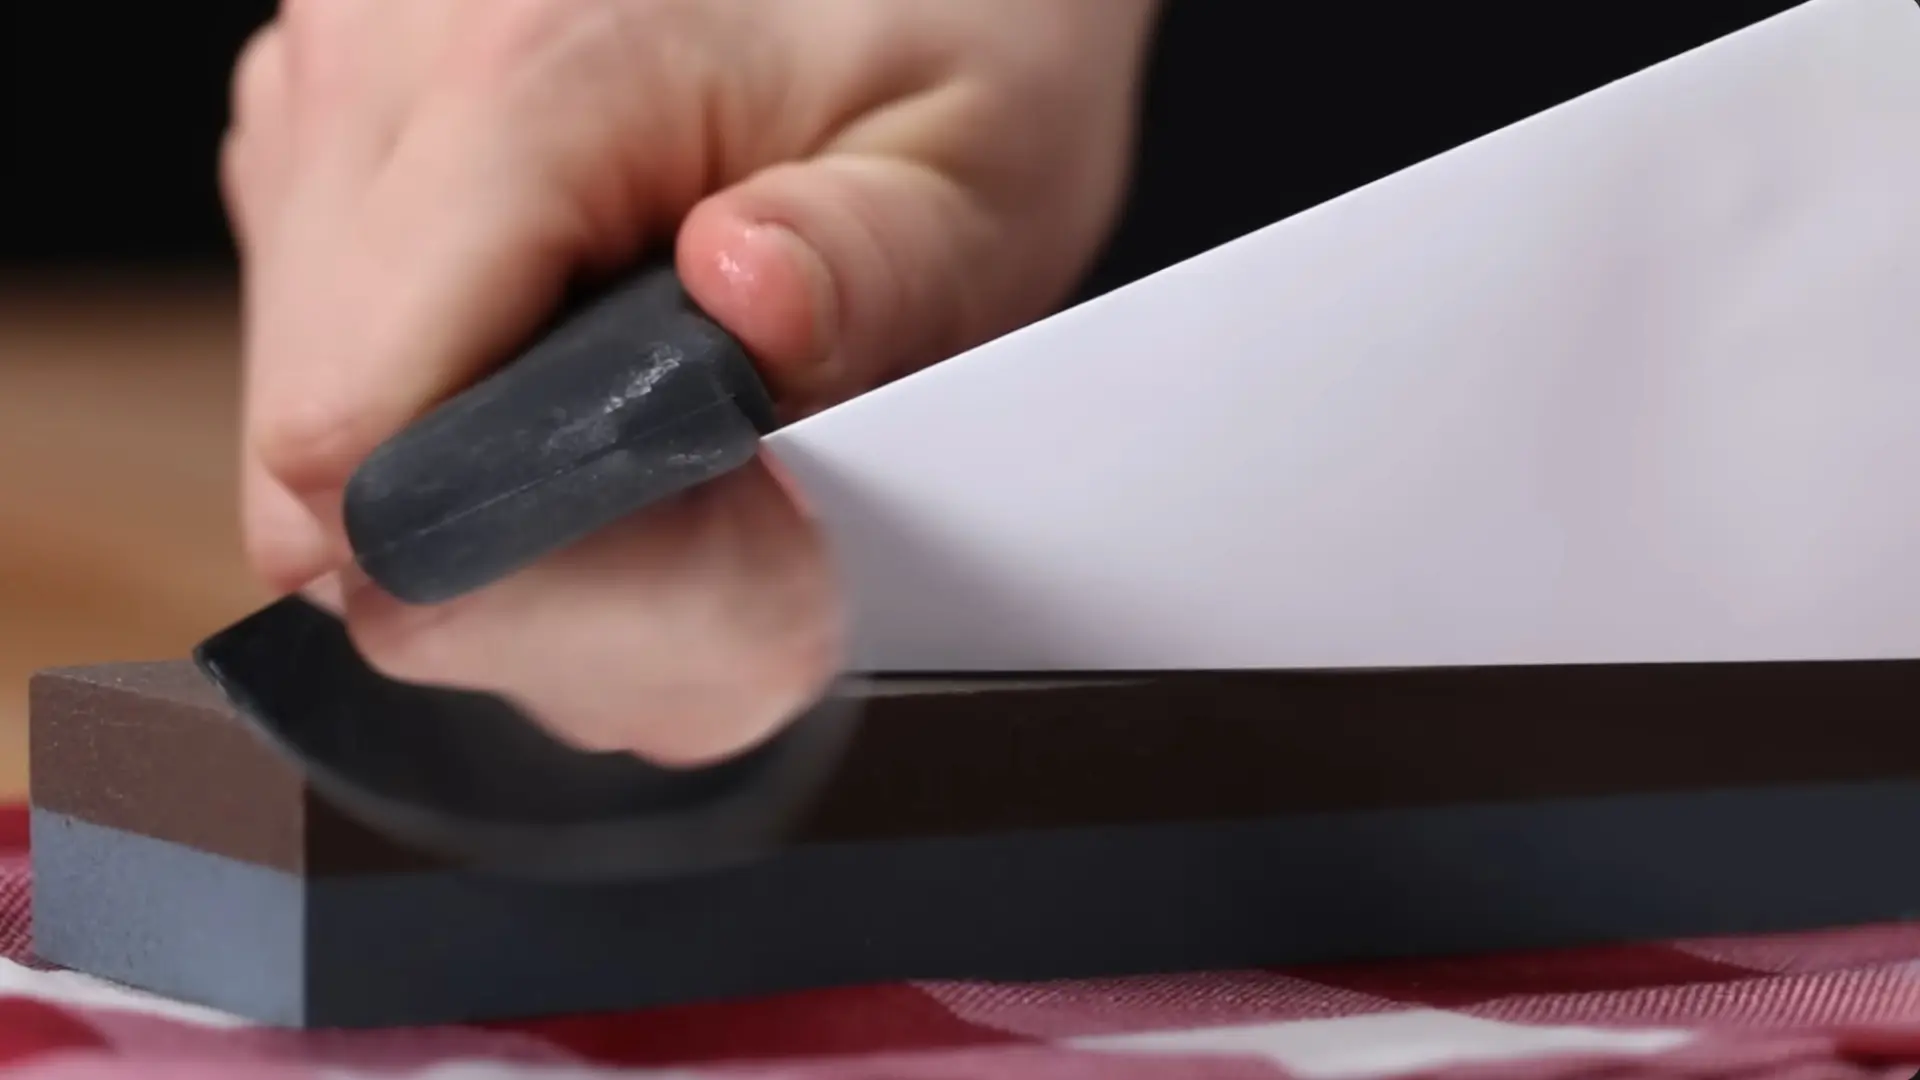
Place the heel of your knife on the stone at your 20-degree angle. Press the blade into the stone and drag it forward in a smooth, gliding motion, from the heel all the way to the tip.
Then flip and do the same on the other side. Keep the pressure even and the angle consistent throughout.
Step 4: Keep the Stone Wet
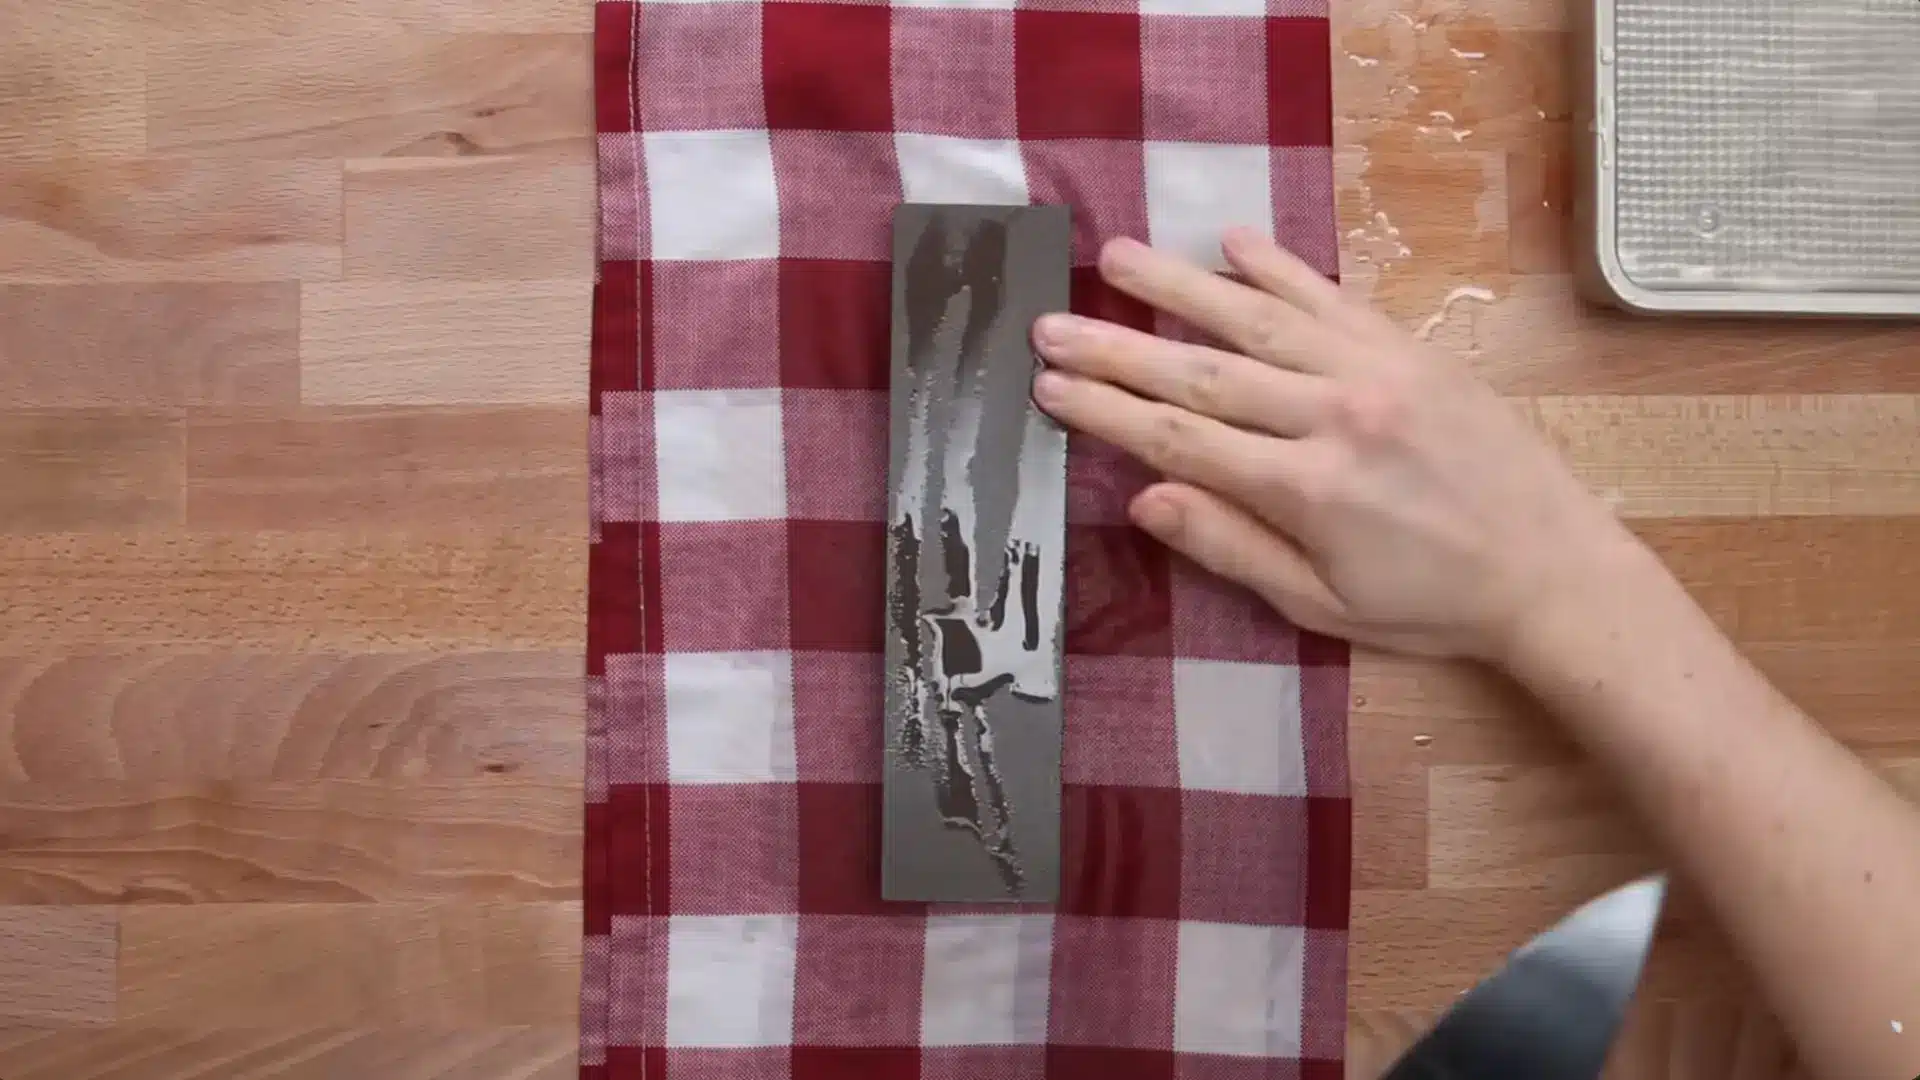
As you sharpen, the stone will start to dry out. If you hear a rough, harsh sound or notice the surface drying up, sprinkle a little water on it.
A dry stone can damage your blade and makes sharpening much harder. Keep it damp throughout the whole process.
Step 5: Move to the Fine Side
Once you’ve sharpened both sides on the coarse grit, flip the stone over to the fine side. Repeat the same motion with lighter pressure.
This refines and polishes the edge, giving you a clean, smooth finish. For a slightly dull knife, a few passes are enough. For a badly damaged blade, take your time on the coarse side first.
Step 6: Do the Tomato Test
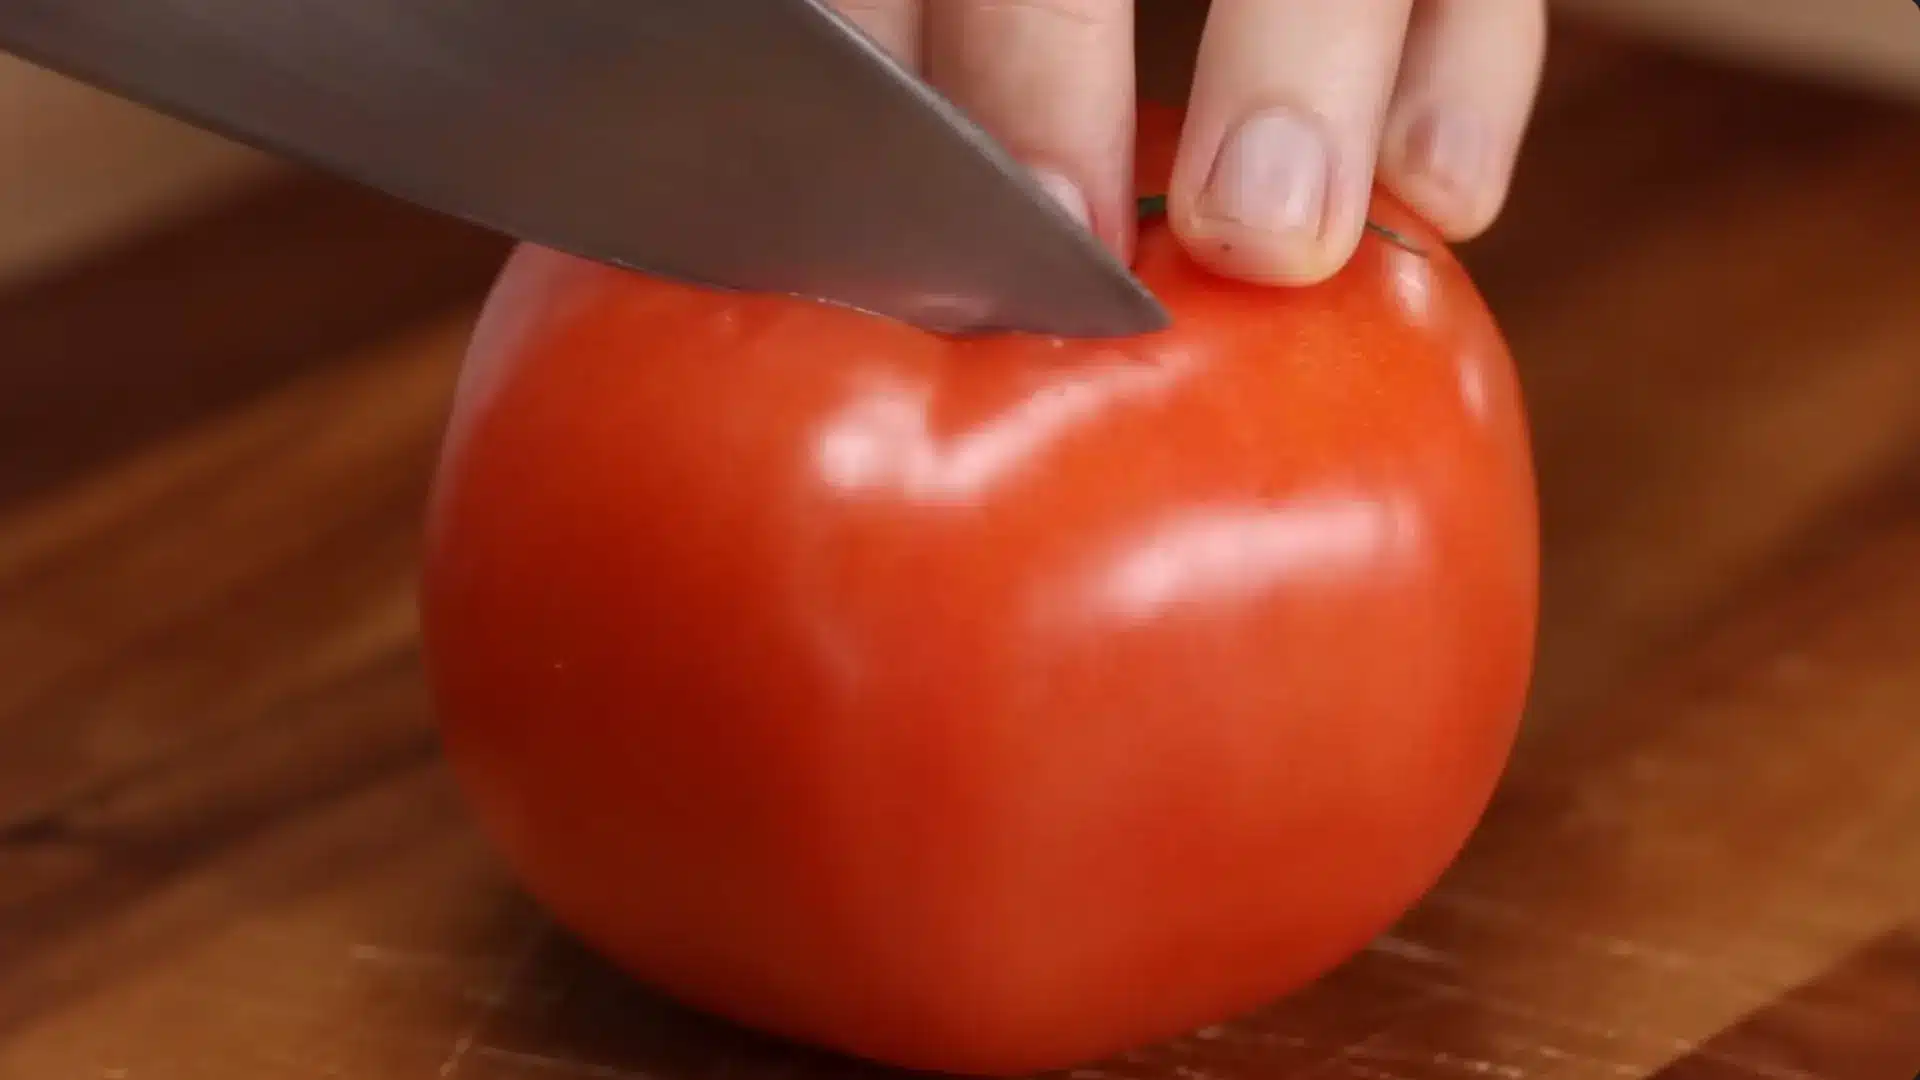
Once you think your knife is sharp, test it on a tomato. Press the blade gently against the skin without pushing down, a sharp knife will glide right through.
Test the full length of the blade to check for any dull spots. If you find one, go back to the whetstone and give that section a few extra passes.
Mastering basic sharpening techniques ensures your knives stay safe, precise, and ready for daily cooking. Start with the method that suits your skill and tools, and practice consistently for the best results.
Household Alternatives for Knife Sharpening (Emergency Use)
If you don’t have proper sharpening tools, some household items can help restore basic sharpness for a short time. These methods are only for emergencies and should not replace proper equipment.
Ceramic Mug:
- Turn the mug upside down and place it on a stable surface.
- Use the unglazed ring on the bottom as a sharpening surface.
- Hold the knife at a 15–20° angle.
- Slide the blade across the surface using light, even pressure.
- Alternate sides evenly for balanced sharpening.
Sandpaper:
- Wrap fine-grit sandpaper (200–400 grit) around a flat, sturdy board.
- Keep the knife at a 15–20° angle.
- Glide the blade smoothly across the surface.
- Apply gentle pressure to avoid damaging the edge.
Always test the sharpness carefully. These methods offer temporary results; proper tools provide safer and longer-lasting sharpness.
How to Maintain Your Knife After Sharpening
Maintaining your knife after sharpening is just as important as the sharpening itself. Simple daily habits keep your blade sharp, safe, and long-lasting.
| Tip | Description |
|---|---|
| Hone Regularly | Use a steel or ceramic rod to straighten the edge between sharpenings and prevent dulling. |
| Proper Storage | Store knives in a block, on a magnetic strip, or with blade guards to protect the edge. |
| Avoid the Dishwasher | Hand-wash knives instead of using a dishwasher, as heat and detergent can damage the blade. |
| Use the Right Cutting Surface | Cut on wood or plastic boards; avoid glass, stone, or metal surfaces that can dull knives. |
| Clean and Dry Immediately | Wipe knives dry after washing to prevent rust and corrosion. |
Following these simple maintenance tips ensures your knives remain sharp, safe, and efficient for years, making every cooking task easier and more enjoyable.
Tips for Sharpening your Knives
Sharpening doesn’t have to take forever. These simple tips help you work efficiently, safely, and effectively, giving your knives a sharp edge in less time.
- Set a consistent angle: Keep the knife at the same angle throughout to ensure an even, precise edge.
- Use light pressure: Start gently to avoid removing too much metal and damaging the blade.
- Sharpen small sections: Focus on one part at a time if you’re short on time or handling a very dull knife.
- Prioritize safety: Wear gloves, use a stable surface, and move slowly to prevent accidents.
- Check progress frequently: Test the edge on paper or soft food to know when it’s sharp enough.
Following these tips saves time while keeping your knives safe and effective. With consistent practice, sharpening quickly becomes easy and reliable every time.
Final Thoughts
How to sharpen a knife doesn’t have to be complicated. Once you understand the basics, the right angle, the right tool, and a little practice, it becomes second nature.
I’ve tried all the methods I shared in this guide, and I can tell you that even a beginner can get great results with a whetstone or a simple honing steel.
The biggest takeaway? Don’t wait until your knife is completely dull. A little regular maintenance goes a long way. If you’re a home cook or someone who loves the outdoors, keeping your knife sharp makes every task safer and easier.
Now it’s your turn, grab your knife, pick a method, and give it a try. And if this guide helped you, share it with someone who could use it!
Frequently Asked Questions
Can you Sharpen a Knife Too Much?
Yes, you can sharpen a knife too much. Every time you sharpen, you remove a small amount of metal from the blade. Over-sharpening unnecessarily can thin the blade over time and shorten its lifespan. That’s why honing regularly and sharpening only when the knife is truly dull is the best practice for long-term blade health.
Is a Honing Steel the Same as Sharpening?
No, a honing steel does not actually sharpen a knife. Sharpening removes metal to create a new edge, while honing simply realigns the existing edge. Over time, a knife’s edge bends slightly during use. A honing steel straightens that edge, which makes the knife feel sharper without grinding away material. Both honing and sharpening are important, but they serve different purposes.
How Do You Know When a Knife is Sharp?
There are several simple ways to test sharpness. The paper test is one of the easiest: hold a sheet of paper upright and slice downward. A sharp knife will cut cleanly without tearing. The tomato test also works well. A sharp knife should slice through tomato skin with very little pressure. If you have to push hard, it needs sharpening.