
A dull, dusty concrete floor doesn’t have to stay that way, and painting it is one of the cheapest ways to change how a garage, basement, or patio feels day to day.
Many homeowners ask if painting concrete is worth the effort or if the finish will peel after a short time.
In most cases, a properly prepared and painted concrete floor is durable, easier to clean, and more attractive than bare concrete.
With the right approach, you can achieve a smooth, long-lasting finish that withstands daily use. Keep reading to learn the complete process and avoid common mistakes that lead to poor results.
Is Painting a Concrete Floor Actually Worth It?
Yes, for most garages, basements, and patios, painting concrete is worth it, as long as you’re realistic about what it can and can’t fix.
Paint cannot stop moisture through cracked concrete or match epoxy’s durability under daily vehicle traffic.
What it will do is turn a gray, stained, dusty surface into something that’s easier to sweep, easier to mop, and noticeably less depressing to look at.
What You Need Before You Start
Gather the right materials before painting to prepare the surface properly and achieve a smooth, durable finish.
- Concrete Floor Paint or Epoxy Coating
- Concrete Cleaner and Degreaser
- Concrete Patch or Crack Filler
- Concrete Primer
- Paint Scraper
- Nap Paint Rollers
- Angled Paint Brush
How to Paint Concrete Floors?
Follow these step-by-step instructions to prepare, prime, paint, and finish a concrete floor for a smooth, long-lasting, professional-looking result.
Step 1: Remove Loose and Flaking Paint
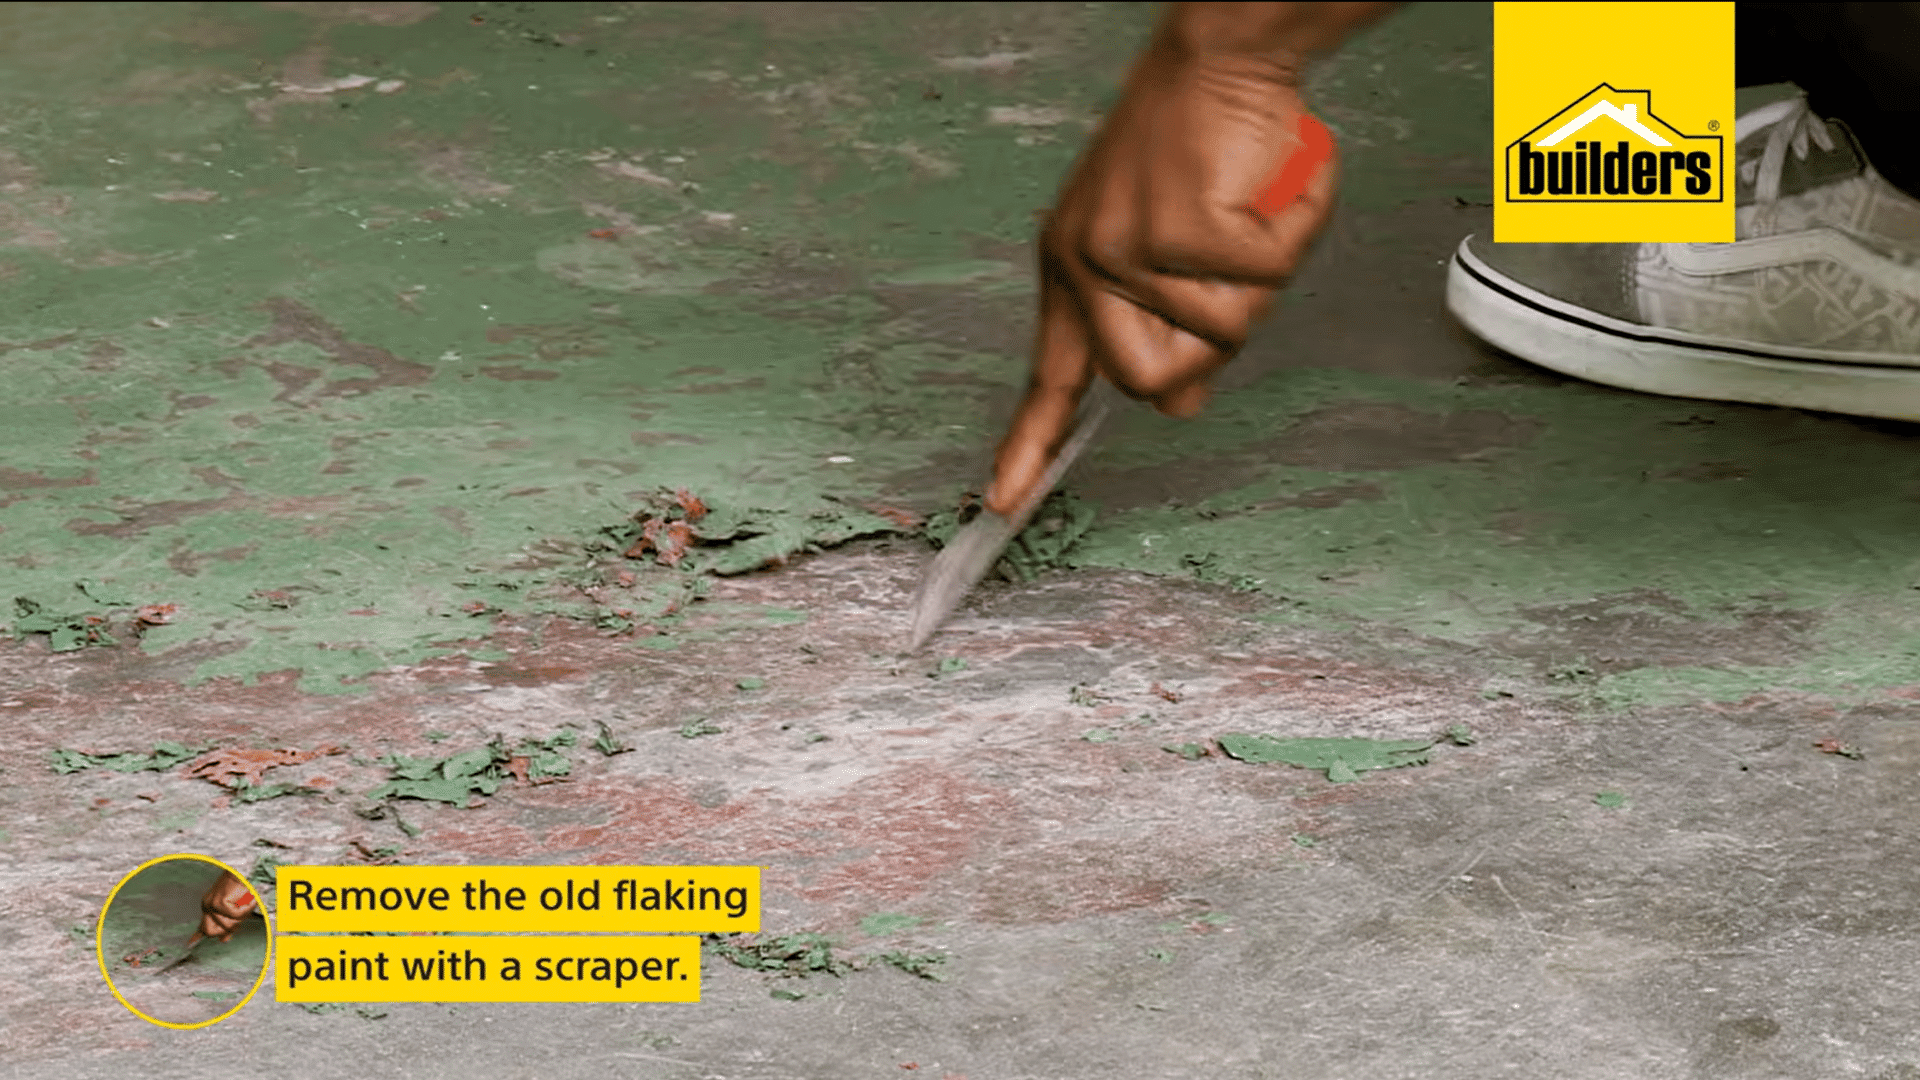
Begin by scraping away all loose, peeling, or flaking paint using a floor scraper. Removing damaged paint is essential because fresh paint will not properly bond to unstable surfaces.
Focus on every section where the old coating has begun to lift, even if it seems minor.
Taking the time to remove loose paint creates a solid foundation for the new coating, improving adhesion and helping prevent future peeling or premature wear.
Step 2: Sweep and Vacuum the Floor
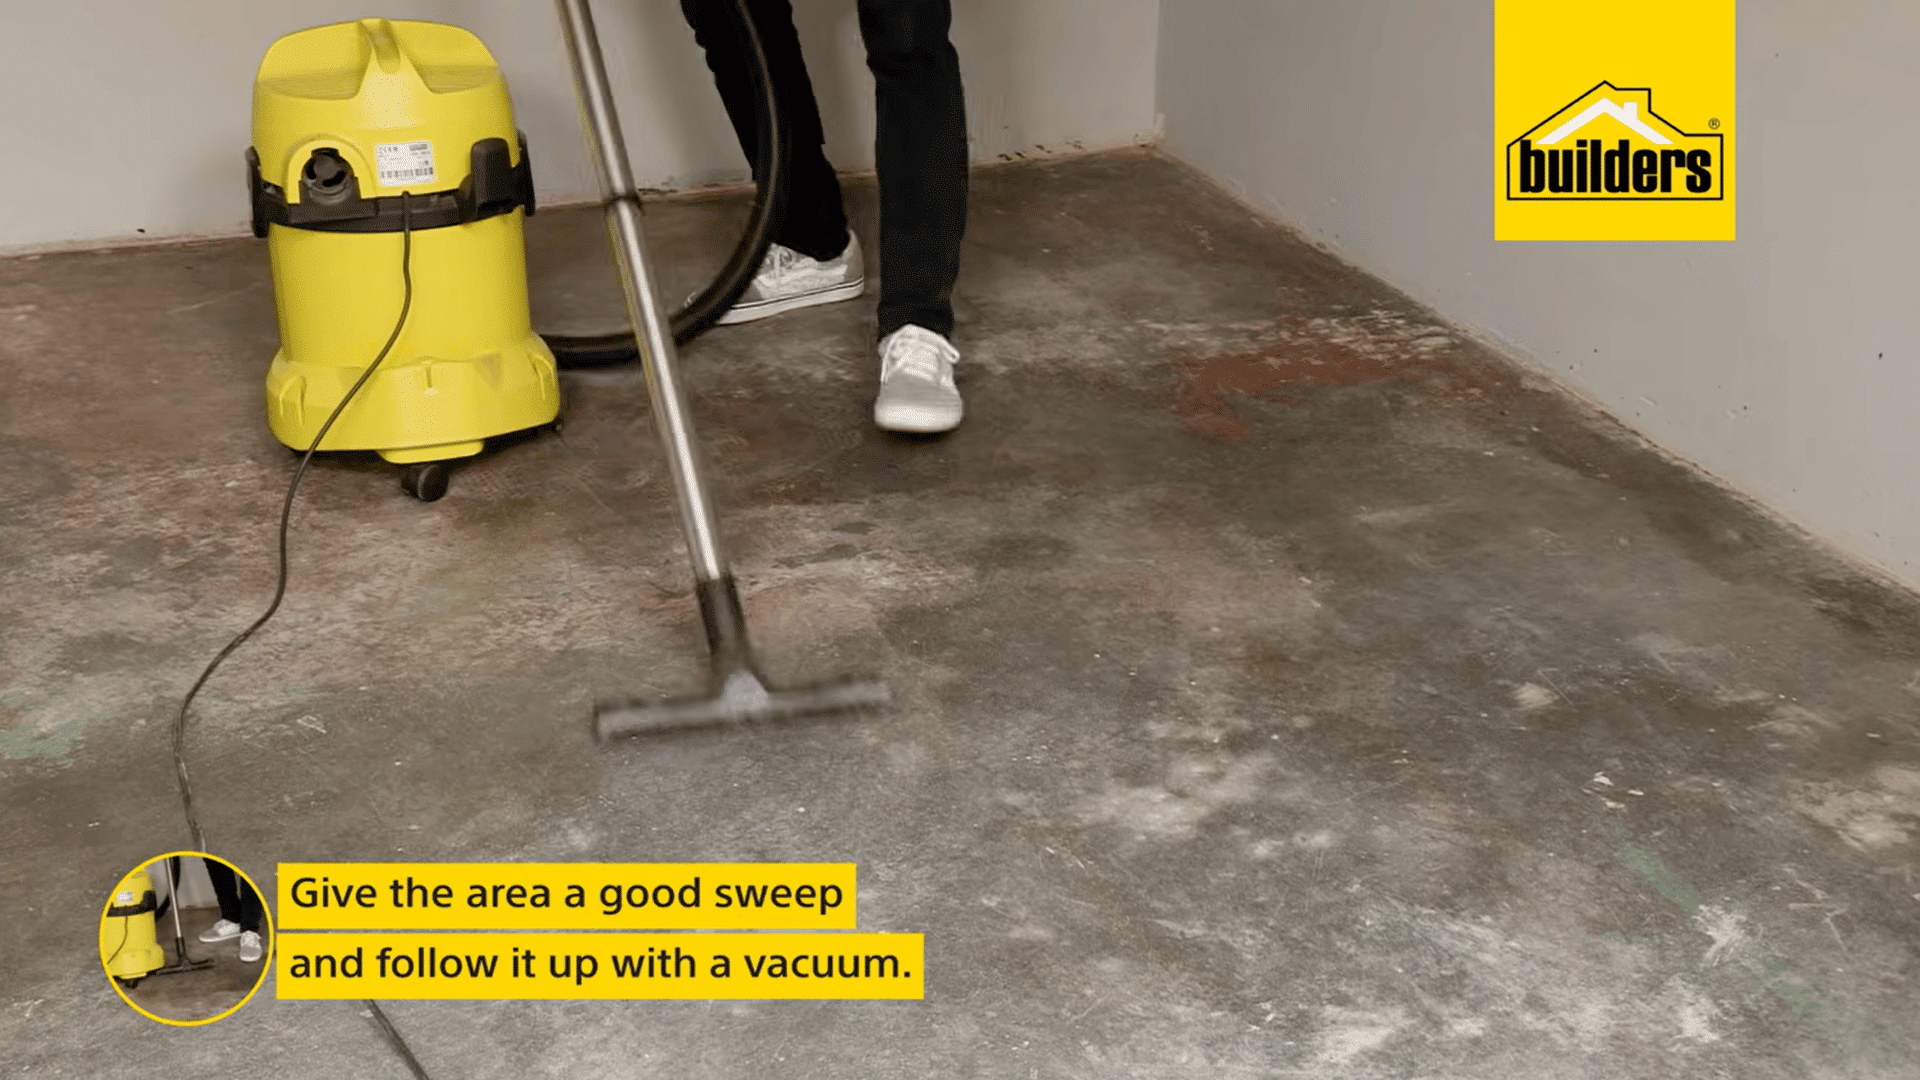
Once the loose paint has been removed, thoroughly sweep the floor to collect paint chips, dust, and other debris.
Follow this by vacuuming the entire surface, paying close attention to corners and edges where dust often collects.
Cleaning away loose particles prevents imperfections in the finished coat and allows the primer or paint to bond directly to the concrete rather than sitting on dirt or debris.
Step 3: Wash the Surface with Sugar Soap
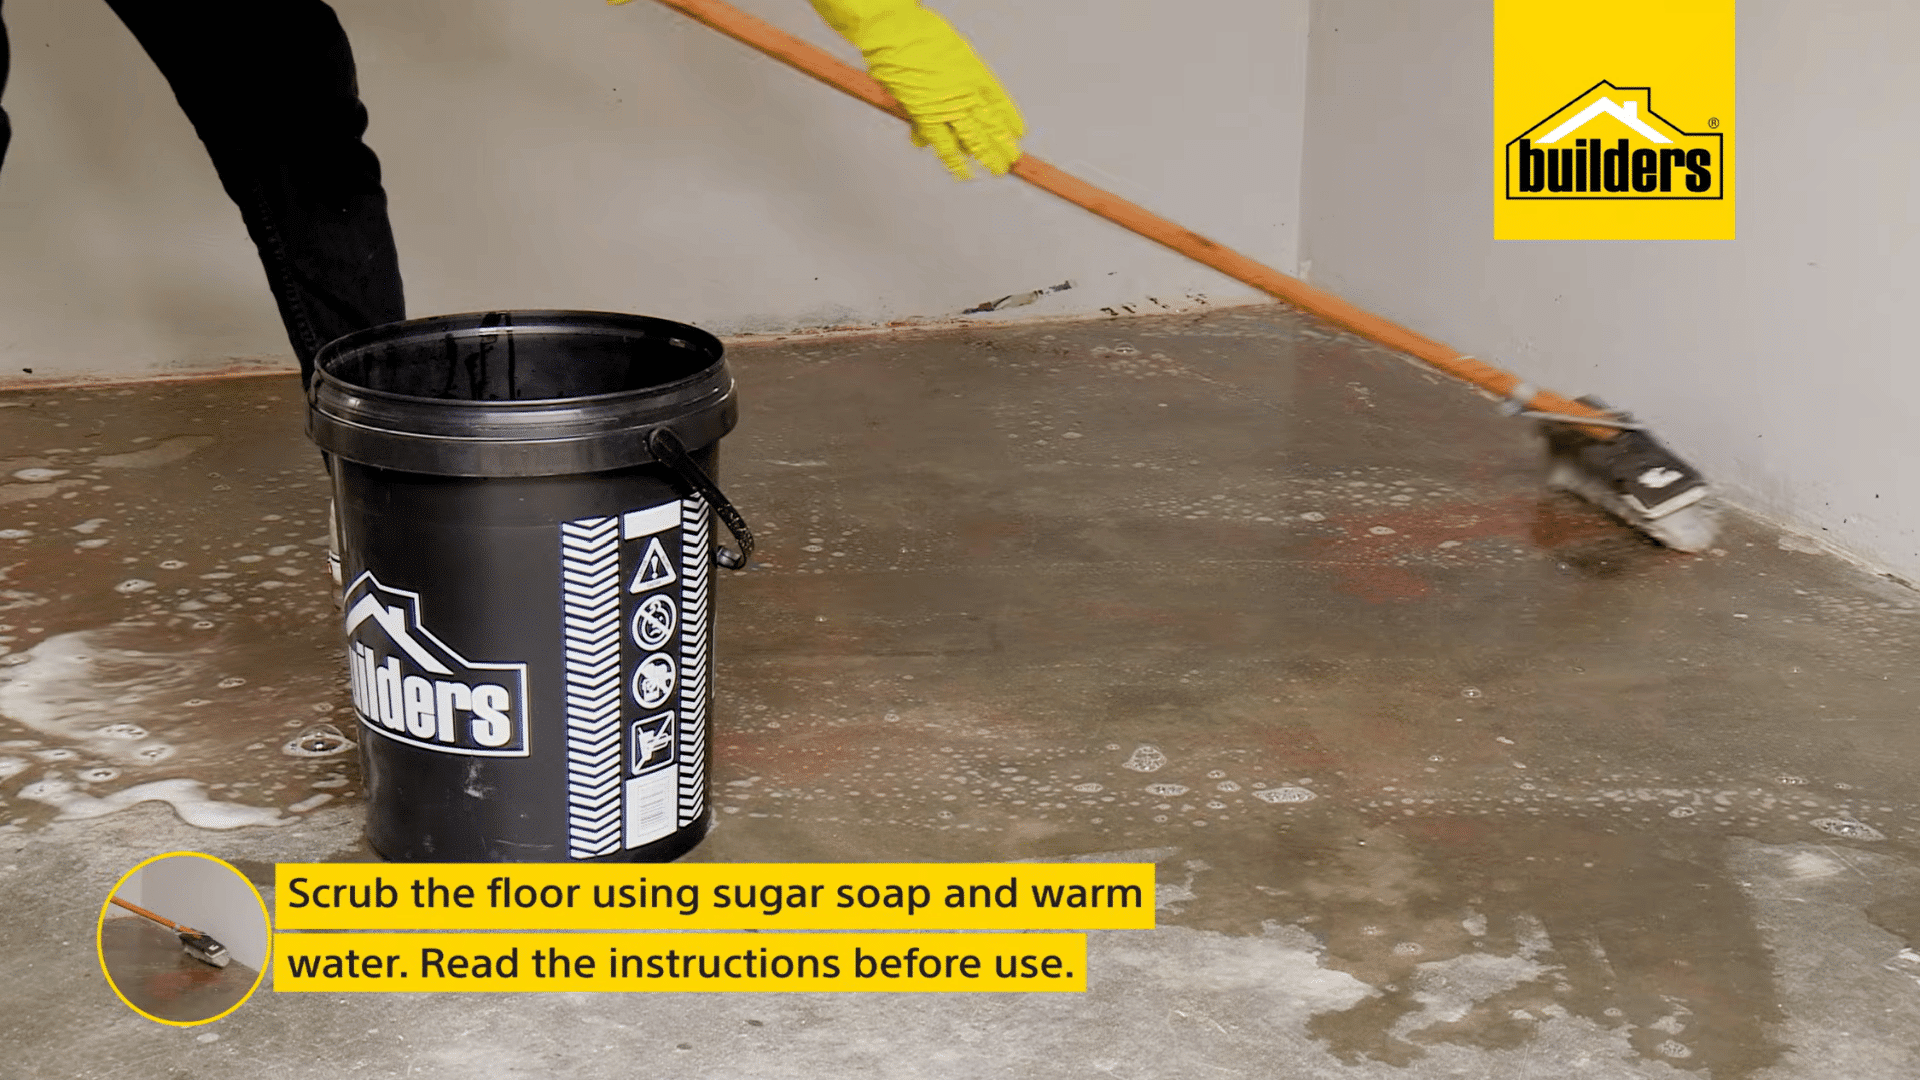
Mix concentrated sugar soap with warm water and scrub the concrete thoroughly. Sugar soap effectively removes grease, oil, dirt, and other contaminants that may interfere with paint adhesion.
After scrubbing, mop the floor using clean water to remove any remaining residue.
Allow the floor to dry completely before continuing.
Step 4: Allow the Floor to Dry Completely
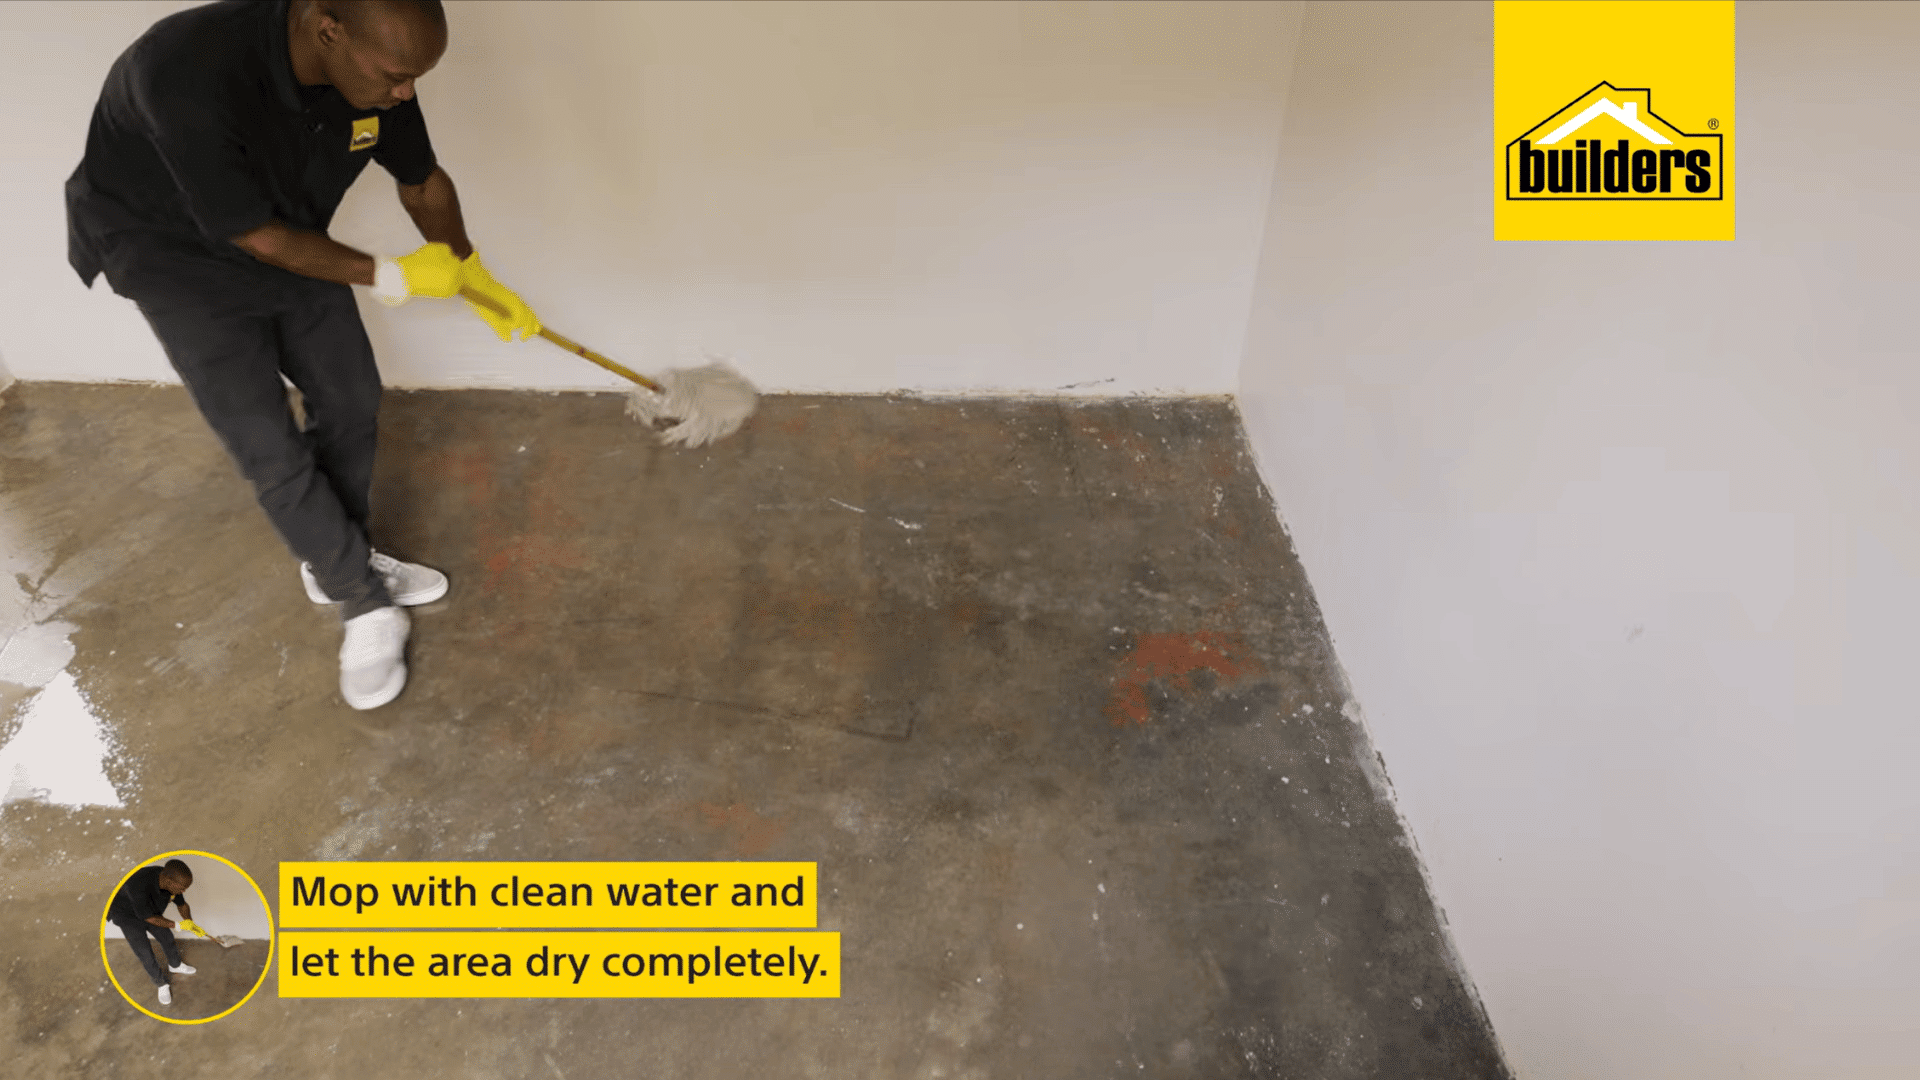
After washing, allow the concrete to dry before painting. Avoid walking across the floor unnecessarily or allowing new dirt to settle on the surface.
Painting over damp concrete or introducing dust at this stage can reduce adhesion and affect the appearance of the finished floor.
Tip: Remove your shoes before beginning the painting process to keep the floor clean.
Step 5: Mask the Edges and Prepare the Paint
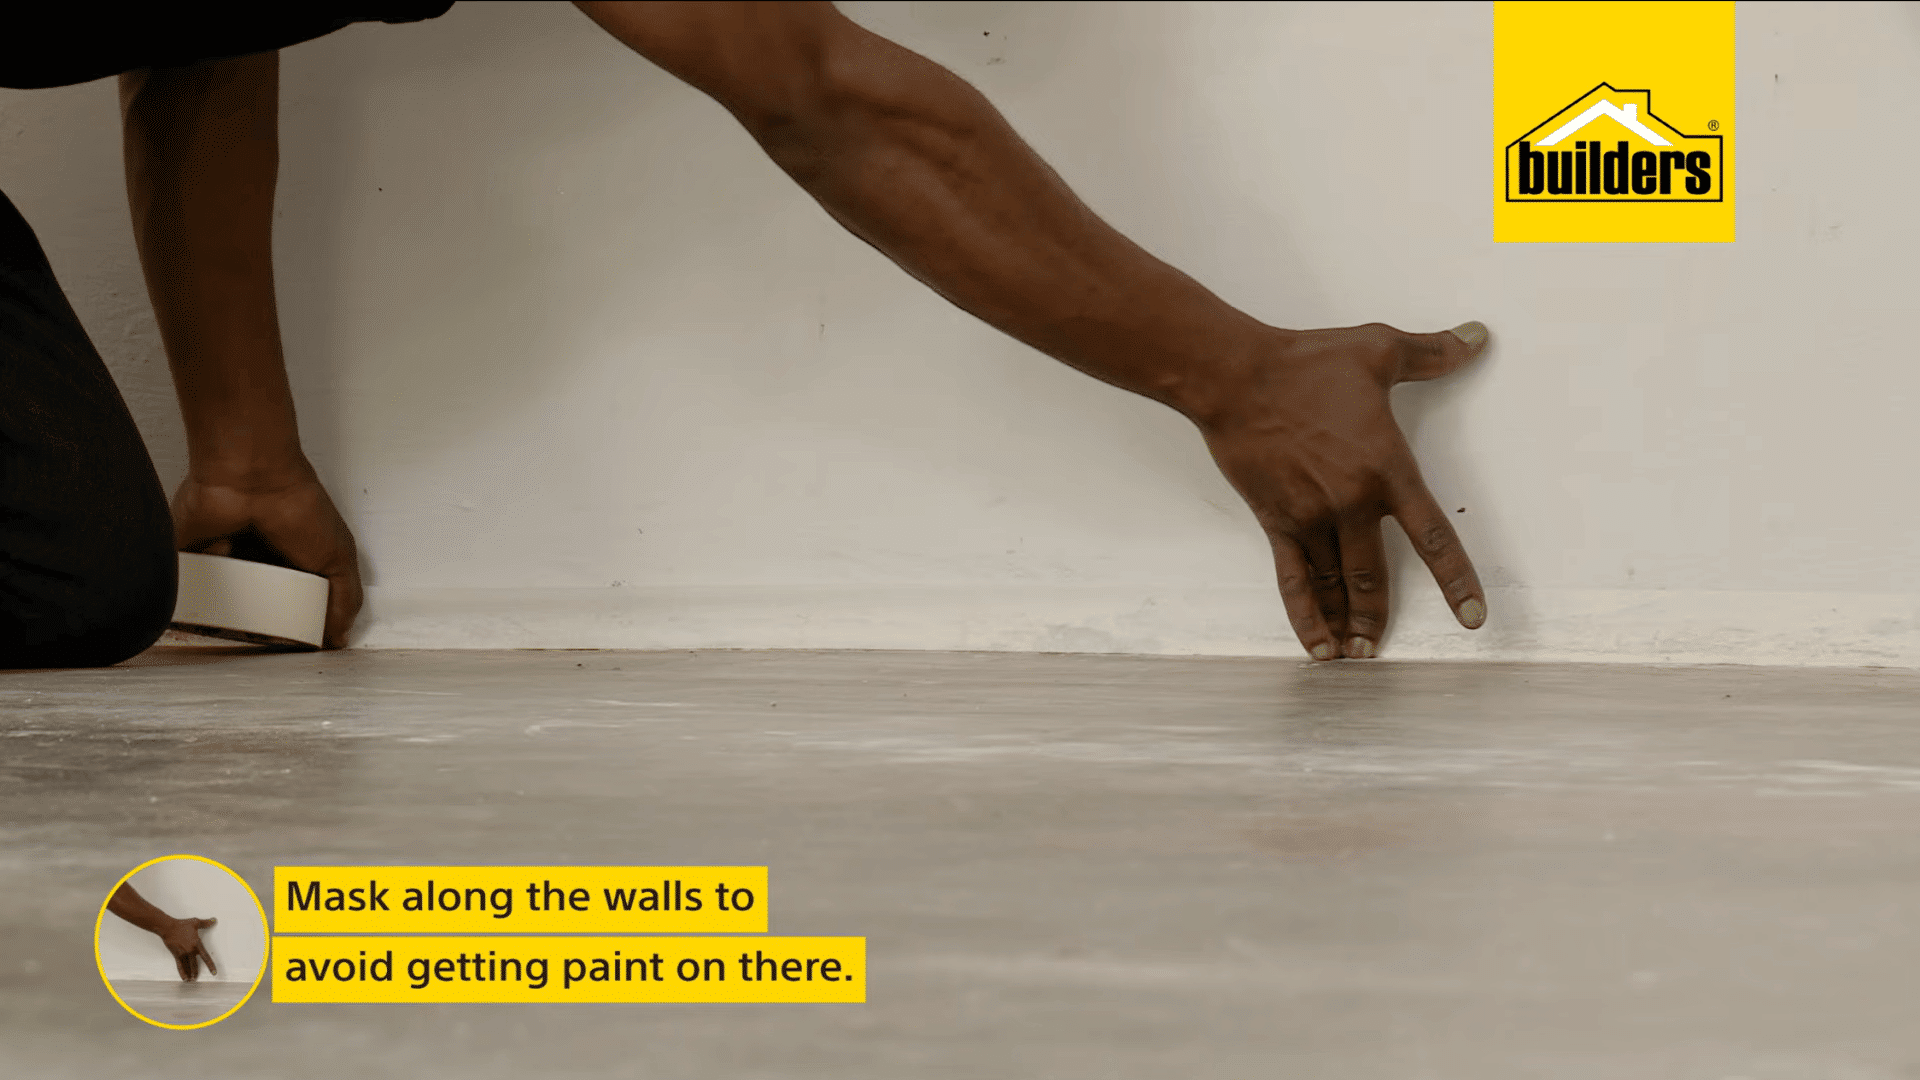
Apply painter’s tape along walls, skirting boards, and any nearby surfaces to protect them from accidental paint splatters.
Press the tape down firmly so paint cannot seep underneath during application.
Carefully masking the edges creates crisp, clean paint lines and reduces the need for touch-ups once the job is complete.
Step 6: Prepare the Paint
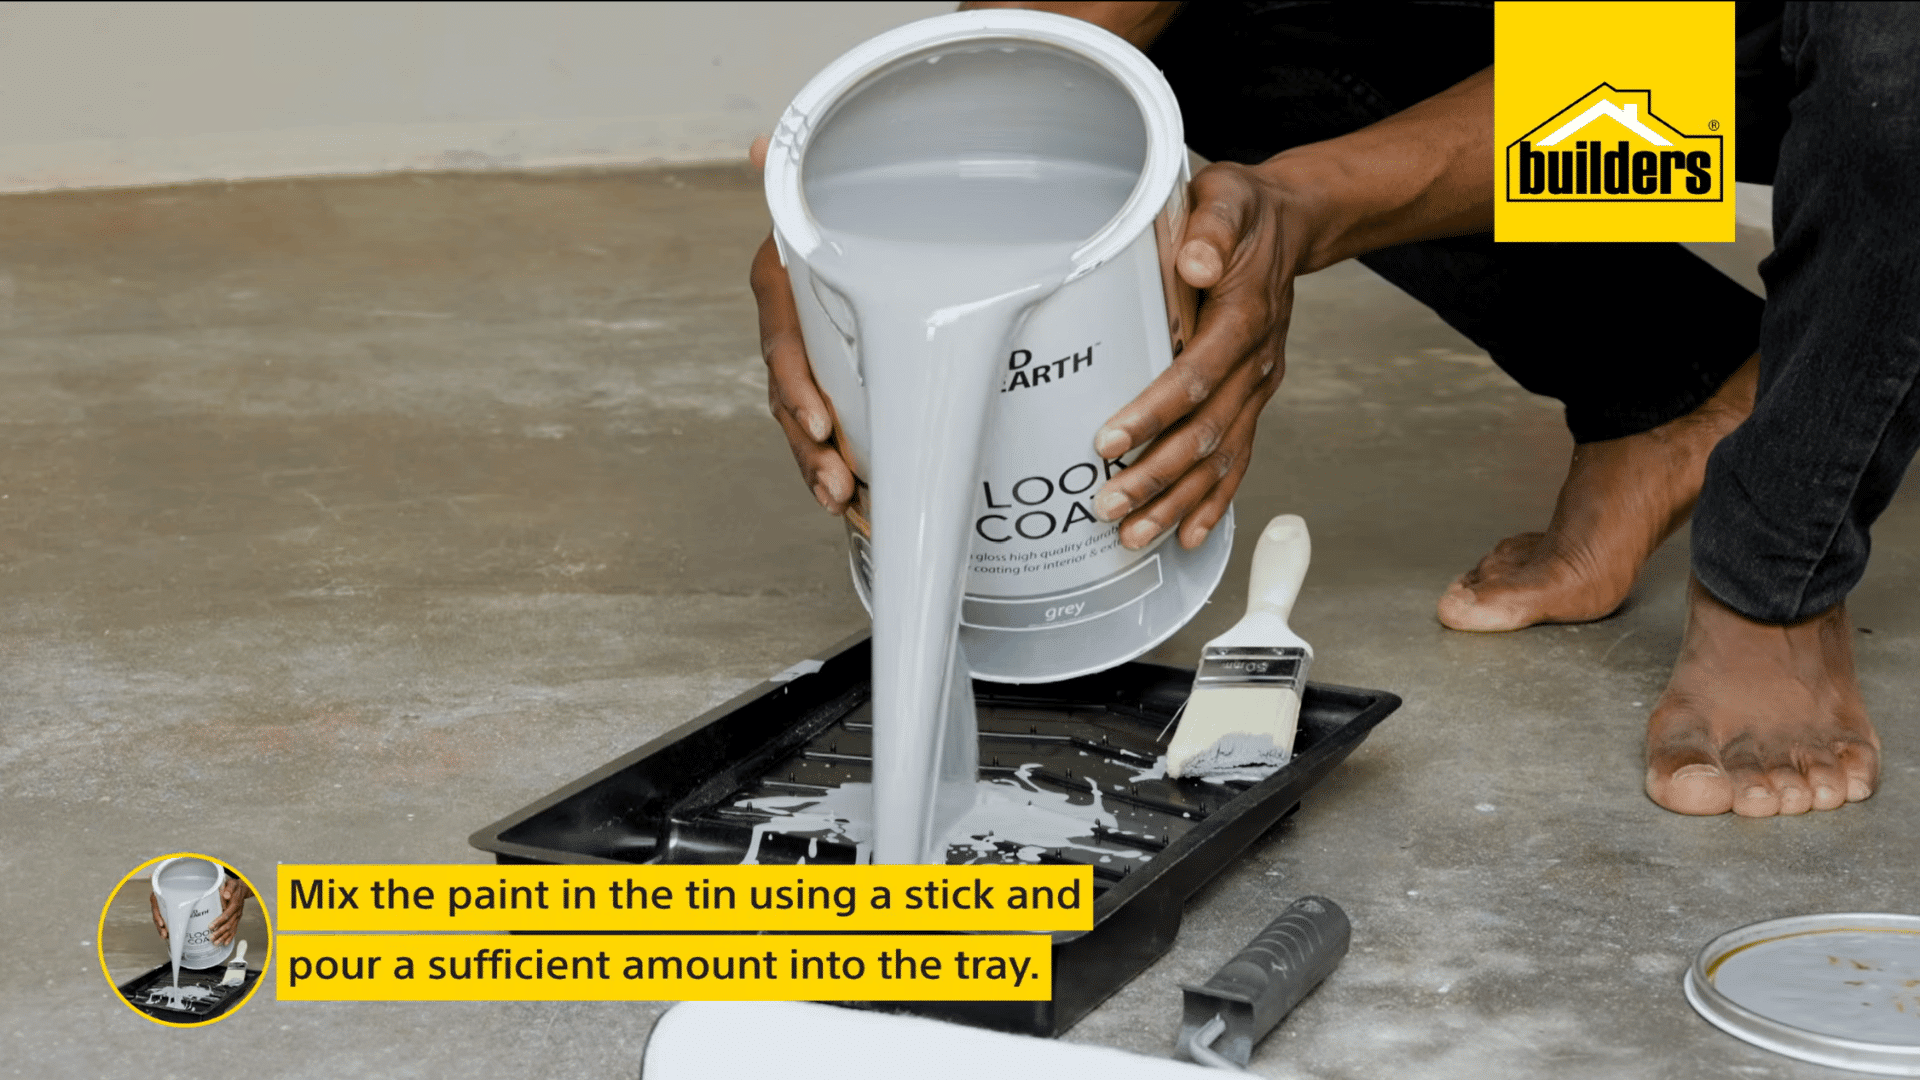
Stir the concrete floor paint thoroughly with a mixing stick until the color and additives are evenly blended. This helps ensure a smooth, consistent finish across the entire surface.
Pour a small, manageable amount into a paint tray instead of using the whole container.
Keeping most of the paint sealed prevents it from drying out, reduces contamination, and makes it easier to reload your roller while maintaining an even application.
Step 7: Apply the First Coat Evenly
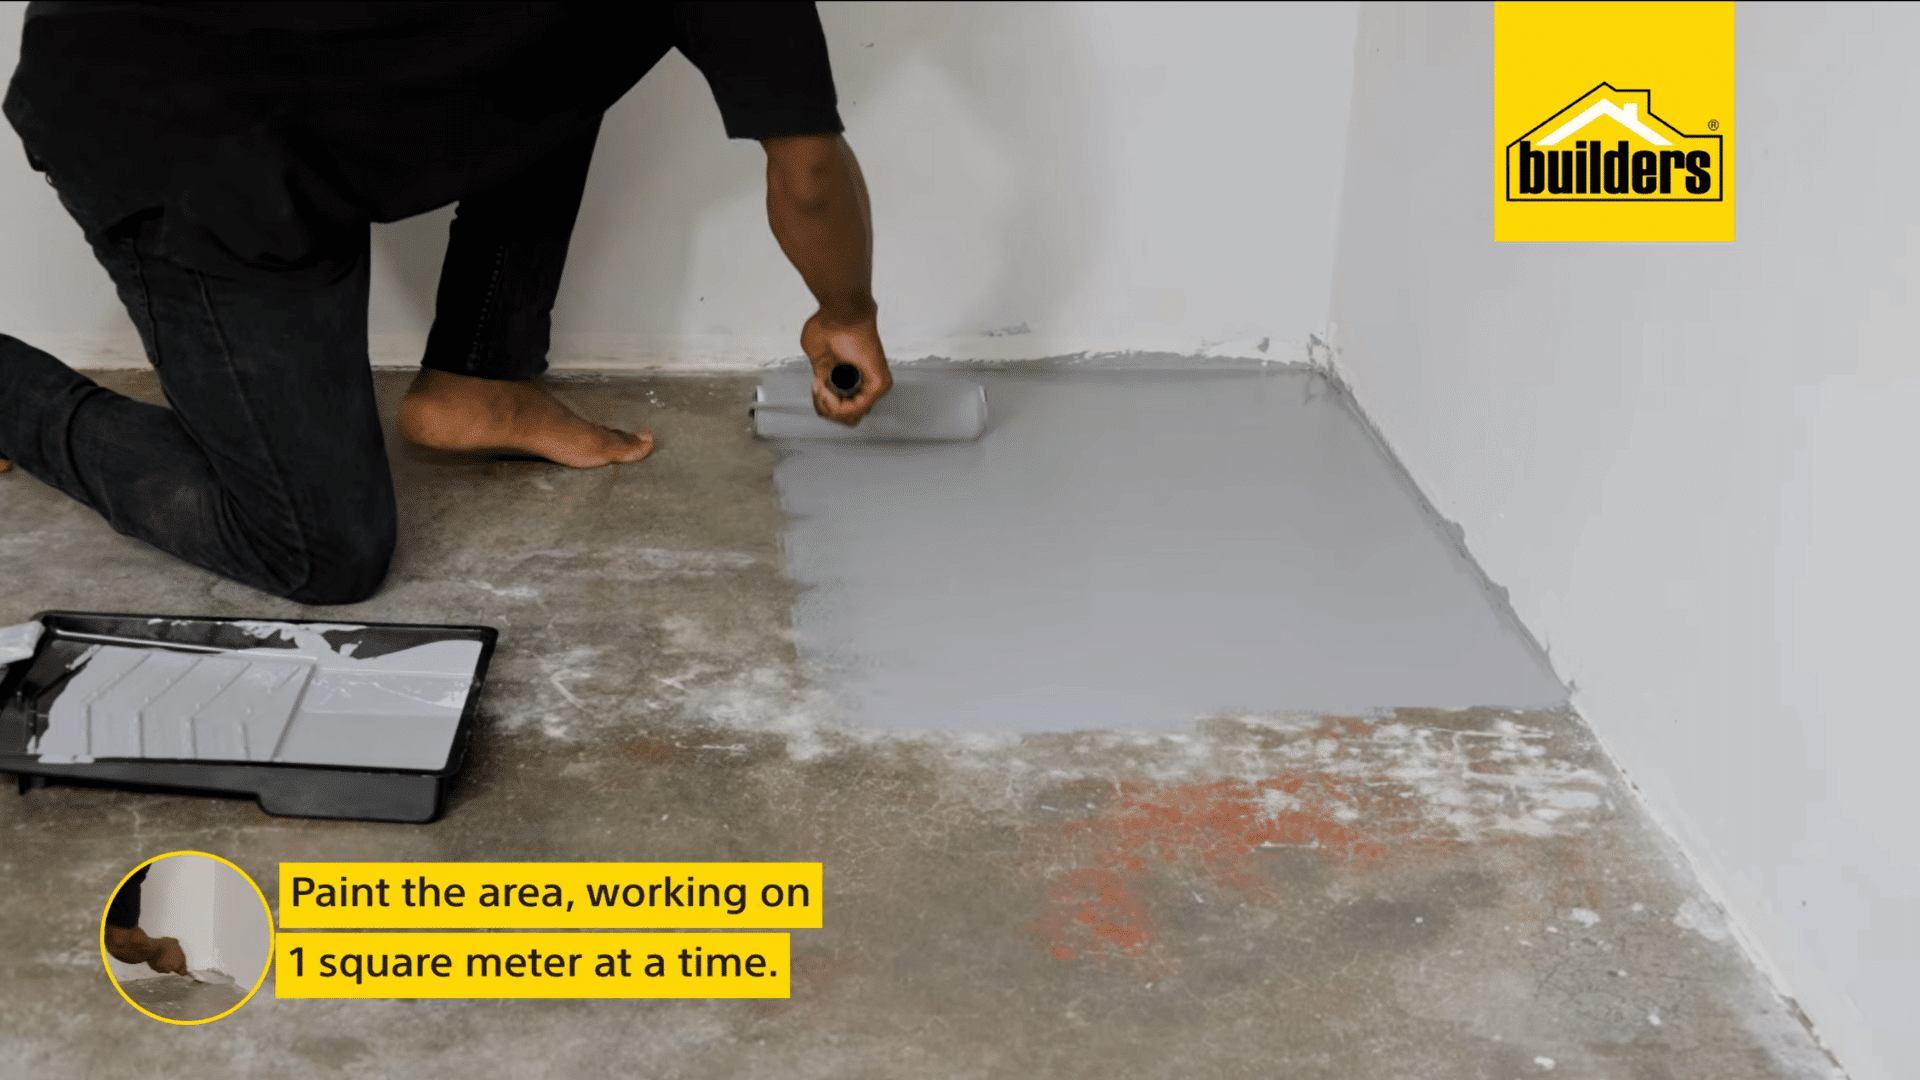
Roll the paint in one direction, then roll across it in the opposite direction to distribute the coating evenly and eliminate roller marks.
Continue blending overlapping sections to create a smooth, uniform finish across the floor.
Applying the paint methodically produces a professional-looking result while reducing visible differences in textures between sections.
Tip: Work on approximately one square meter at a time to maintain consistent coverage.
Step 8: Let the First Coat Dry Before Recoating
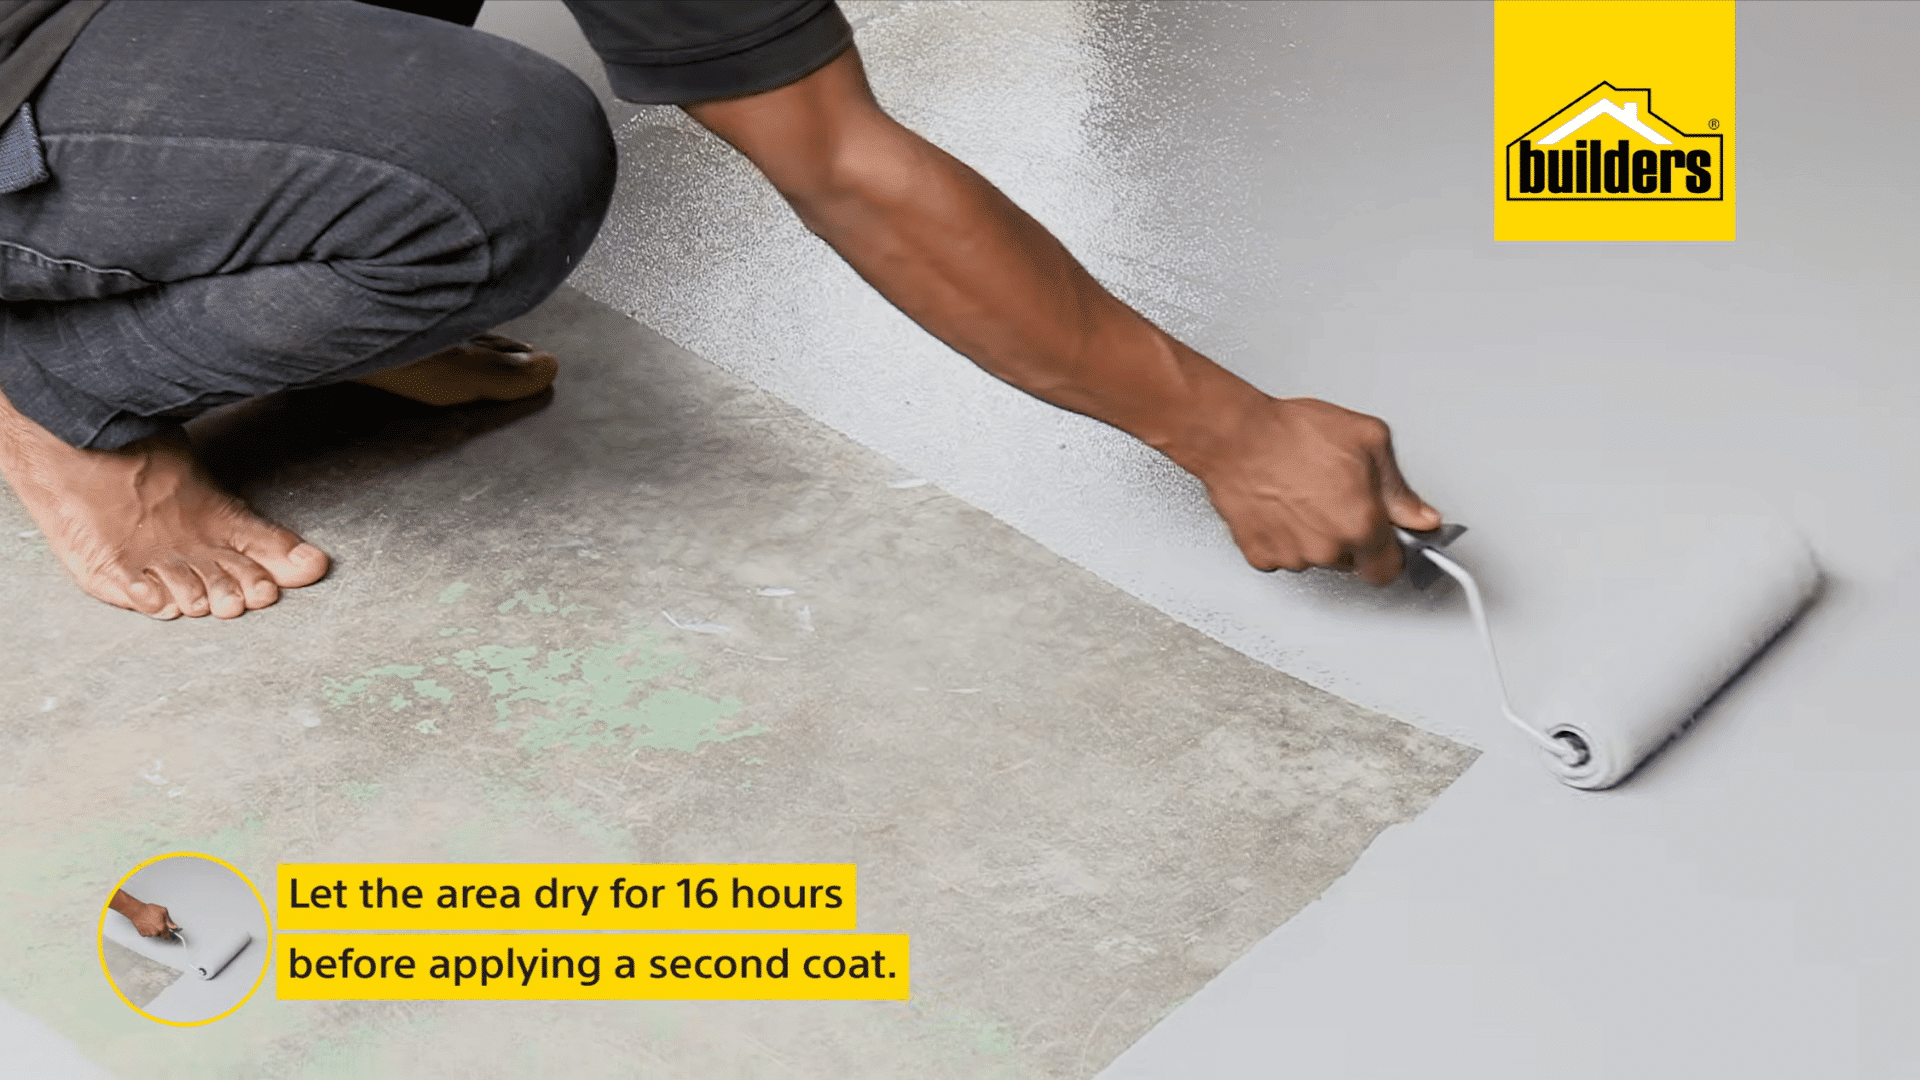
After completing the first coat, leave the floor to dry for approximately 16 hours before applying the second coat. Following the recommended drying time allows the paint to harden sufficiently and improves the bond between coats.
Rushing this step reduces durability or leaves visible marks in the finish.
Always follow the drying instructions provided by the paint manufacturer for the best results.
Step 9: Paint Steps and Other Concrete Areas
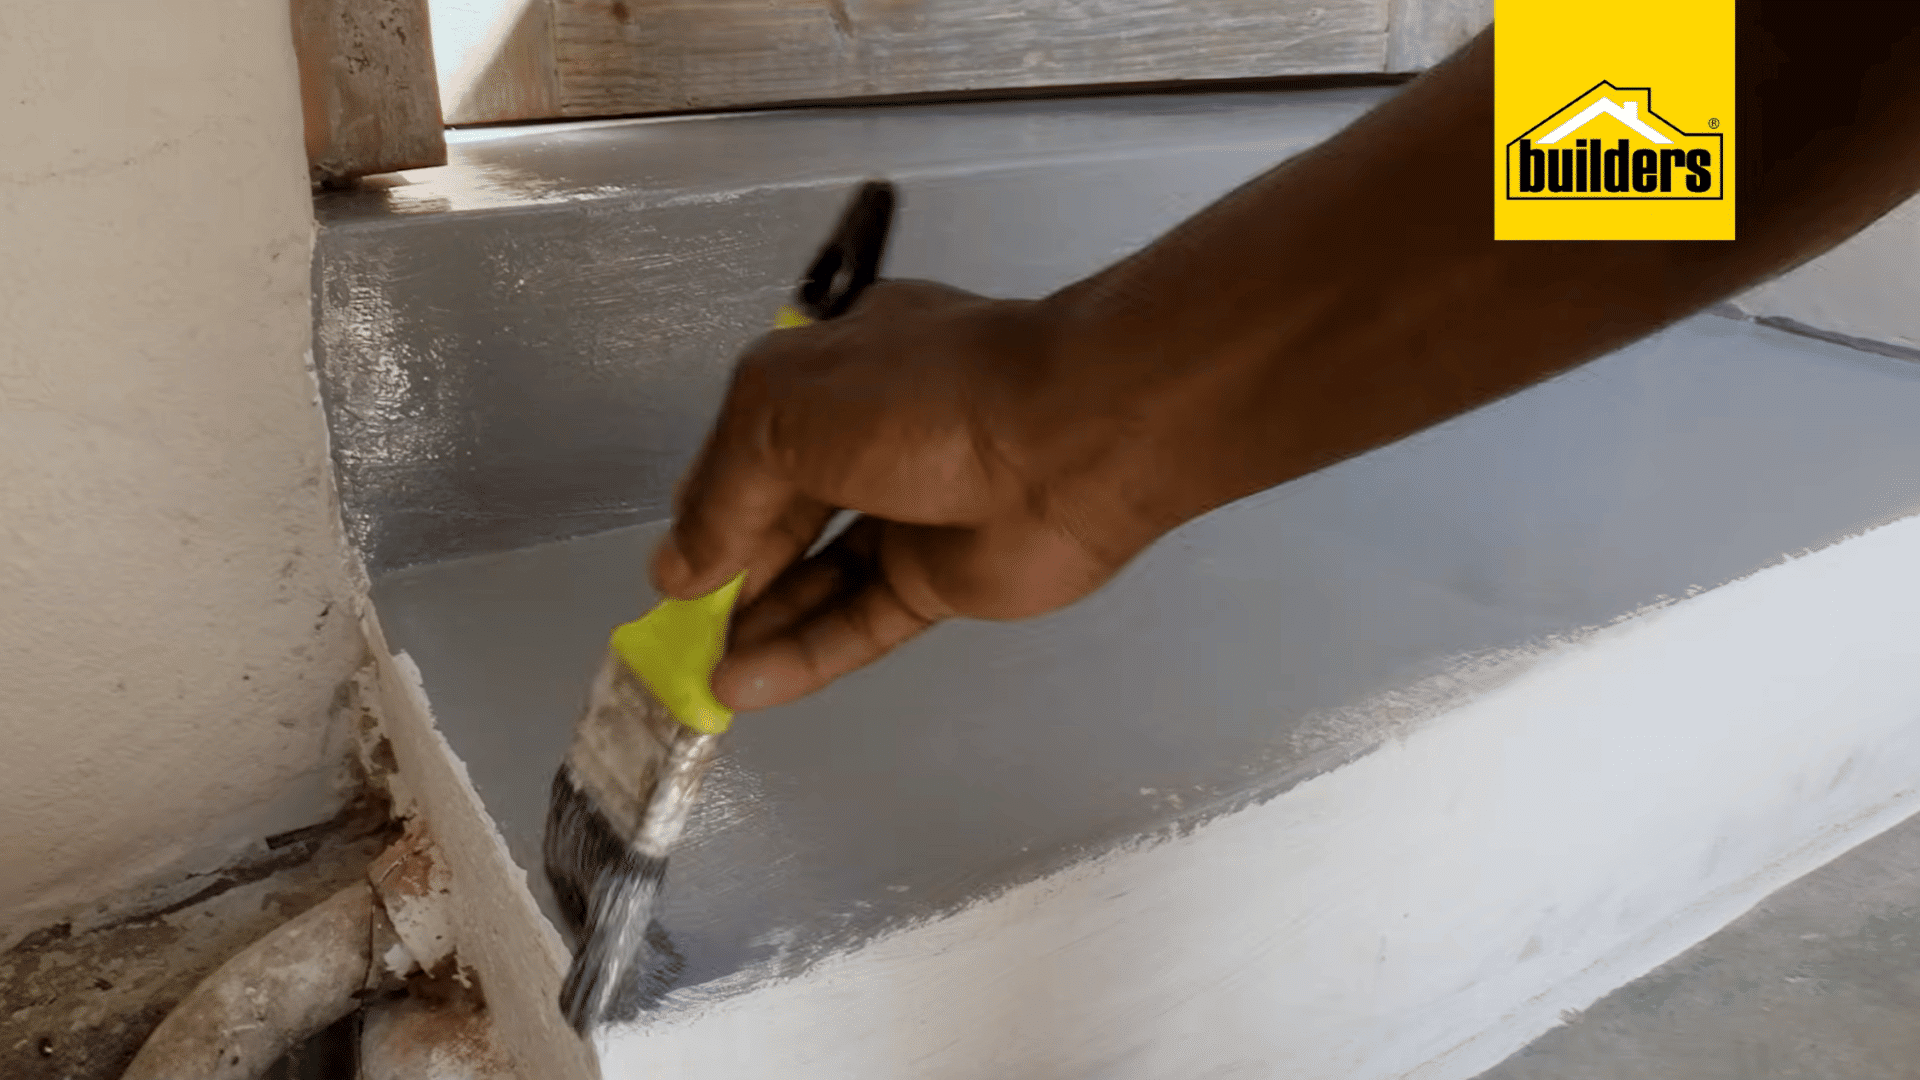
While waiting for the main floor to dry, use the same cleaning and painting process on nearby concrete steps, gullies, or adjoining surfaces.
Clean each area thoroughly before applying the coating to maintain proper adhesion.
Painting these surrounding concrete features at the same time creates a consistent appearance and gives the entire space a refreshed, professionally finished look.
Step 10: Let the Paint Fully Cure Before Use
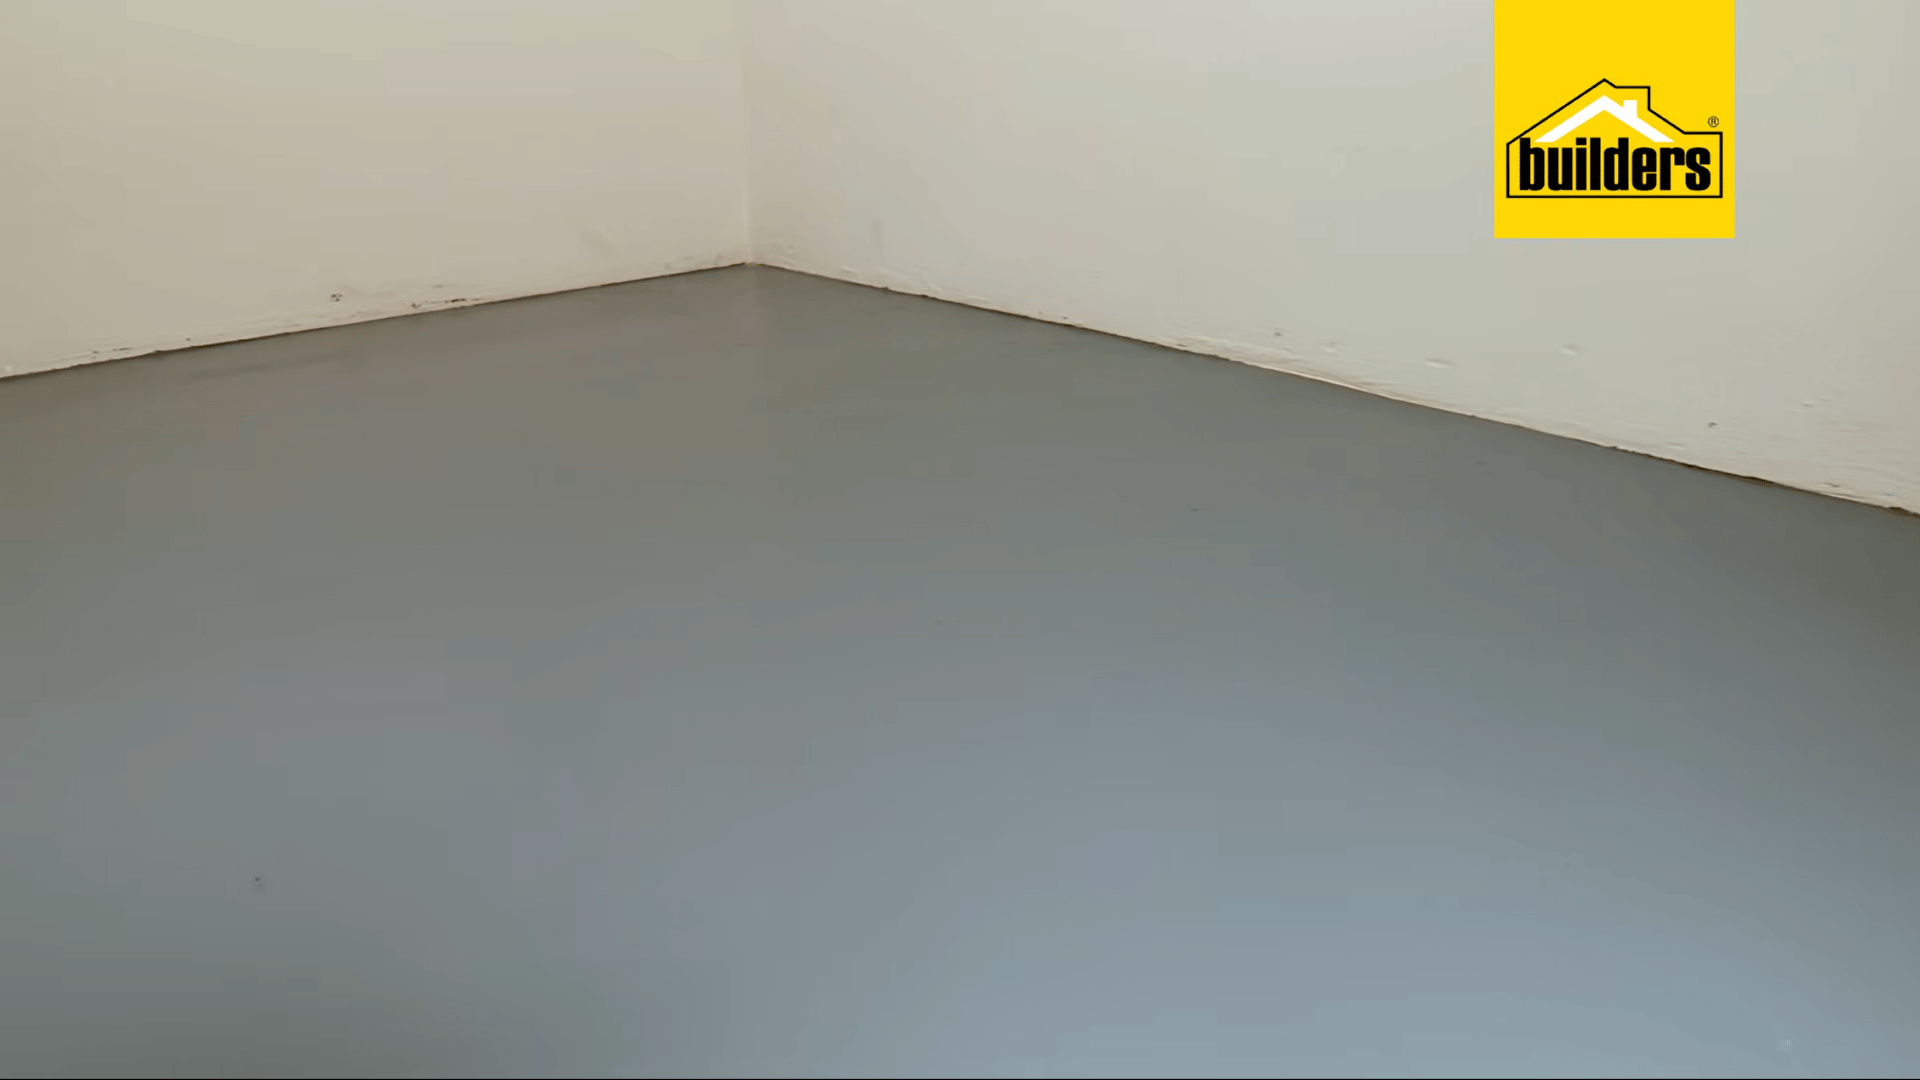
Although the paint may feel dry after the recommended drying time, allow it to cure for several days before moving furniture back or exposing it to regular foot traffic.
This extra curing time helps the coating reach its full strength, improving its resistance to scratches, scuffs, and everyday wear.
Once fully cured, your painted concrete floor will have a smooth, durable finish, ready for daily use and built to last for years with proper care.
This tutorial is based on a helpful video by BuildersSA. You can check out the original video on their YouTube channel here or watch it below.
How to Choose the Right Paint for Your Floor?
Not all concrete paint performs the same way, and picking the wrong type is a common reason floors underperform.
| Paint Type | Best For | Durability |
|---|---|---|
| Latex or acrylic floor paint | Basements, laundry rooms, low-traffic areas | Good; usually needs a refresh every few years |
| 1-part epoxy | Garages with light to moderate traffic | Better resistance to chemicals and scuffs than latex |
| 2-part epoxy | Garages, workshops, heavy daily use | Best; resists hot-tire pickup and staining |
| Oil-based enamel | Outdoor patios, older or previously oil-painted concrete | Tough, but stronger odor and slower dry time |
Concrete floors can also complement styles like a moody bathroomdesign by adding contrast and a clean, modern foundation.
What Reddit Users Say About Painting Concrete Floors?
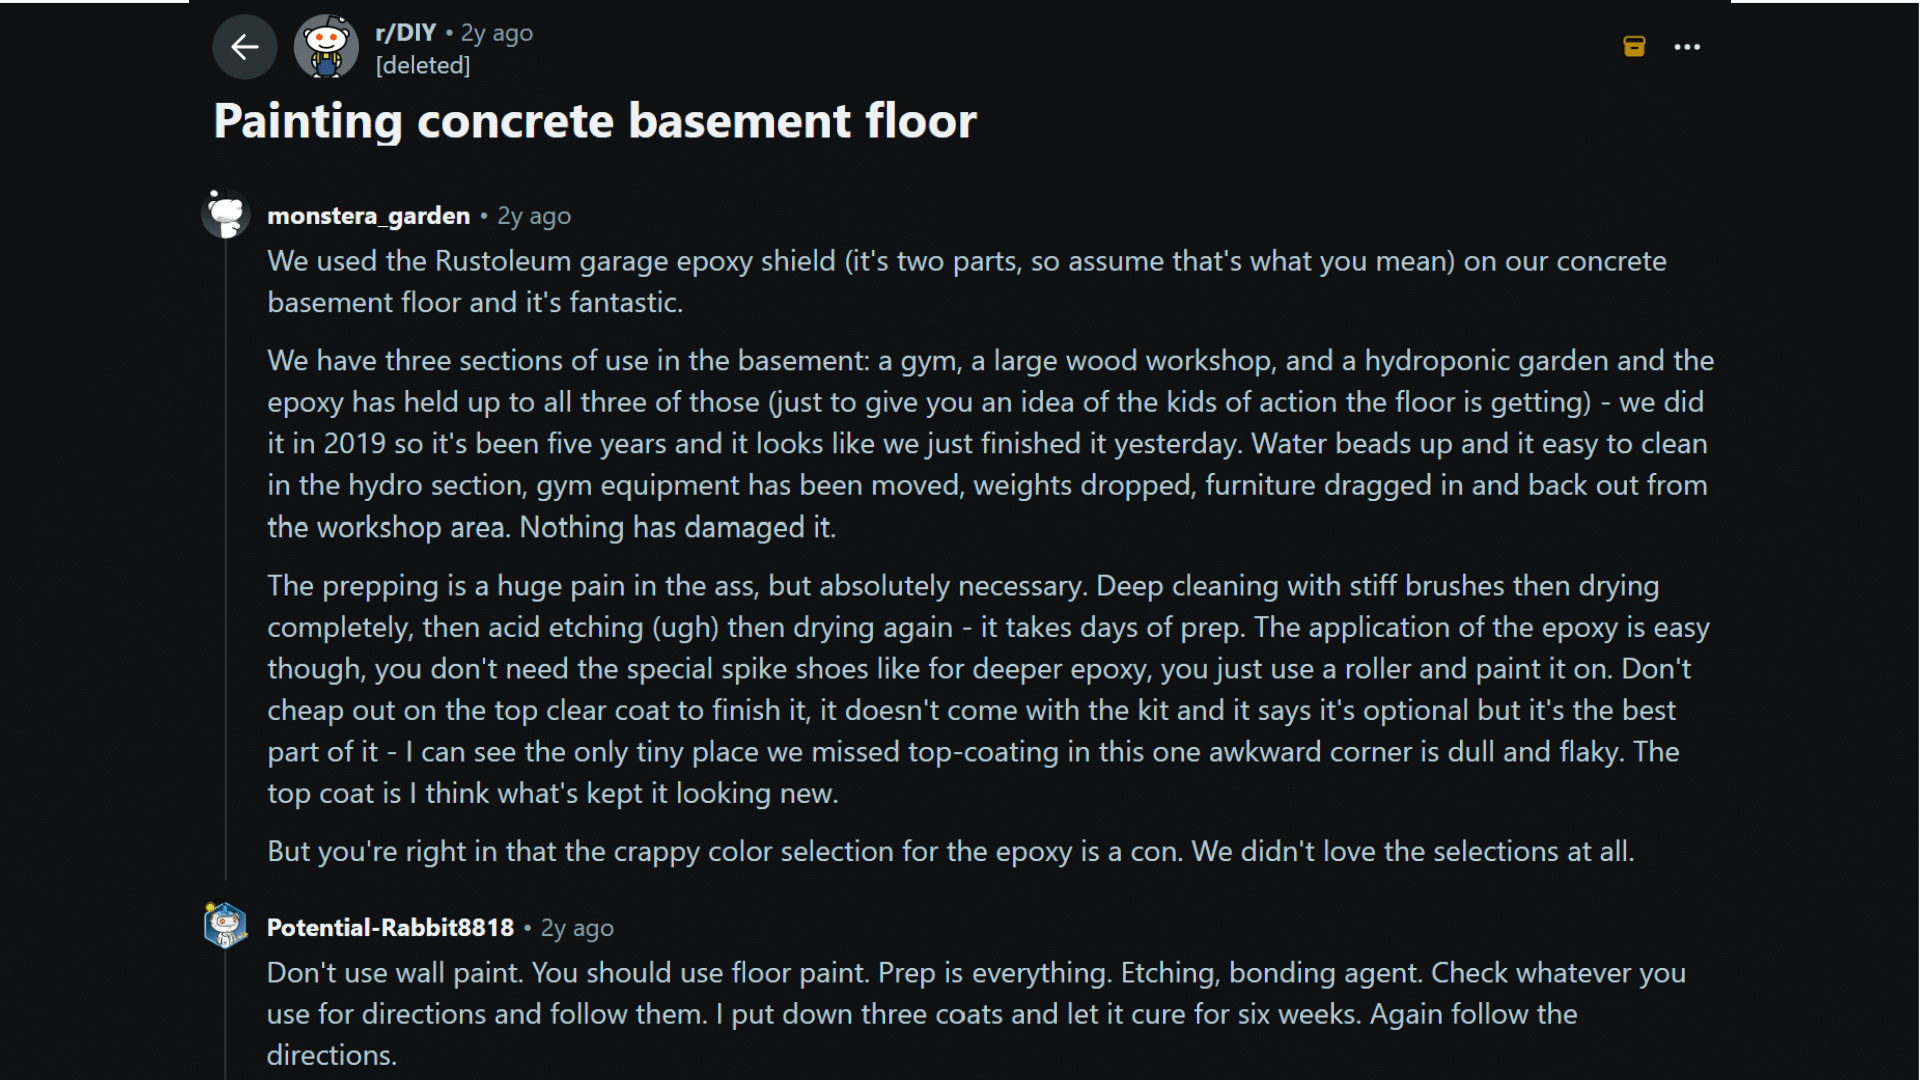
Many homeowners on the r/DIY community share that proper preparation is the key to getting long-lasting results when painting a concrete basement floor.
Users recommend choosing a dedicated floor coating instead of regular wall paint and following the manufacturer’s prep steps carefully.
A homeowner reported that Rust-Oleum’s two-part epoxy lasted for years in a multipurpose basement.
They highlighted that deep cleaning, acid etching, complete drying, and adding a clear topcoat made a major difference in durability.
Reddit users also suggested using paint chips for added texture, as they improve grip without making the surface too rough.
Common Mistakes that Make Concrete Floor Paint Peel
Avoiding these common mistakes helps improve paint adhesion, extend the life of the finish, and reduce the risk of peeling or premature wear.
- Painting Over Dirty or Greasy Concrete: Dust, grease, oil, and other contaminants prevent the paint from bonding properly, causing it to lift or peel over time.
- Skipping the Moisture Test: Painting damp concrete can trap moisture beneath the coating, leading to bubbling, blistering, and peeling after the paint dries.
- Ignoring Cracks Before Painting: Unfilled cracks and holes create weak areas where paint can peel, leading to an uneven finish and early coating failure.
- Using Regular Wall Paint Instead of Floor Paint: Wall paint is not designed to withstand foot traffic, abrasion, or heavy loads, so it wears out and peels much faster.
- Applying Thick Coats: Thick layers dry unevenly and may trap solvents, increasing the likelihood of cracking, wrinkling, or peeling as the paint cures.
- Walking on the Floor Before It Fully Cures: Even if the paint feels dry, placing furniture or walking on it too soon can damage the coating before it reaches full strength.
How to Keep Painted Concrete Floors Looking Their Best?
To keep painted concrete floors looking their best, maintain them with regular cleaning, careful use, and timely maintenance.
- Allow the paint to cure completely before placing heavy furniture or exposing the floor to frequent foot traffic, fic as this helps prevent marks and damage.
- Sweep often to remove dirt and grit, then mop with a gentle cleaner that will not harm the painted finish.
- Avoid dragging heavy furniture across the surface and use protective pads under furniture legs to reduce scratches.
- Wipe up spills as soon as they happen to prevent stains or moisture damage. Inspect the floor regularly and touch up worn or chipped areas early to keep the finish looking fresh and long-lasting.
Conclusion
Painting a concrete floor is a practical way to refresh worn surfaces while improving durability and appearance. Proper cleaning, priming, and paint application help the finish withstand daily use and stay attractive for years.
Regular sweeping, quick spill cleanup, and occasional touch-ups help painted floors last longer.
Painted concrete floors can work especially well in an open concept living roomwhere a durable surface helps connect different areas of the home.
Whether updating a garage, basement, laundry room, or living space, taking the right steps ensures a professional-looking finish. For professional concrete floor painting services, contact a trusted local specialist today.
Frequently Asked Questions
How Long Does Painted Concrete Flooring Typically Last?
Painted concrete floors typically last 3 to 10 years, depending on preparation, paint quality, traffic, and maintenance.
What Is the Best Paint Finish for Indoor Concrete Floors?
A satin or semi-gloss finish offers durability, easy cleaning, and an attractive appearance for most indoor concrete floors.
Does Concrete Floor Paint Resist Moisture?
Many concrete floor paints resist light moisture, but proper sealing and a dry surface improve long-term performance.
How Many Coats of Paint Are Needed for Concrete Floors?
Most concrete floors require two coats for even coverage, improved durability, and a consistent finish.