
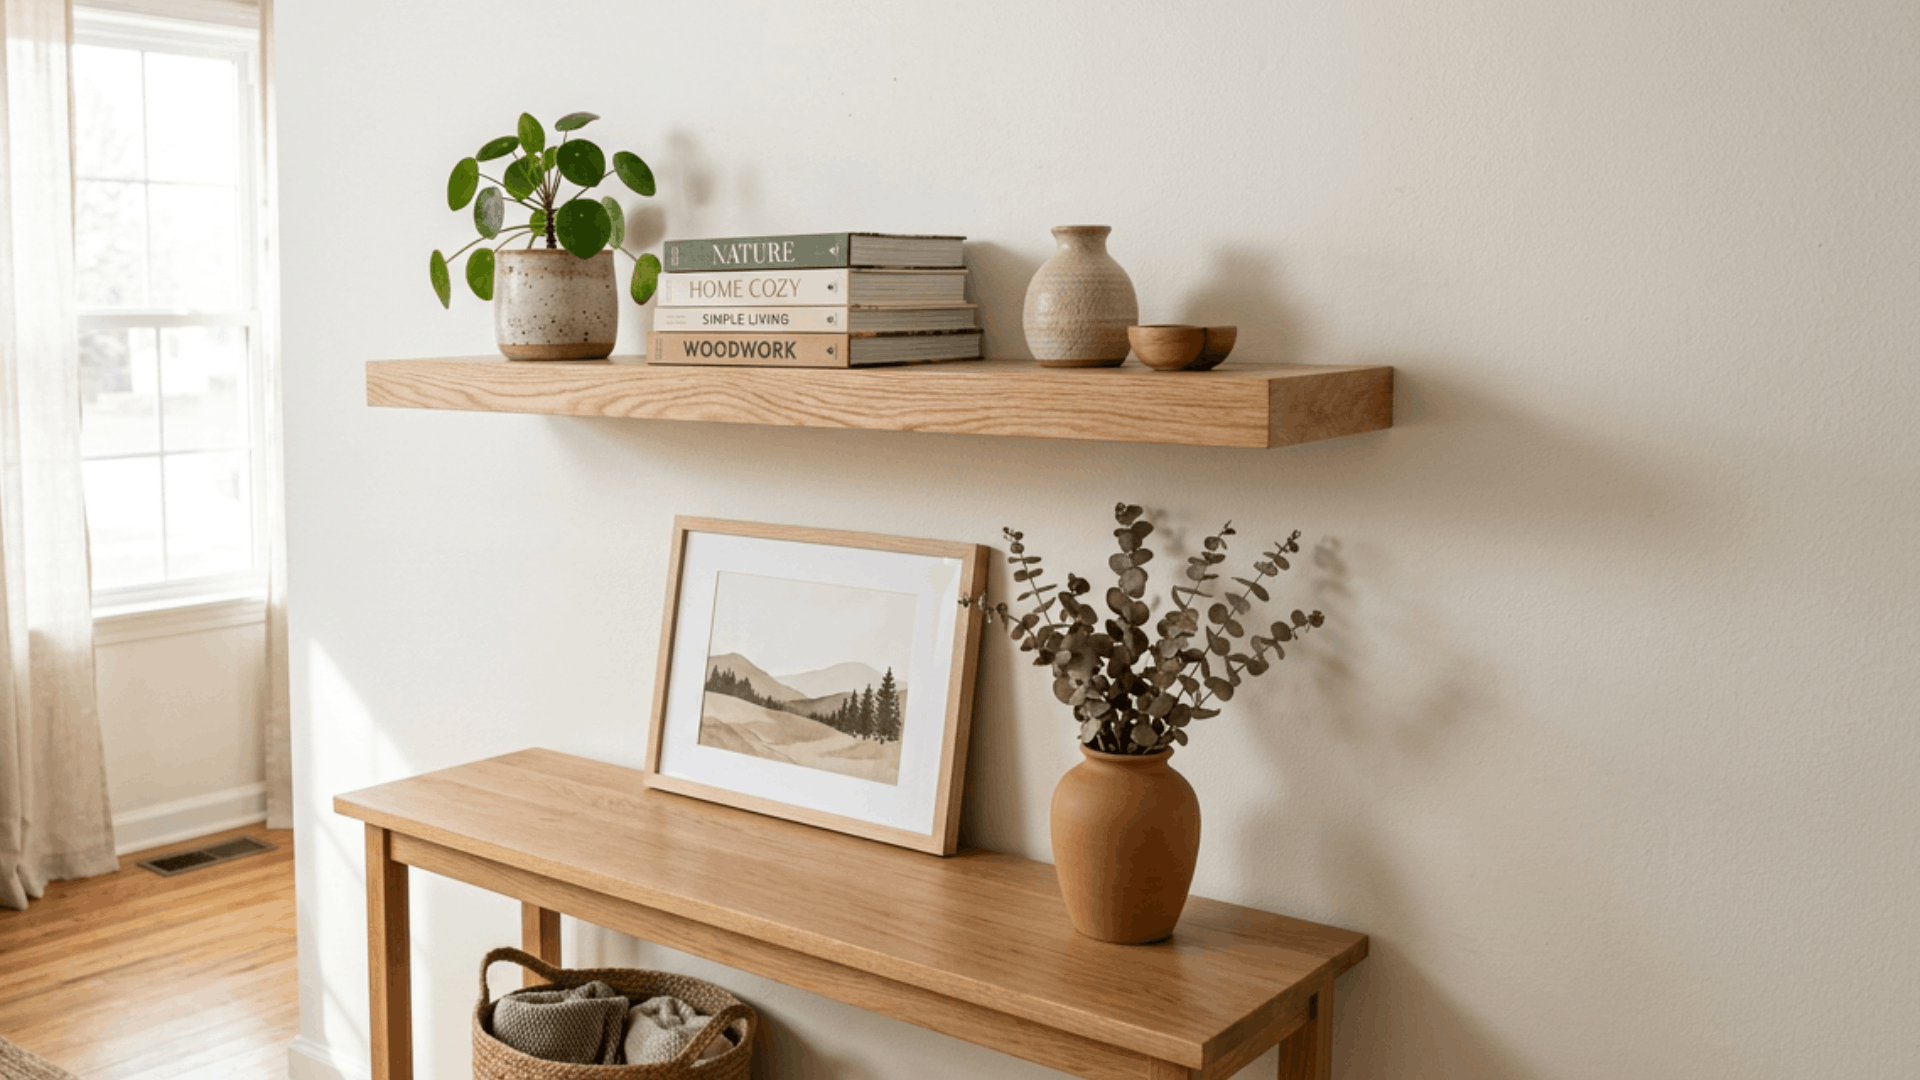
Floating shelves add useful storage without taking up floor space or showing bulky brackets. They work well in kitchens, bathrooms, bedrooms, and living rooms, and building one yourself allows you to choose the exact size, wood, color, and finish.
Although the hidden mounting system may look complicated, a basic floating shelf is manageable with careful measurements and common DIY tools.
Let’s find out how to build a floating shelf step by step, from selecting materials and preparing a cut list to mounting, finishing, and safely testing it.
Tools and Materials You Will Need
Gather all tools and materials before starting. Required quantities will depend on the shelf dimensions and number of shelves.
- Pine boards
- Floating shelf mounting hardware
- Wood glue
- Screws
- Saw
- Drill and drill bits
- Clamps
- Sandpaper
- Level
- Primer and paint
How to Build a Floating Shelf?
A strong floating shelf starts with accurate measurements and secure wall framing. Complete each step carefully and check the fit as you work.
Step 1: Cut and Prepare the Pine Boards
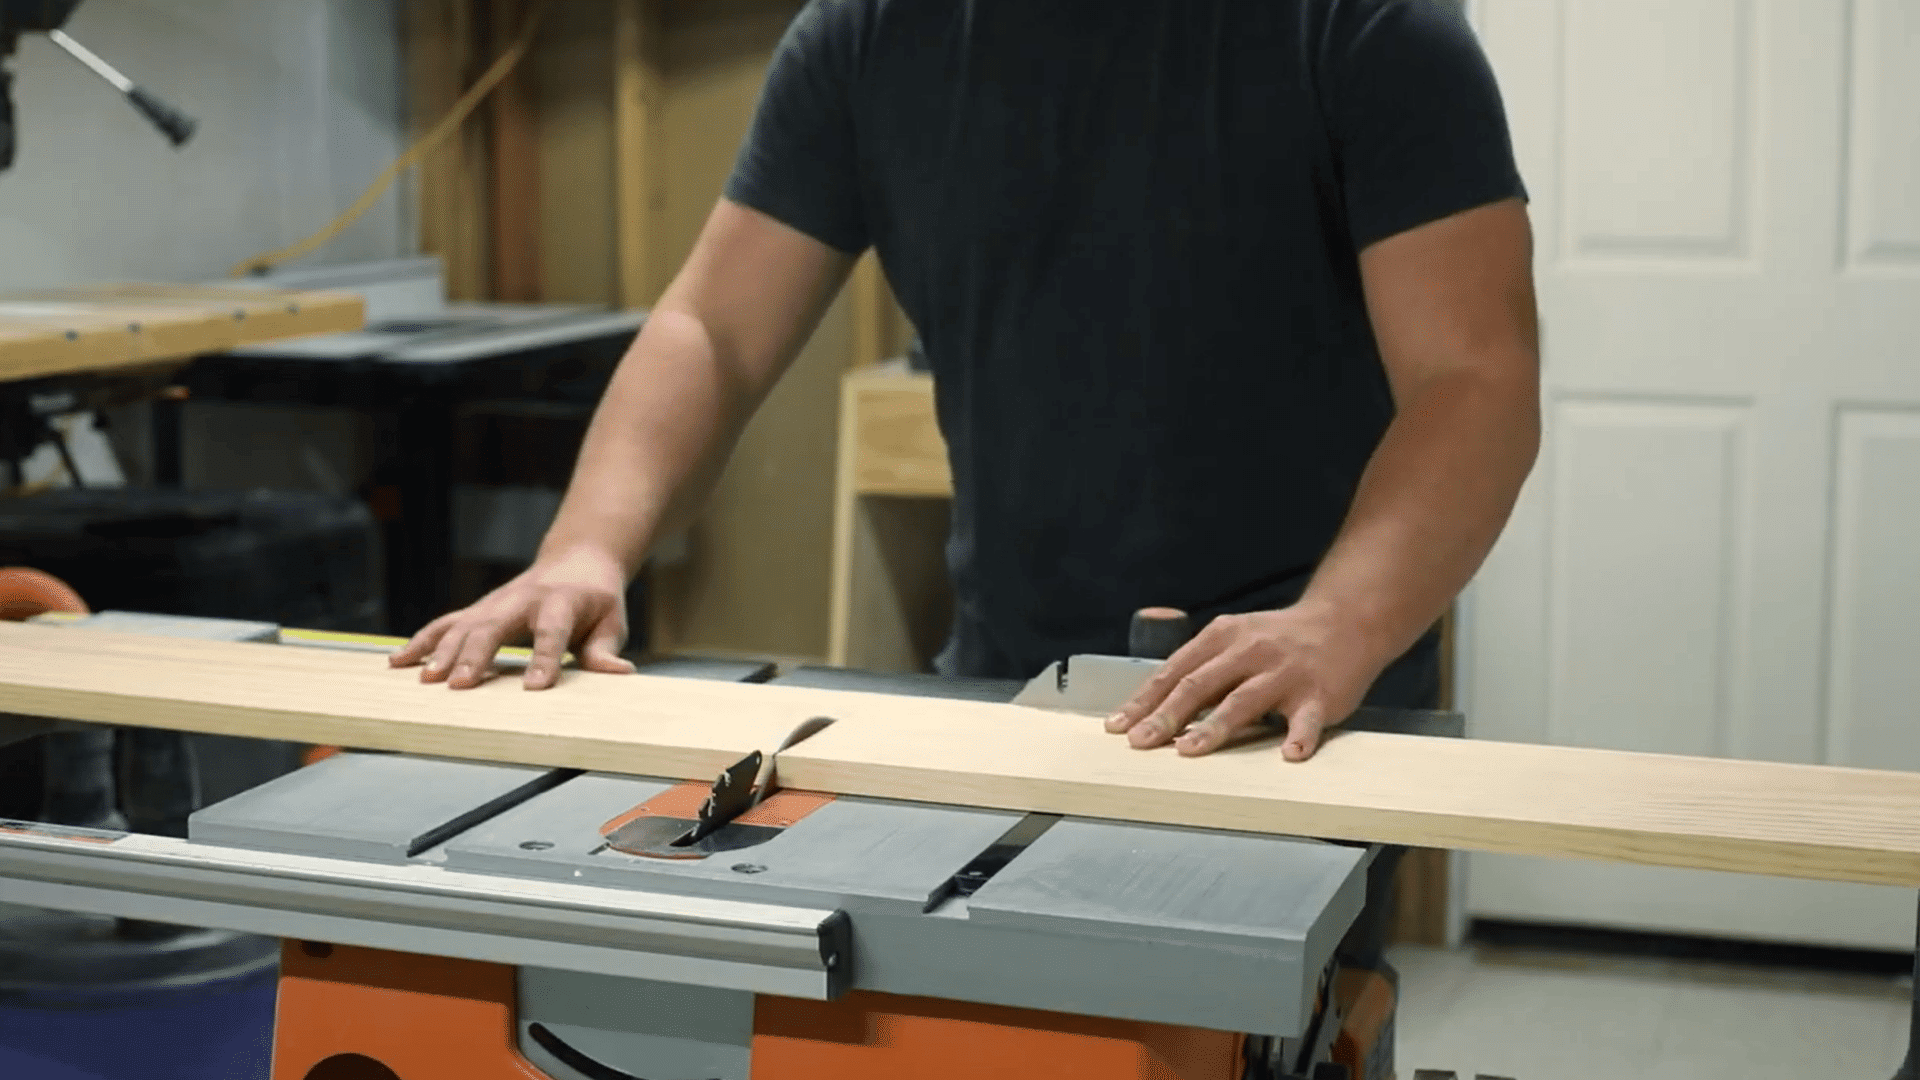
Choose suitable lumber for the floating shelves. The creator uses pine because it is lightweight and readily available. Cut several longer boards into manageable pieces so two boards can be combined for each shelf.
Laminating creates a 1½-inch thickness. This provides enough space for the mounting posts.
Cut the boards slightly oversized at this stage because they will be trimmed to their precise final dimensions after the glue has fully set.
Step 2: Glue and Clamp the Boards Together
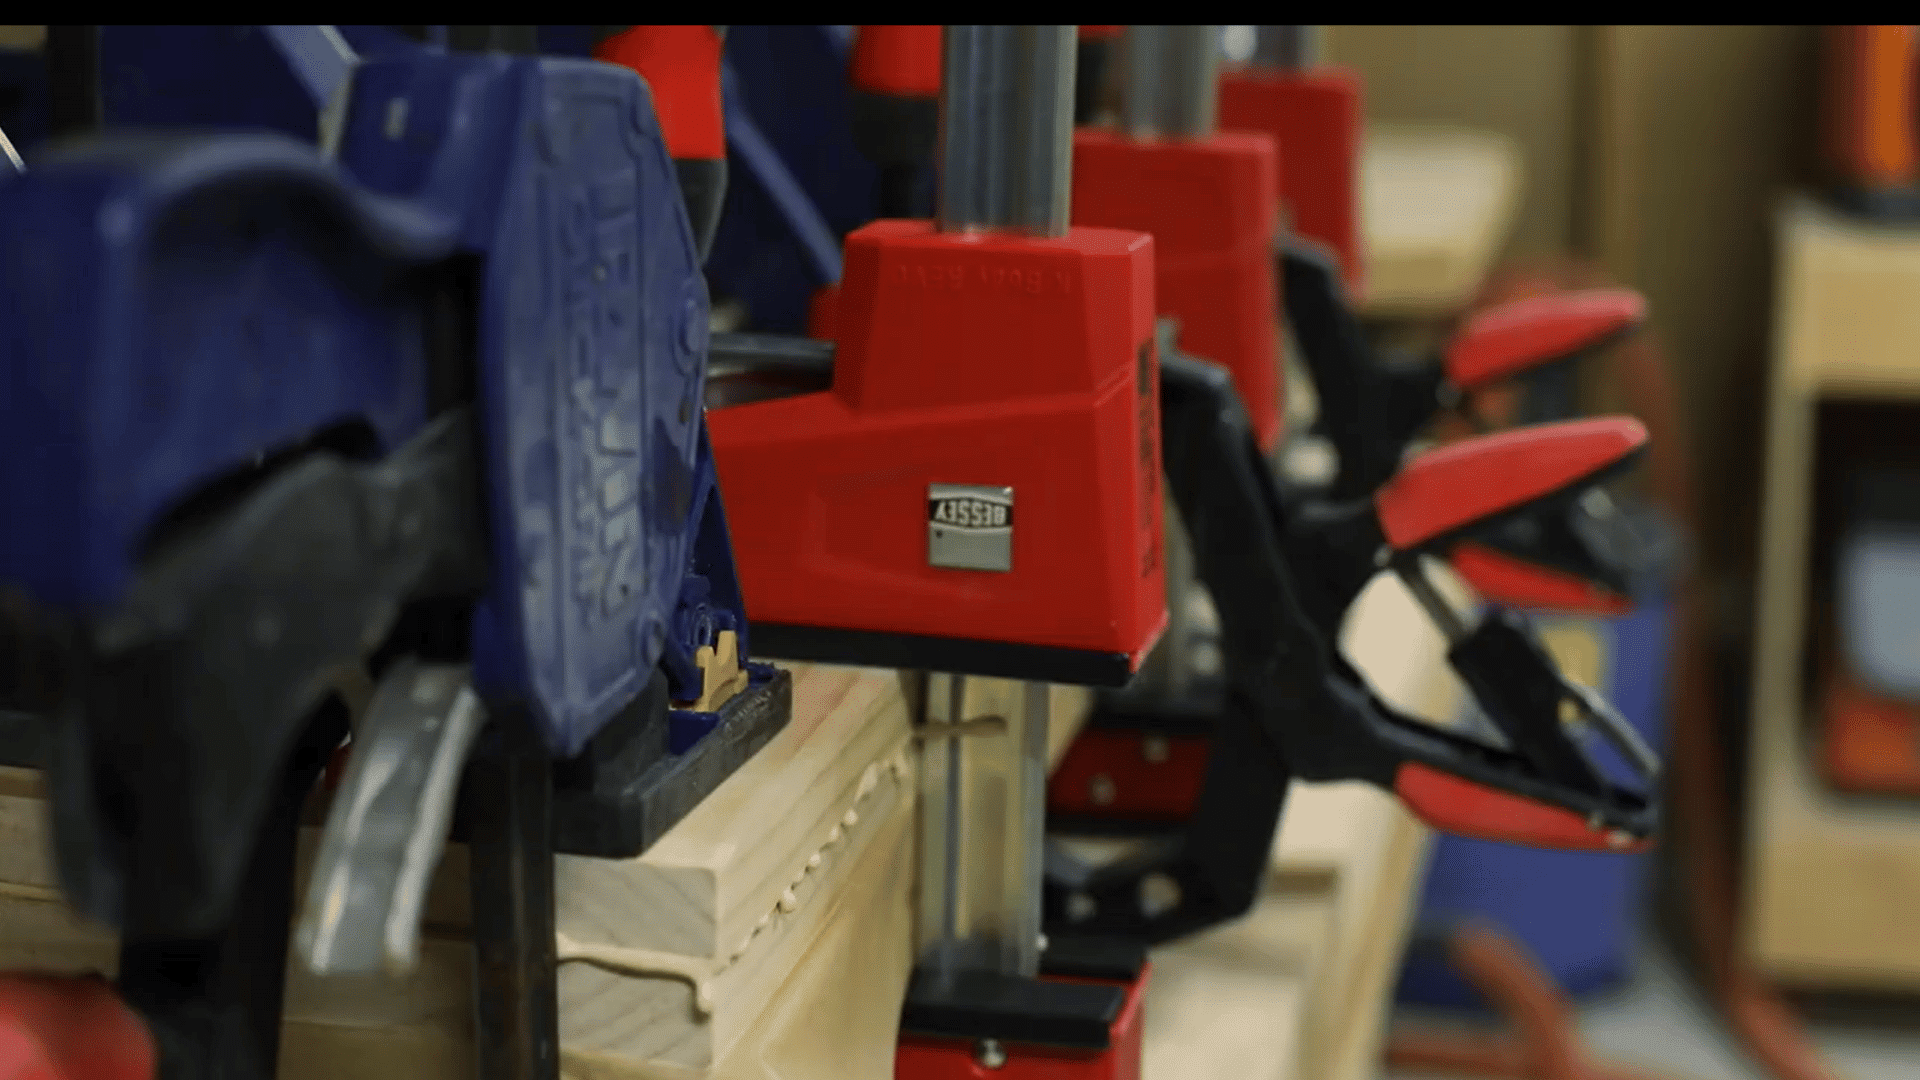
Arrange each pair of boards with opposing edges positioned to create a spring joint, helping the seam close tightly under pressure.
Spread wood glue evenly across the joining surfaces. Align the boards and clamp both shelf blanks securely. Check for a continuous line of glue squeeze-out around the seams, which indicates sufficient coverage and pressure.
Leave the pieces clamped until the adhesive has set according to the manufacturer’s directions.
Step 3: Cut the Shelf Blanks to Final Size
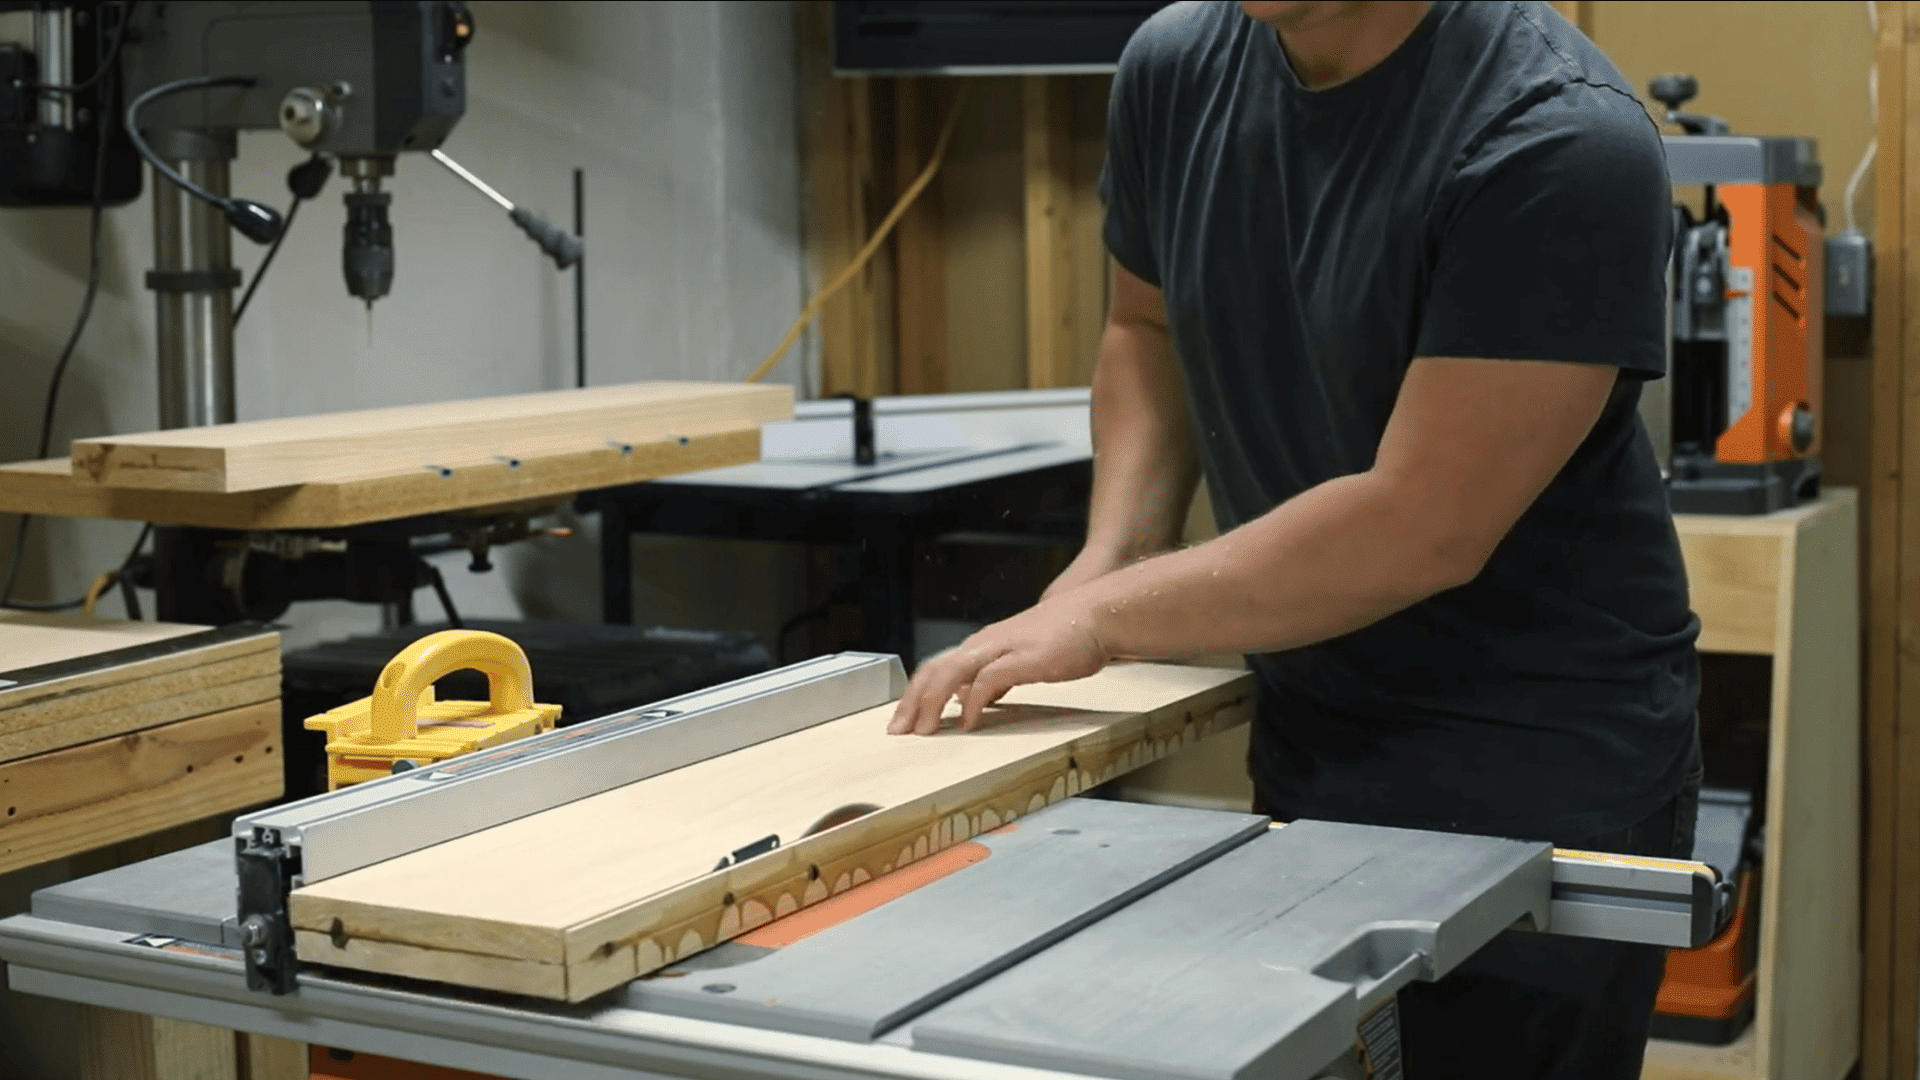
After the glue has cured, clean and straighten one edge and one face of each laminated shelf blank.
Use these flat reference surfaces to guide the material safely through the saws, then trim each shelf to its required length, width, and thickness.
Base the final shelf dimensions on the available wall space, intended display area, and items you plan to place on them.
Make each shelf long enough to span multiple wall studs. Floating shelves should not rely only on drywall anchors for support.
Step 4: Install the Base Plates and Mark the Post Locations
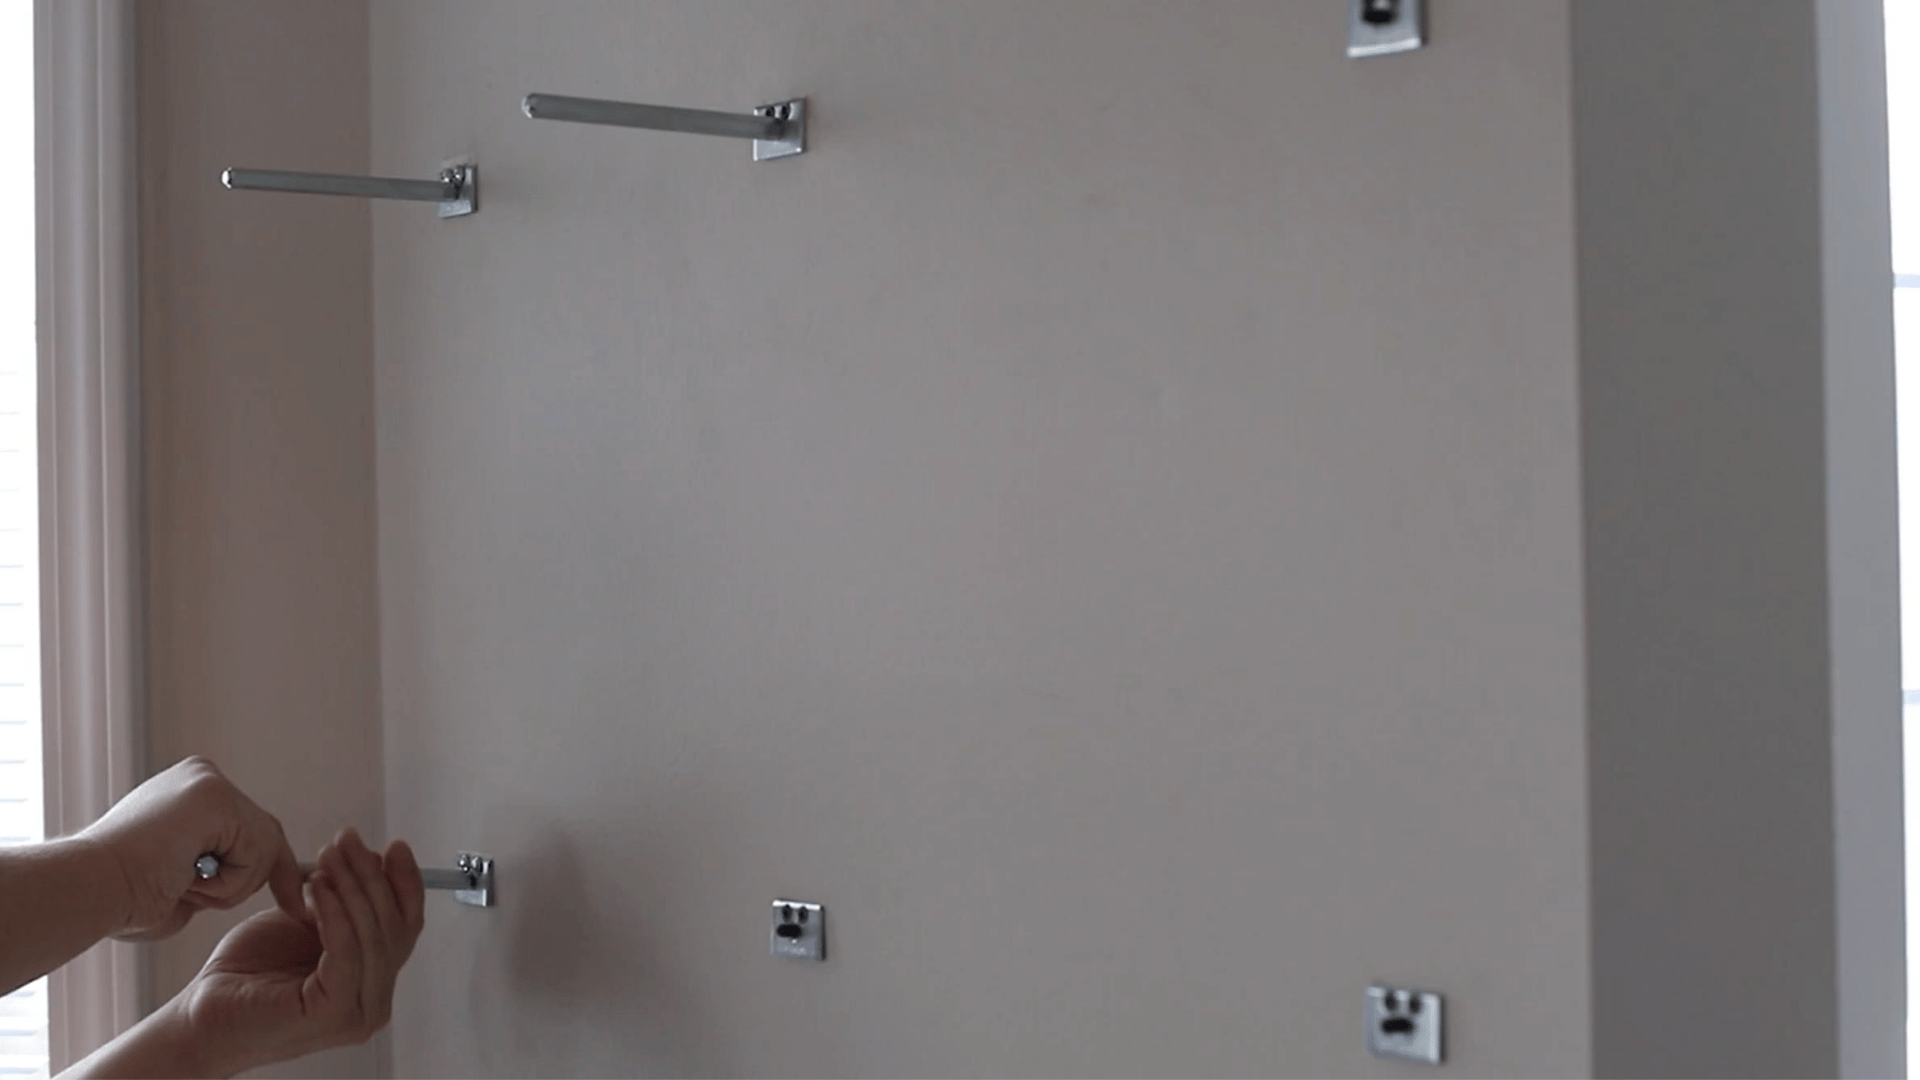
Position the mounting base plates on the wall where the shelf will be installed, keeping them aligned with the wall studs.
Once the plates are secure, carefully press the back edge of the shelf against the projecting hardware.
The mounting posts will leave small indentations in the wood, showing exactly where the corresponding holes must be drilled.
Mark the impressions before removing the shelf to maintain proper post spacing and reduce measurement errors.
Step 5: Drill Straight Holes for the Mounting Posts
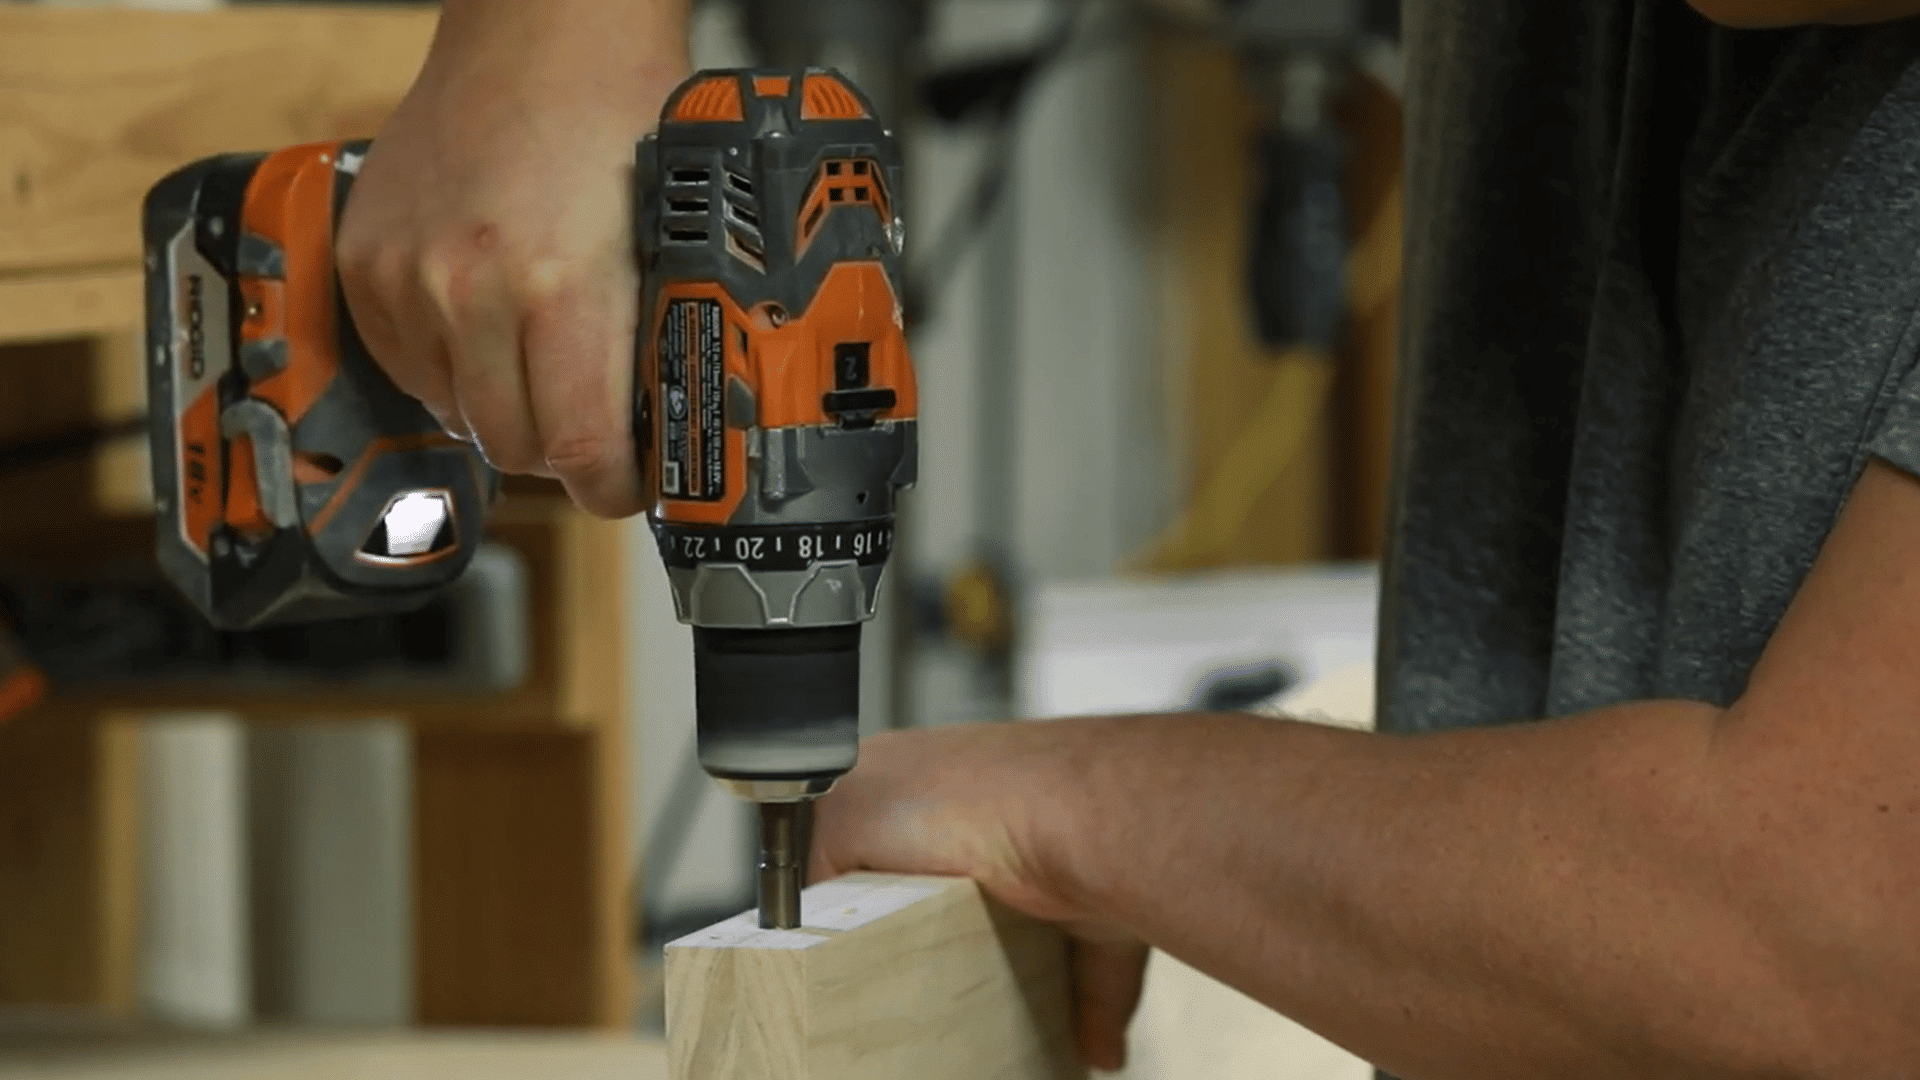
Use a drill press to bore the mounting holes at the marked locations, keeping every opening straight and level through the shelf.
A handheld drill can also work, but use a drilling guide or level to maintain the correct angle.
Even a small deviation may become more noticeable across the shelf’s depth and cause it to tilt after installation.
I try to begin with a smaller pilot hole, then gradually increase the bit size until reaching the 7/16-inch diameter required for the hardware.
Step 6: Test the Shelf Fit and Route the Edges
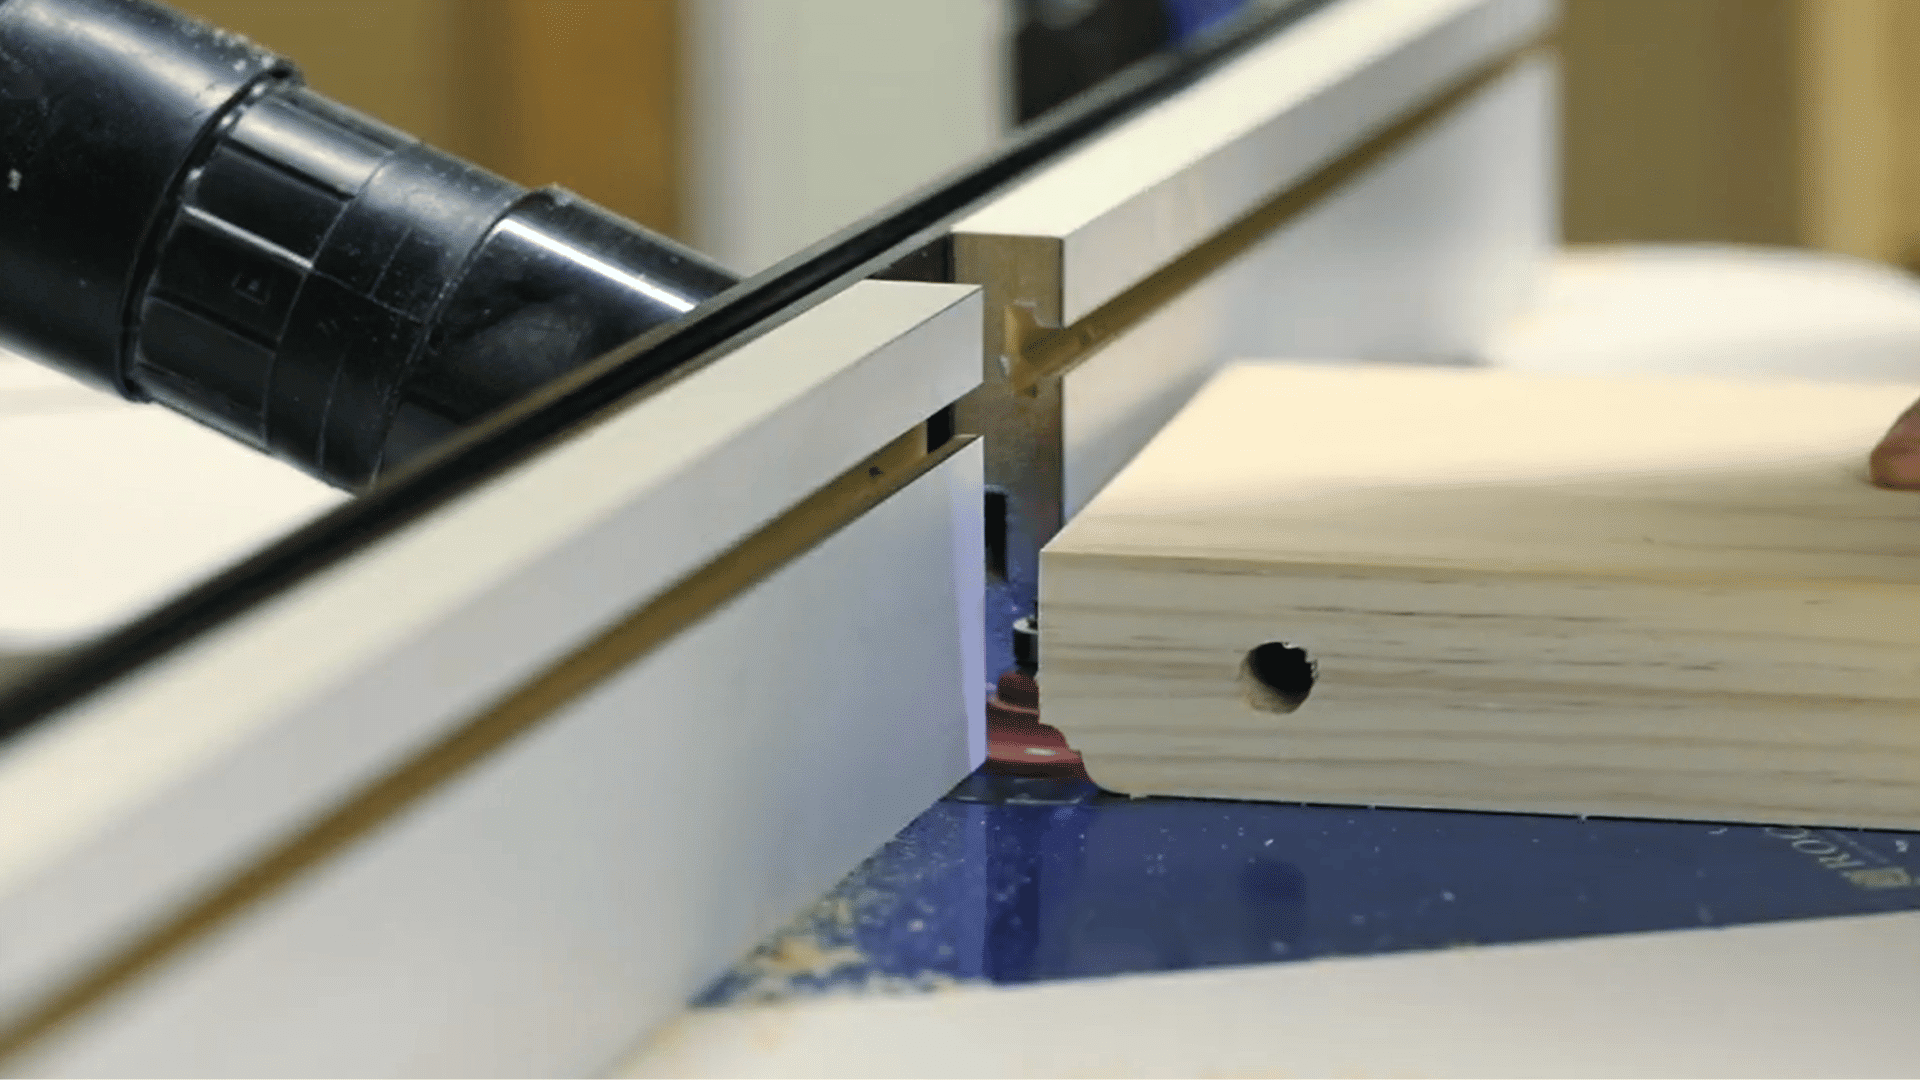
Slide each shelf onto its mounting posts for a test fit before completing the decorative details.
Check the shelf sits flush, level, and slides freely, then use a router to shape its visible edges.
A simple chamfer offers a clean modern appearance, while the video uses a cove-and-bead profile to match the home’s existing trim.
Route steadily along each edge to maintain a consistent profile without burning or chipping the pine.
Step 7: Recess the Mounting Plates and Screws
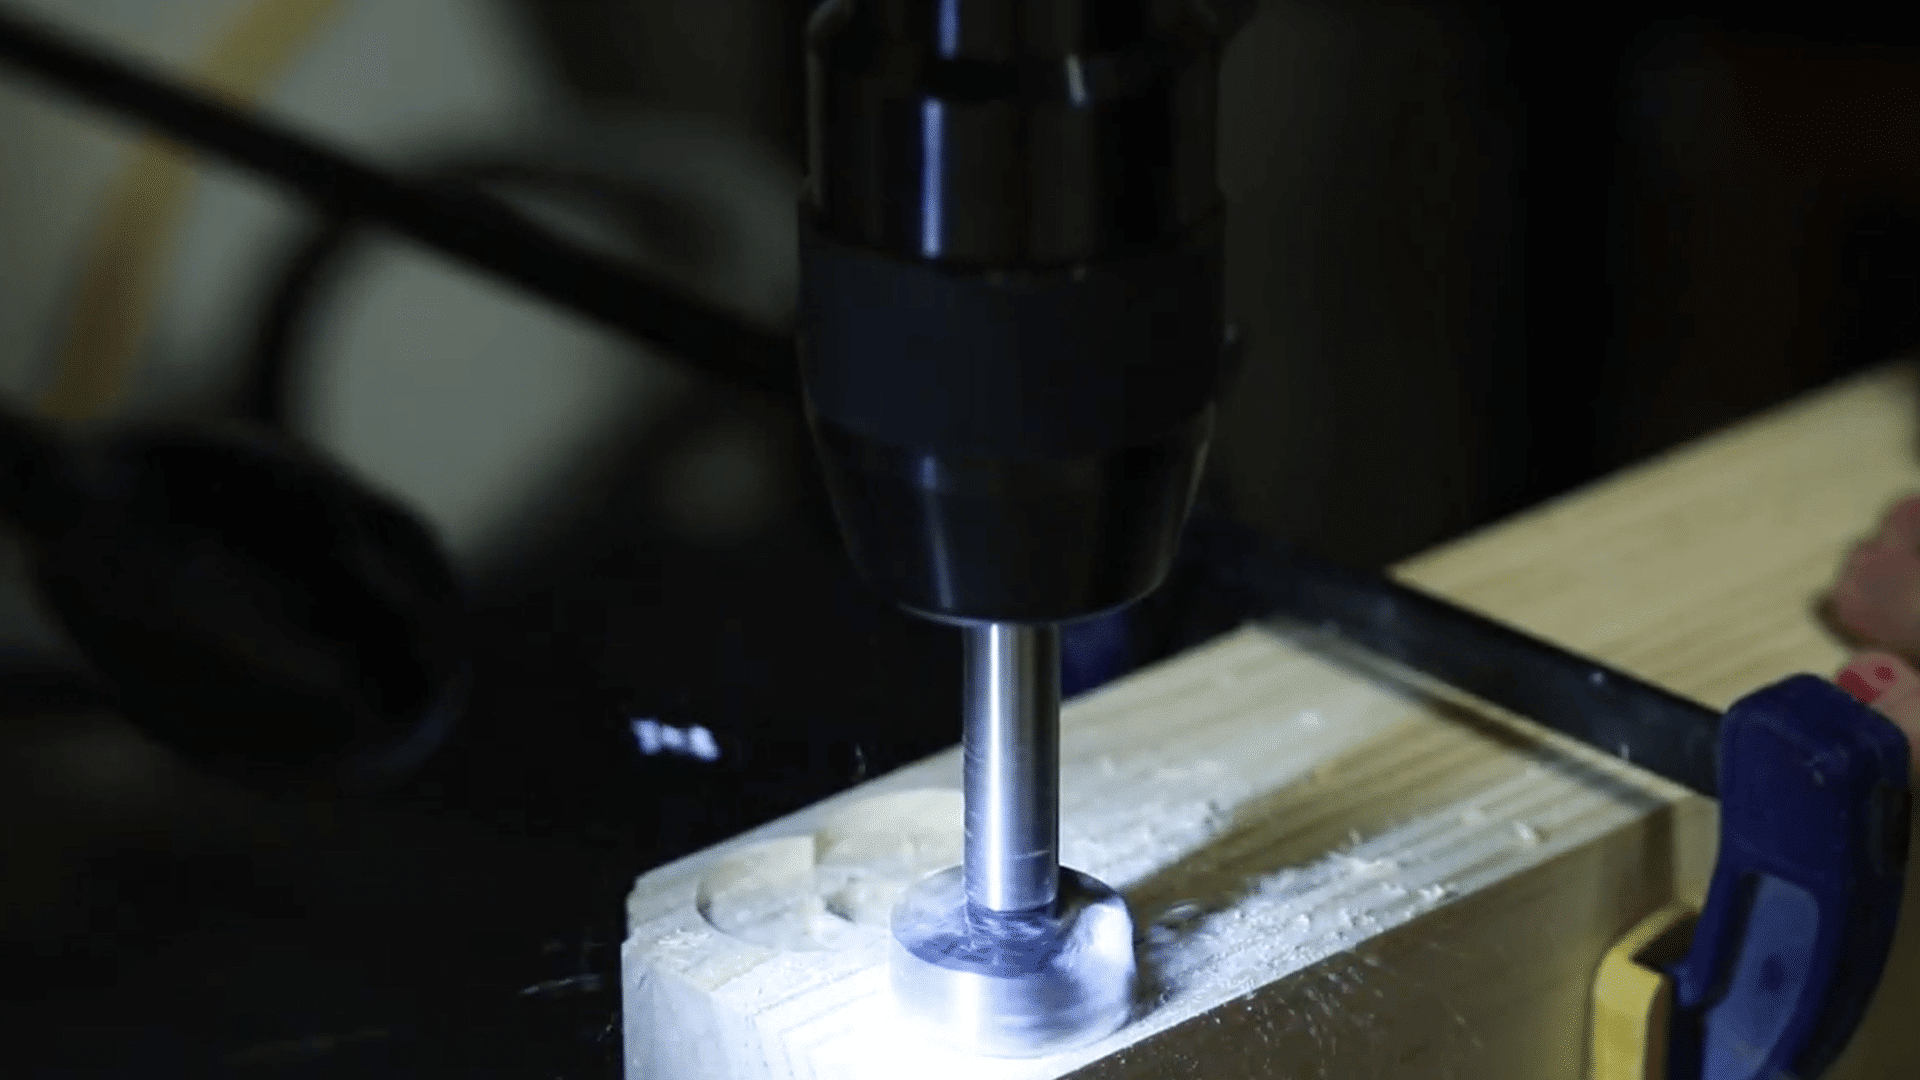
Return the shelves to the drill press and use a Forstner bit to create a shallow cavity around each mounting-post hole. Make the recess wide and deep enough to accommodate the wall-mounted base plate and its screw heads.
This cavity allows the back of the shelf to fit closely against the wall instead of stopping against the raised hardware.
Remove material gradually and test the depth regularly, since drilling too far could weaken the shelf or leave an unwanted depression on its visible surfaces.
Step 8: Sand, Prime, and Paint the Shelves
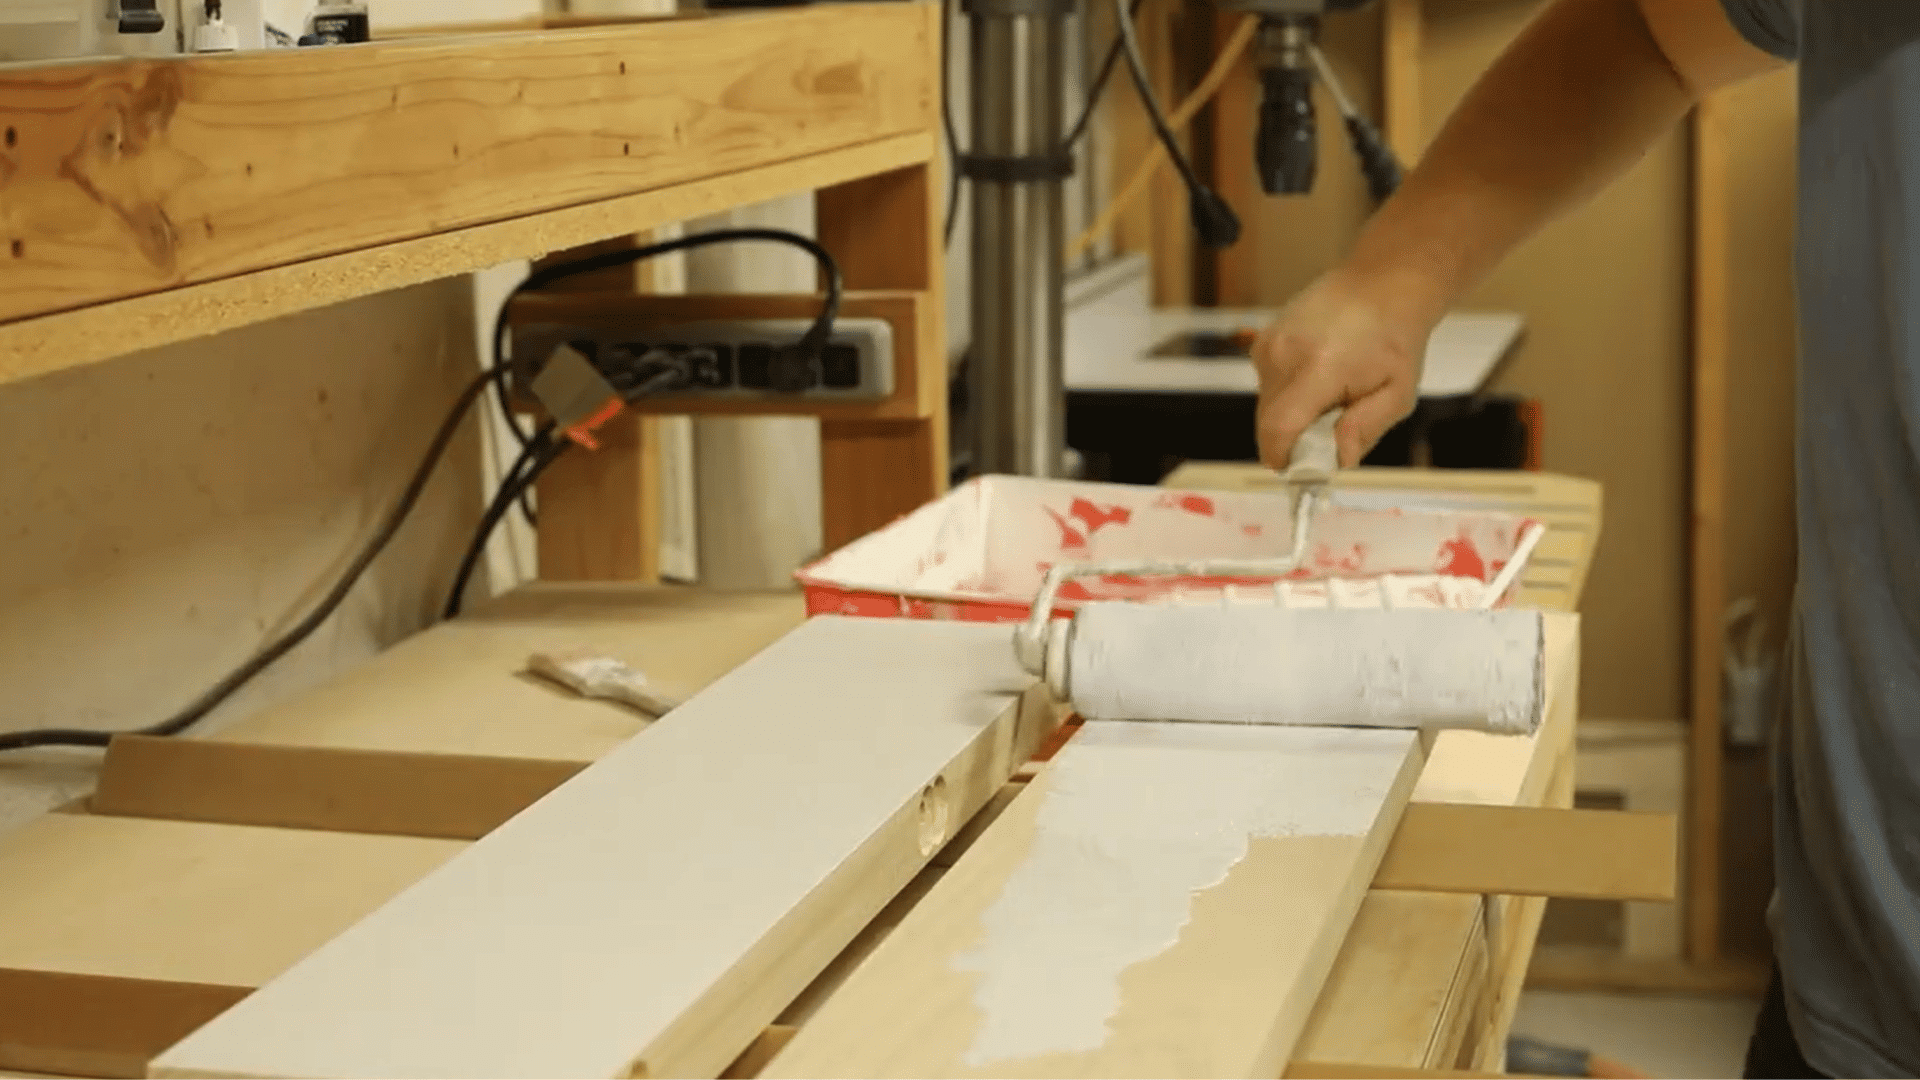
Lightly sand every surface to remove scratches, routing marks, raised grain, and other small imperfections.
Sand the decorative edges carefully without losing detail. Remove the dust, then prime the pine for an even paint finish.
Once the primer dries completely, apply an even coat of paint to the shelves in your desired color.
The creator matches them to the existing household trim, helping the shelves blend naturally with the room’s architectural features and surrounding décor.
Step 9: Mount and Decorate the Finished Shelves
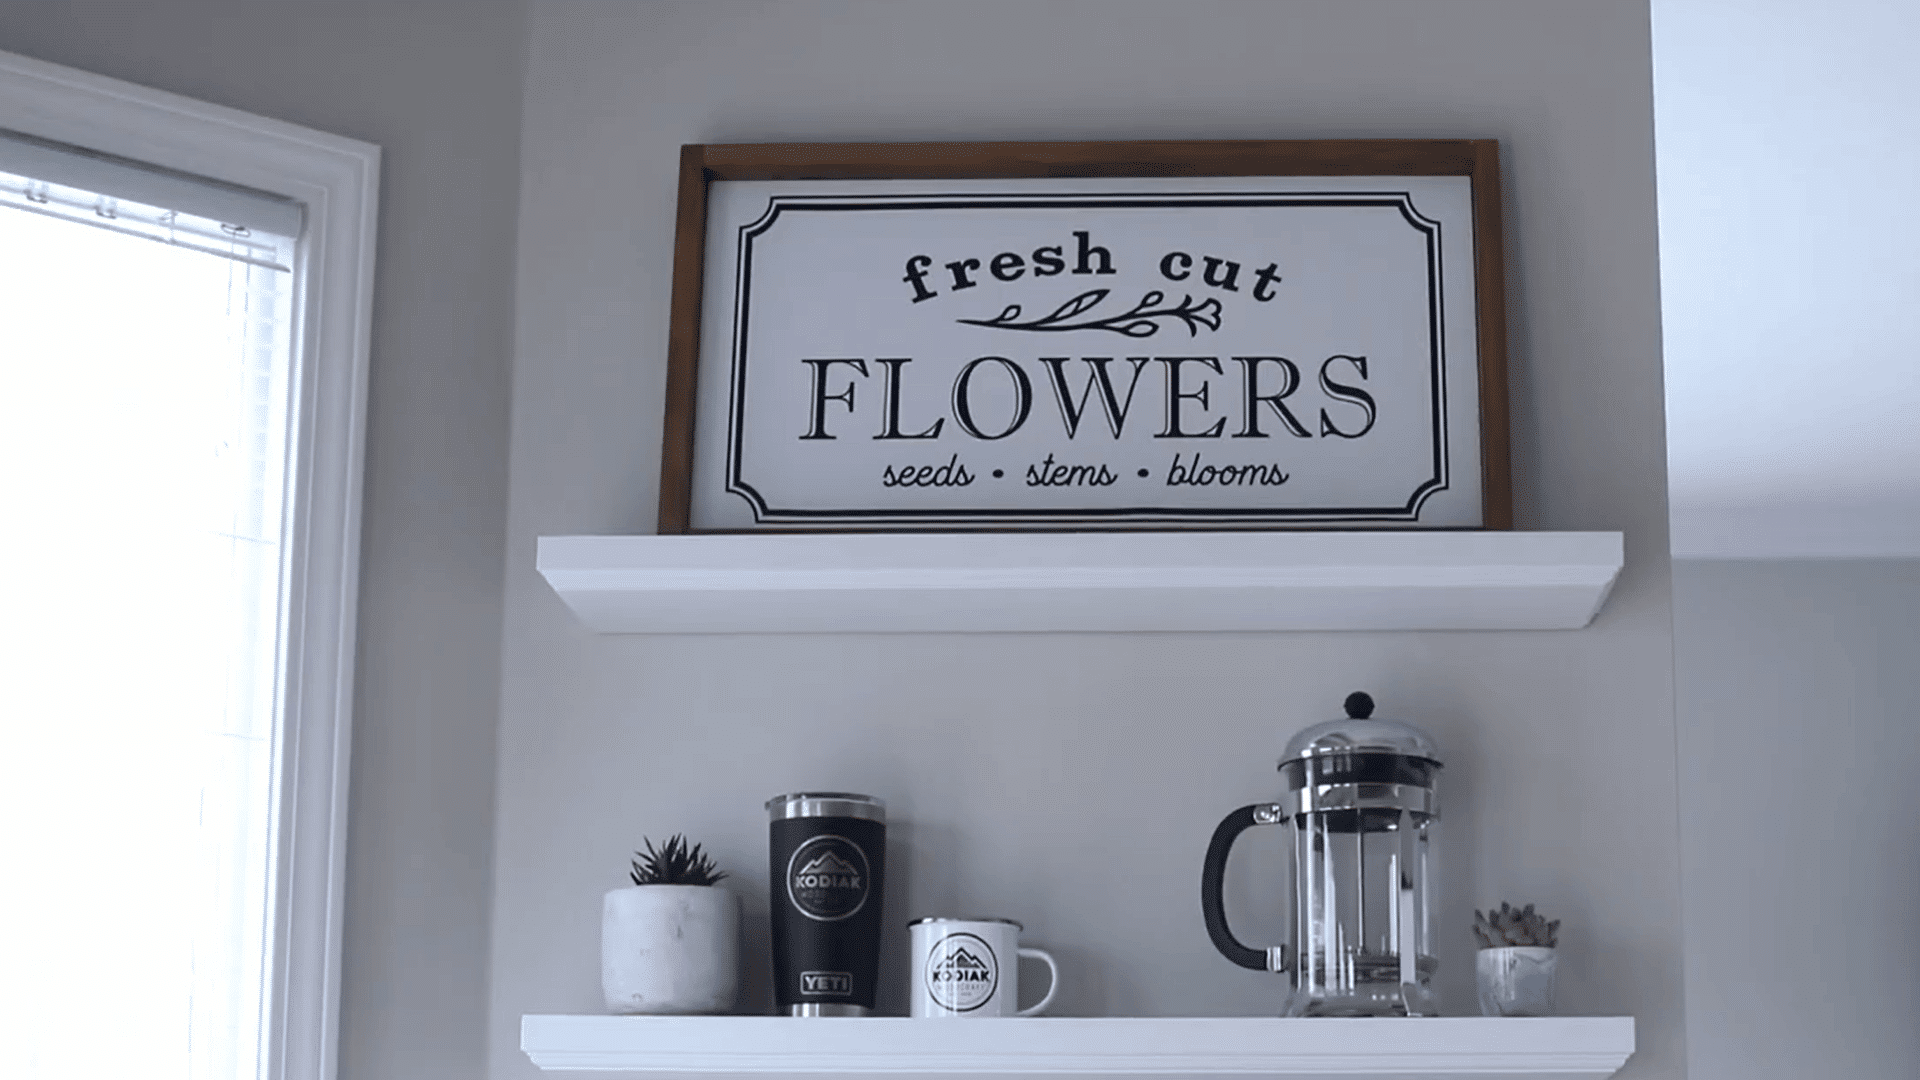
Allow the paint to dry and cure completely before handling, mounting, or placing any decorative items on the shelves.
Align the drilled holes and recessed cavities with the mounting posts and base plates already secured to the wall.
Push each shelf evenly onto the hardware until its back edge sits firmly and flush against the wall.
Use a level to confirm the shelf is stable, and keep the displayed weight within the hardware and studs’ limits.
These steps are inspired by a useful video from Kodiak Woodcraft. You can watch the original tutorial on their YouTube channel here or view it below.
DIY Floating Shelf Measurements List
The exact shelf size depends on your wall space and display needs, but these key measurements support this project:
- Shelf Thickness: 1½ inches after laminating two pine boards.
- Shelf Length: Long enough to span at least two wall studs.
- Shelf Depth: Based on the available space and intended display items.
- Mounting Holes: 7/16 inch in diameter for the hardware used.
- Pilot Holes: Begin smaller before gradually reaching the final diameter.
- Plate Recesses: Match the mounting base plates and screw heads.
- Post Spacing: Transfer directly from the installed mounting hardware.
- Stud Spacing: Commonly 16 inches on center, but verify before cutting.
Adjust all measurements to fit your wall space. Since actual lumber dimensions may differ from labeled sizes, measure every board before cutting.
How to Build a Floating Shelf Without Studs?
Floating shelves can sometimes be installed without accessible studs, but the expected weight capacity will be lower.
Use heavy-duty anchors designed for your wall type rather than basic plastic anchors.
Toggle bolts distribute the load over a larger area behind the drywall and generally provide better support than small self-drilling anchors.
Keep a drywall-mounted floating shelf shallow and use it only for lightweight decorations to reduce strain on anchors.
Books, dishes, electronics, and other heavy objects should be supported by studs or structural blocking.
Repositioning the shelf is often safer than depending entirely on drywall anchors.
Installing Floating Shelves on Different Walls
Different wall materials require specific drill bits and fasteners, so identify the wall type before beginning shelf installation.
- Drywall Over Wood Studs: Locate each stud’s center, predrill holes, and drive long structural screws through the rail into solid wood framing.
- Concrete or Brick: Use a hammer drill, masonry bit, and approved anchors, following manufacturer guidance for fastening into concrete or brick.
- Plaster and Lath: Drill slowly to prevent cracks, locate studs behind the lath, and use screws reaching the structural wood framing.
- Metal Studs: Choose fasteners rated for metal studs or toggle bolts, and add reinforcement when supporting heavier shelf loads safely.
How Much Weight Can a Floating Shelf Hold?
A floating shelf can typically hold between 15 and 50 pounds, while heavy-duty models installed directly into wall studs may support 75 to 100 pounds or more.
The exact weight capacity depends on the shelf material, bracket design, wall type, shelf size, and how well it is installed.
Proper installation into wall studs or with suitable wall anchors is the most important factor in maximizing a floating shelf’s strength and preventing it from sagging or pulling away from the wall.
For the best results, always follow the manufacturer’s recommended weight limit and distribute items evenly across the shelf instead of placing heavy objects in one spot.
Floating Shelf Variations You Can Try
Choose a construction method based on the shelf style, available space, required support, and preferred appearance.
| Shelf Style | How It Works | Best For |
|---|---|---|
| Metal Rod Brackets | Hidden rods slide into holes drilled in solid wood. | Thick shelves and modern rooms |
| French Cleat Shelf | Two angled wooden strips lock together. | Removable floating shelves |
| Live-Edge Shelf | Hidden brackets support a natural-edge wood board. | Natural or rustic interiors |
| Built-In Shelf | Provide storage within an awkward living room layout with a corner fireplace. | Wall-to-wall spaces |
Floating Shelf Care and Maintenance
Dust the shelf regularly with a soft, dry cloth. In kitchens and bathrooms, wipe away moisture quickly to protect the wood and finish.
Check the shelf occasionally for movement, sagging, wall gaps, or loose fasteners. Remove heavy items if the shelf begins to tilt. Touch up chipped paint and worn finish before moisture reaches the wood.
Distribute the load evenly across the shelf and position heavier objects closer to the wall.
Avoid adding more weight simply because the shelf appears stable. Its safe capacity still depends on the hidden bracket and wall connection.
Cost to Build a Floating Shelf
DIY floating shelf costs vary based on dimensions, wood species, hardware, finish, and the tools already available.
| Shelf Type | Estimated Cost | Build Time | Difficulty |
|---|---|---|---|
| Hollow-Box Shelf | $25–$60 | 2–4 hours | Beginner |
| French Cleat Shelf | $30–$70 | 3–5 hours | Beginner to intermediate |
| Solid Wood with Rod Brackets | $50–$150+ | 3–6 hours | Intermediate |
| Custom Built-in Shelf | $100–$300+ | 1–2 days | Advanced |
These are general estimates rather than fixed prices. Premium hardwood, specialized brackets, and decorative finishes can increase the final cost.
Common Floating Shelf Building Mistakes
Small measuring or installation mistakes can affect both the shelf’s appearance and its strength. Avoid these common errors to ensure a secure, level, and long-lasting floating shelf.
- Mount the bracket evenly to keep the shelf level.
- Avoid making the shelf too deep for stability.
- Measure actual wood thickness before cutting all pieces.
- Use strong fasteners designed for the expected shelf weight.
- Test-fit all parts before gluing or final assembly.
- Slide the shelf gently onto the mounting bracket.
- Add weight gradually after confirming the shelf is secure.
Conclusion
Building a floating shelf is a practical DIY project that adds useful storage while keeping the room open and organized.
A strong result depends on accurate measurements, straight cuts, properly spaced supports, and fasteners suited to the wall type.
Take time to dry-fit every piece, mount the bracket into studs whenever possible, and test the finished shelf gradually before adding heavier items.
The hollow-box method suits beginners, while rods, French cleats, and built-ins fit different spaces and styles.
Choose the method that matches your needs. Gather your tools, measure the wall carefully, and start building your custom floating shelf today.
Frequently Asked Questions
Is It Cheaper to Build or Buy Floating Shelves?
Building floating shelves is usually cheaper when you own the necessary tools or need several matching shelves, and it offers greater control over size, materials, finish, and strength.
What Wood Is Best for Floating Shelves?
Pine and plywood are affordable options for painted shelves. Oak, maple, and walnut provide greater durability and more attractive grain for stained or clear-finished shelves.
Can Plywood Be Used for Floating Shelves?
Yes, plywood works well for hollow-box shelves because it is stable, easy to cut, and lighter than a thick solid-wood piece.
How Should Multiple Floating Shelves Be Arranged?
Arrange shelves evenly, stagger them intentionally, and consider the heights of displayed items, surrounding furniture, ceiling clearance, and overall visual balance.