
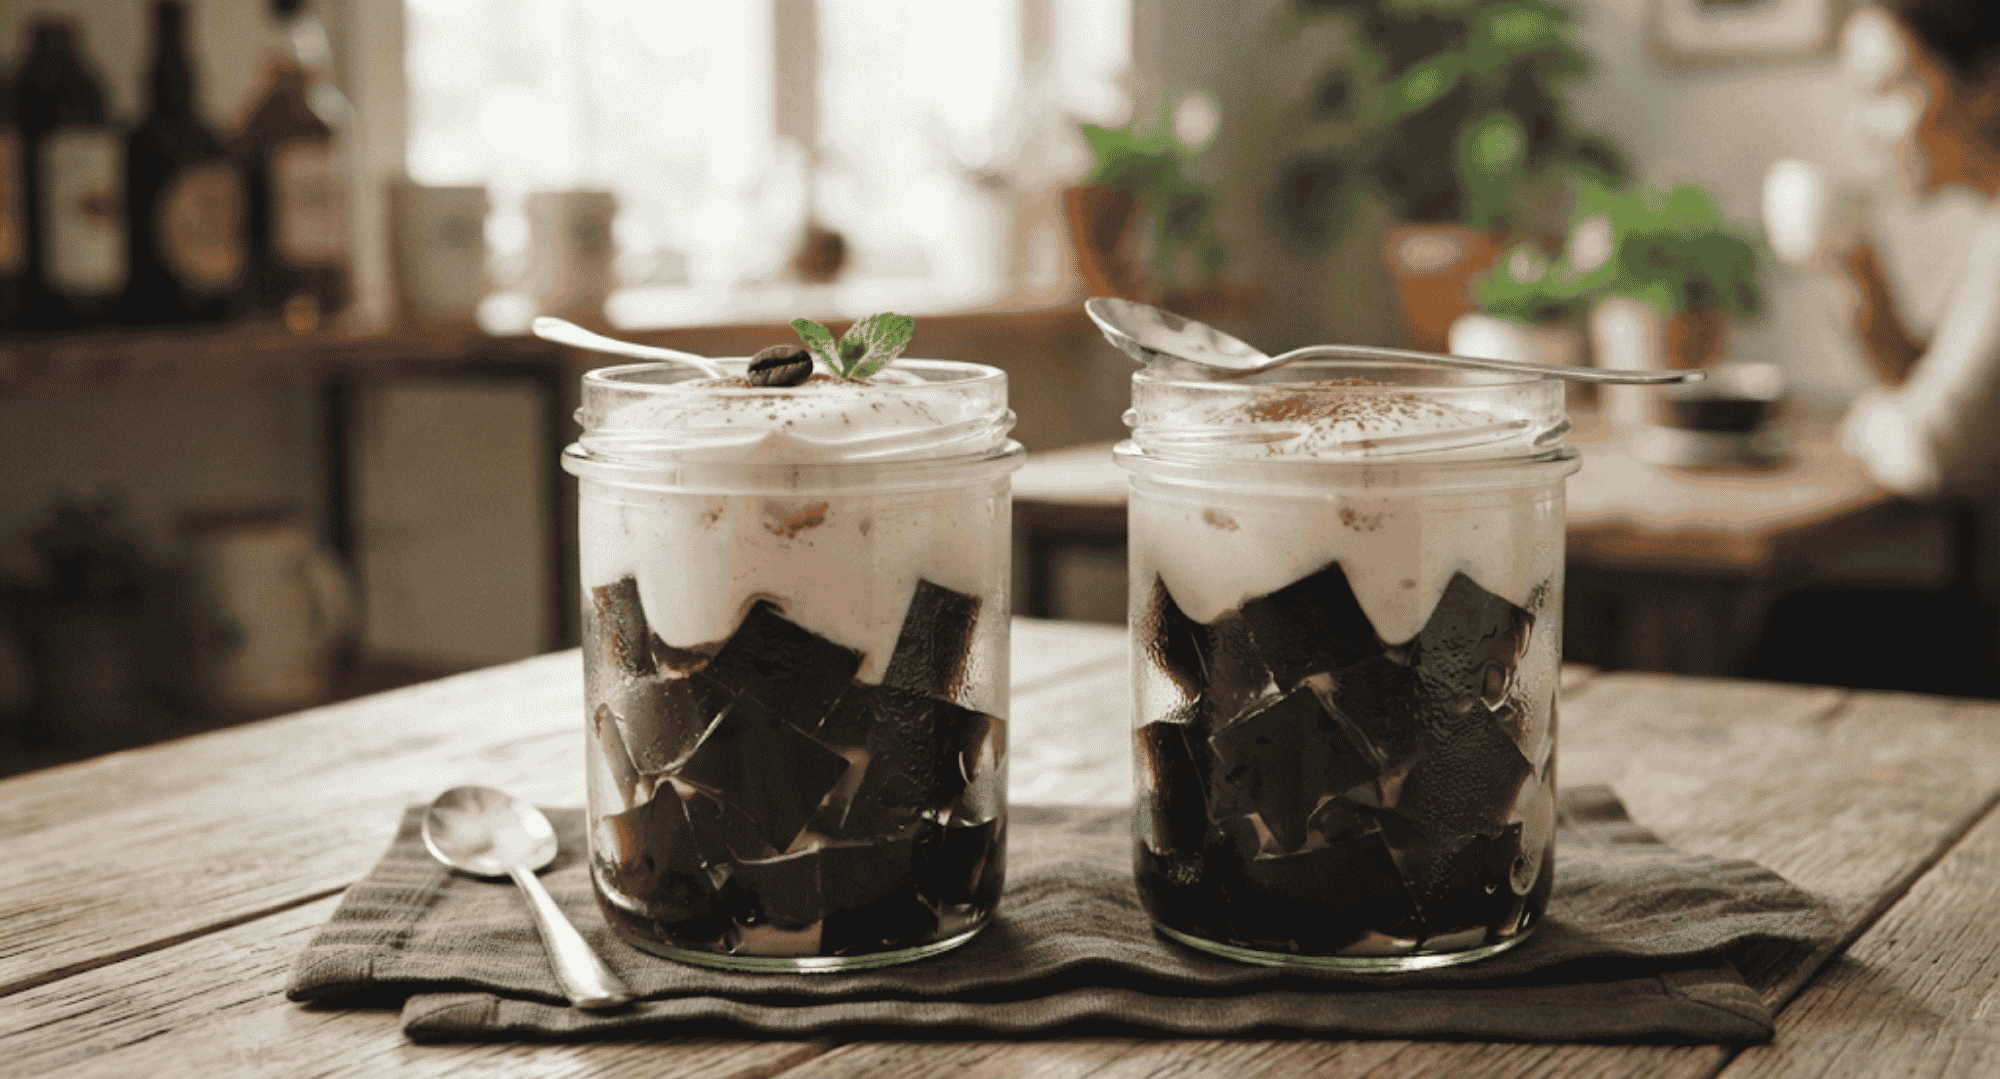
If you enjoy the rich taste of coffee and love experimenting with homemade desserts, you’ll find this coffee jelly recipe a fun treat to try.
I’ll show you how to make a delicious coffee jelly with a bold coffee flavor, smooth texture, and refreshing taste without using complicated steps or hard-to-find ingredients.
This guide covers everything from choosing ingredients to preparing and serving your dessert.
If you’re making it for yourself, sharing it with family and friends, or trying coffee-based desserts for the first time, you can easily follow this beginner-friendly recipe.
With a few simple tips and creative serving ideas, you’ll be able to make a tasty batch of coffee jelly at home for any occasion.
Quick Answer: How to Make Coffee Jelly?
To make coffee jelly, dissolve gelatin in water, mix it with hot sweetened coffee, pour the mixture into a mold, and refrigerate until firm.
Once set, cut the jelly into cubes and serve chilled on its own or with whipped cream, condensed milk, milk, or ice cream. The recipe takes about 15 minutes to prepare and 4–7 hours to chill.
Why This Coffee Jelly Recipe Works
Before you start, here’s why this version holds up well against other recipes I’ve tested over the years:
- Only five core ingredients, most already sitting in your pantry.
- Roughly 15 minutes of active work; the rest is hands-off chilling.
- Works equally well with brewed or instant coffee, so it fits a busy schedule.
- Easy to make lower in sugar or higher in protein without losing the texture.
Coffee Jelly Recipe Time and Servings
This recipe card gives you all the essential details at a glance, from preparation and cooking times to servings, making it easy to plan before you start.
| Recipe Details | Information |
|---|---|
| Prep Time | 10 minutes |
| Cook Time | 5 minutes |
| Chill Time | 4–7 hours |
| Total Time | About 4 hours 15 minutes |
| Servings | 4 servings |
Ingredients You’ll Need for This Coffee Jelly Recipe
You’ll only need a handful of pantry staples to make this coffee jelly recipe. The ingredients are simple, easy to find, and can be adjusted to suit your taste or dietary preferences.
- Strong Brewed Coffee or Instant Coffee
- Unflavored Gelatin Powder
- Sugar
- Water
- Heavy Cream or Whipping Cream (Optional)
- Sweetened Condensed Milk (Optional)
- Ice Cubes (Optional)
How to Make Coffee Jelly (Step-by-Step)?
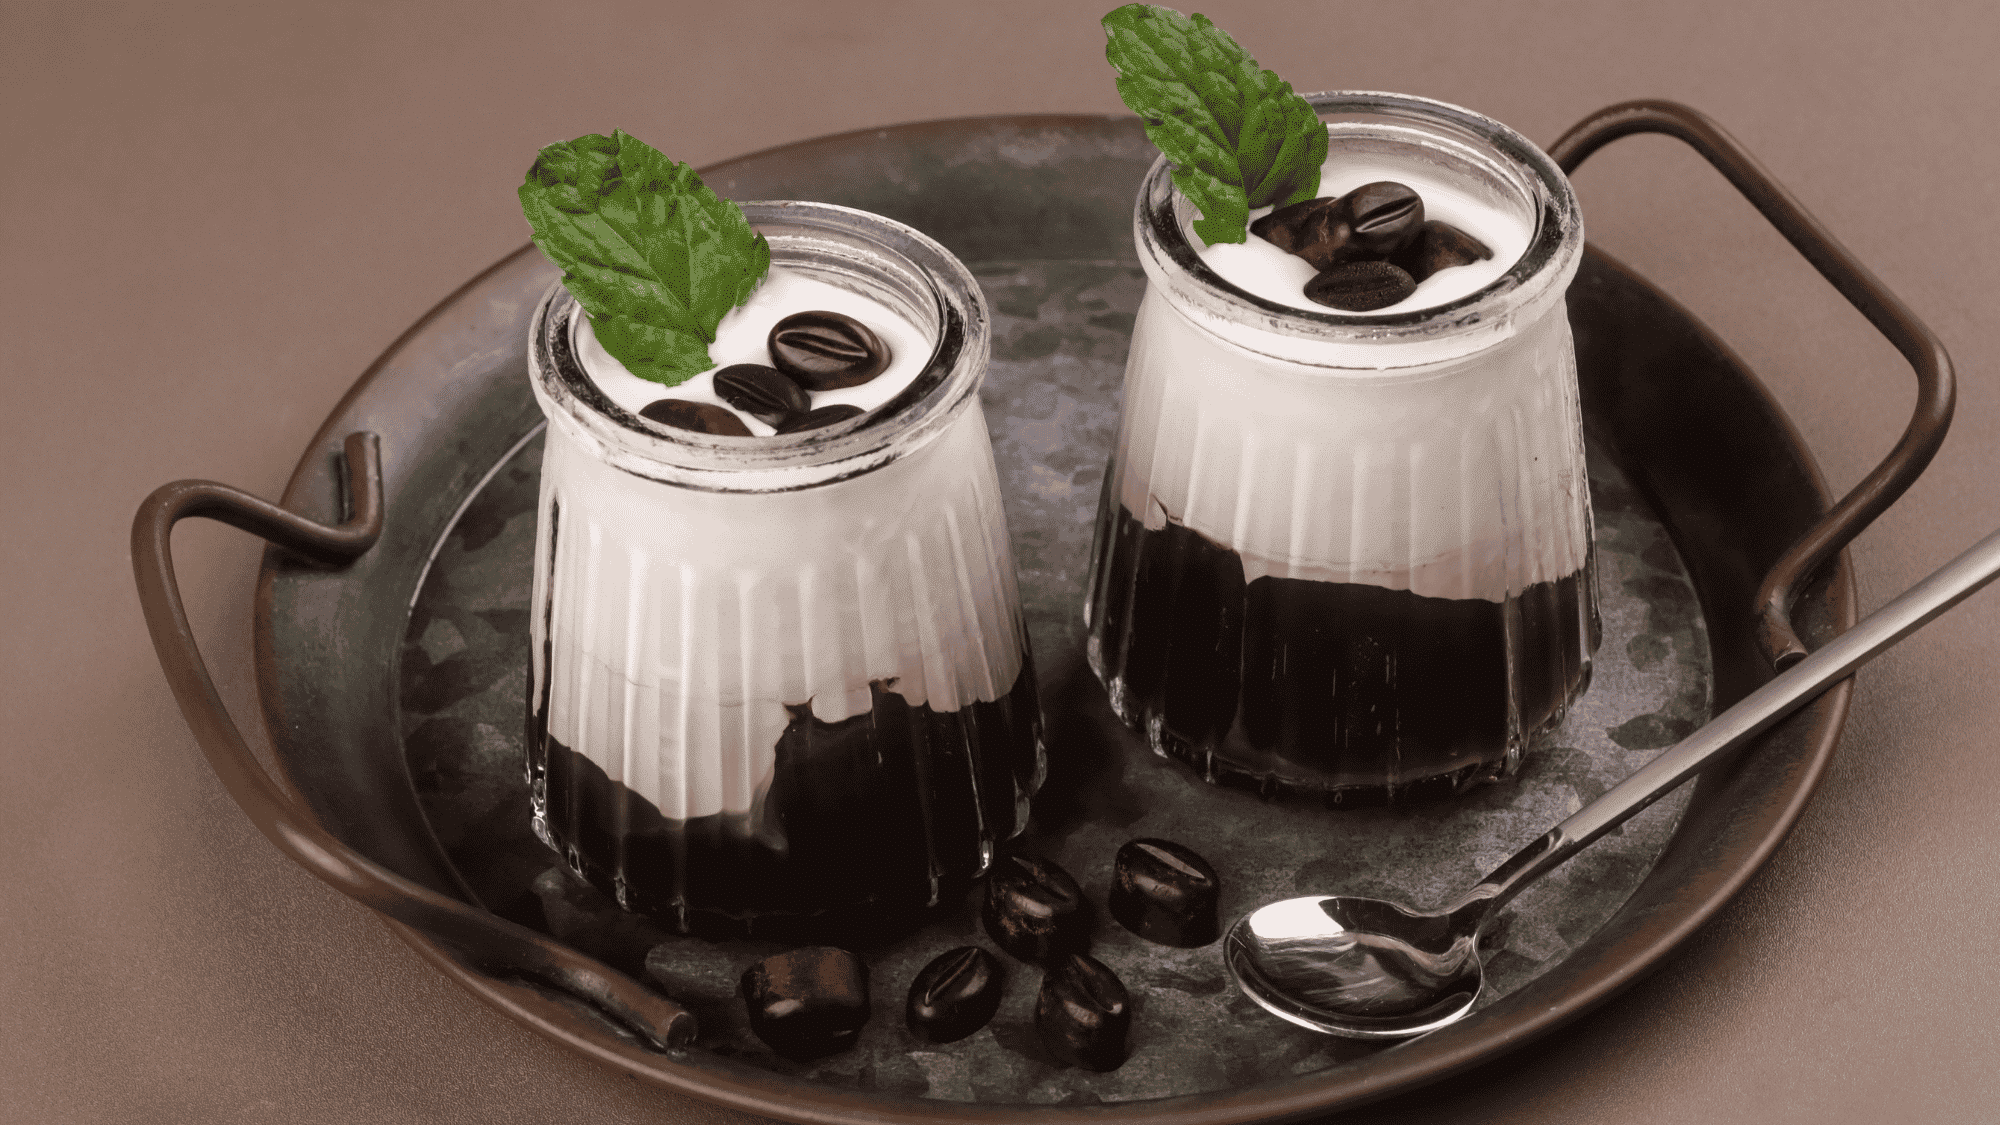
Making coffee jelly at home is simple and requires just a few ingredients and basic kitchen tools. Follow these easy steps to prepare a smooth, flavorful coffee jelly with the perfectly tender texture.
Step 1: Bloom the Gelatin
Sprinkle unflavored gelatin over 2–3 tablespoons of cold or warm water and leave it undisturbed for about 5 minutes.
This allows the gelatin to absorb the liquid and soften, ensuring it dissolves smoothly later. If you’re making a vegetarian version, use agar agar instead.
Unlike gelatin, agar agar is added directly to the coffee mixture and must be boiled for 1–2 minutes to activate its setting properties.
Step 2: Brew and Sweeten the Coffee
Prepare 2 cups of strong brewed coffee using dark roast beans or espresso for a bold flavor.
While the coffee is still hot, add the sugar and stir until it dissolves completely.
Mixing the sugar into hot coffee helps create a smooth, evenly sweetened base and prevents undissolved sugar crystals from affecting the texture of the finished coffee jelly.
Step 3: Combine the Gelatin and Coffee
Stir the bloomed gelatin into the hot coffee until it dissolves completely, creating a smooth mixture without lumps.
Do not let the mixture boil after adding gelatin, as excessive heat can weaken its ability to set.
If using agar agar, gently simmer the mixture for 1–2 minutes to fully dissolve and activate it before moving on to the next step.
Step 4: Pour the Mixture into a Mold
Carefully pour the prepared coffee mixture into a jelly mold, baking dish, or shallow container.
Allow it to cool at room temperature for 10–15 minutes before placing it in the refrigerator.
Letting the mixture cool slightly first helps prevent condensation and supports even setting, resulting in a smoother texture once the coffee jelly is chilled.
Step 5: Chill Until Firm
Place the filled mold in the refrigerator and chill until the coffee jelly is fully set.
Gelatin-based coffee jelly usually takes 4–7 hours to set, while agar-agar versions typically set within 2–3 hours.
The jelly should be firm enough to hold its shape while remaining tender when cut. Avoid moving the container while it chills to ensure an even, consistent set.
Step 6: Cut and Serve
Once the coffee jelly has fully set, use a sharp knife to cut it into neat cubes about ½–1 inch in size.
Carefully remove the cubes from the mold or container and serve them chilled for the best flavor and consistency.
Coffee jelly is delicious on its own, but you can also explore the serving ideas below to discover different ways to customize and enjoy this refreshing homemade dessert.
Tips for Making Perfect Coffee Jelly
Follow these practical tips to improve the flavor, appearance, and overall quality of your homemade coffee jelly
- Use freshly brewed coffee: it provides the best aroma and flavor. Avoid using coffee that has been sitting for too long, as it can taste stale or bitter.
- Strain the coffee if needed: If you’re using a French press or freshly ground coffee, strain the coffee before mixing to remove fine grounds and ensure a smoother jelly.
- Let the mixture cool slightly: Allow the coffee mixture to cool for 10–15 minutes before refrigerating. This helps reduce condensation and promotes a more even set.
- Cover the container while chilling: Once the mixture has cooled slightly, cover the mold or container to keep the jelly from absorbing refrigerator odors and to maintain its freshness.
- Taste before adding the gelling agent: Check the sweetness of the coffee before mixing in the gelatin or agar agar. Once the jelly begins to set, it’s difficult to adjust the flavor.
Nutrition at a Glance (Per Serving)
| Nutrient | Approximate Amount |
|---|---|
| Calories | 70–90 kcal |
| Protein | 1–2 g |
| Carbohydrates | 15–18 g |
| Sugar | 12–15 g |
| Fat | 0–1 g (before toppings) |
These figures are estimates based on standard ingredient values and will shift depending on your brand of coffee, sugar amount, and toppings. If you use the high-protein variation below, protein per serving rises closer to 6–8 g.
Delicious Ways to Serve Coffee Jelly
Coffee jelly is a versatile dessert that can be enjoyed in several delicious ways. For a classic serving, top chilled coffee jelly cubes with whipped cream or sweetened milk, which balances the coffee’s bold flavor with a creamy sweetness.
You can also add the cubes to milk tea or iced coffee for a refreshing drink with a fun, chewy texture.
For a more indulgent dessert, serve coffee jelly over vanilla ice cream, where the melting ice cream creates a rich, creamy combination.
Another popular option is to use it in layered desserts such as parfaits with yogurt, whipped cream, granola, or crushed cookies. These serving ideas make homemade coffee jelly suitable for everyday treats, parties, or café-style desserts.
Variations to Try
Coffee jelly is easy to customize with different flavors and ingredients. Try these popular variations to create a version that suits your taste and dietary preferences.
| Variation | Description |
|---|---|
| Creamy Coffee Jelly | Add milk, cream, or evaporated milk to the coffee mixture for a richer flavor and a creamier texture. |
| Vietnamese Coffee Jelly | Prepare or serve the jelly with sweetened condensed milk for a bold coffee flavor and a sweet, creamy finish. |
| Mocha Coffee Jelly | Mix cocoa powder or melted dark chocolate into the coffee mixture before it sets for a delicious chocolate-coffee twist. |
| Sugar-Free Coffee Jelly | Replace regular sugar with your preferred low-calorie sweetener to reduce the sugar content while maintaining great flavor. |
| Vegan Coffee Jelly | Use agar agar instead of gelatin to make a plant-based version suitable for vegans and vegetarians. |
How to Store Coffee Jelly?
Store coffee jelly in an airtight container in the refrigerator to keep it fresh and maintain its soft, jiggly texture.
For the best quality, refrigerate it at 40°F (4°C) or below and avoid leaving it at room temperature for extended periods.
Homemade coffee jelly typically stays fresh for 3–5 days when stored properly. Before serving, check for signs of spoilage, such as an unusual smell, discoloration, or changes in texture, and discard it if any are present.
Avoid storing coffee jelly with strong-smelling foods like onions or garlic because it can absorb odors.
While freezing is possible, it is not recommended, as thawing can make the jelly watery, grainy, or rubbery, affecting its texture.
For the best flavor and consistency, enjoy coffee jelly fresh within a few days of making it.
Common Mistakes to Avoid
Avoid these common mistakes to ensure your coffee jelly sets properly and delivers the best flavor and appearance.
- Skipping the blooming step: If you’re using gelatin, don’t add it directly to the coffee. Blooming it first helps the jelly set evenly and prevents a grainy texture.
- Pouring into the refrigerator while still very hot: Let the mixture cool for 10–15 minutes before chilling to reduce condensation and achieve a smoother finish.
- Using the wrong container: Deep containers take longer to set and make cutting uneven cubes more difficult. A shallow dish or jelly mold works best.
- Cutting the jelly too early: Wait until the coffee jelly is completely firm before slicing. Cutting it too soon can cause it to break apart or lose its shape.
- Leaving the jelly uncovered in the refrigerator: Always cover the container once cooled to prevent the jelly from absorbing refrigerator odors and drying out.
Conclusion
Making coffee jelly at home is a simple and rewarding way to enjoy a coffee-inspired dessert with a homemade touch.
With just a few basic ingredients like coffee, a gelling agent, sugar, and water, you can create a smooth and refreshing treat without much effort.
By following the right steps, using proper techniques, and keeping a few helpful tips in mind, you can achieve that perfect silky texture and rich coffee flavor every time.
Once you try the basic recipe, you can personalize it with creamy toppings, vegan alternatives, or your favorite flavors.
Whether you’re preparing it for yourself or sharing it with family and friends, homemade coffee jelly is an easy dessert you’ll enjoy making again and again.
Frequently Asked Questions
Can You Make Coffee Jelly without Gelatin?
Yes. Replace gelatin with agar agar for a vegetarian or vegan version. Agar agar sets more firmly and usually requires boiling to activate before the jelly can set.
Can You Use Instant Coffee?
Yes. Instant coffee works well for coffee jelly. Dissolve it in hot water and use a slightly stronger concentration to achieve a rich, balanced coffee flavor.
Why Didn’t My Coffee Jelly Set?
Coffee jelly may not set if the gelatin wasn’t bloomed properly, the ratio was incorrect, or the mixture wasn’t chilled long enough before serving.
Can You Freeze Coffee Jelly?
Freezing is not recommended. Thawing can make coffee jelly watery, grainy, and rubbery, which affects its smooth texture and overall quality.
How Long Does Coffee Jelly Last?
Homemade coffee jelly stays fresh for3–5 days when stored in an airtight container in the refrigerator. Discard it if you notice any signs of spoilage.