Some mornings, you just want something quick that feels like you are doing one small good thing for your body. I get that.
You want simple, homemade, and not another long routine you will skip after two days. That is where an immunity shot recipe fits in so well.
You might be asking if making these at home is really worth it. Is it complicated? Does it taste too strong? Will you actually stick with it?
I wrote this guide to answer those exact thoughts, without overthinking or fancy steps.
By the end, you will know exactly how to make it work for you, using what you already have and keeping it realistic for daily life.
The Basics of Immunity Shots
Immunity shots are small but potent health beverages packed with immune-supporting ingredients in a concentrated formula.
Served in just 1 to 2 ounce portions, they provide targeted nutrition without the bulk of traditional smoothies or juices that can contain 8 to 16 ounces or more.
The key difference lies in concentration. These shots contain higher levels of active ingredients like ginger, turmeric, citrus, and vitamins in every sip, making them more like a liquid supplement than a casual drink.
Many people add them to their daily wellness routine for ongoing immune support, while others reach for them seasonally when colds and flu are most common.
The small serving size makes them easy to consume in seconds, offering maximum nutritional impact with minimal time and effort.
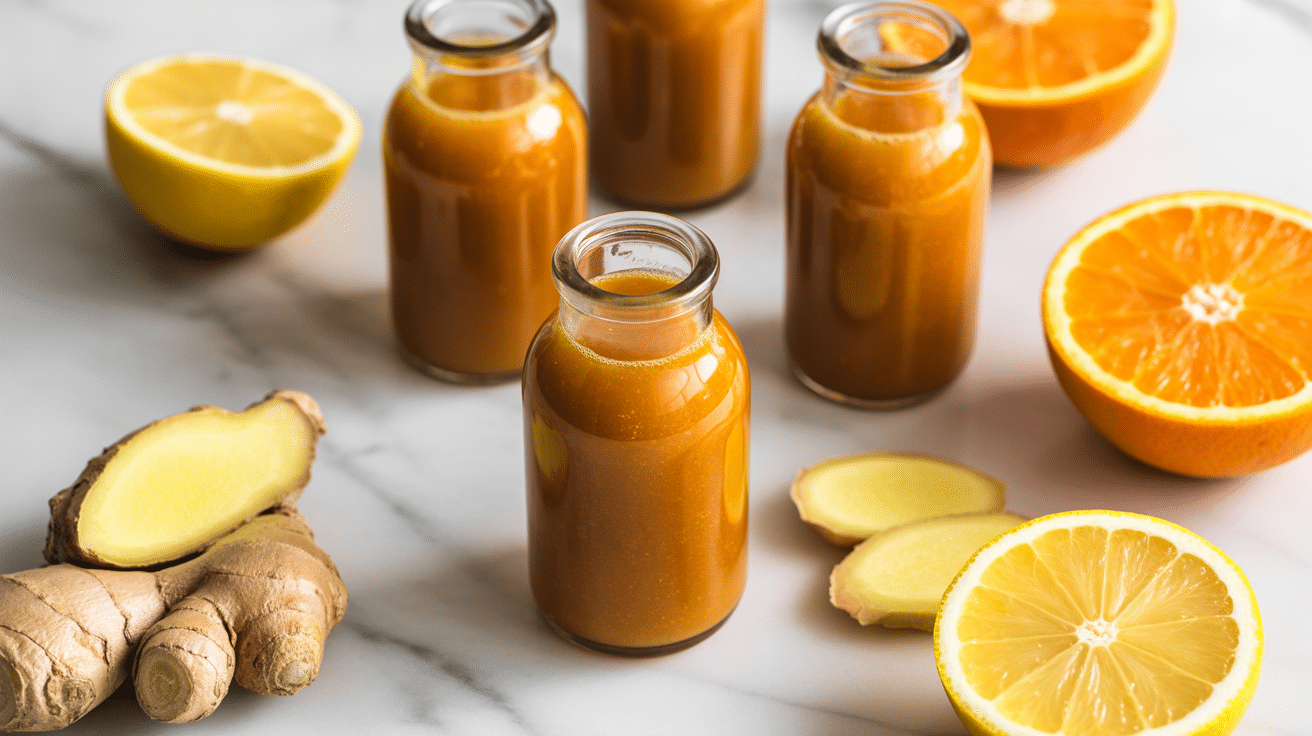
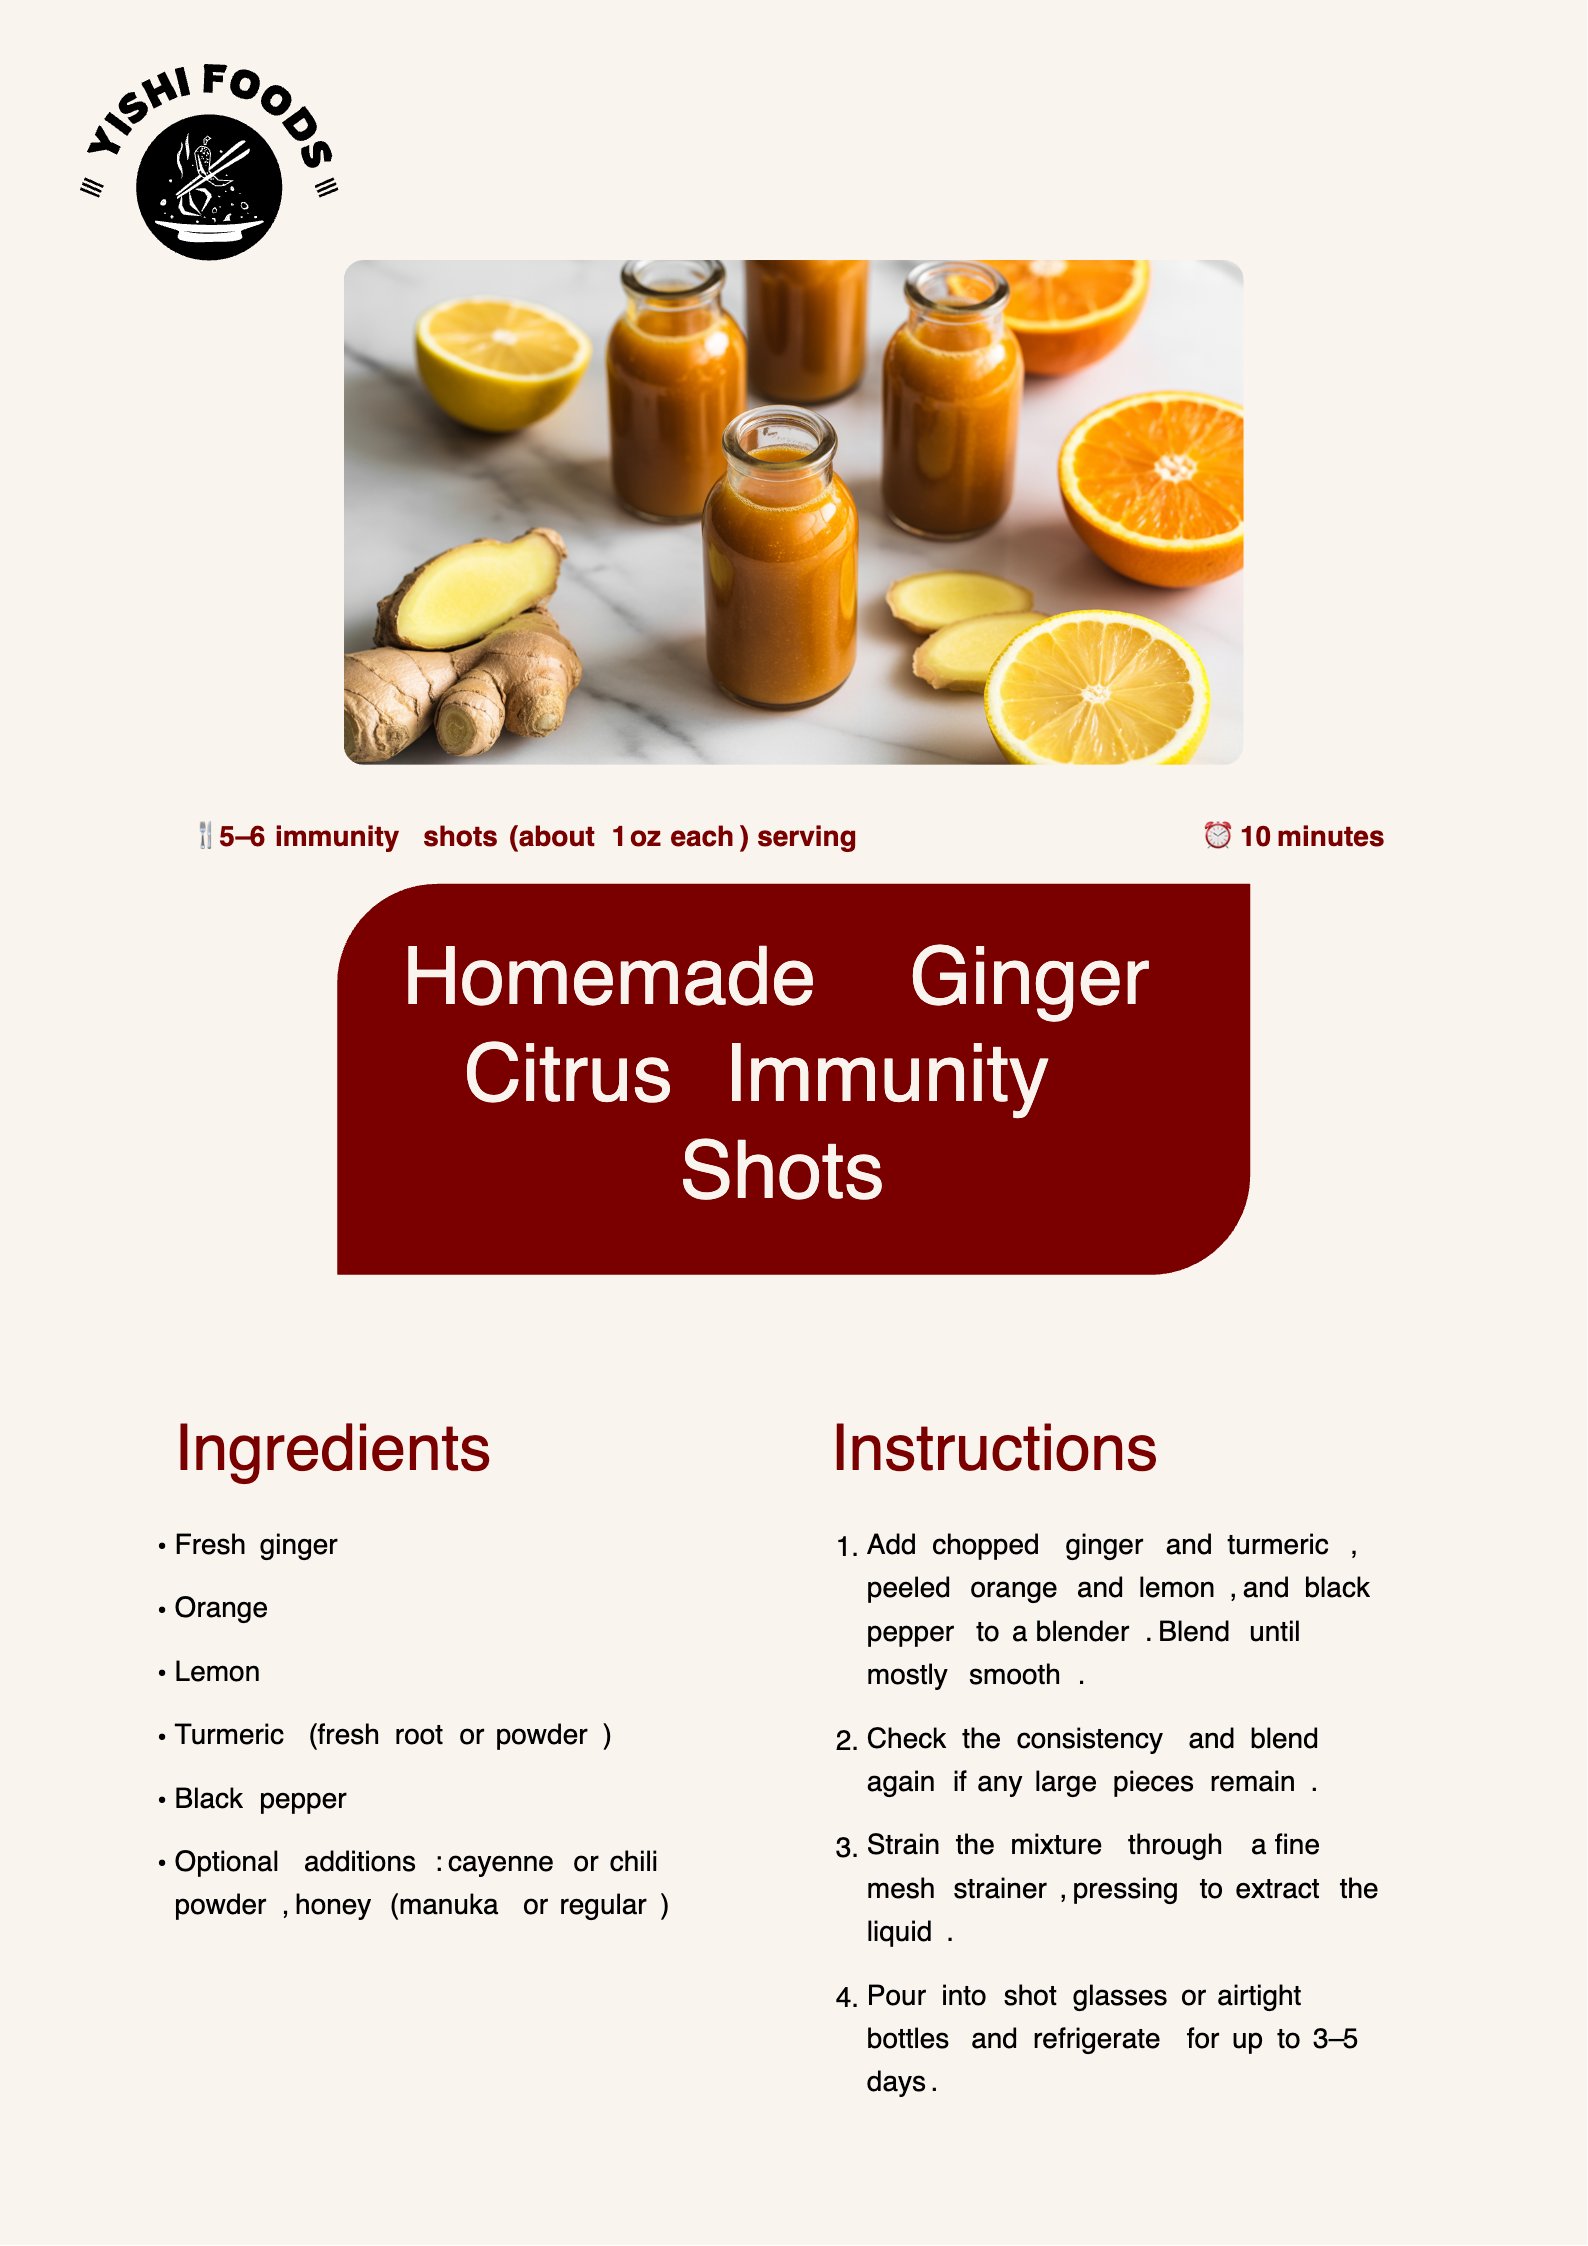
Core Immunity Shots Recipe: Ginger Citrus Base
This foundational recipe combines ginger, citrus, and turmeric for a powerful wellness boost. Perfect for batch preparation and refrigerator storage throughout the week.
Serving Size: 5–6 immunity shots (about 1 oz each)
Total Time: 10 minutes
Ingredients
- Fresh ginger
- Orange
- Lemon
- Turmeric (fresh root or powder)
- Black pepper
Optional additions: Cayenne or chili powder, honey (manuka or regular)
Step-by-Step Instructions
Choose the method that works best for your kitchen setup. The blender method is faster and easier for larger batches, while the juicing method gives you more control over texture and requires no electrical appliances.
Method 1: Blender Method
This approach is ideal for making multiple shots at once and requires minimal effort with quick cleanup.
1. Prepare and blend the ingredients
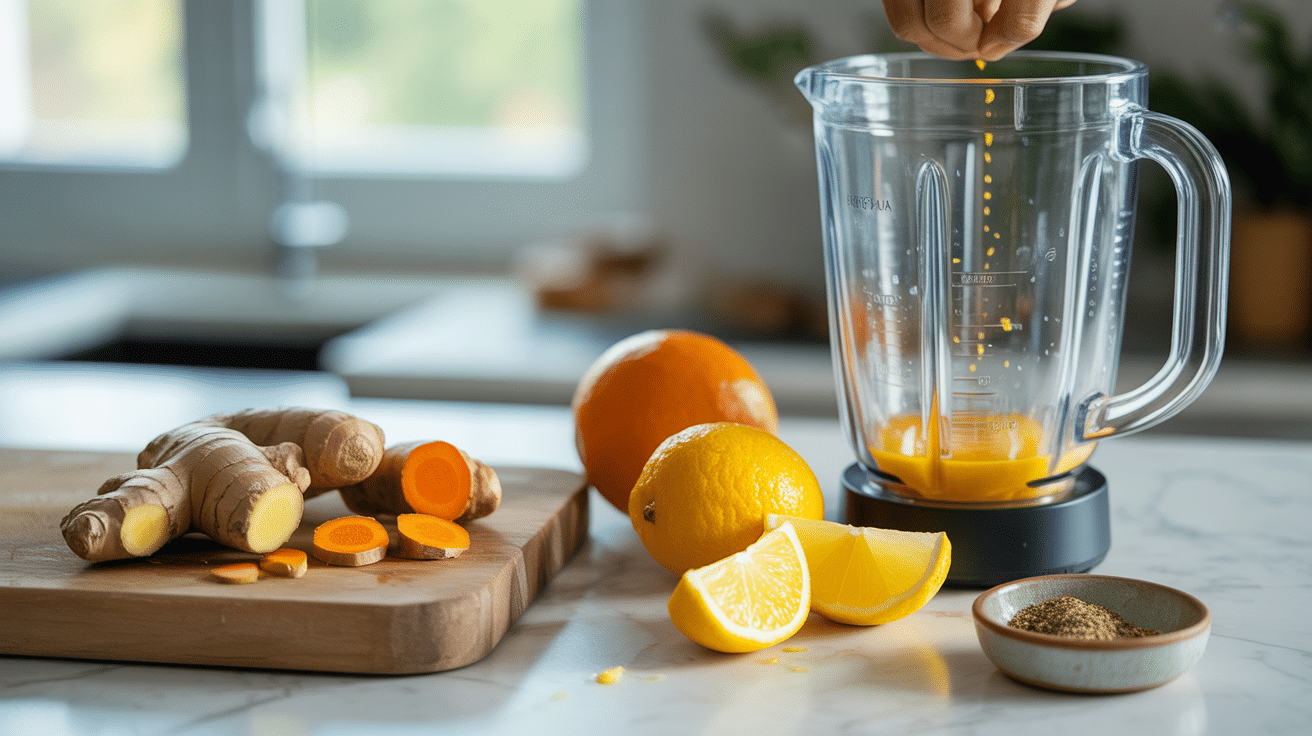
Roughly chop the ginger and turmeric into smaller pieces, peel the orange and lemon, and add everything to your blender along with a pinch of black pepper. Blend on high speed for 30 to 60 seconds until the mixture is mostly smooth and well combined.
2. Check the consistency
The mixture should be pulpy and liquid, with no large chunks remaining. If needed, blend for another 15 to 30 seconds.
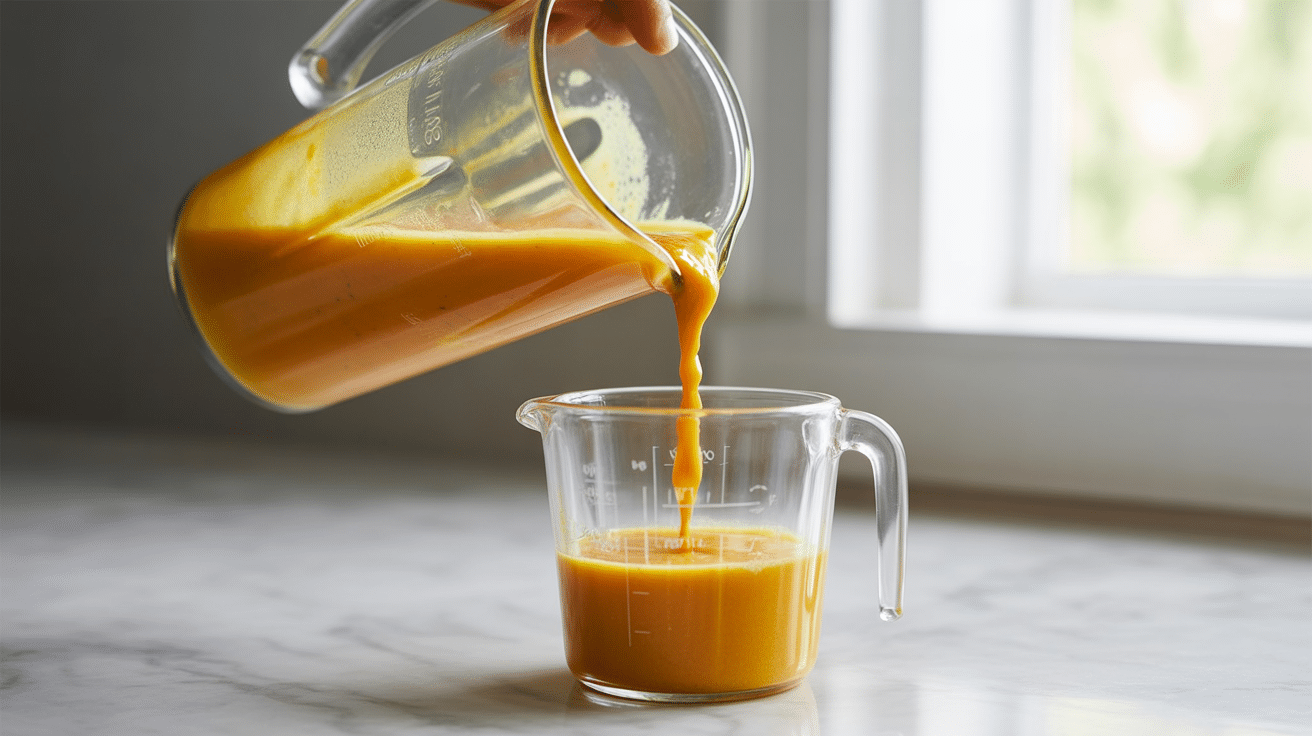
3. Strain for smoothness
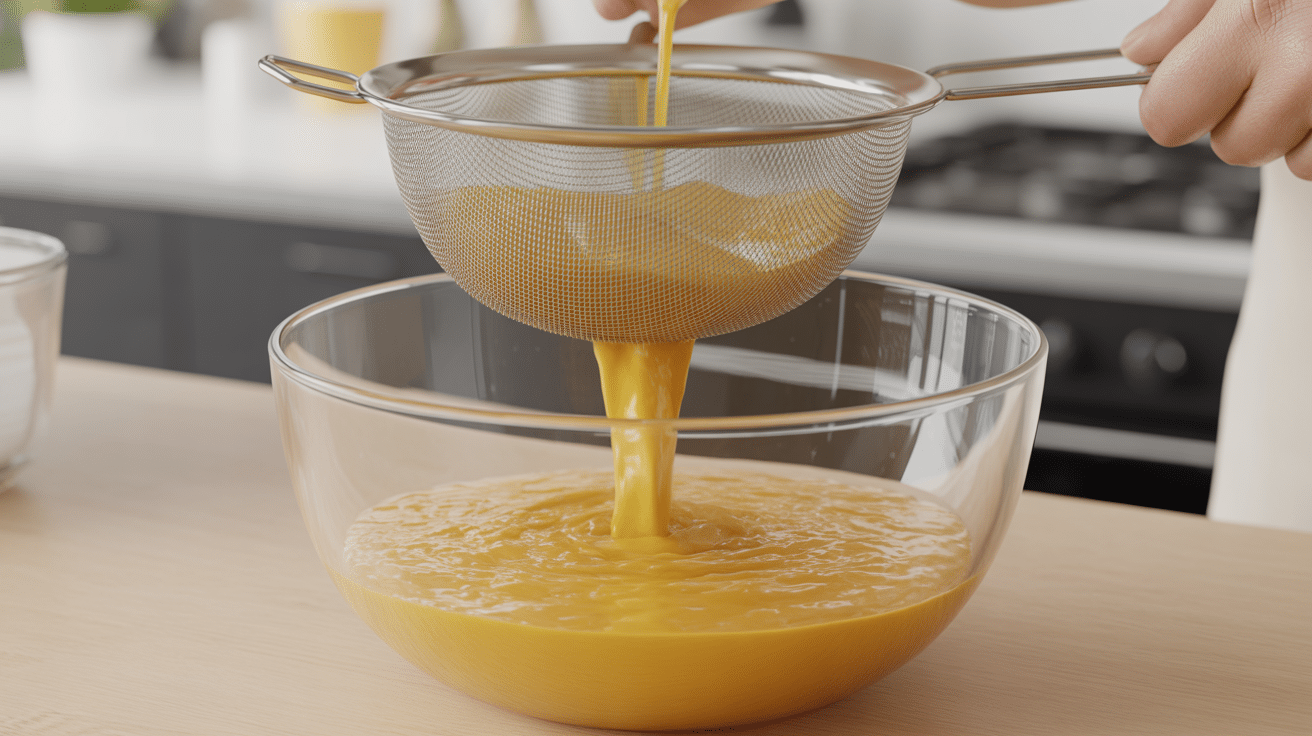
Place a fine mesh strainer or cheesecloth over a bowl or pitcher. Pour the blended mixture through, pressing down with a spoon to extract as much liquid as possible. This removes fiber and pulp, leaving you with a smooth, drinkable shot.
4. Portion and store.
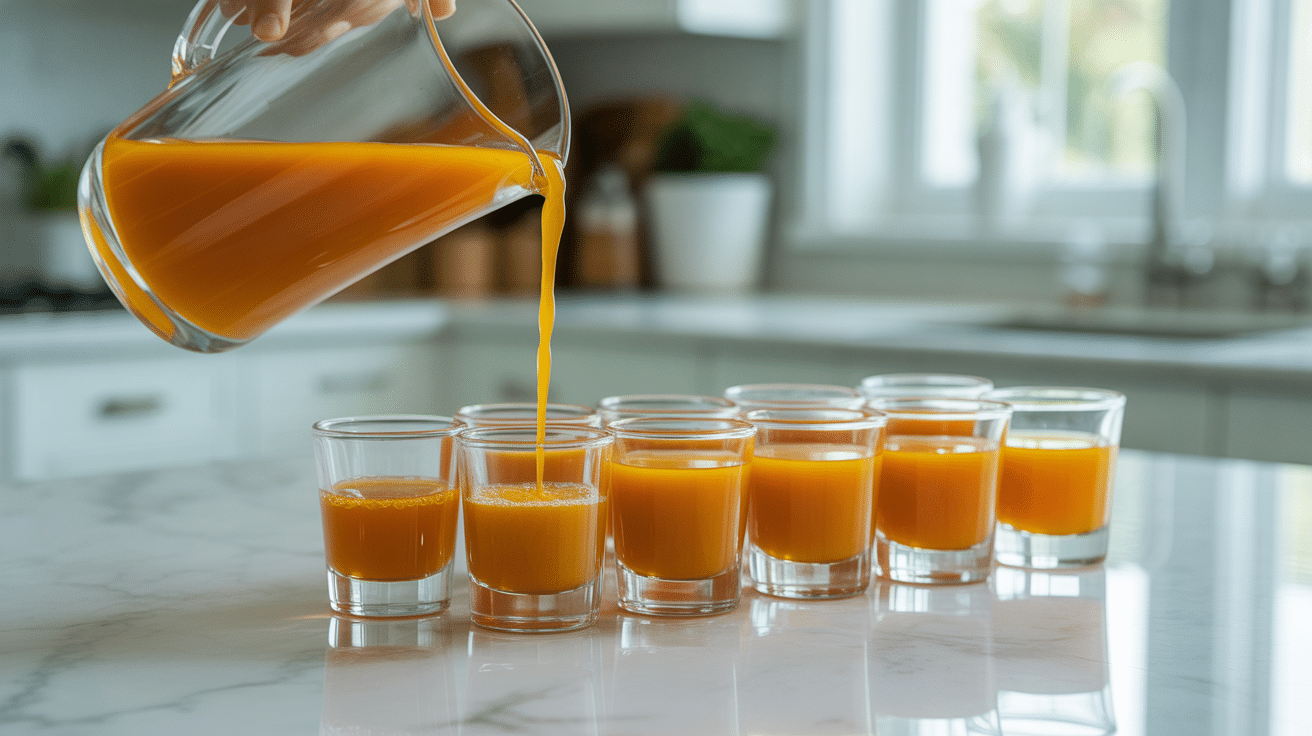
Pour the strained liquid into small shot glasses for immediate use or into airtight bottles for refrigerator storage. The shots stay fresh for up to 3 to 5 days when properly sealed.
Method 2: No Blender/Juicing Method
Perfect for those without a blender or who prefer a hands-on approach with more texture control.
1. Juice the orange and lemon using a hand juicer
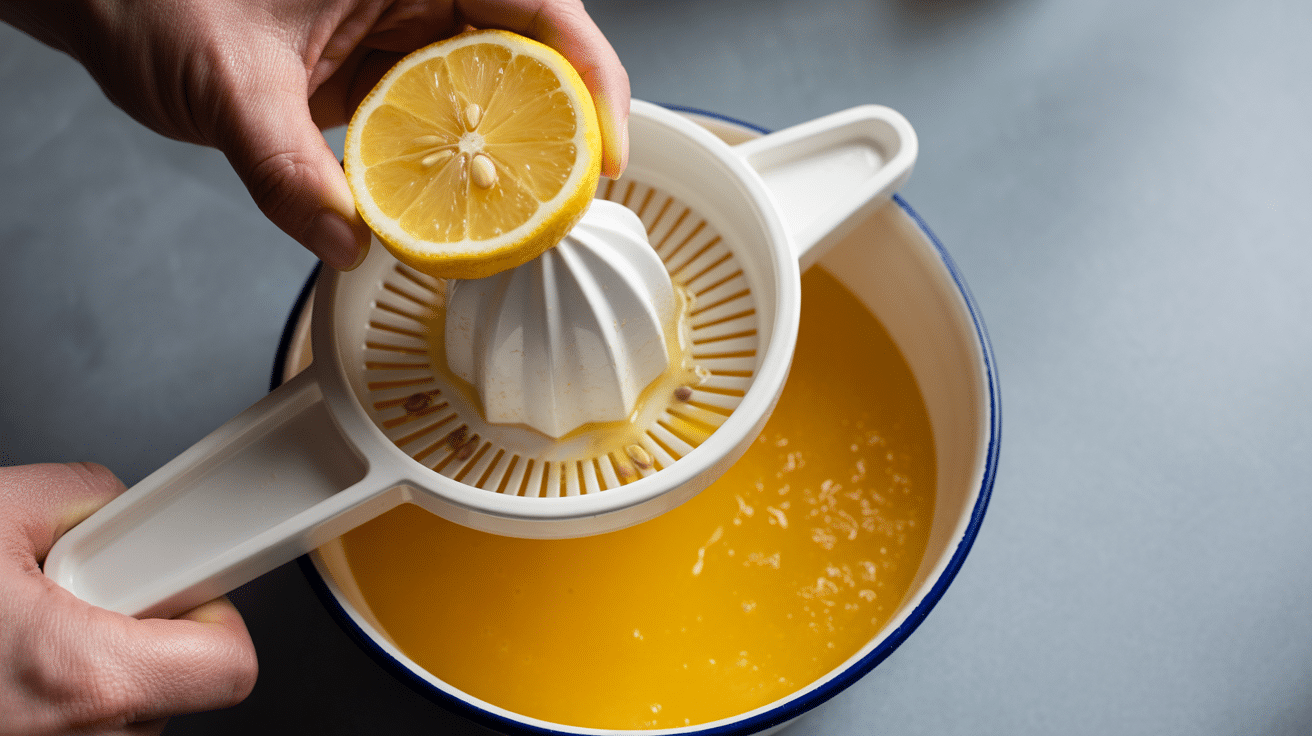
Cut the orange and lemon in half and use a hand juicer or citrus press to squeeze out all the juice into a bowl. Apply firm pressure to extract maximum juice while catching any seeds that fall through.
2. Finely grate ginger and turmeric to release juices
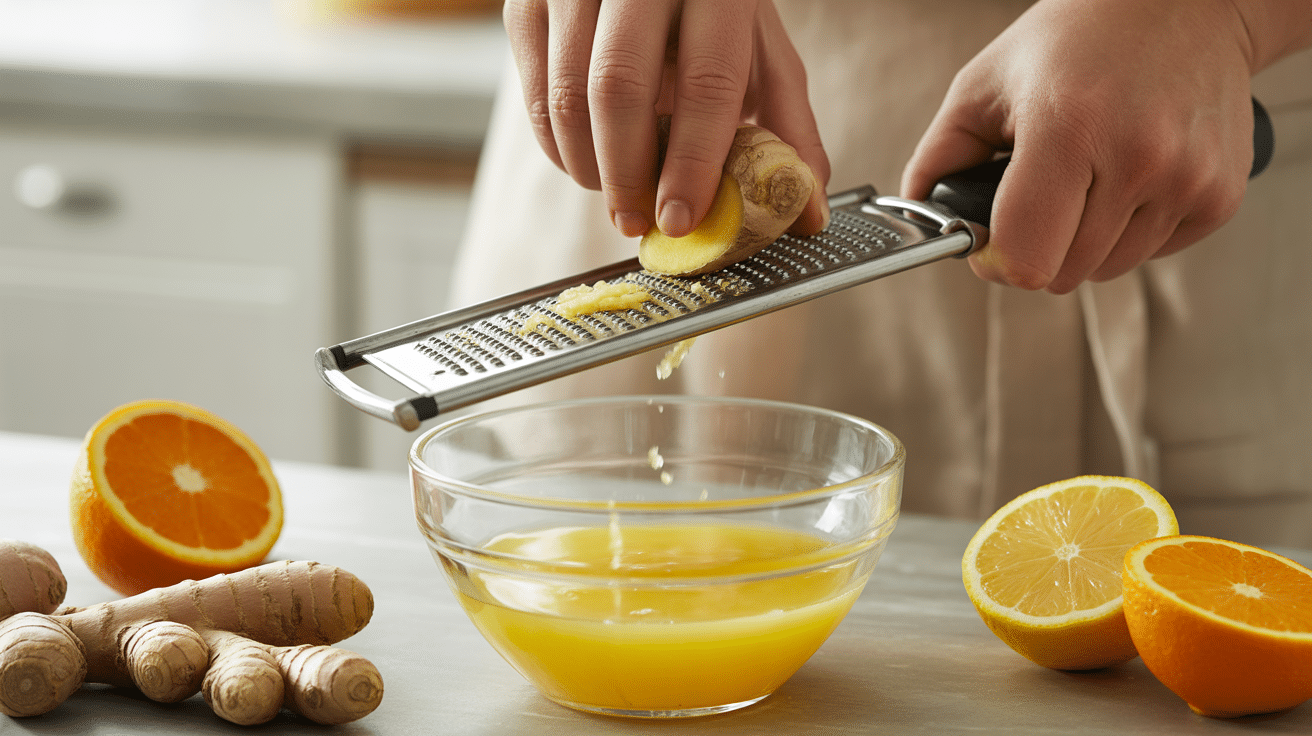
Using a fine grater or microplane, grate the fresh ginger and turmeric directly over the citrus juice. The finer the grate, the more juice and flavor you will extract from the roots, creating a more potent shot.
3. Mix citrus juice with grated roots, black pepper, and optional honey
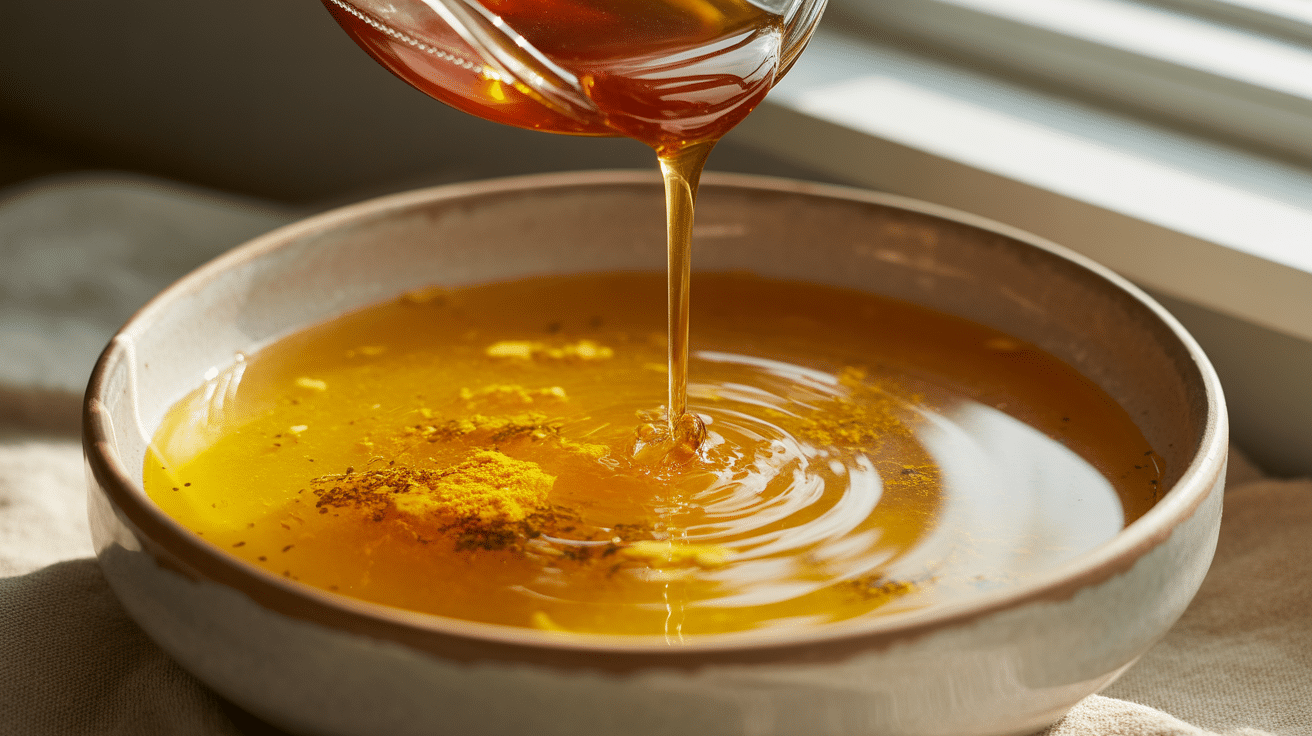
Stir the grated ginger and turmeric into the citrus juice, add a pinch of black pepper, and mix thoroughly. If using honey or other optional ingredients, add them now and stir until fully dissolved and well incorporated.
4. Strain if you prefer a smoother texture
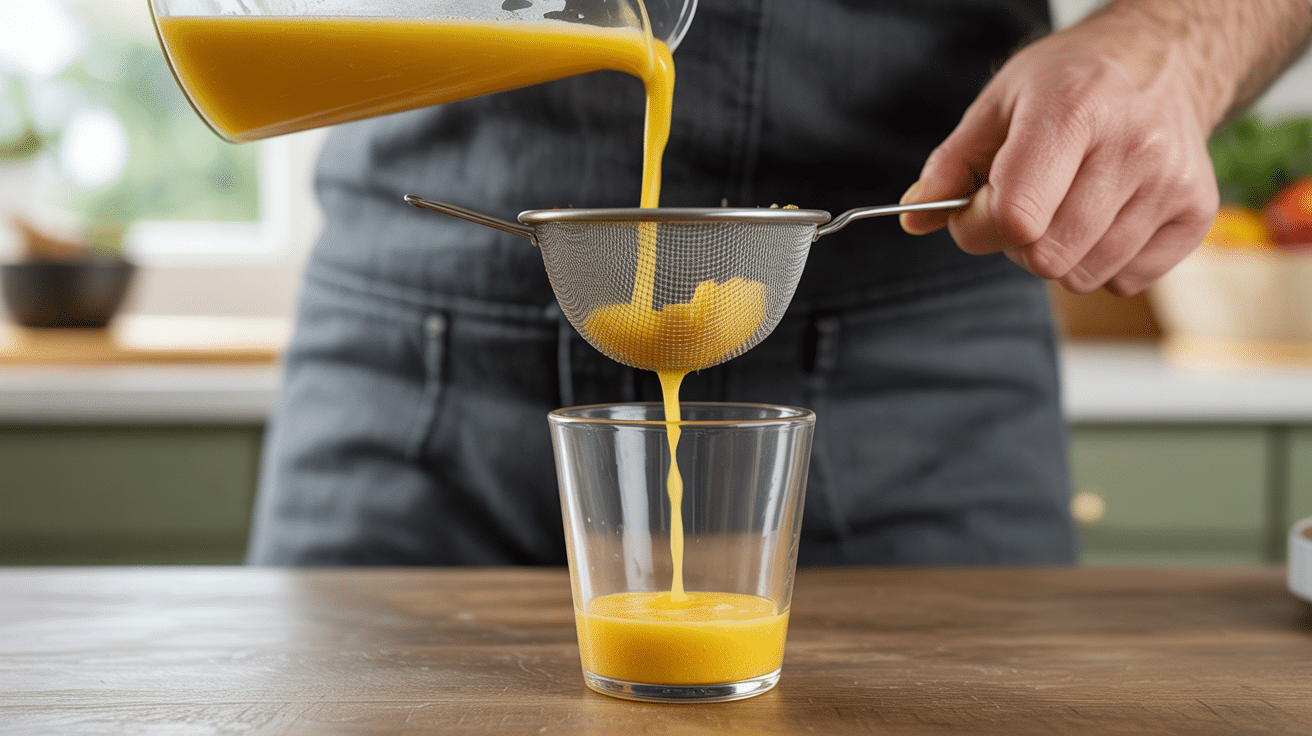
For a smoother shot without any fibrous bits, pour the mixture through a fine mesh strainer into a clean container. If you prefer a bit of texture and do not mind the pulp, you can skip this step and drink it as is.
Popular Immunity Shot Variations
These variations allow you to customize based on taste preferences, health goals, and tolerance levels. Each version offers unique benefits while maintaining the core immune-boosting properties.
| Variation | Key Characteristics |
|---|---|
| Ginger Citrus Classic | Most common grocery style version with balanced ginger and citrus flavors |
| Turmeric Ginger Shot | Higher turmeric ratio for anti-inflammatory benefits |
| Beet Berry Immunity Juice | Less spicy, more antioxidant focused with sweet, earthy flavors |
| Gentle Version for Beginners or Kids | Reduced ginger and spice with more dilution for sensitive palates |
Choose the variation that best suits your needs, or experiment with combinations to create your own signature blend.
How to Store Homemade Immunity Shots
Proper storage keeps your shots fresh, potent, and safe to consume. Follow these guidelines to maximize shelf life and maintain quality throughout the week.
-
Fridge storage timelines: Fresh shots last 2 to 7 days refrigerated. Citrus-based versions stay fresh for 3 to 5 days, while those with honey can last up to 7 days. Always label with the preparation date.
-
Glass jars vs small bottles: Use airtight glass containers to preserve freshness and prevent odor absorption. Small glass bottles work best for single servings, while mason jars are ideal for batch storage.
-
When separation is normal: Natural separation of ingredients is completely normal and does not indicate spoilage. Heavier particles settle while lighter liquids rise, creating distinct layers.
-
Shake before use tip: Always shake or stir vigorously before consuming to redistribute settled ingredients and ensure full nutritional benefit. Give the container at least 5 to 10 good shakes.
Can You Freeze Immunity Shots?
Yes, you can freeze them to extend shelf life significantly. The ice cube tray method is the most practical approach. Simply pour your prepared shots into clean ice cube trays, freeze until solid, then transfer the cubes to freezer safe bags or containers.
Frozen shots can last up to 3 months without losing their nutritional potency. When you are ready to use them, thaw individual cubes overnight in the refrigerator or let them sit at room temperature for 30 to 60 minutes.
You can also blend frozen cubes directly into smoothies or thaw them quickly under warm running water. Shake well after thawing as separation may occur.
Safety and Who Should Be Careful
While these shots are generally safe for most people, certain individuals should exercise caution or make adjustments. Review these considerations to ensure safe and comfortable consumption for yourself and your family.
| Consideration | Guidance |
|---|---|
| Sensitivity to ginger or turmeric | Some individuals may experience digestive discomfort, heartburn, or mouth irritation. Start with smaller amounts to test tolerance and dilute with water if needed. Those with known sensitivities should avoid these ingredients. |
| Adjustments for kids | Reduce ginger and spice by half, increase citrus or apple juice for sweetness, and dilute with water. Start with small amounts (1/4 to 1/2 ounce) and supervise consumption. |
| General moderation guidance | Consume one shot per day maximum. Excessive intake may cause digestive upset or interact with medications. These are not medical treatments and should complement a balanced diet. Consult a healthcare professional if you have health conditions or take medications. |
When in doubt, start small and listen to your body’s response. The shots should support your wellness routine, not cause discomfort.
Final Thoughts
Making your own immunity shots recipe at home gives you control, flexibility, and a routine you can actually stick with. I hope this guide helped you see how simple it can be without extra steps or hard to find items.
You now know how to adjust flavors, prep ahead, and choose what works best for you and your schedule. With this immunity shots recipe in your routine, you have a practical way to support your health without overcomplicating things.
If you want to keep building easy habits like this, I have more guides that focus on simple recipes, everyday wellness ideas, and realistic food routines you can follow long term.
Take a look at the other blogs on the site and pick the one that fits what you need next. I will walk you through it, step by step, just like this one.