

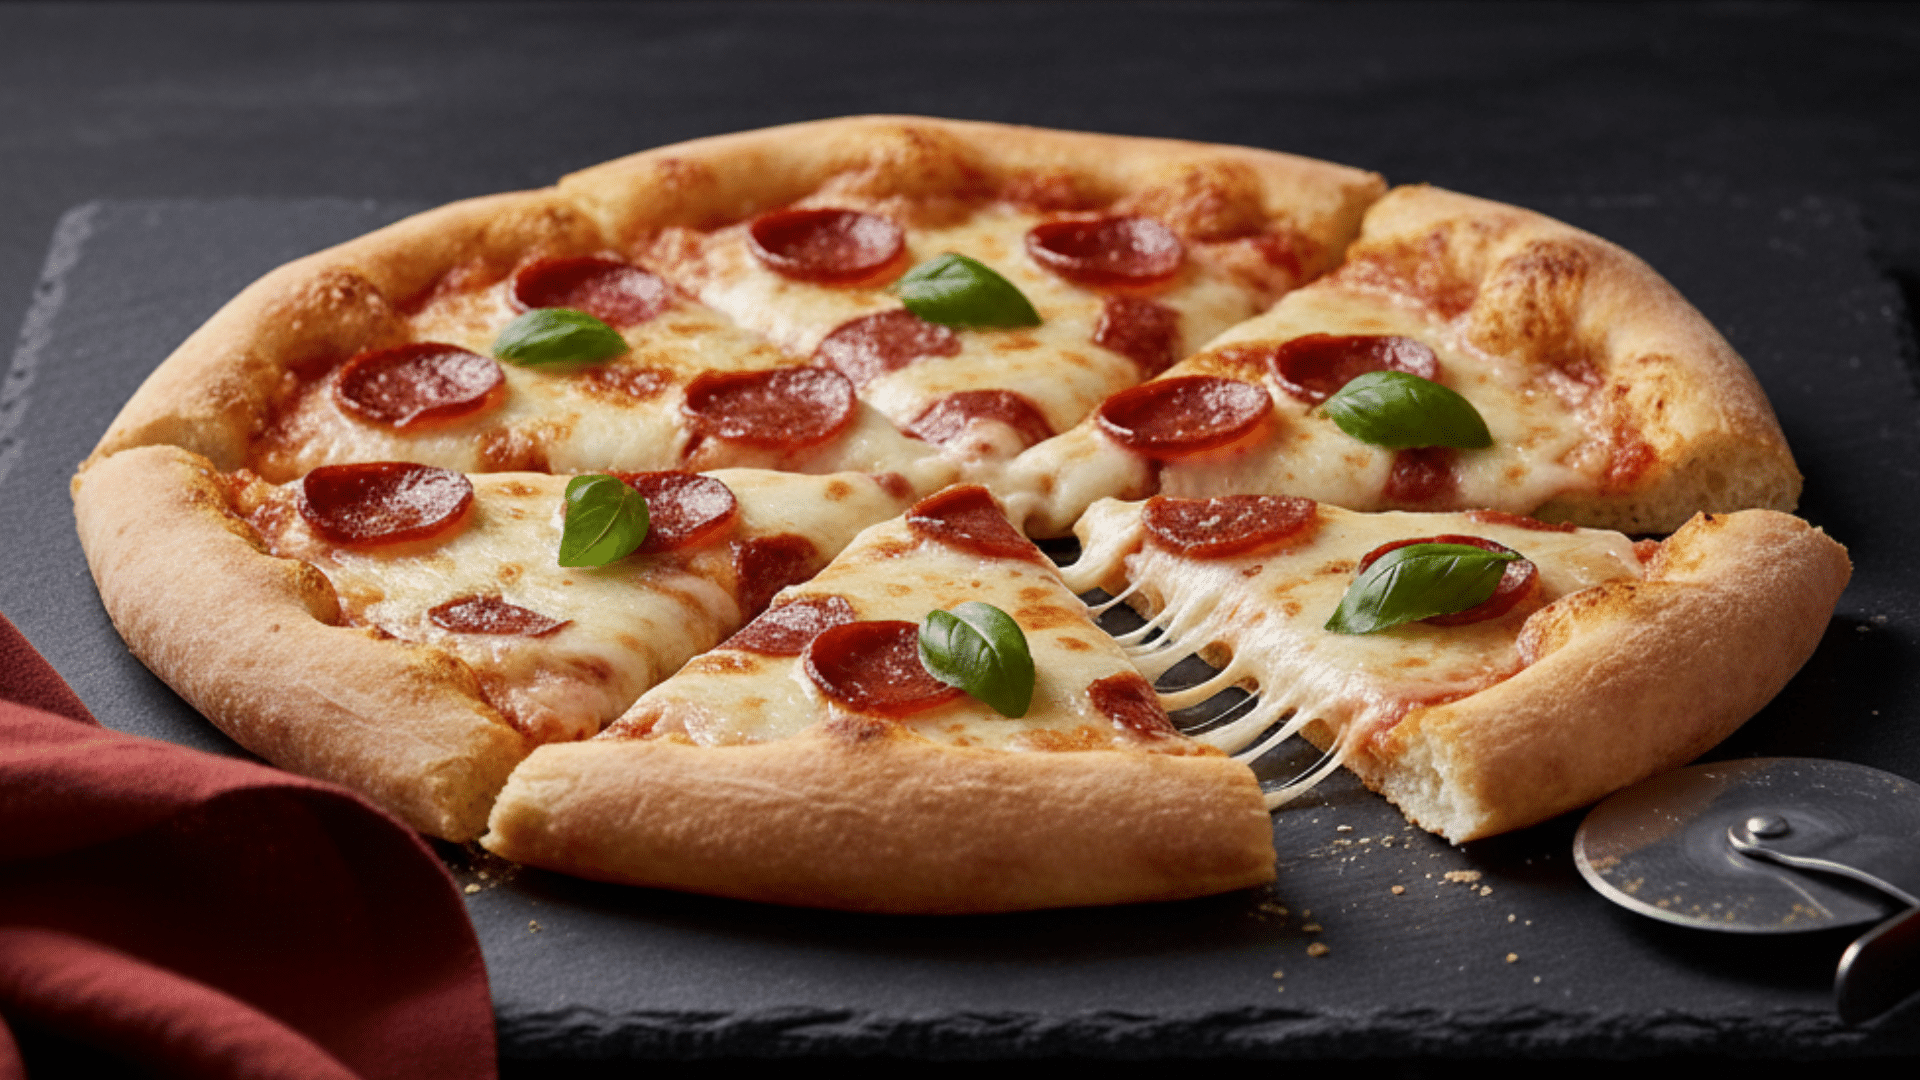
I used to think pizza night and protein goals could not sit on the same plate. You want something warm, filling, and familiar, but regular dough does not always fit the plan.
That is where a high-protein pizza crust changes things. You get the comfort of pizza with ingredients that actually support how you eat.
I know the hard part is picking the right base and getting it to cook well without turning soft or messy. That is why I pulled everything together here.
You will see clear options, simple steps, and honest comparisons so you can choose what works best. Once you see how flexible a high-protein pizza crust can be, the rest feels much easier.
High-Protein Pizza Crust Formula
A crust earns the “high protein” label when the main base includes ingredients like cottage cheese, Greek yogurt, or eggs.
These add steady protein without changing the way the crust cooks or tastes. You get a crisp edge, a soft center, and far more protein than a regular dough made with only flour and water.
- Cottage cheese: Higher protein. Great if you want more structure and a stronger protein boost. Works well for low-carb swaps when made with less flour.
- Greek yogurt: Quick to mix. The dough handles like regular pizza dough, so it feels familiar. Good when you want a chewy bite.
Time needed: Most versions take about 30 minutes total, including mixing, rolling, and baking.
Protein per slice: Protein varies by recipe and toppings, but most slices fall between 15–22 grams, making these crusts stronger in protein than traditional pizza dough.
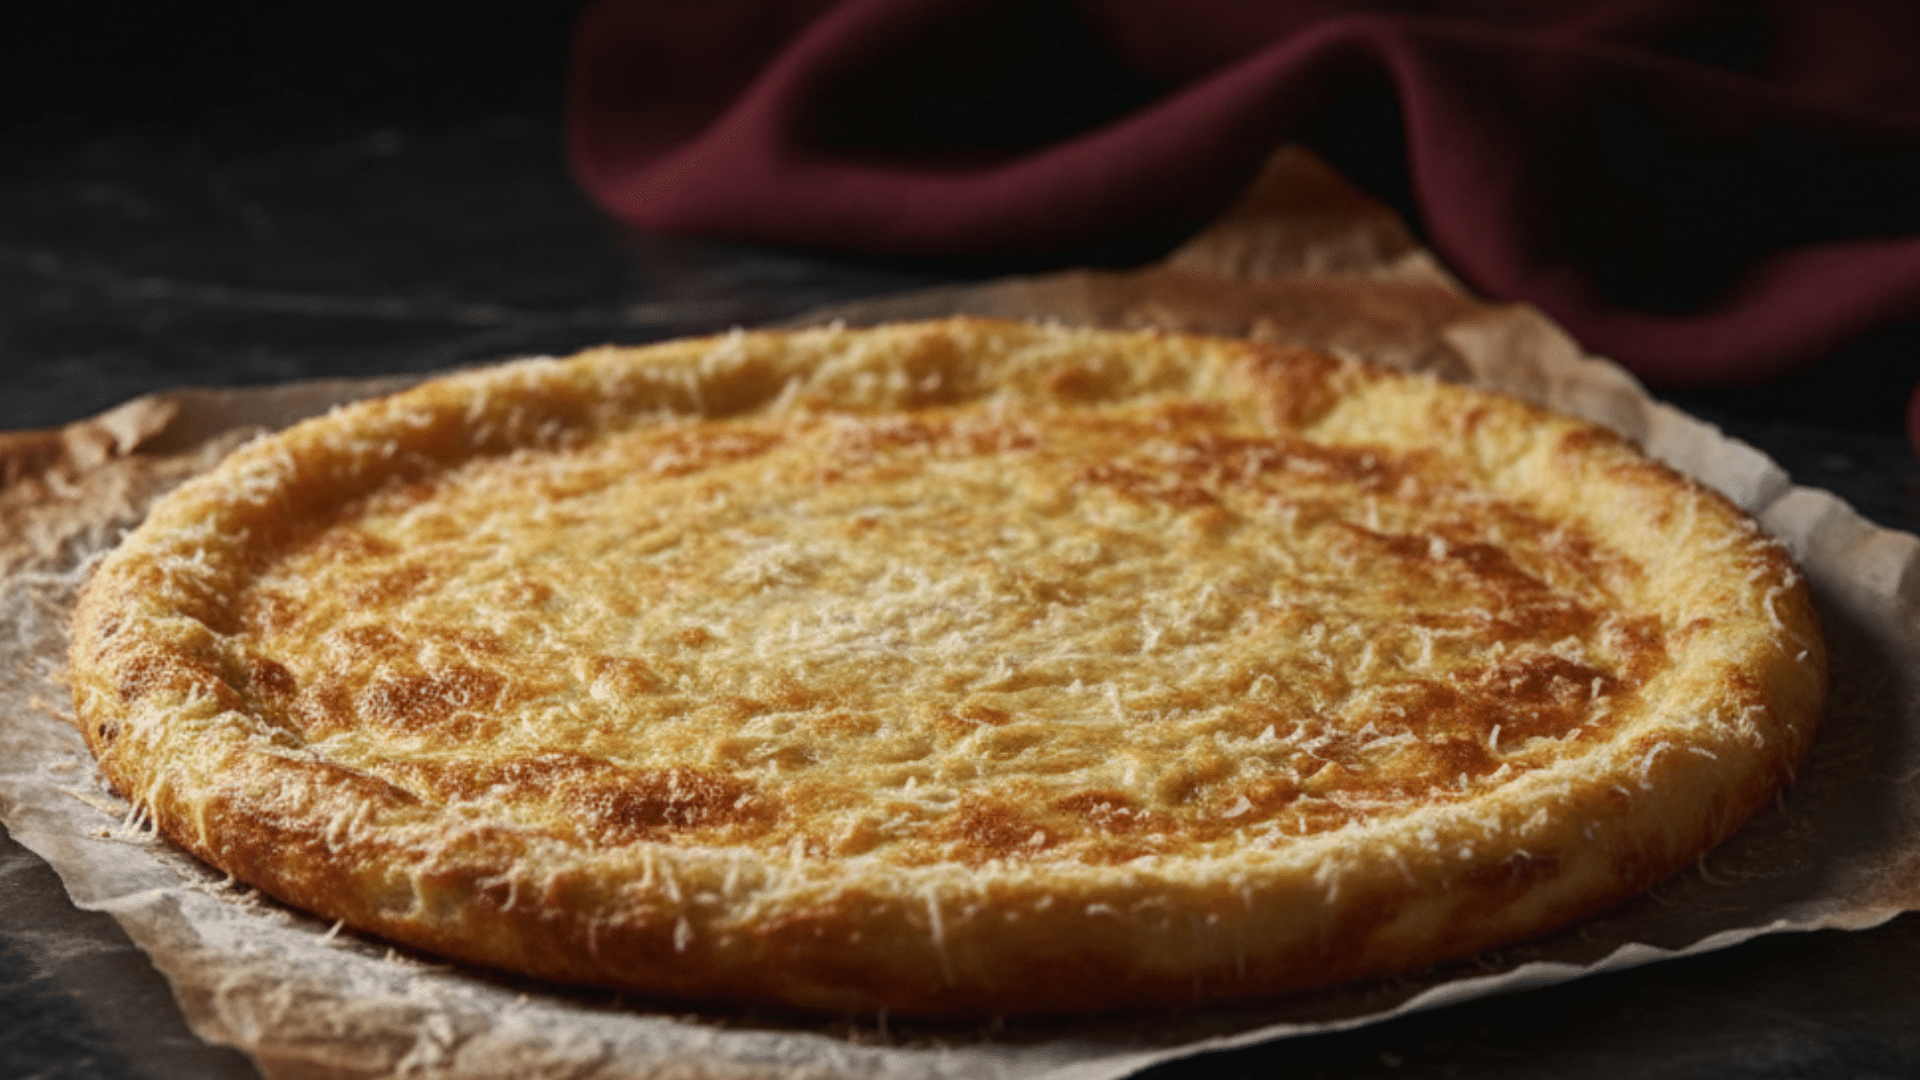
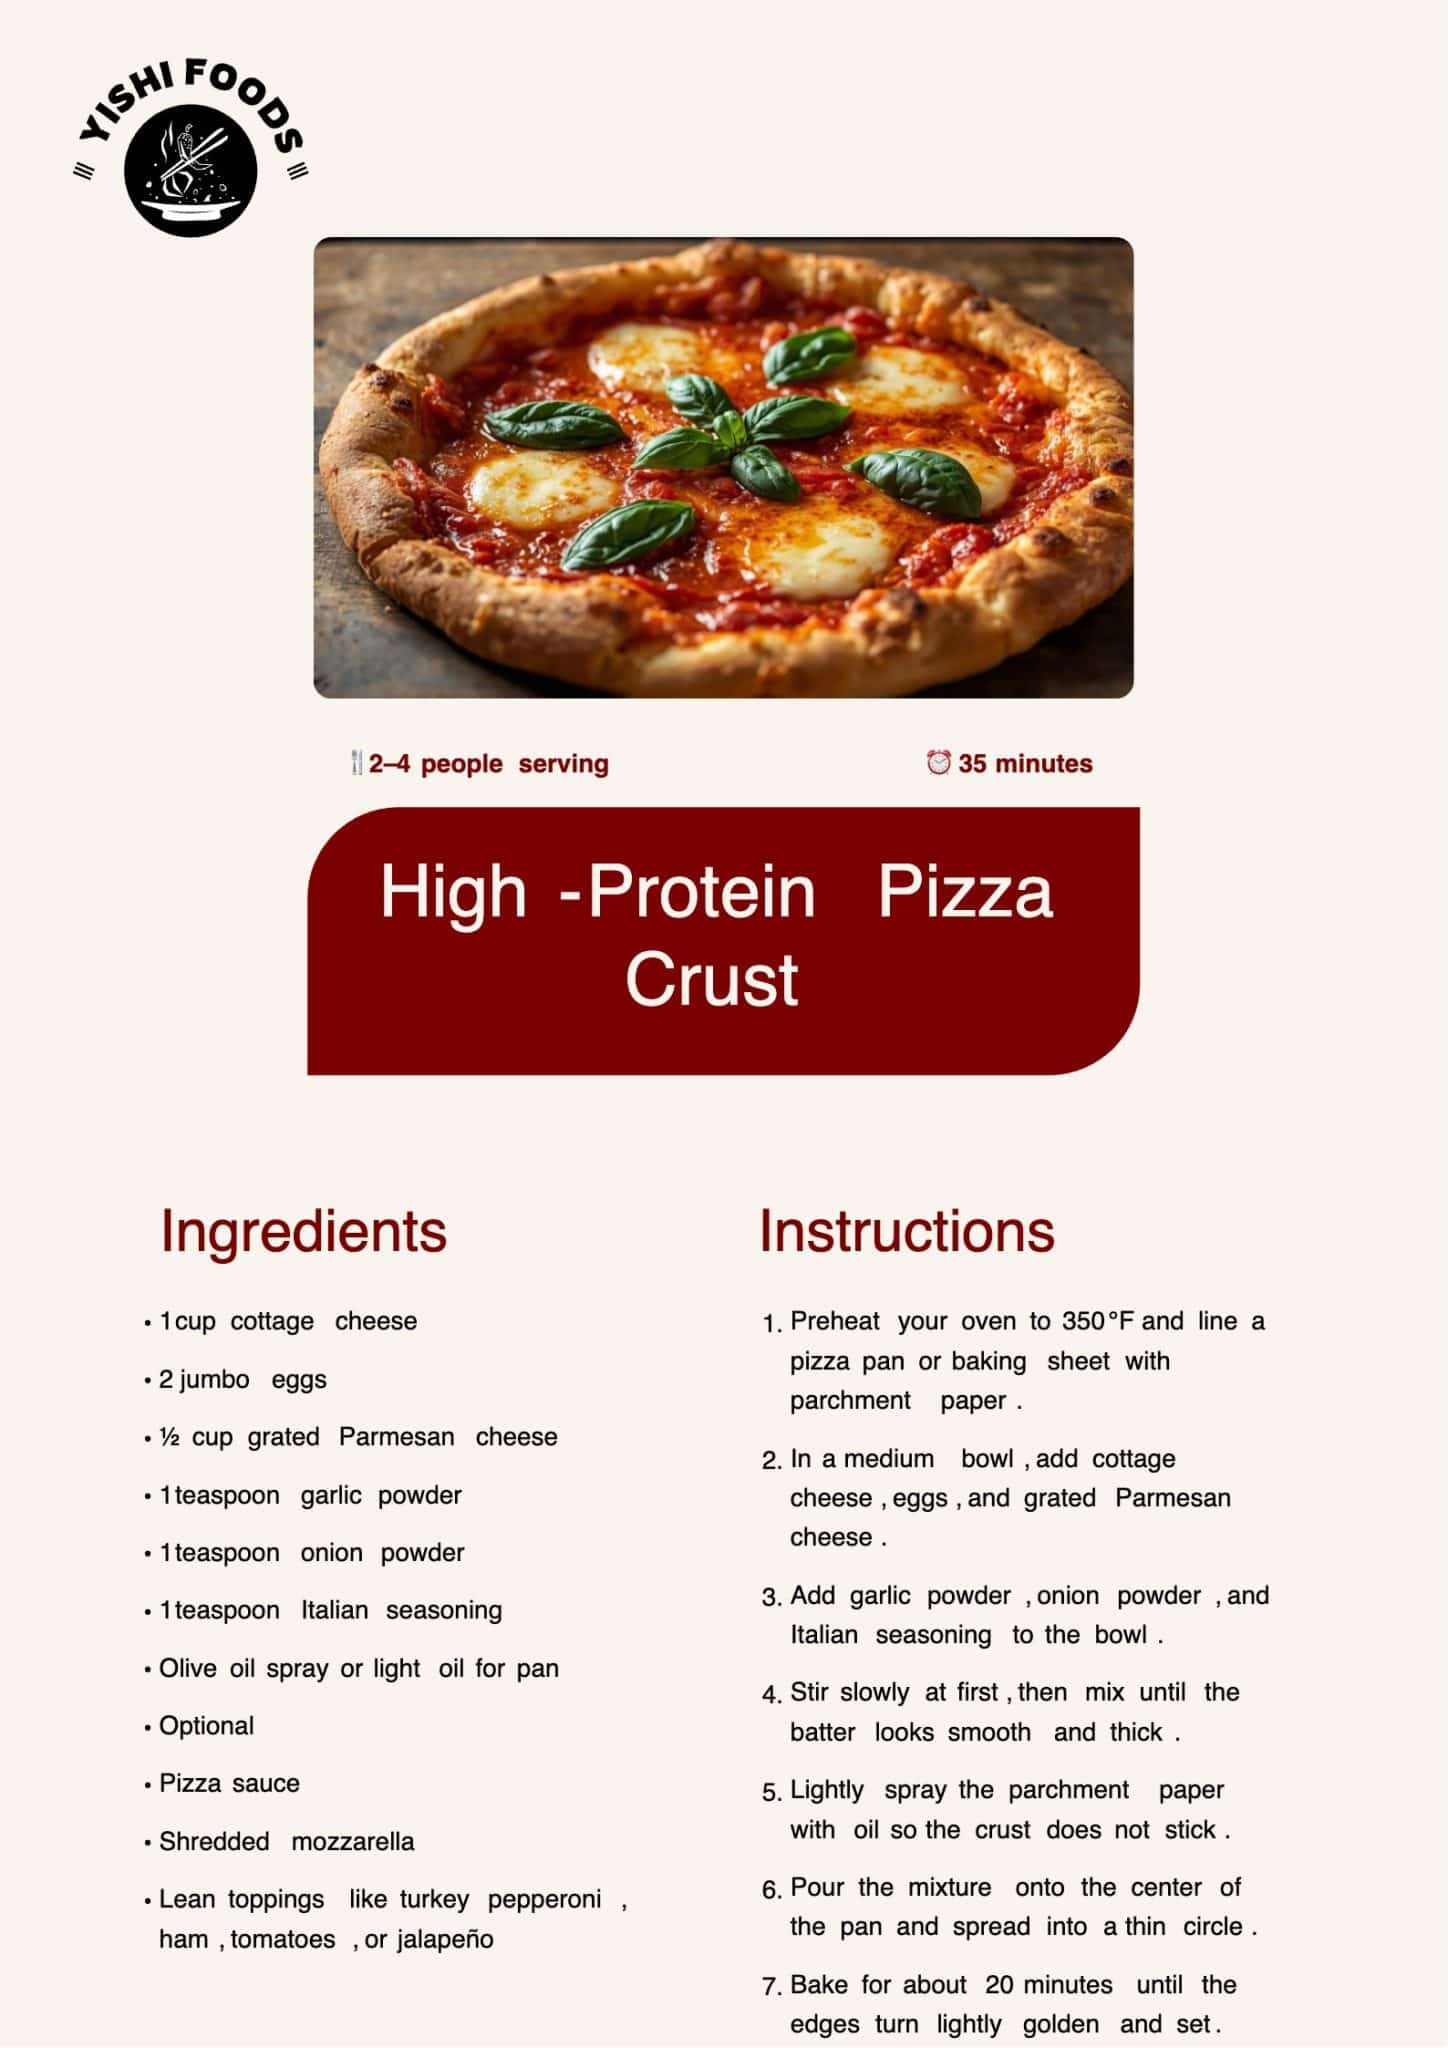
Cottage Cheese High-Protein Pizza Crust
A simple crust made from cottage cheese, eggs, and Parmesan. It bakes into a light, steady base with enough protein to turn pizza night into a more substantial meal.
Ingredients
- 1 cup cottage cheese
- 2 jumbo eggs
- ½ cup grated Parmesan
- 1 teaspoon garlic powder
- 1 teaspoon onion powder
- 1 teaspoon Italian seasoning
- Mozzarella
- Pizza sauce
- Optional toppings: tomato slices, pepperoni, black forest ham, sliced pickles, chopped green onion, jalapeño
Step 1: Mix the Base

Start with a bowl big enough for easy stirring. Add the cottage cheese, eggs, and Parmesan. Spoon in the garlic powder, onion powder, and Italian seasoning. Stir slowly at first, then work the spoon around the sides until the mix turns smooth and thick.
The texture should look creamy but not runny. This step sets the crust, so take a moment to fold everything together until it feels steady and even.
Step 2: Prep the Pan
Line a pizza pan or sheet with parchment paper and give it a light spray. This small detail matters. Without the paper, the crust can cling to the pan, and lifting it later becomes hard.
The spray helps the batter settle into a round shape once poured. When you pour the mix onto the center, use the back of a spoon to nudge it outward into a circle. Keep it even so it cooks the same all over.
Step 3: Bake the Crust
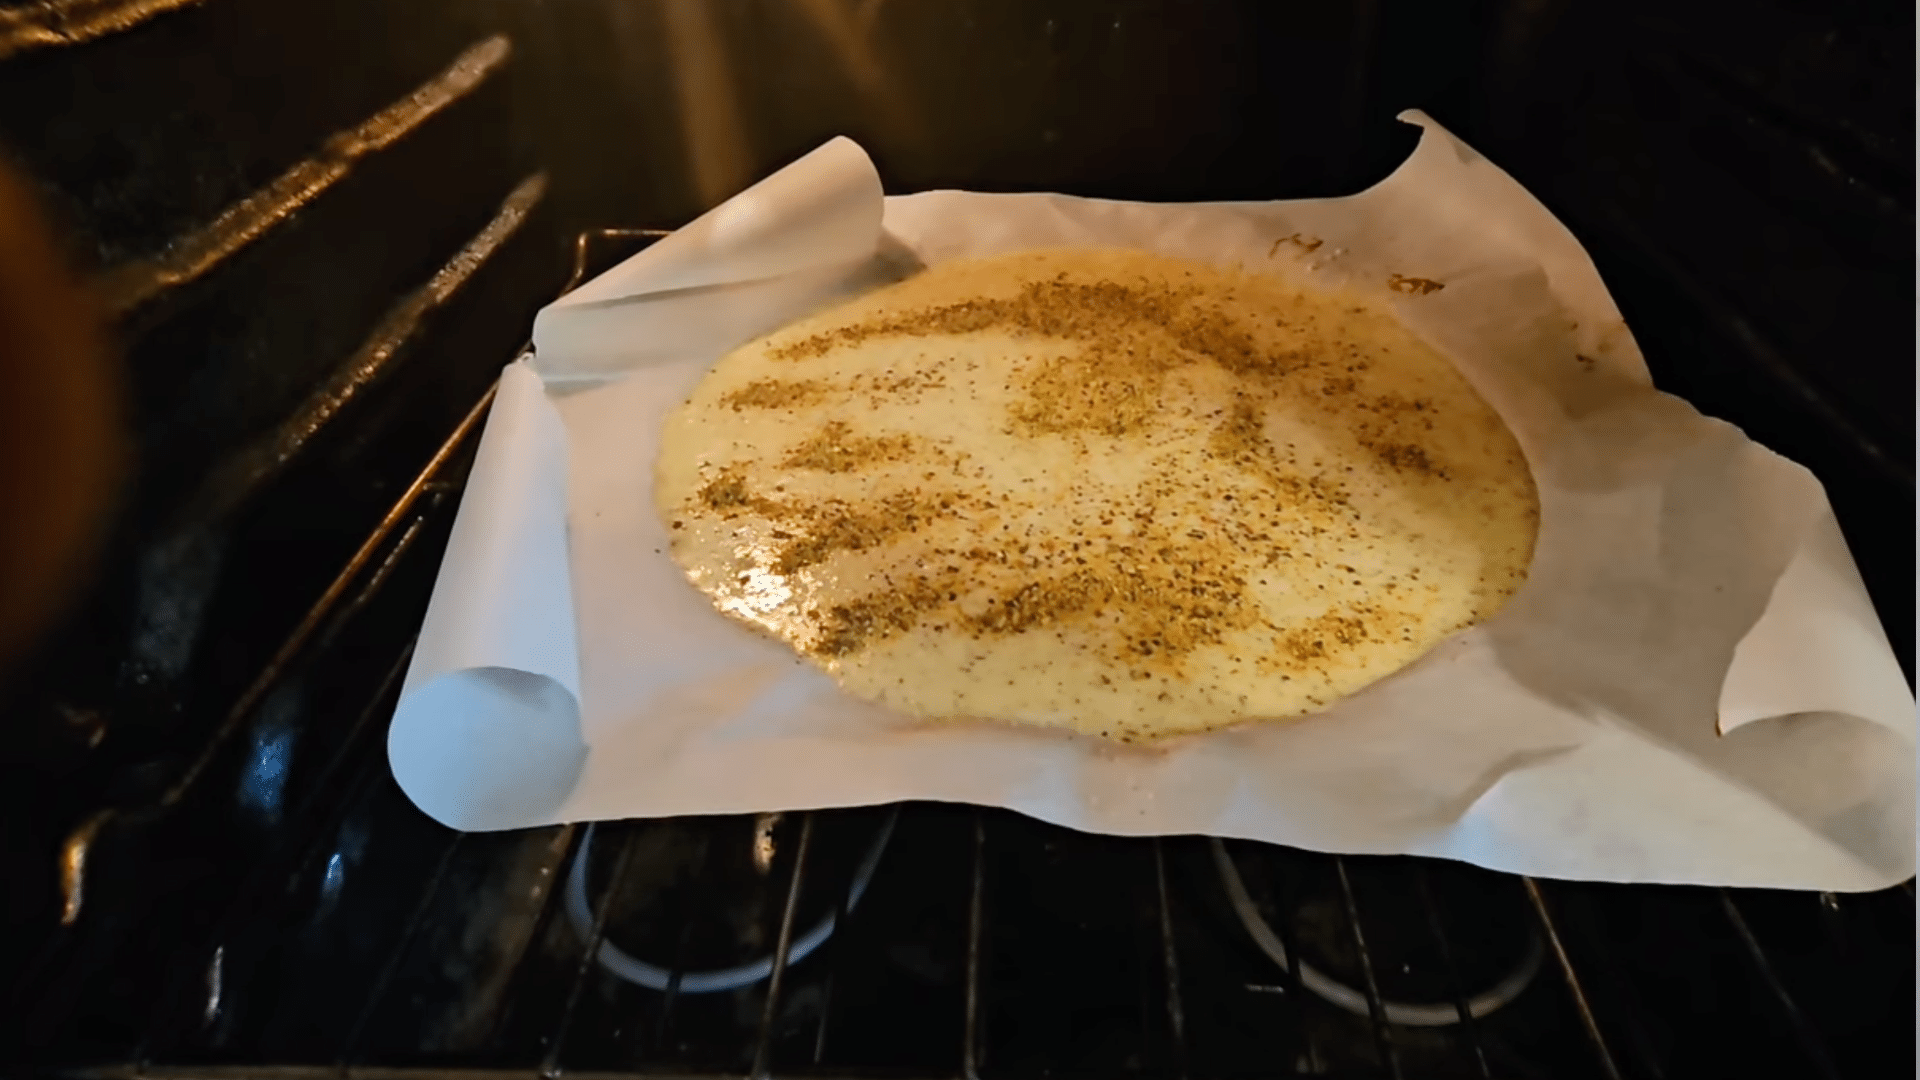
Slide the pan into a 350°F oven and give it about twenty minutes. Look for the edges to turn light brown. That small change tells you it’s ready to carry toppings without falling apart.
If you used parchment paper, the crust should lift a little at the sides, showing that the heat has reached the center. Let it rest on the counter for a minute before adding anything on top. It firms up as it cools.
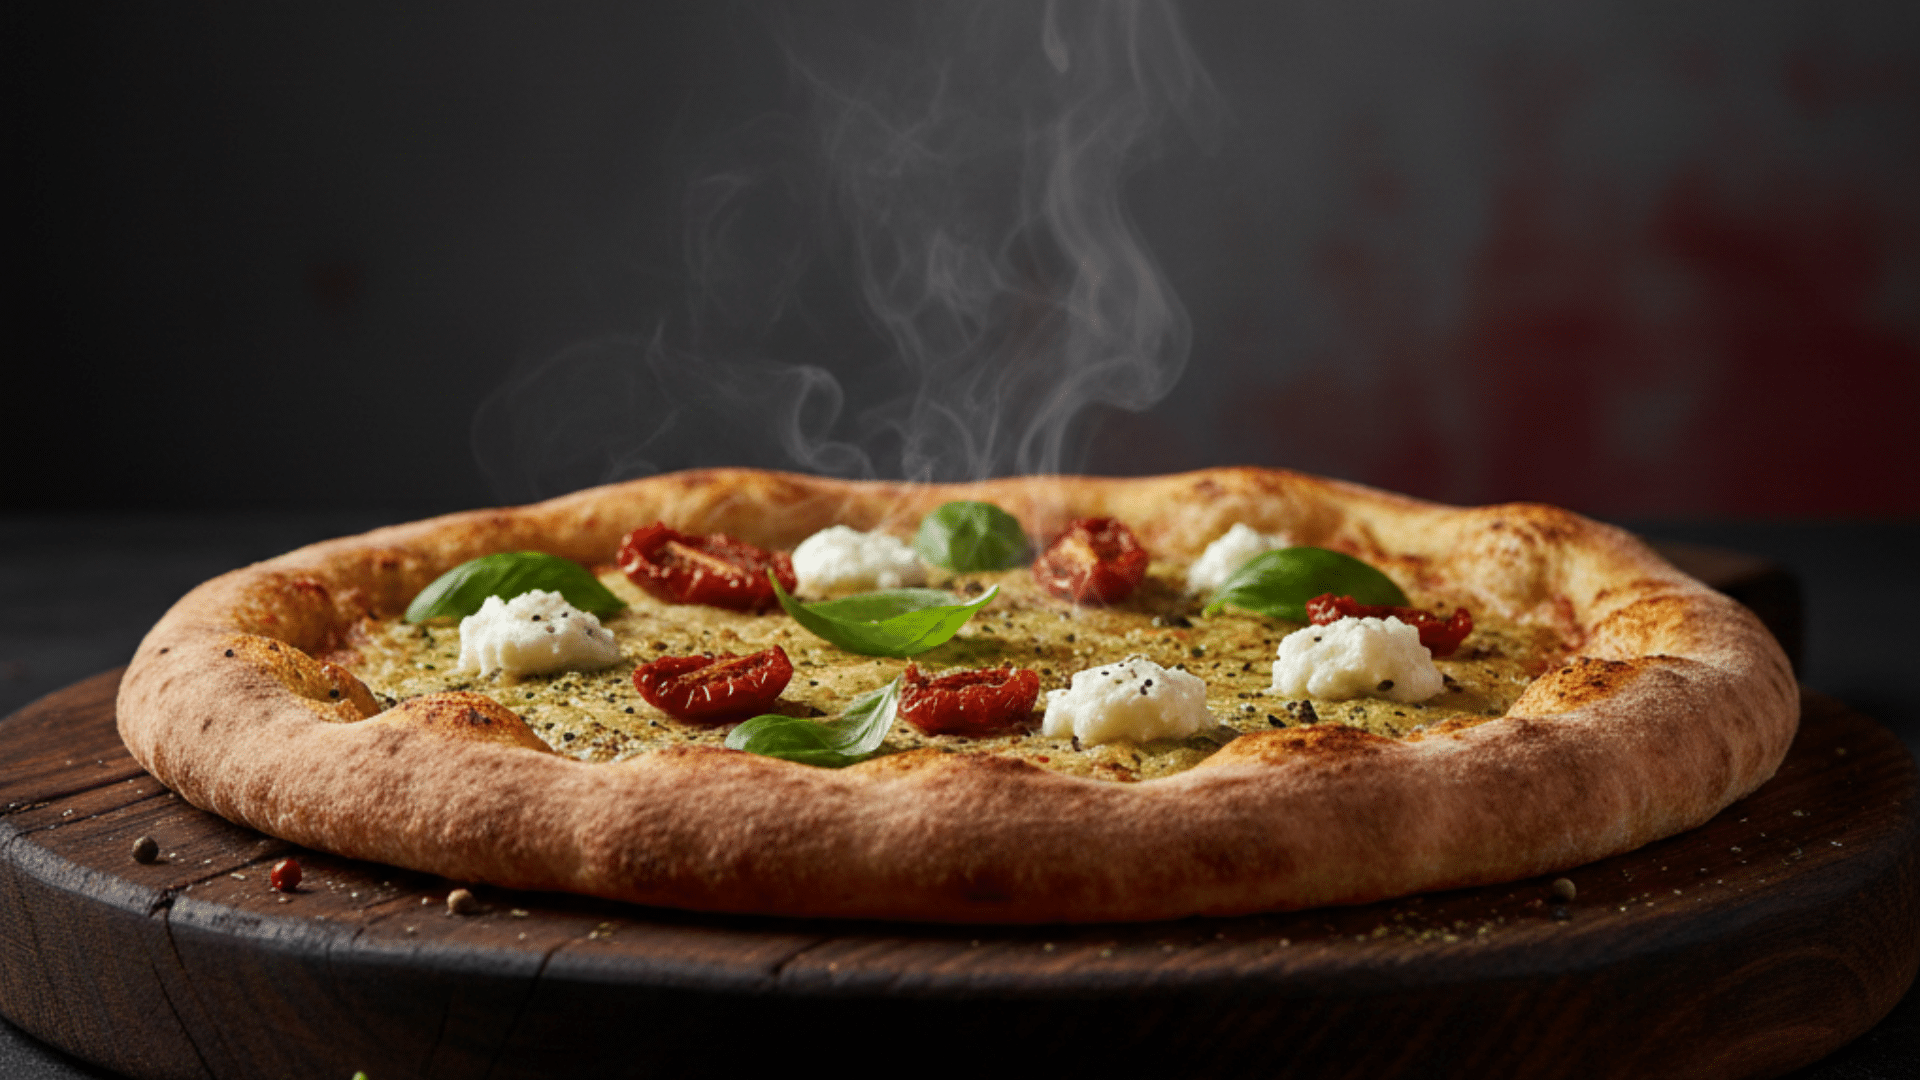
Step 4: Add the Toppings
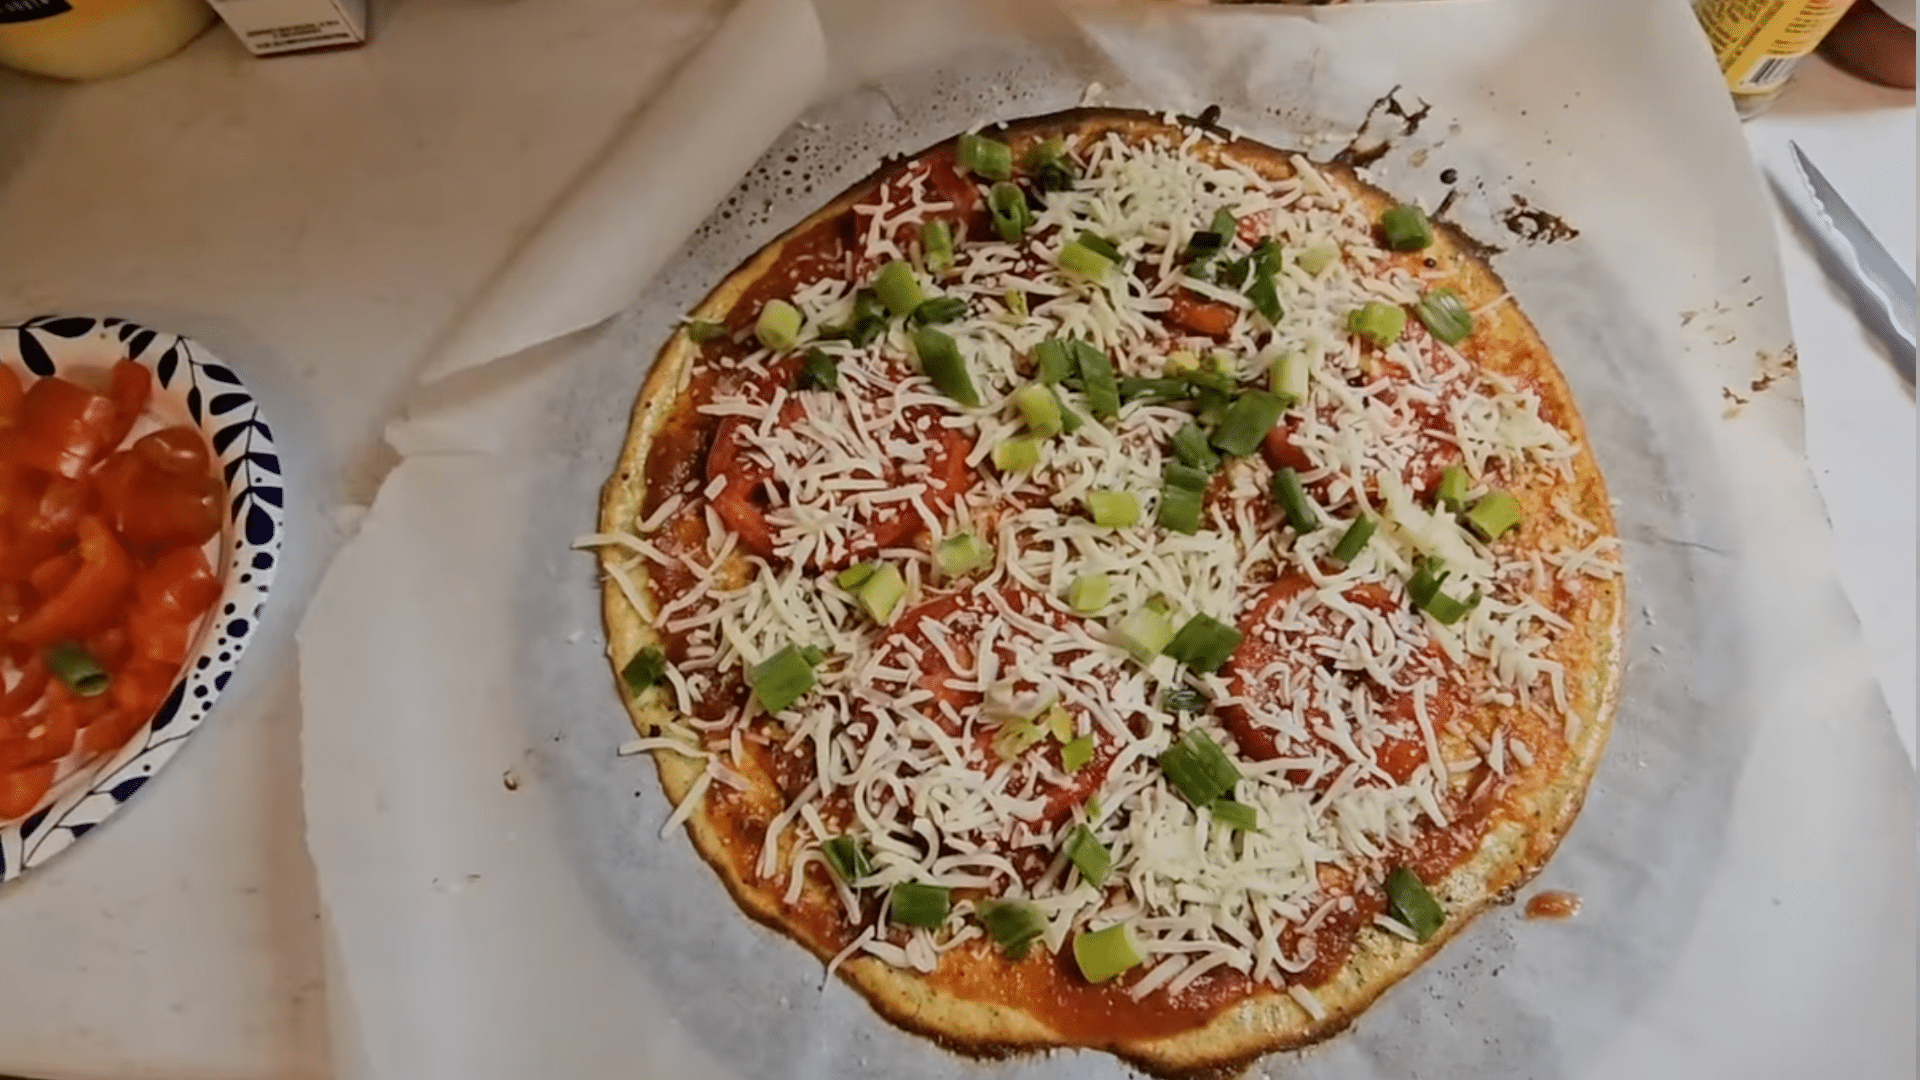
Spread a thin layer of pizza sauce across the crust. Add the sliced tomatoes, then sprinkle a steady layer of mozzarella. Follow with green onion, jalapeño, pepperoni, and small pieces of ham.
Pickles are optional, but bring a sharp, bright bite that cuts through the cheese. Add one last pinch of mozzarella to help everything settle as it melts. Keep toppings light so the crust stays steady and easy to handle.
Step 5: Finish in the Oven
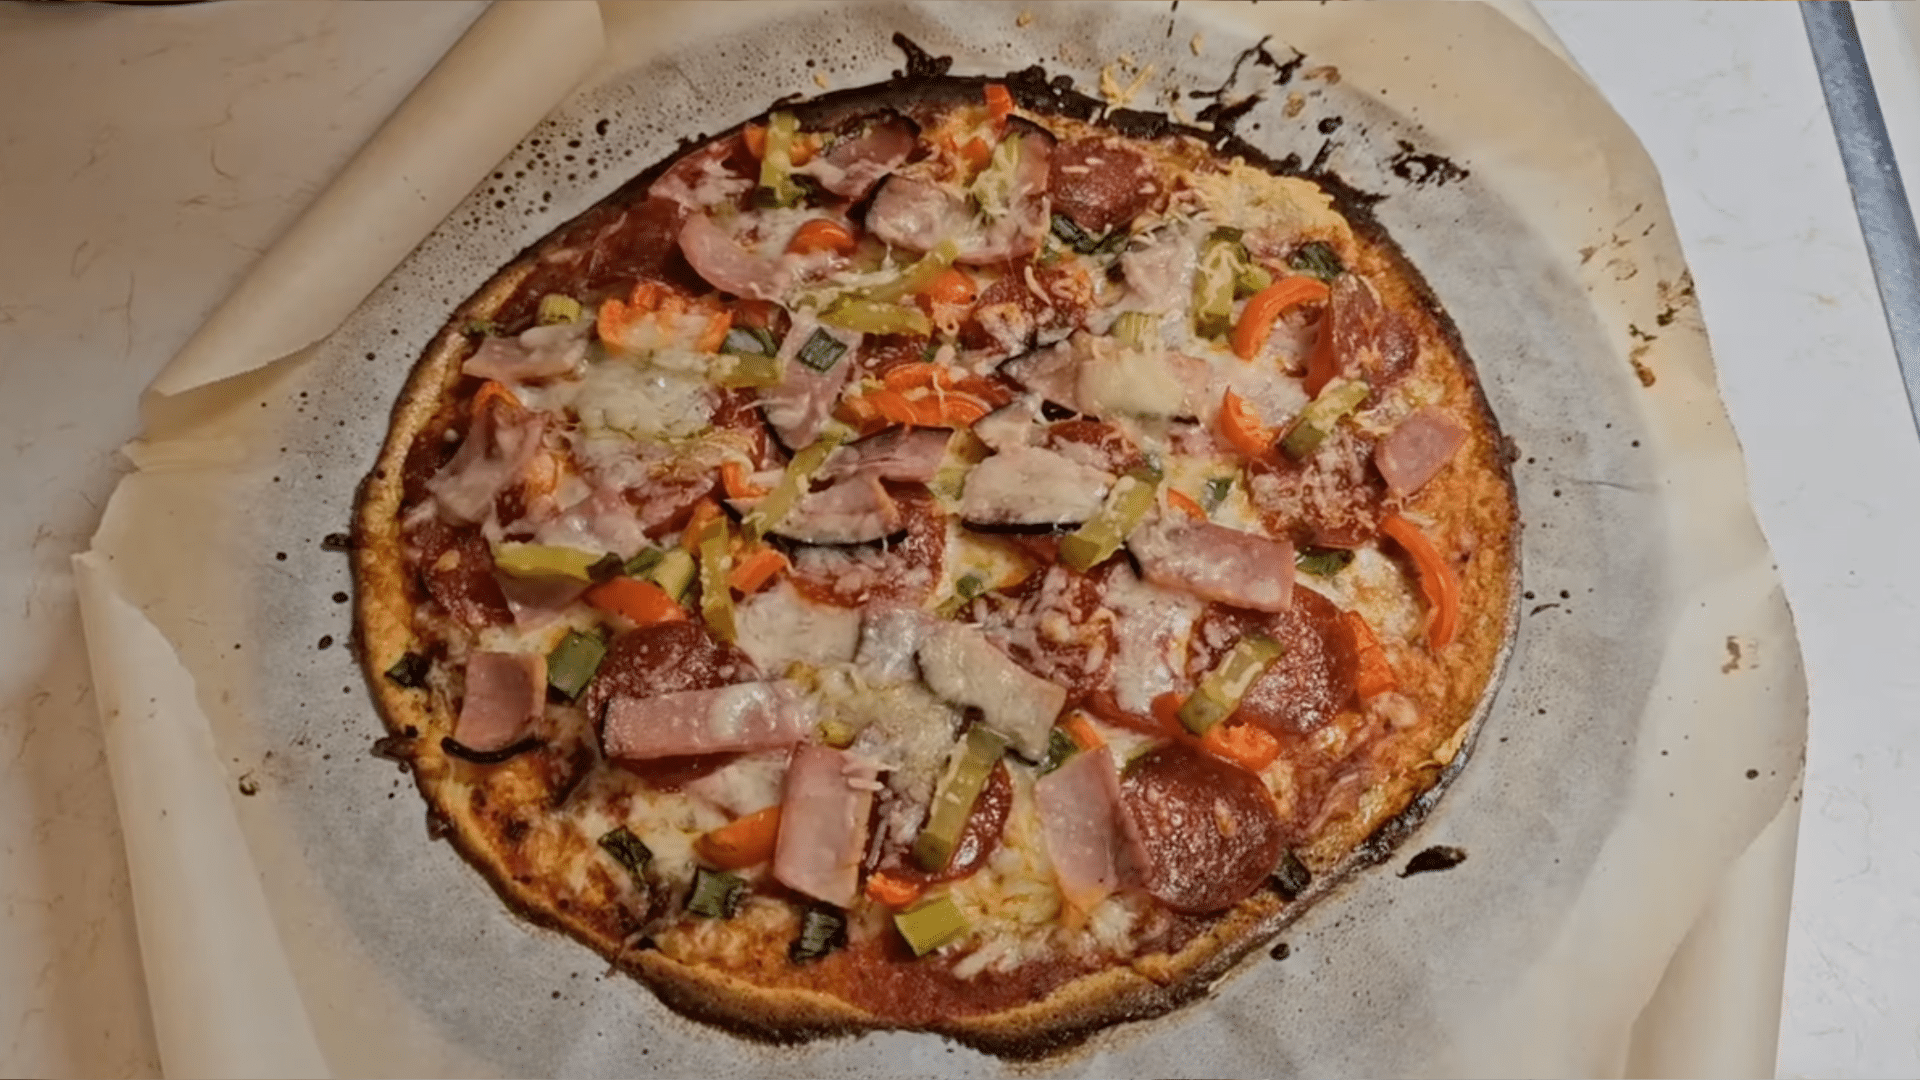
Return the topped pizza to the oven for another ten minutes. Watch for the cheese to melt evenly and the edges to darken slightly. When it comes out, the crust should feel firm enough to lift by hand yet soft enough to bite through without crumbling.
Let it sit for another minute before slicing. The heat settles during this short pause, and the crust holds together better from the first cut to the last.
Texture Notes: This crust bakes thin with a light chew. Parmesan helps it set, and cottage cheese keeps it smooth. The edges brown faster, so you get crisp bites with a softer center. Lighter toppings help it stay firm.
Protein Per Serving: Most slices land around 18–22 grams of protein, based on toppings. Lean meat or extra mozzarella can raise it. Cottage cheese, eggs, and Parmesan give you a strong protein base without protein powder.
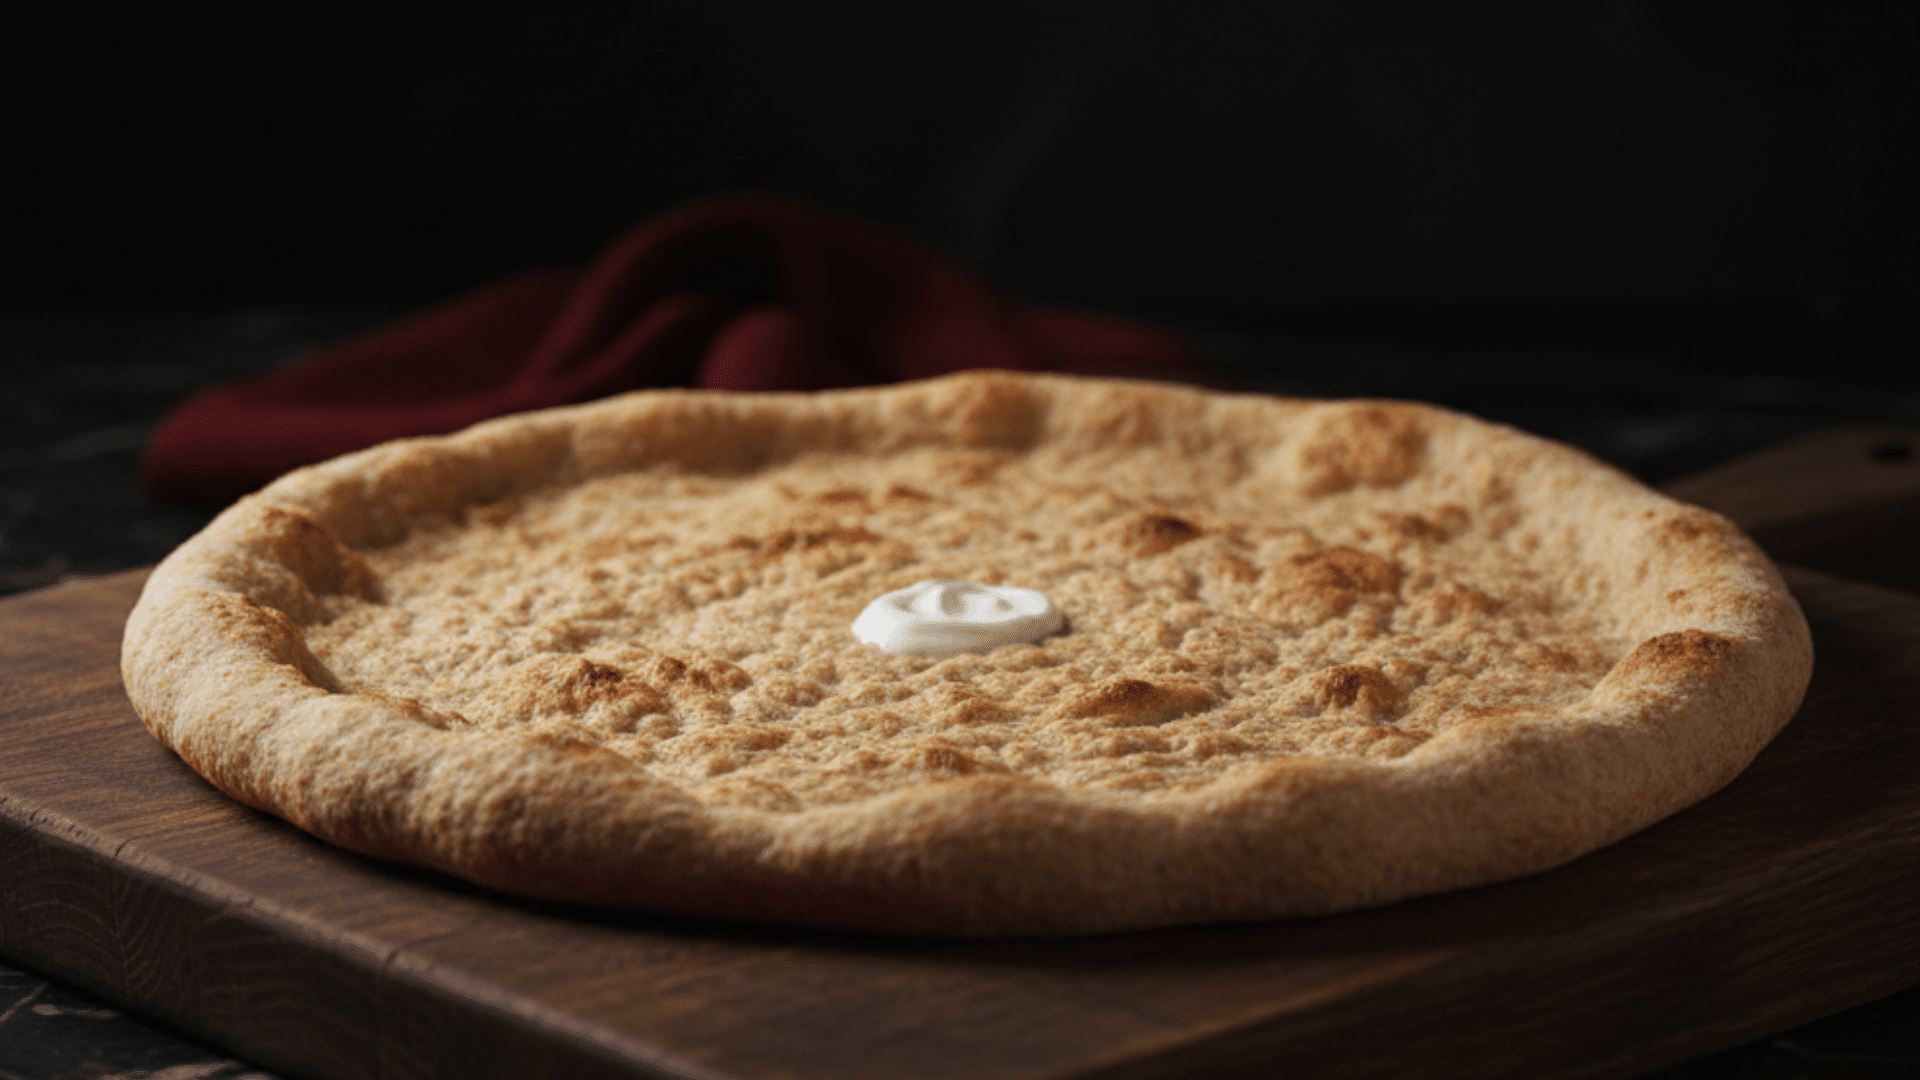
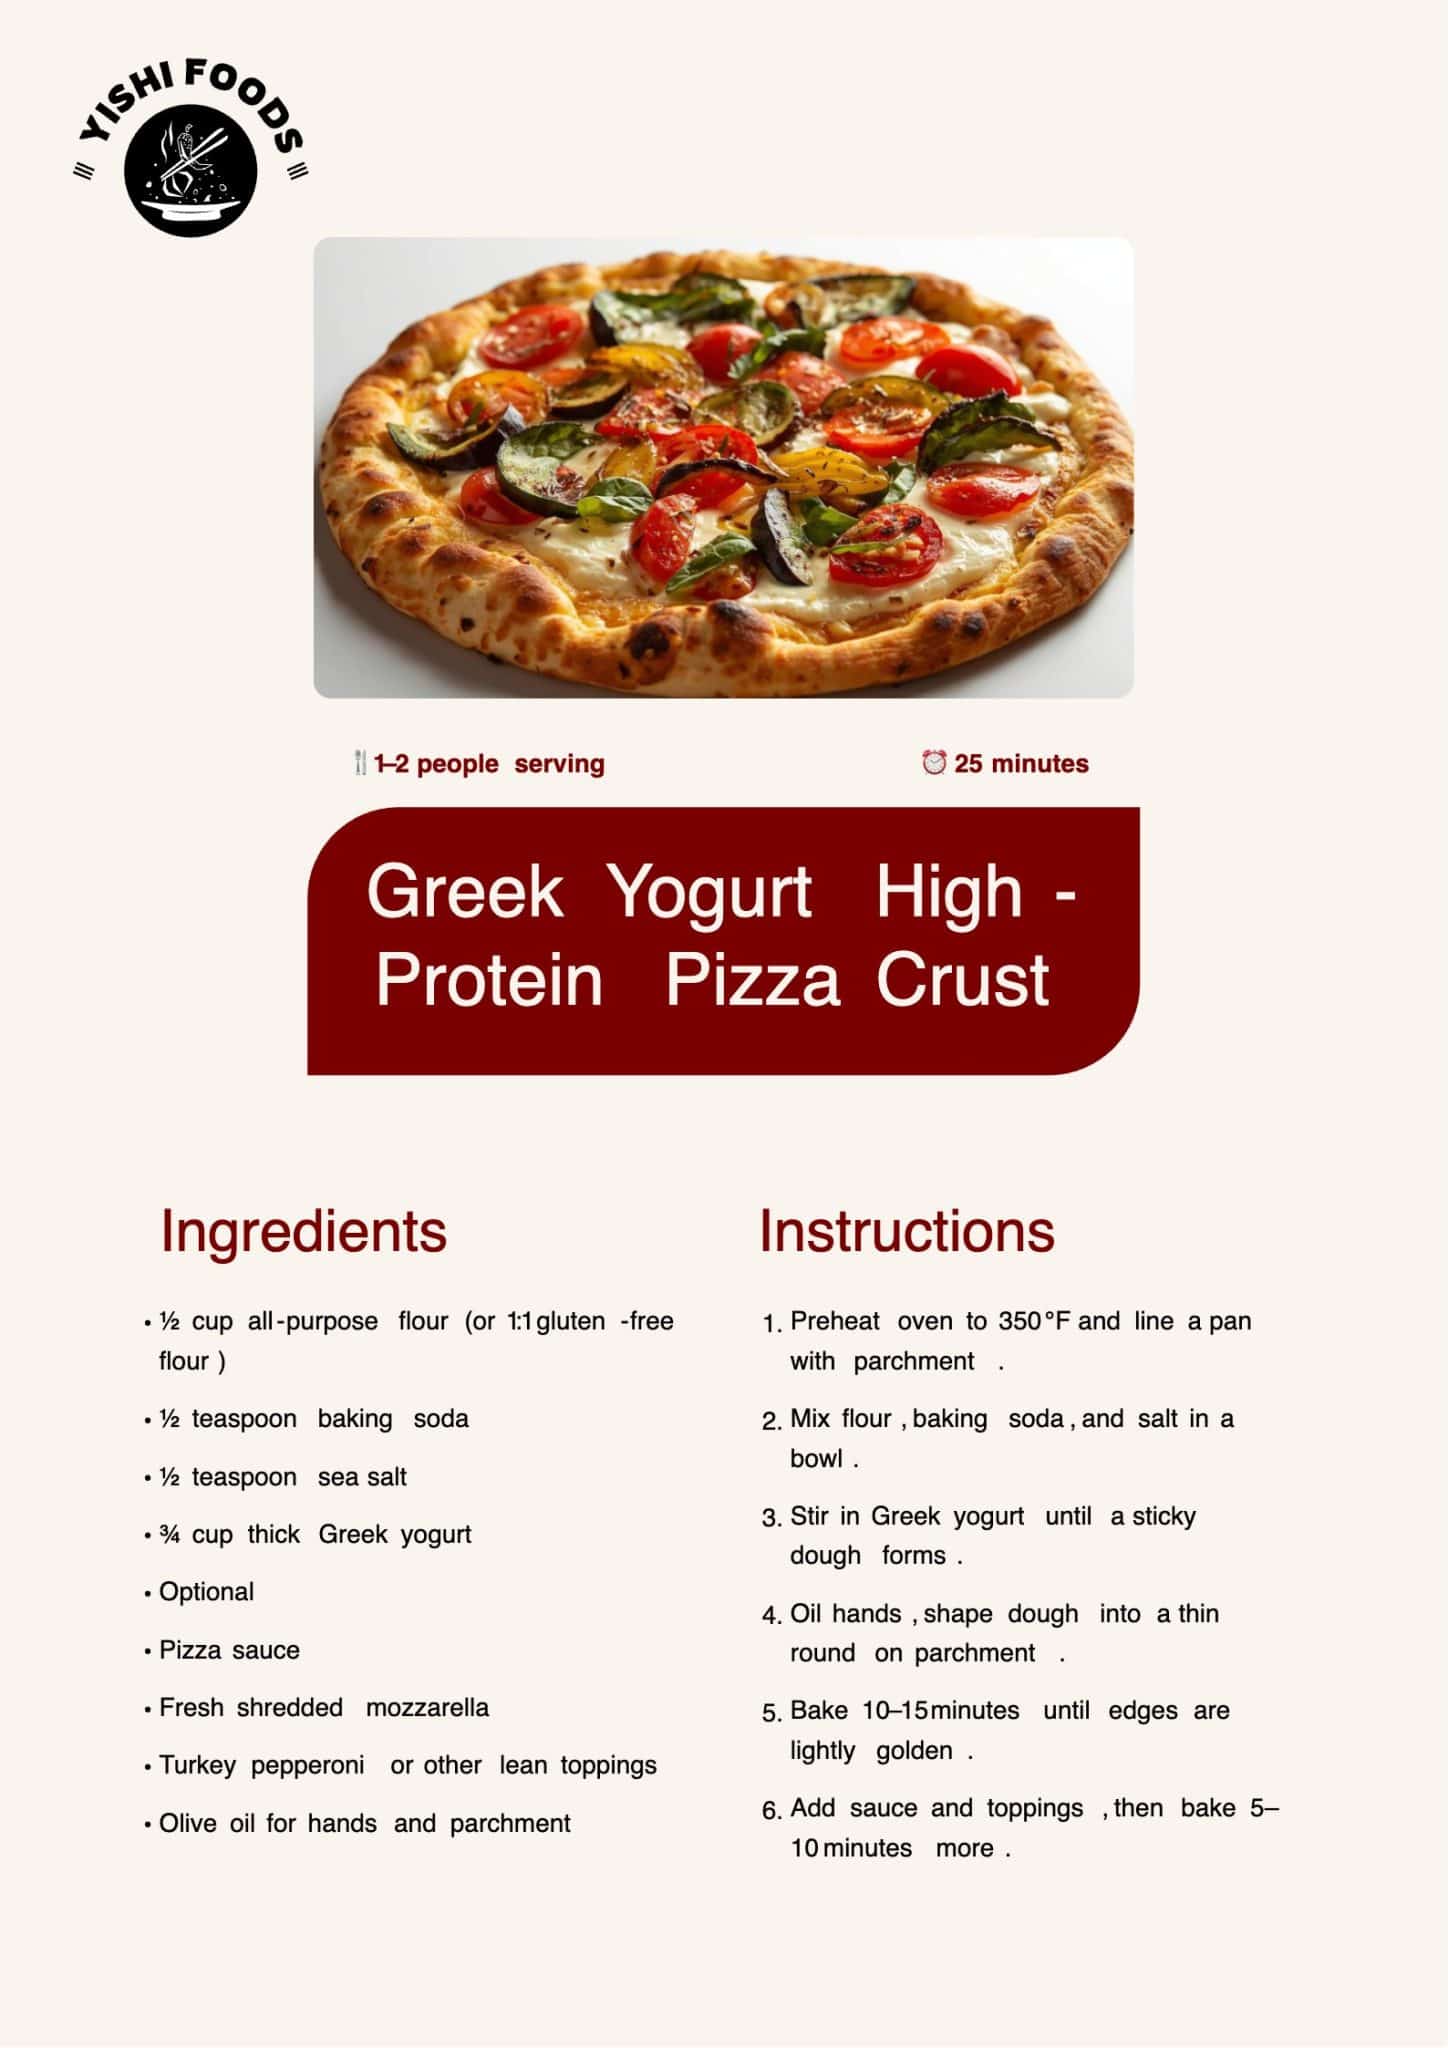
Greek Yogurt High-Protein Pizza Crust
This crust uses Greek yogurt and flour to form a chewy, steady base that bakes quickly and feels close to regular pizza dough at home.
Ingredients (Self-Rising or DIY)
- ½ cup gluten-free flour (or regular all-purpose flour)
- ½ teaspoon baking soda
- ½ teaspoon sea salt
- ¾ cup Greek yogurt
- Optional toppings: pasta sauce or pizza sauce, fresh shredded mozzarella, turkey pepperoni
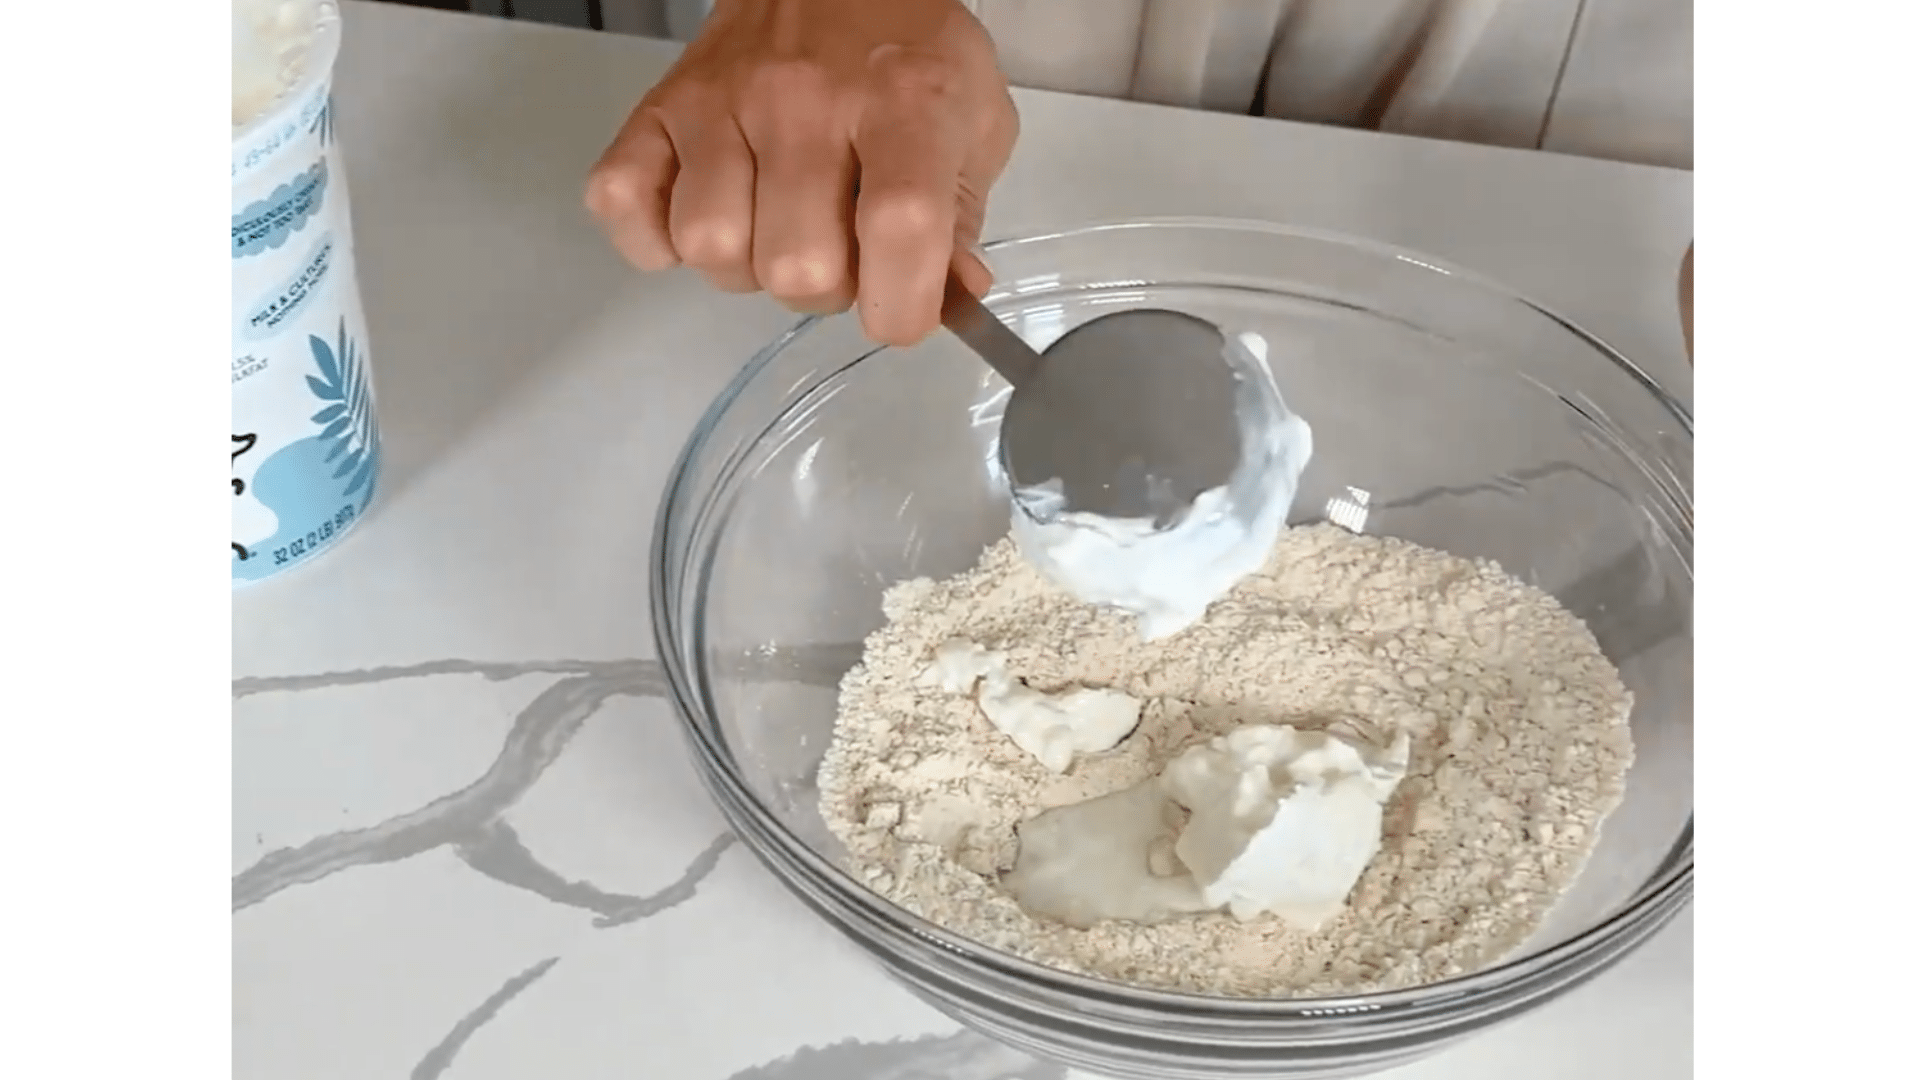
Step 1: Mix Your DIY “Self-Rising” Base

Add your flour to a bowl, then sprinkle in baking soda and sea salt. Stir until the dry mix looks even. This is the simple base that helps the crust rise and hold its shape. It also keeps the dough from tasting flat.
Use whatever you have on hand to mix, even a measuring spoon, since this is a small batch and you do not need anything fancy. Once it looks fully combined, you are ready for the yogurt.
Step 2: Add Greek Yogurt and Form the Dough
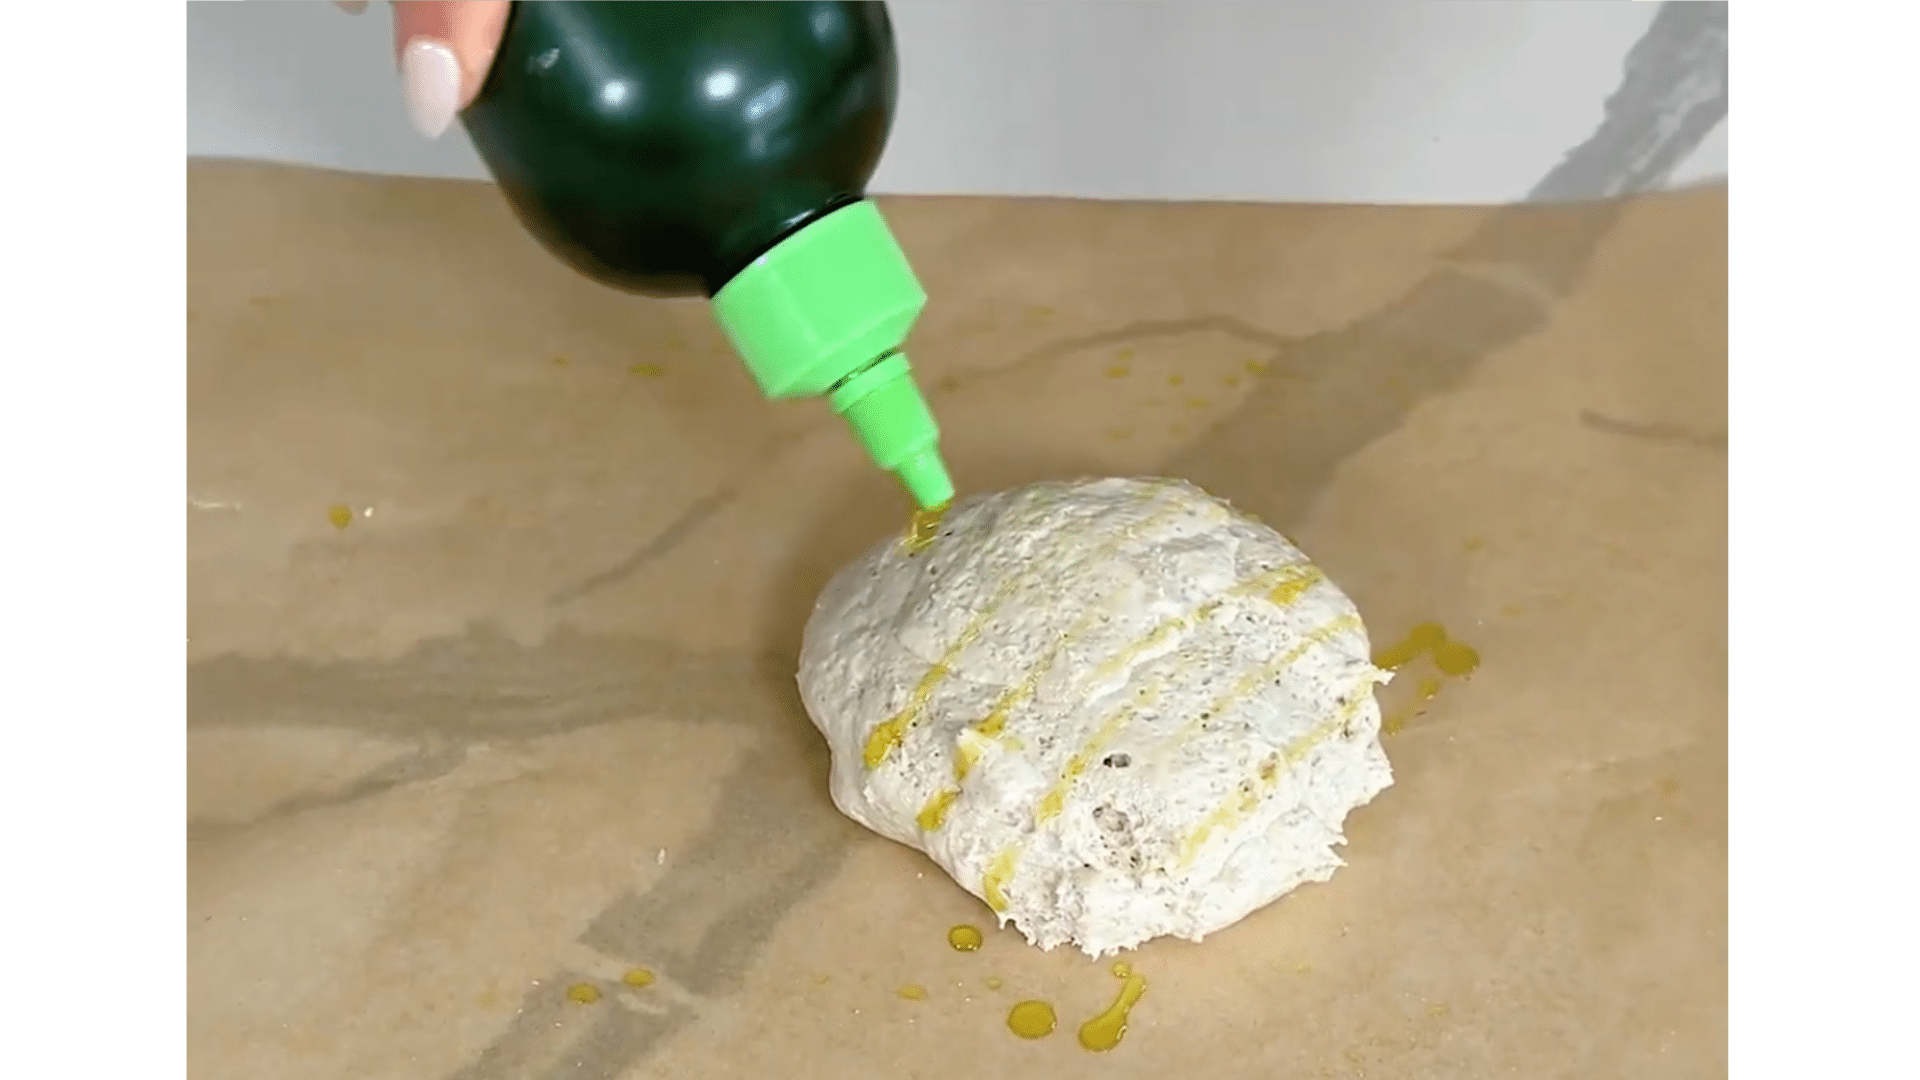
Scoop in ¾ cup Greek yogurt. An easy way is to use a ¼ cup measure three times. Stir until the dough starts forming and the flour disappears. It will look rough at first, then turn into a sticky dough that clumps together.
Since it sticks, rub a little olive oil on your hands before shaping. Gather the dough into a ball and press lightly so it stays together. This is a great size for a personal pizza.
Step 3: Shape It on Oiled Parchment
Place the dough onto parchment paper and rub a little oil on the paper first. Add a little oil on top of the dough, too, then place a second sheet of parchment on top. Press it flat with your hands.
You can use a rolling pin, but you may not need it. Peel off the top paper carefully, oil your fingers again, then shape the dough into a round crust. If you want raised edges, pinch the outer ring gently.
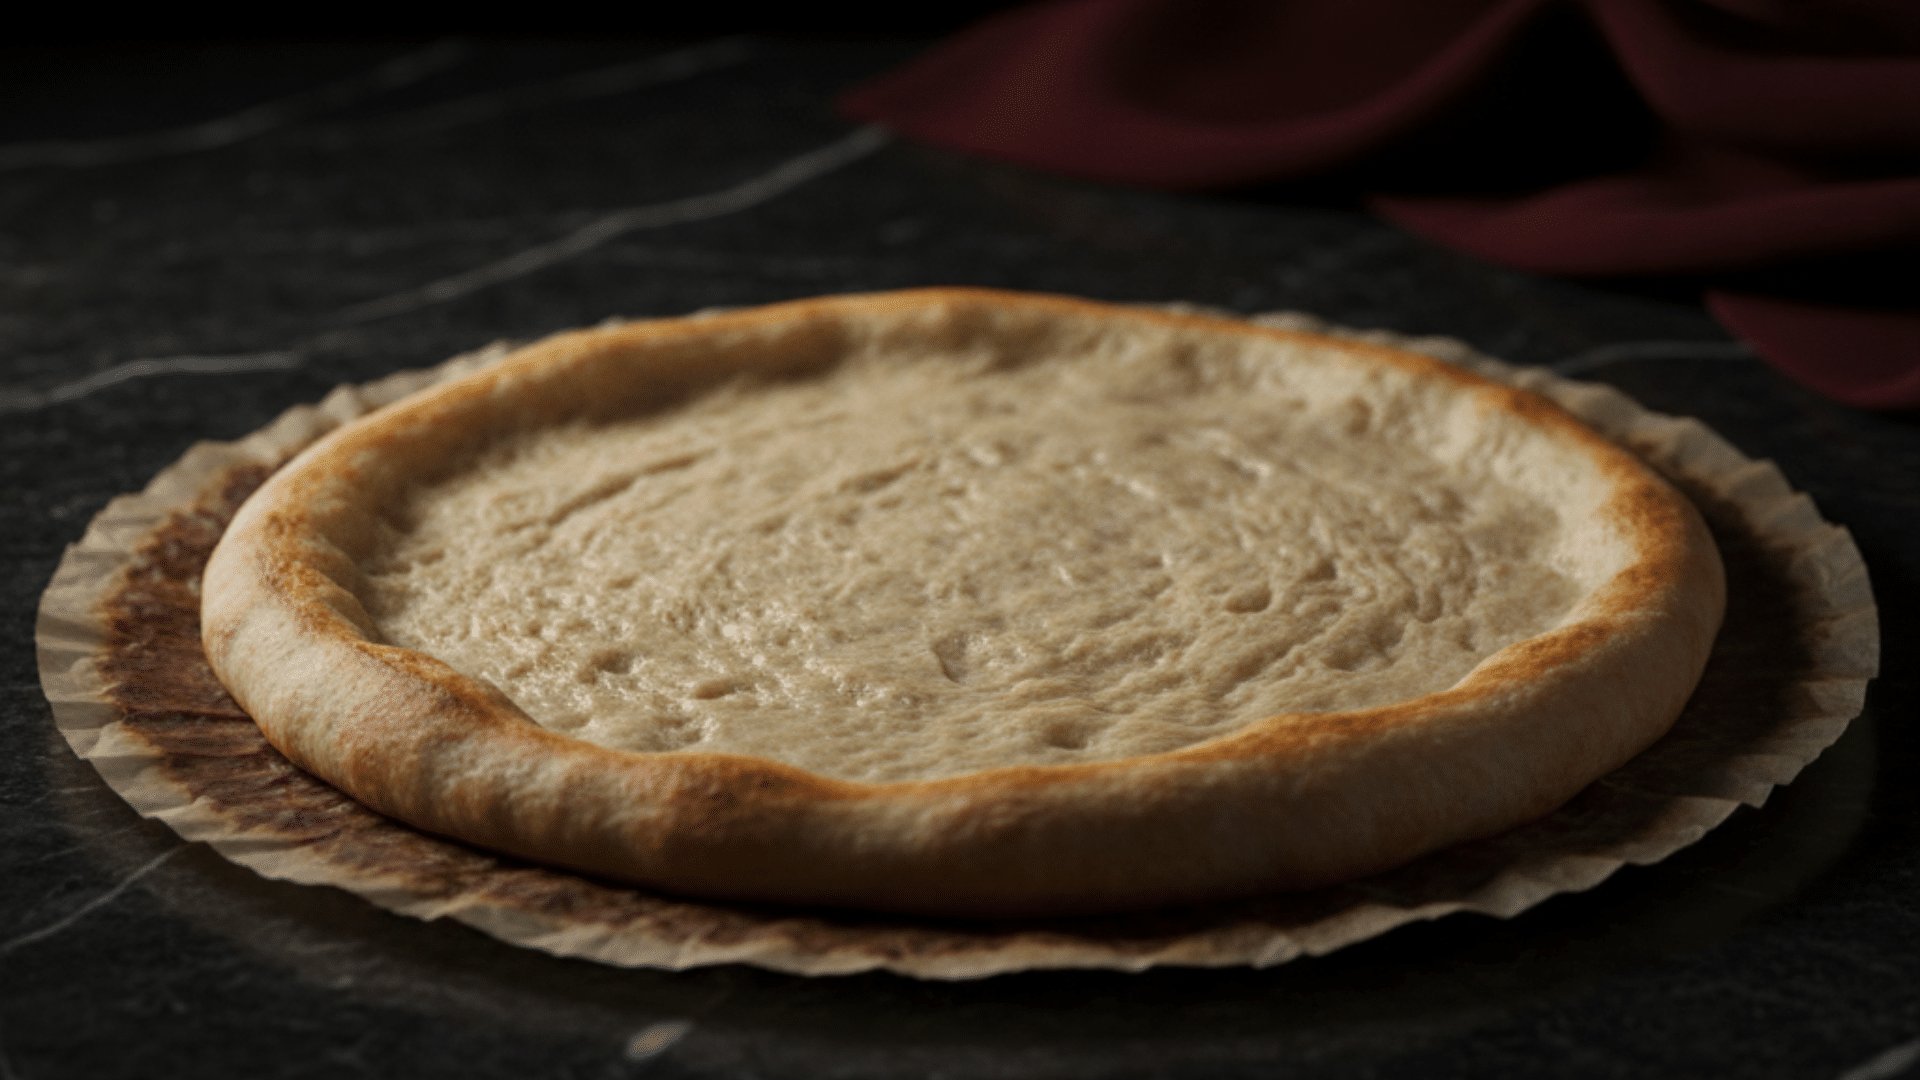
Step 4: Bake Until the Edges Turn Golden

Bake the crust at 350°F for about 10 to 15 minutes. If you make it thicker, it may need closer to 17 minutes. Check for golden edges, since that is your best sign that it is ready.
The center may still feel a bit soft, and that is fine because it will cook more after the toppings go on. Once it looks set, pull it out and let it cool for a minute so it firms up before saucing.
Step 5: Add Sauce, Cheese, and Toppings, Then Bake Again

Spread a moderate layer of sauce, leaving a small border for the crust. Add fresh shredded mozzarella, then place turkey pepperoni on top. Try not to overload the sauce, since homemade crusts can soften if they get too wet.
Put it back in the oven for 5 to 10 minutes, until the cheese melts fully. Let it cool for a couple of minutes, then slice. The bottom should stay crisp, and the crust should hold together.
Texture Notes: This crust feels close to regular pizza crust. The outside can get crisp, while the inside stays soft and chewy. It slices cleanly and holds up when you lift a piece. Thinner crusts bake faster and crisp more. Thicker ones stay softer in the middle.
Protein Per Serving: This crust is usually 12–18 grams of protein per serving before toppings. Cheese and turkey pepperoni can raise it fast. For more protein, use thicker Greek yogurt and add a meat topping. Keep the sauce moderate so the crust stays firm.
How to Make Your High-Protein Pizza Crust Crispy Instead of Soft
Getting a crisp crust takes heat control, moisture balance, and timing, not extra ingredients or special tools at home today.
- Use parchment paper and light oil
- Bake on a lower oven rack
- Keep the crust thin and even
- Use moderate sauce and dry toppings
- Let the crust rest briefly before slicing
These small changes help the crust set firmly, brown evenly, and stay sturdy enough to lift, slice, and eat cleanly.
Customizable Protein Pizza Crust Versions for Every Diet
These crust options adjust ingredients and texture so you can match protein goals, carb needs, and food limits without changing the basic method.
1. Gluten-Free High Protein Crust
This version keeps the Greek yogurt base but swaps regular flour for a 1:1 gluten-free flour blend. Choose one made for baking, so it holds together during heat. Mix the dough the same way, but expect a slightly stickier feel.
Light oil on your hands helps with shaping. Bake until the edges turn golden, since gluten-free dough needs clear heat contact to set. The finished crust stays firm underneath and soft inside, making it a solid option if you avoid gluten but still want structure.
2. Flourless Cottage Cheese Low-Carb Crust
This option removes flour completely and relies on cottage cheese, eggs, and grated Parmesan to set the base. Blend or stir until smooth, then spread into a thin circle on parchment. Because there is no flour, baking time matters more.
Let the crust cook until the edges brown and the center looks set before topping. The result is softer than dough-based crusts but holds together when sliced. This works well if lower carbs matter more than crisp texture.
3. High-Fiber Whole Wheat Greek Yogurt Crust
To raise fiber without losing structure, replace half the regular flour with whole wheat flour. Keep the Greek yogurt amount the same. The dough may feel slightly firmer, so add a small spoonful of yogurt if needed.
Roll it thinner than usual to avoid a heavy center. Bake until fully cooked through, checking the bottom for color. This crust feels filling, holds toppings well, and works nicely for anyone wanting steady energy along with protein.
4. Dairy-Free High Protein Variation (Vegan Yogurt + Binders)
For a dairy-free option, use thick plant-based Greek-style yogurt made from soy or pea protein. Since these lack natural binding, add one egg or a flax egg to help the dough hold together. Mix with flour, baking soda, and salt as usual.
The dough may spread more, so shape carefully on parchment. Bake a little longer than dairy versions to help the moisture cook off. The finished crust stays firm enough to slice and carry toppings without falling apart.
Protein Per Slice Comparison and Crust Selector
This table helps you compare protein levels and quickly decide which crust fits your needs, time, and ingredient comfort best.
| Crust Type | Protein Per Slice | Best Use Case |
|---|---|---|
| Cottage cheese crust | 18–22 g | When protein intake matters most |
| Greek yogurt crust | 12–18 g | When you want a dough-like texture |
| Whole wheat yogurt crust | 14–17 g | When fiber and fullness matter |
| Flourless cottage cheese crust | 20–25 g | When carbs need to stay low |
Use this chart to pick a crust, then follow the matching recipe steps. Each option works with different toppings and meal plans.
Summing Up
By now, you have seen how different high-protein crust options work and how small choices change texture, firmness, and protein levels.
Cottage cheese gives structure and higher protein, while Greek yogurt keeps things familiar and easy to shape. A few baking changes can also fix common problems like soft centers or soggy bottoms.
If you want pizza that fits your routine, a high-protein pizza crust makes that possible without extra steps. I would love to know which version you plan to try first or how it turns out for you.
Want more ideas like this? Take a look at the other blogs here and keep building meals that work for you.


