
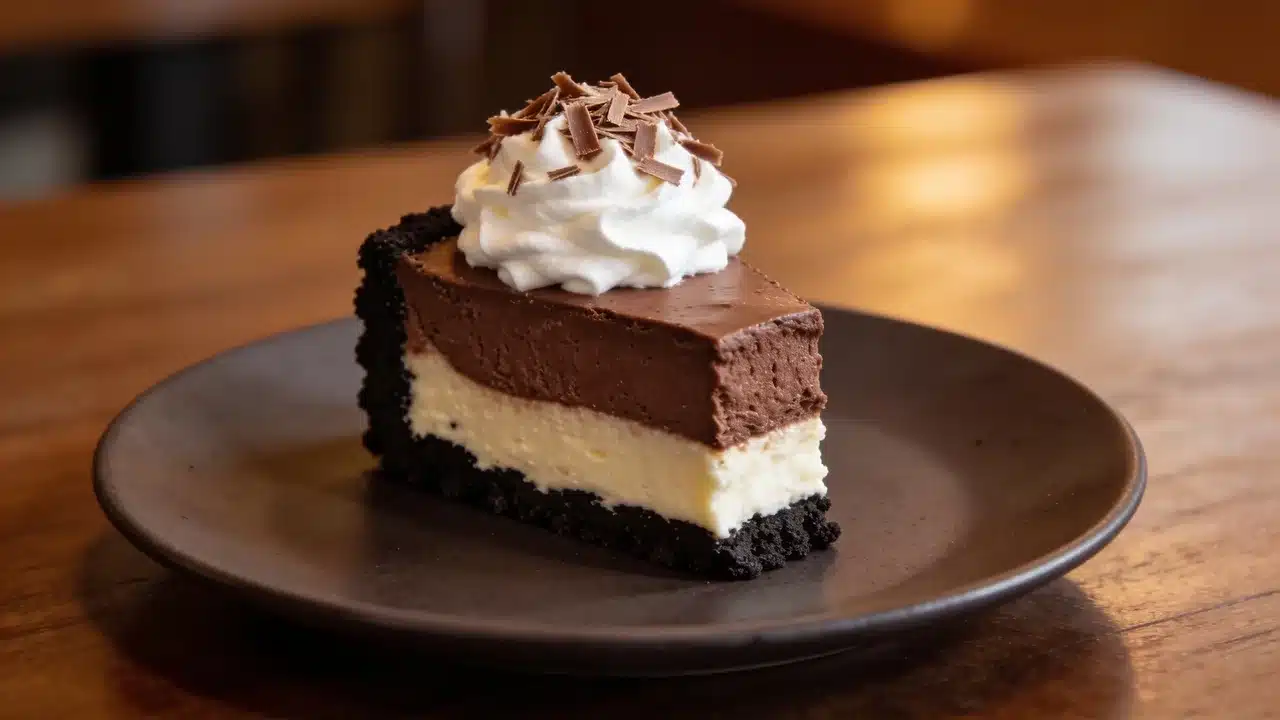
Some desserts look like they need a bakery case, but they can still be made in a home kitchen with patience and a cold fridge. Chocolate mousse cheesecake fits that spot perfectly.
You get a firm cookie base, a creamy center, a light chocolate layer, and a smooth finish that makes each slice feel planned, not rushed. I like this kind of recipe because it accommodates different skill levels without losing the rich, homemade feel.
The baked version gives the neatest slice, the no-bake option keeps things easier, and the copycat-style idea adds a restaurant-like touch. A few small choices, like crust, chocolate, and chill time, make the biggest difference before the first clean cut at the table.
Why I Keep Coming Back to This Recipe
I’ve made this chocolate mousse cheesecake recipe more times than I can count, mostly on weekends when I want something that looks impressive but doesn’t take a whole day of hands-on work. My first few attempts had a soupy mousse layer because I rushed the chill time between steps. Now I treat the fridge like part of the ingredient list, not an afterthought.
Over time I’ve settled on four versions I make on rotation: a baked classic with the cleanest slice, a no-bake chocolate mousse cheesecake for when I don’t want to touch the oven, a pressure cooker version for small-batch convenience, and a few copycat takes inspired by restaurant menus for when I’m feeding guests.
Each one uses the same four parts: crust, cheesecake, mousse, and ganache. The version you pick usually comes down to how much time you have and if you want to bake at all.
Classic Chocolate Mousse Cheesecake
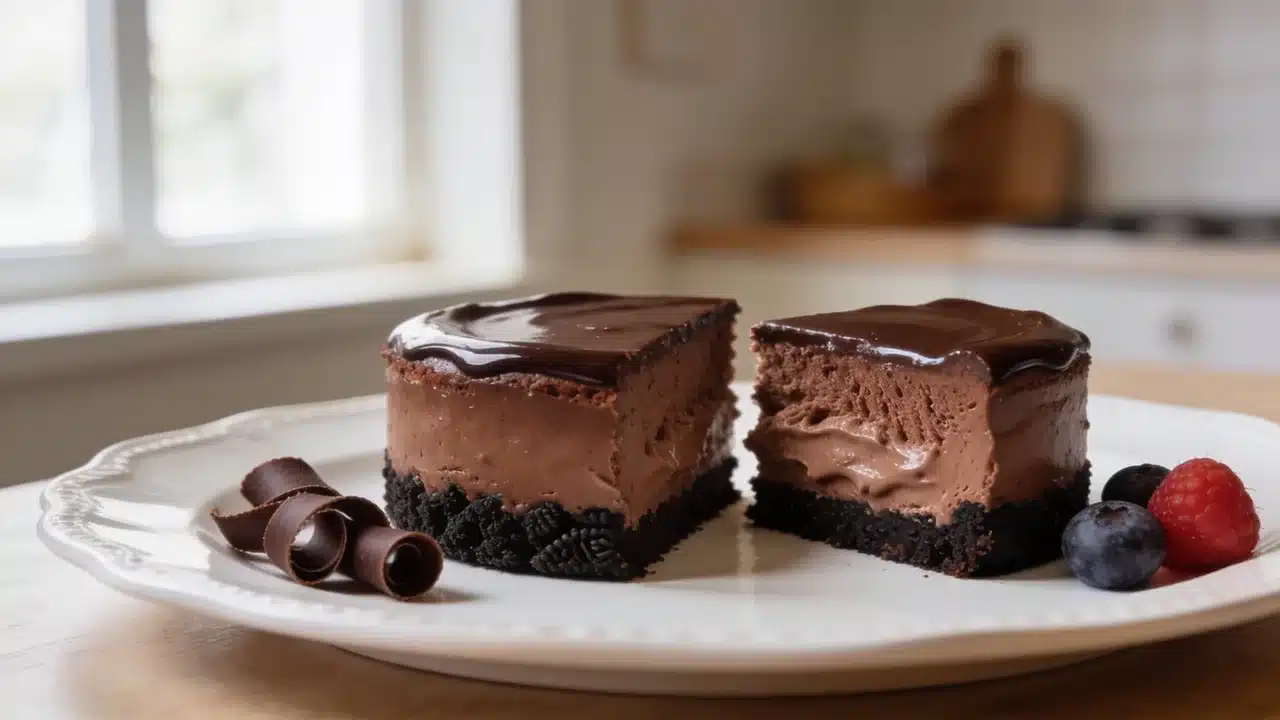
Serves: 2 people | Time Taken: About 5 hours
This is the version I make when I want a clean, sliceable cheesecake for company. It has an Oreo crust, a baked chocolate cheesecake filling, fluffy chocolate mousse, and ganache on top. Because it’s scaled for two, there’s no pressure to finish a full 9-inch cake by yourself over the week.
Ingredients
- 6 Oreo cookies, crushed
- 1 tablespoon unsalted butter, melted
- 4 ounces full-fat cream cheese, softened
- 2 tablespoons granulated sugar
- 1 large egg yolk
- 1 tablespoon sour cream or plain Greek yogurt
- ¼ teaspoon vanilla extract
- 3 ounces dark or semi-sweet chocolate (melted and chopped as needed)
- 1 teaspoon unsweetened cocoa powder
- ⅓ cup heavy whipping cream
- ½ teaspoon unsalted butter
- Pinch of salt
Step 1: Prepare the Oreo Crust
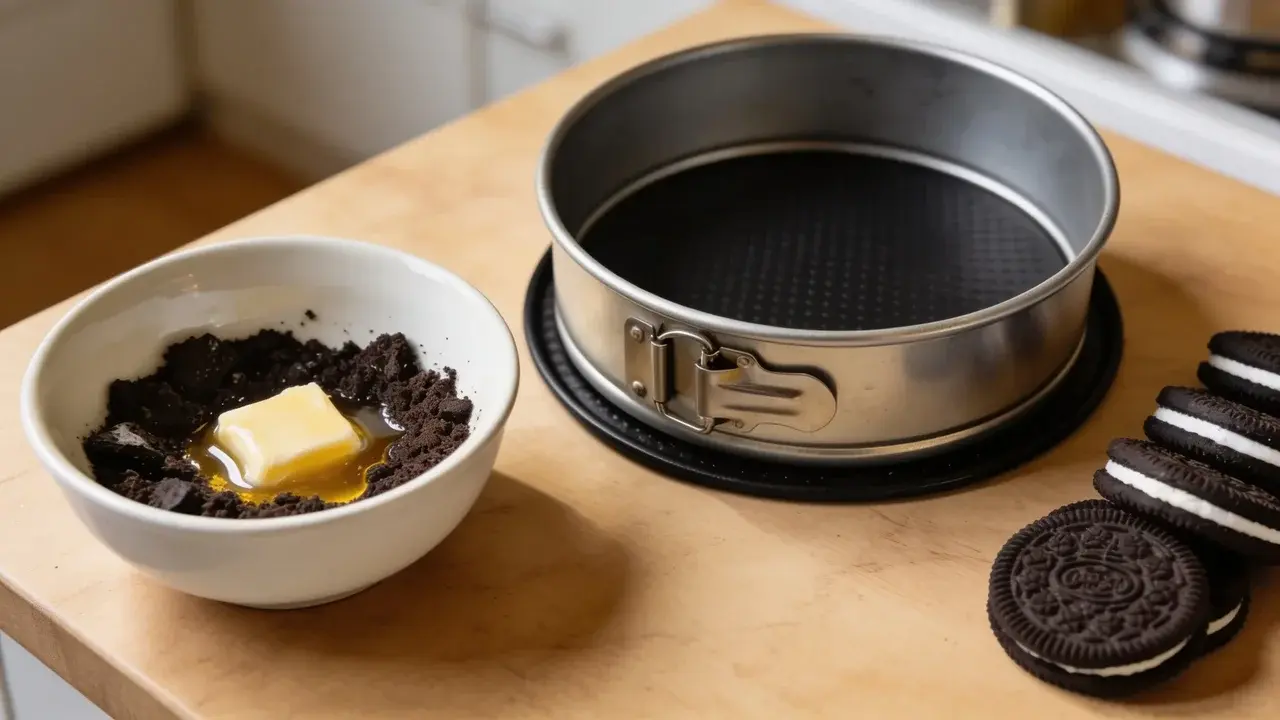
Bring the cream cheese, egg yolk, and sour cream to room temperature before you start. Cold cream cheese is the number one reason home bakers end up with a lumpy filling, so don’t skip this.
Crush the Oreo cookies into fine crumbs using a food processor or a sealed bag with a rolling pin. Mix the crumbs with melted butter until they look like wet sand.
Press the mixture firmly into a 4-inch springform pan or two oven-safe ramekins. A flat-bottomed glass works well for this. Bake at 325°F for 6 to 8 minutes, then let it cool.
Step 2: Make the Cheesecake Layer
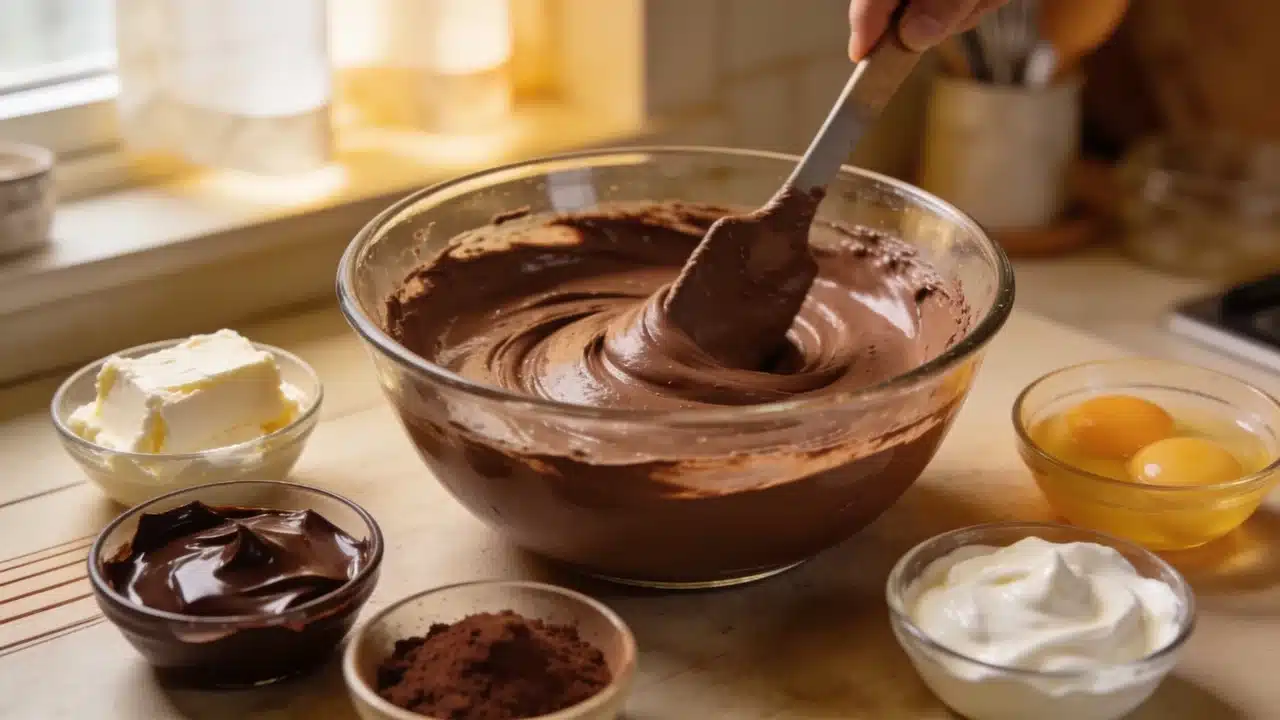
Beat the softened cream cheese until smooth, then add the sugar and mix until creamy.
Add the egg yolk and mix on low speed. Then add the sour cream, vanilla, melted chocolate, and cocoa powder. Mix only until smooth. Overmixing at this stage is what causes cracks later.
Pour the filling over the cooled crust and smooth the top.
Step 3: Bake and Chill
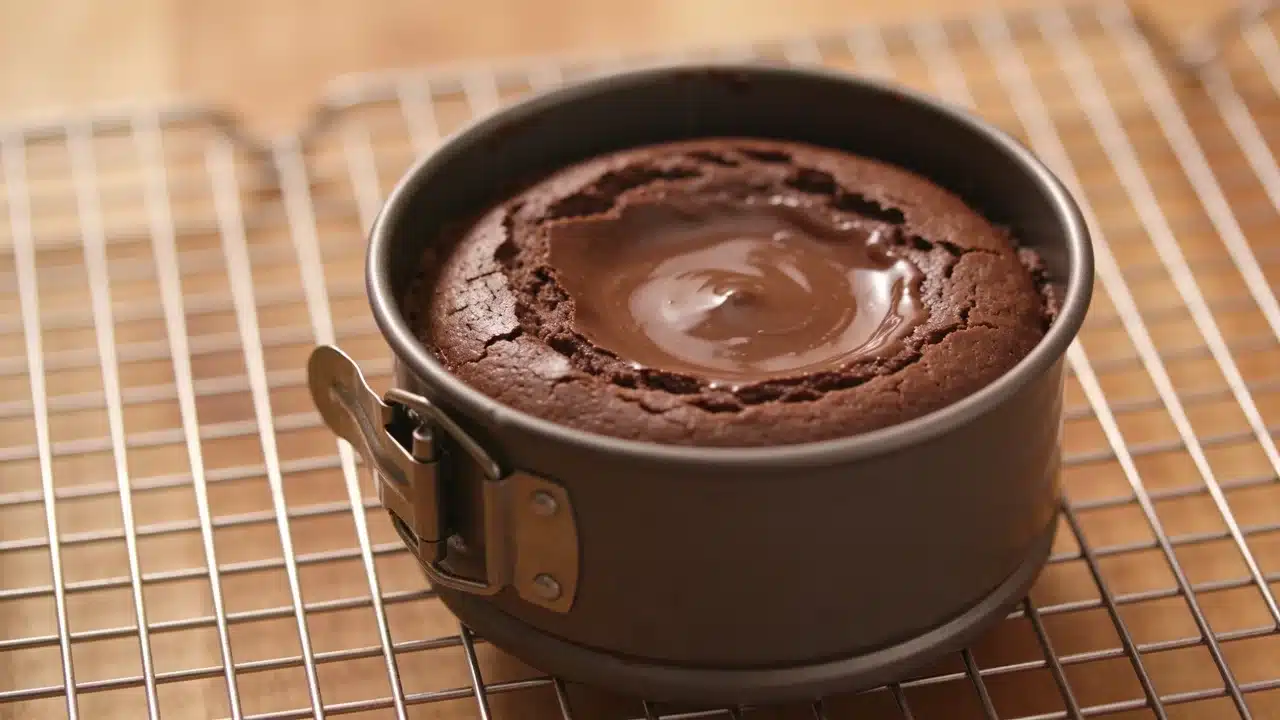
Bake at 325°F for 22 to 28 minutes, or until the edges look set and the center still has a soft jiggle.
Turn off the oven, crack the door open, and let the cheesecake sit inside for 15 minutes. This slow cooldown is what keeps the top from cracking.
Cool fully at room temperature, then chill for at least 3 hours so the cheesecake can firm up before you add anything else on top.
| A note on the egg yolk: Because this layer contains a raw egg yolk before baking, it should reach a full bake, not just a jiggle at the very center, before you consider it safe to eat. If you have an instant-read thermometer, the filling should hit at least 160°F in the center, which is the doneness point commonly used for egg-based custards. |
Step 4: Make and Add the Mousse
Heat 2 tablespoons heavy cream until hot but not boiling. Pour it over the chocolate and let it sit for 3 minutes, then stir until smooth. Let it cool.
Whip the remaining heavy cream with vanilla and salt until stiff peaks form, then fold it into the cooled chocolate mixture. Fold gently. Stirring too hard here is the most common reason mousse comes out flat instead of airy.
Spread the mousse over the chilled cheesecake and chill for at least 1 hour.
Step 5: Finish with Ganache
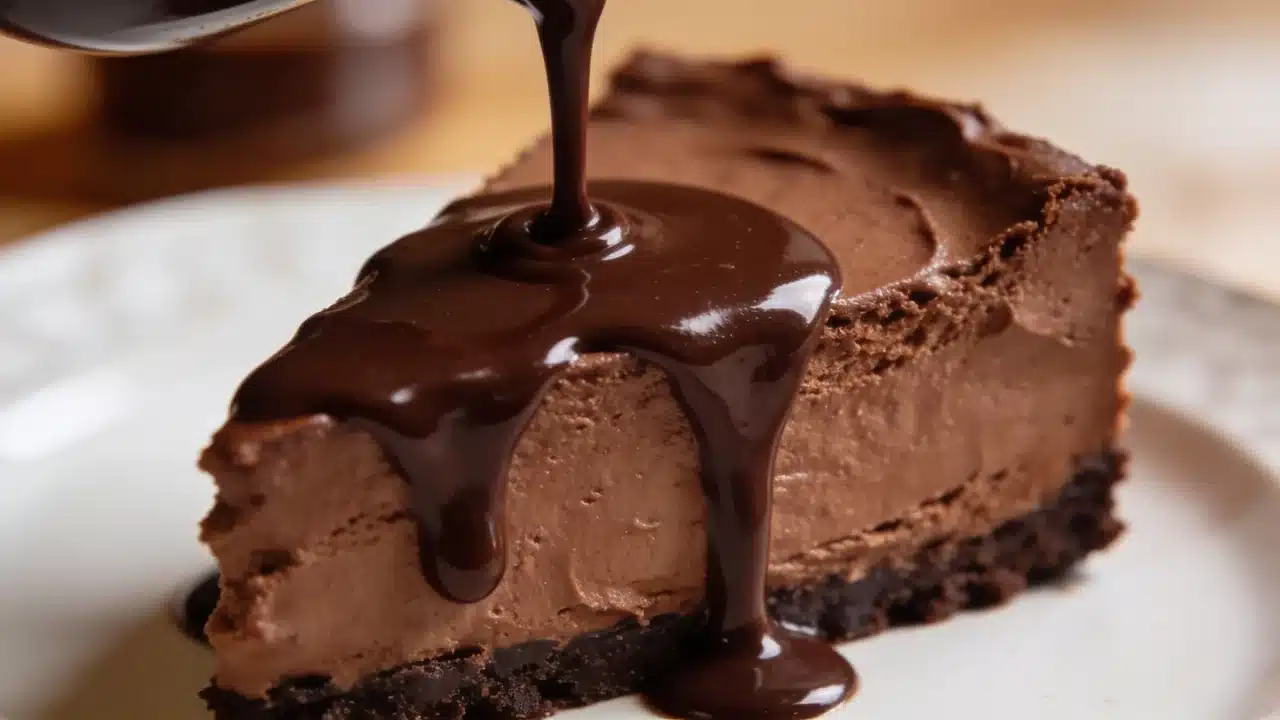
Heat the heavy cream and pour it over the chocolate. Let it sit for 3 minutes, then stir until smooth.
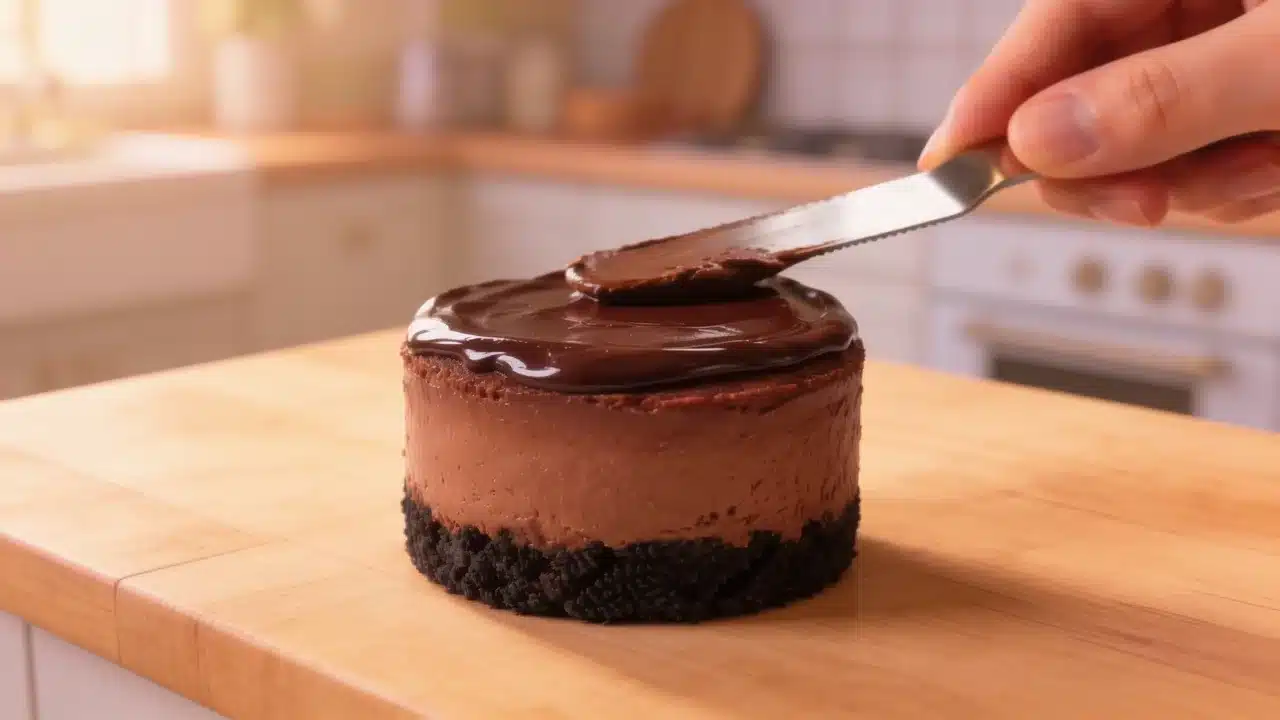
Add the butter, then let the ganache cool slightly before spreading it over the mousse. Chill again until firm, then serve.
No-Bake Chocolate Mousse Cheesecake
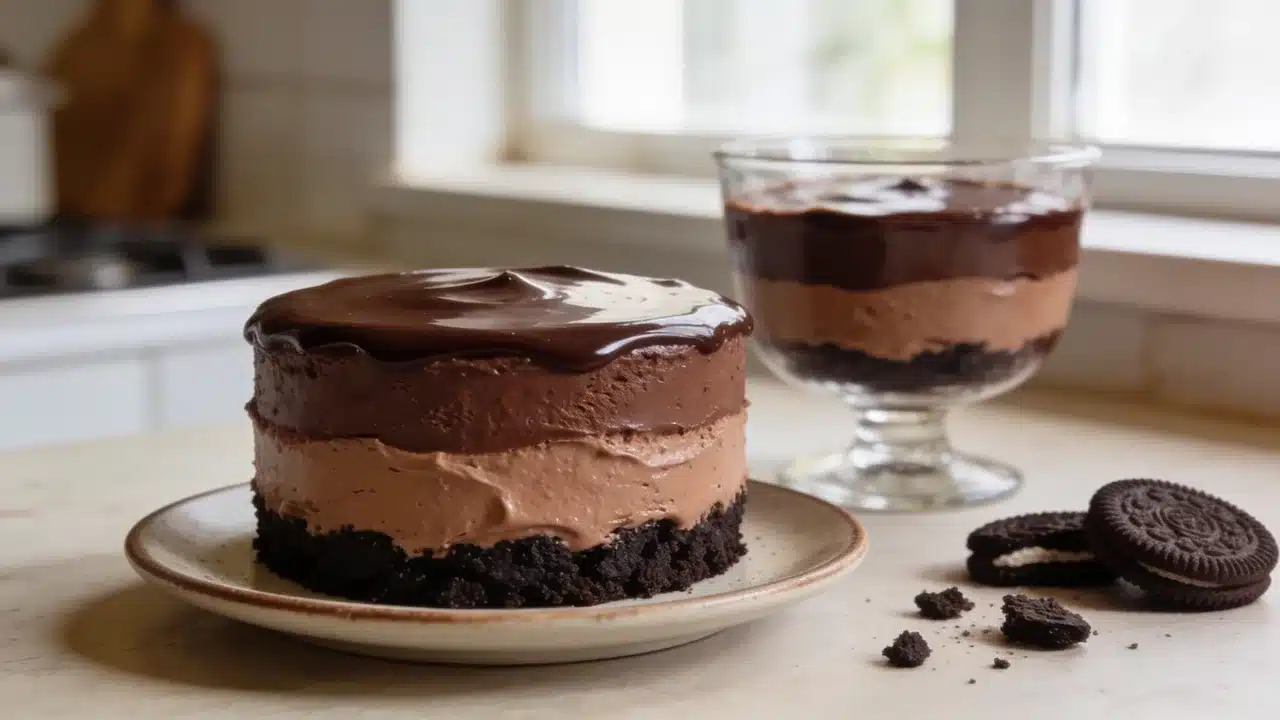
Serves: 2 people | Time taken: About 4½ to 5 hours total
This is the version I reach for on a hot day, or when I just don’t want to deal with the oven. Because there’s no egg yolk and no baking step, the texture ends up softer and closer to a mousse cake than a traditional dense cheesecake.
| Part | Ingredients | Amount |
|---|---|---|
| Crust | Oreo cookies, melted butter | 6 cookies, 1 tablespoon |
| Filling | Cream cheese, powdered sugar, semi-sweet chocolate, vanilla extract, heavy cream, salt | 4 ounces, 2 tablespoons, 2 ounces, 1/4 teaspoon, 1/3 cup, pinch |
| Topping | Chocolate chips | 2 tablespoons |
How to Make
- Crush the Oreo cookies into fine crumbs. Mix them with melted butter until evenly coated, then press into a 4-inch springform pan or two small dessert cups. Chill for 20 to 30 minutes.
- Beat the softened cream cheese and powdered sugar until smooth. Add the melted and cooled chocolate, vanilla, and salt, and mix until creamy.
- In a separate bowl, whip the heavy cream until stiff peaks form. Fold it into the chocolate cream cheese mixture.
- Spread the filling over the chilled crust, smooth the top, and chill for at least 4 hours. This one needs the extra time since there’s no baking to set the structure.
- Heat the heavy cream and pour it over the chocolate chips to make the ganache. Let it cool slightly, then spread it over the cheesecake and chill again until firm.
Because this version stays soft, I prefer serving it in small dessert cups rather than trying to get a clean slice out of a springform pan.
Pressure Cooker Chocolate Mousse Cheesecake
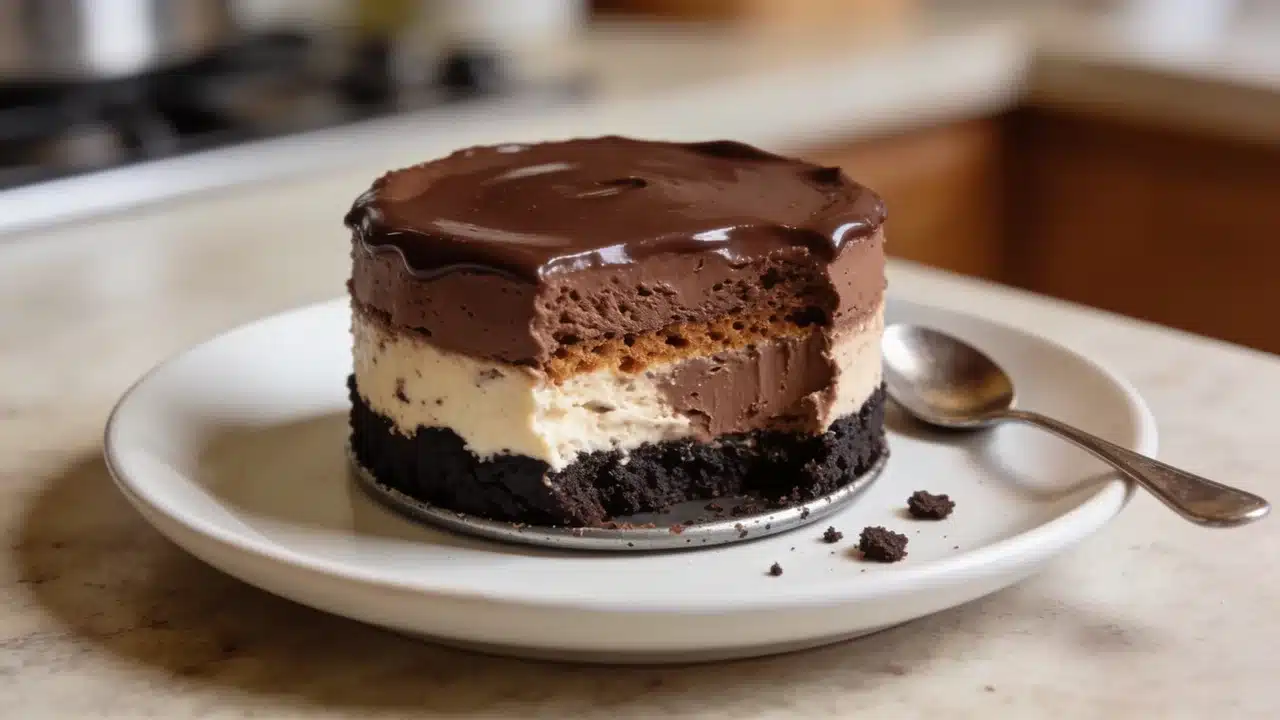
Serves: 2 people | Time taken: About 4½ to 5 hours total
This is my go-to when I want the texture of the baked version without heating up the whole kitchen. Use a 4-inch springform pan or two small heat-safe ramekins that fit inside your cooker.
| Part | Ingredients | Amount |
|---|---|---|
| Crust | Oreo cookies or chocolate cookies, melted butter | 6 cookies, 1 tablespoon |
| Cheesecake layer | Cream cheese, granulated sugar, egg yolk, vanilla extract, semi-sweet chocolate, heavy cream | 4 ounces, 2 tablespoons, 1 large, 1/4 teaspoon, 1 ounce, 1 tablespoon |
| Mousse | Chocolate chips, salt | 2 ounces, pinch |
| Ganache | Chocolate chips | 2 tablespoons |
How to Make
- Crush the cookies into fine crumbs and mix with melted butter. Press into a 4-inch springform pan or two small heat-safe ramekins.
- Beat the cream cheese until smooth. Add the sugar, then the egg yolk, mixing on low speed.
- Add the vanilla, melted chocolate, and heavy cream. Mix until smooth, but don’t overmix.
- Pour the filling over the crust and smooth the top. Cover the pan tightly with foil so water doesn’t drip onto the cheesecake.
- Add water to the pressure cooker and set the cheesecake on a trivet. Cook on high pressure for 18 to 22 minutes, then let the pressure release naturally.
- Cool to room temperature, then chill for at least 3 hours before adding the mousse. Make the mousse and ganache the same way as the classic version, chilling between each layer.
| A note on timing: Pressure cooker models vary in strength, so 18 to 22 minutes is a starting point, not a guarantee. Check that the center of the cheesecake is set, not liquid, before you chill it. If it still looks wet in the middle, give it a few more minutes on high pressure. |
Copycat Chocolate Mousse Cheesecake Recipes
These small-batch versions are inspired by popular restaurant-style chocolate mousse cheesecakes, scaled down for two people. They’re not the restaurants’ actual recipes, since those are proprietary, just my take on recreating the flavor and look at home. Most take 4 to 5 hours total, and nearly all of that is chilling time.
1. Cheesecake Factory-Inspired Chocolate Mousse Cheesecake
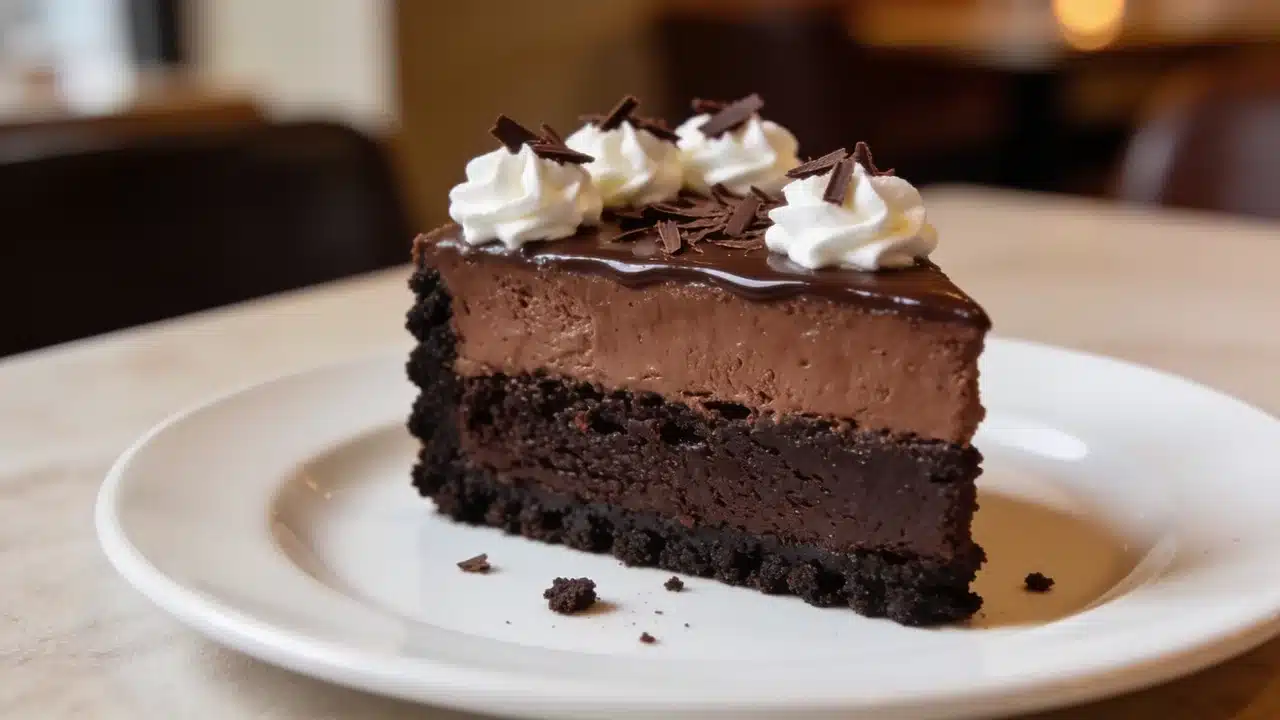
Loosely modeled on The Cheesecake Factory’s chocolate mousse cheesecake, this take leans heavier on cream cheese and melted chocolate, so the center feels thicker and tastes more intensely chocolatey.
Adding cocoa powder to the mousse gives it a darker color and deeper flavor. For the crust, chocolate wafer cookies keep things less sweet, while chocolate sandwich cookies land closer to an Oreo-style base.
Ganache, chocolate shavings, and a few whipped cream rosettes on top finish the bakery-style look.
2. Junior’s-Inspired Chocolate Mousse Cheesecake
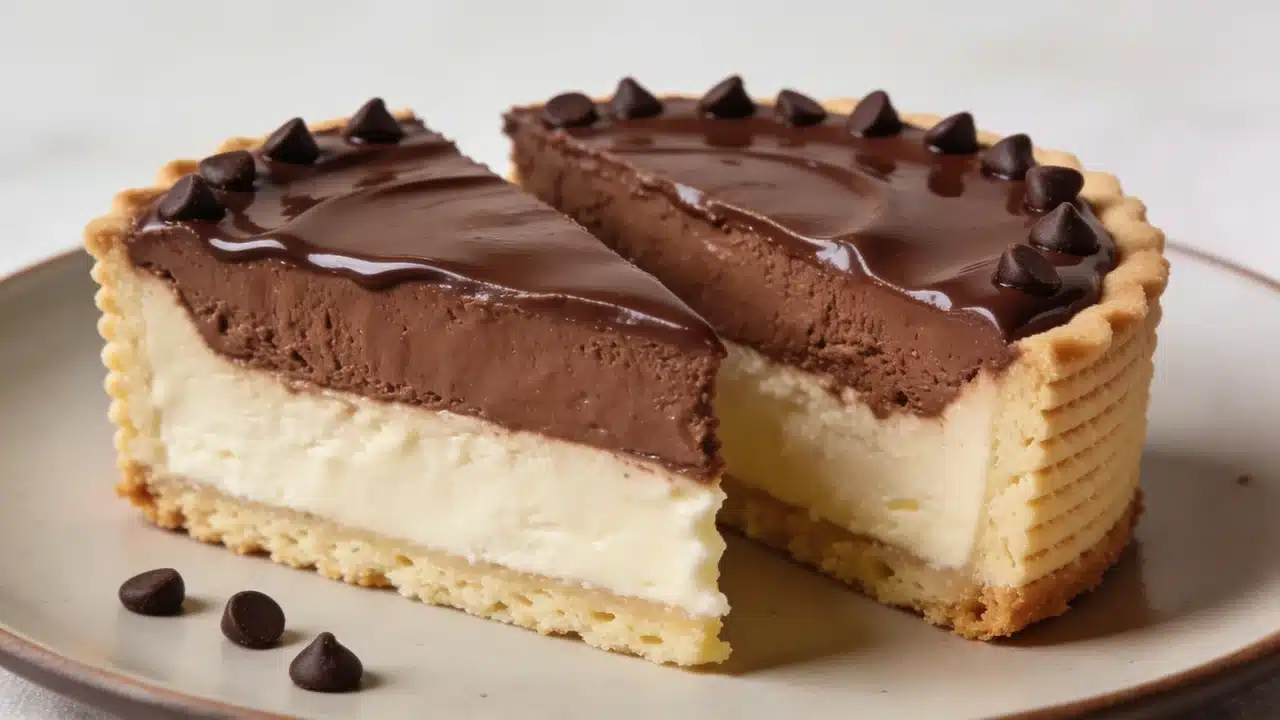
This one takes cues from Junior’s Chocolate Mousse Cheesecake and leans more New York-style: a thicker cream cheese base with extra sour cream for a light tang, chocolate mousse on top, ganache, and mini chocolate chips pressed around the edge.
Swapping the Oreo crust for vanilla wafers or graham crackers gives it a lighter base that lets the tangy filling stand out more.
3. Ruth’s Chris-Inspired Chocolate Mousse Cheesecake
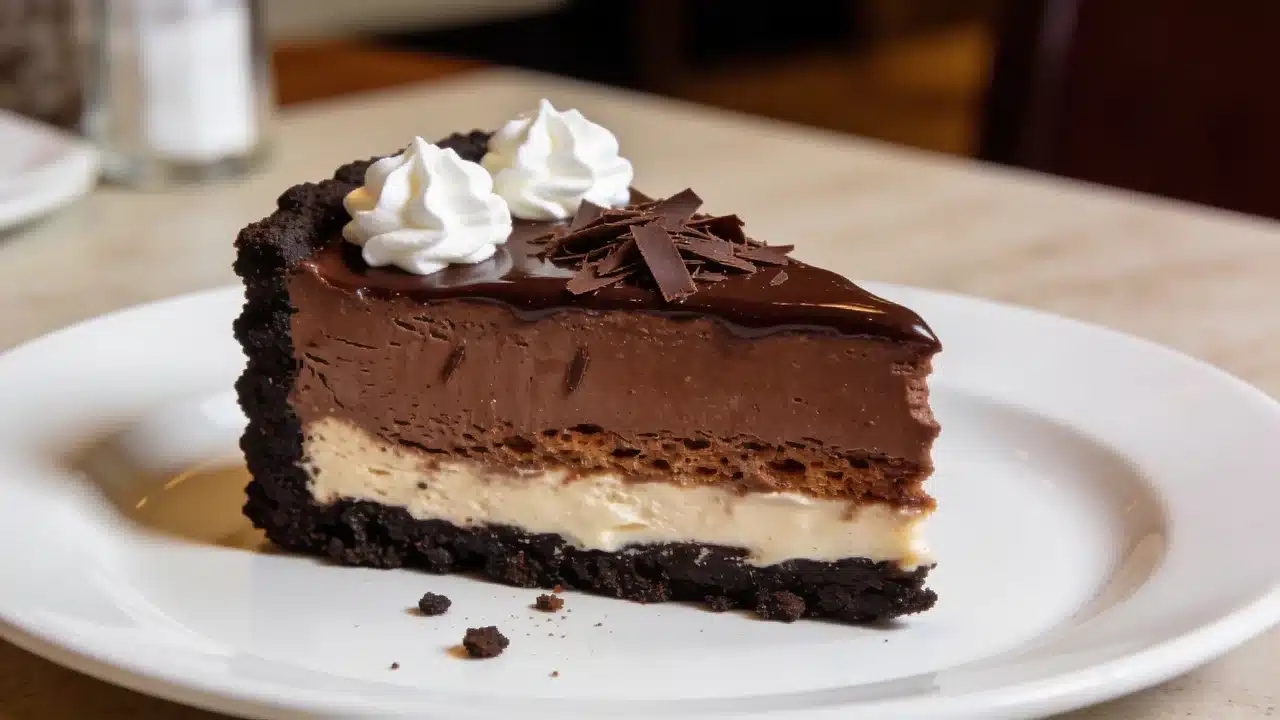
Inspired by the Ruth’s Chris-style chocolate mousse cheesecake, this is the quickest of the three. The cheesecake layer skips eggs and the oven entirely, setting in the fridge instead, so you get the same layered look with fewer steps.
Whipped cream, chocolate shavings, or a light dusting of cocoa powder finishes it off, with no ganache needed here.
Common Mistakes and How to Fix Them
Most texture problems in a chocolate mousse cheesecake come down to temperature and timing, not the recipe itself.
| Problem | Cause | Fix |
|---|---|---|
| Cracks or messy slices | Overbaking, quick cooling, or insufficient chilling | Bake until slightly jiggly, cool slowly, chill overnight, and slice with a warm knife |
| Lumpy filling | Cold cream cheese or adding chocolate too fast | Soften cream cheese and add cooled melted chocolate slowly |
| Runny or grainy mousse | Warm chocolate, underwhipped, or overwhipped cream | Use cool chocolate and whipped cream until stiff peaks form |
| Soft mousse under ganache | Hot ganache melts the mousse layer | Cool ganache before spreading |
| Crust falls apart | The crust was not packed firmly | Press the crust tightly into the pan |
If your layers still look soft after chilling, don’t rush it. Give it more time in the fridge before you slice.
Leftover Cheesecake Tips
Extra cheesecake parts can still save dessert, even when the layers don’t come out clean. Ganache, mousse, crust crumbs, and messy slices can all become small chilled desserts with very little extra work.
- Turn extra layers into cheesecake cups: Spoon crushed crust into small cups, add mousse or broken cheesecake pieces, then drizzle ganache on top. It looks intentional and tastes just as good as a clean slice.
- Save extra ganache for topping: Chill leftover ganache in a small container. Warm it gently later and spoon it over ice cream, brownies, pancakes, or strawberries.
- Use extra mousse as a quick dessert: Add mousse to small bowls or jars and chill until firm. Top with cookie crumbs, berries, or chocolate curls.
- Fix soft or messy cheesecake: Let a soft layer rest longer in the fridge. If slices break apart, layer the pieces in cups with ganache and crumbs instead of serving them as slices.
Keep anything with cream cheese, whipped cream, or ganache refrigerated until you’re ready to serve.
Frequently Asked Questions
Can I make this ahead and freeze it?
Yes, but freeze it before adding the ganache. Wrap the baked and mousse-topped cheesecake tightly and freeze for up to a month. Thaw it in the fridge overnight, then add the ganache fresh so it stays glossy instead of turning dull.
Can I add gelatin to the no-bake version to help it set faster?
Yes. Bloom about half a teaspoon of gelatin in cold water, melt it gently, and mix it into the filling. It helps the no-bake layer firm up more reliably, especially in a warm kitchen.
Why did my ganache turn oily or split?
This usually happens when the cream is too hot or the chocolate overheats. Stir gently and add a small splash of warm cream to bring it back together.
Can I add coffee to deepen the chocolate flavor?
Yes. A teaspoon of espresso powder mixed into the cheesecake filling, mousse, or ganache sharpens the chocolate flavor without making the dessert taste like coffee.
Is it safe to eat the baked layer if it still jiggles in the center?
A slight jiggle is fine and expected. It firms up as it cools and chills. What you don’t want is a liquid, unset center. If you’re unsure, an instant-read thermometer reading of 160°F or higher in the middle confirms the egg-based filling is fully cooked.
Final Takeaway
Between the baked, no-bake, pressure cooker, and copycat versions, this chocolate mousse cheesecake recipe fits whatever kind of afternoon you’re having: oven-free, fridge-only, or dressed up for guests. The layers aren’t complicated on their own. They just need patience between each one.
If I had to leave you with one thing, it’s this: don’t rush the chill time between the cheesecake, mousse, and ganache. That’s the difference between a clean slice and a messy one, no matter which version you pick.
Try the version that fits your day, and let me know in the comments how it turned out.