Learning how to season cast iron was the moment my relationship with this cookware completely changed. Before I figured it out, I was dealing with sticky surfaces, patches of rust, and a pan I barely trusted.
Once I understood what seasoning actually does, everything clicked. It is not complicated, and it is not the high-maintenance ritual people make it out to be. What it takes is the right oil, the right heat, and a reliable sequence you can repeat with confidence.
Here’s my secret for seasoning a cast-iron skillet so it develops a surface that performs better with every cook.
What Seasoning Cast Iron Actually Means
Before getting into technique, it helps to understand what seasoning is and what it is not. A lot of people assume it is about flavor, maybe rubbing the pan down with herbs or salt. That is not it.
Seasoning is a chemical process called polymerization, where oil heated past its smoke point bonds to the iron and hardens into a protective layer. That layer is what gives cast iron its natural nonstick quality and its resistance to rust.
My favourite part about learning this was realising how simple the science actually is. Back when cast-iron skillets were a staple in almost every kitchen, cooks maintained this process out of habit rather than instruction; the pan darkened over years of use, building up with every meal cooked in butter or lard.
The same logic applies today, and once you understand it, maintaining your skillet feels less like a chore and more like sensible cooking practice.
When You Actually Need to Season
Knowing when to season makes all the difference. Doing it too often creates buildup, while skipping it at the wrong moment leads to rust and poor performance. Here is how to tell:
• Season a new pan with a thin or weak factory coat
• Season after scrubbing away rust or stripping bare metal
• Season when food sticks or the surface looks dry, dull, or patchy
• Skip seasoning when the surface is dark, smooth, and regularly used
• A light wipe of oil after each cook means rarely needing more than one full oven seasoning per year
A well-used pan that gets a light oil wipe after each cook rarely needs more than one full oven seasoning cycle per year. Cooking itself does most of the work. Combine these into a single set of bullets. no gaps in between.
How to Season Cast Iron in the Oven
The oven method is the most reliable way to build a strong base layer. It gives the oil even heat from all sides, which produces a more consistent result than any stovetop shortcut.
Step 1: Wash and Dry the Pan Thoroughly
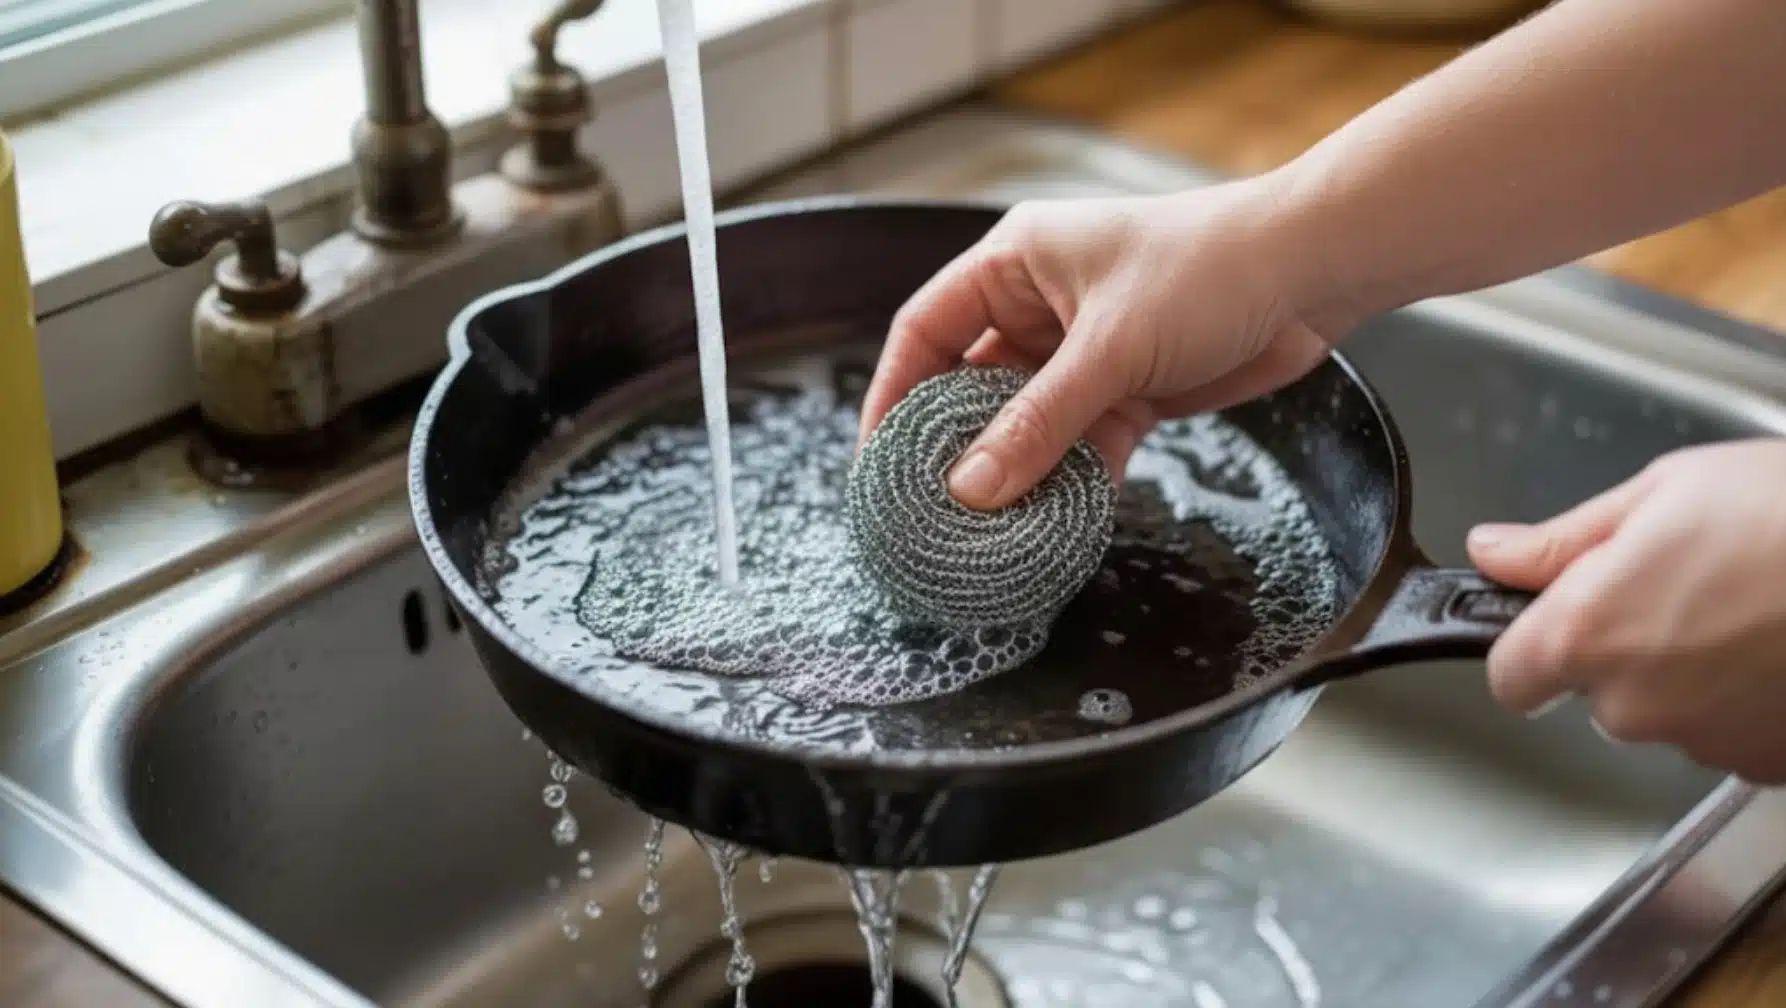
Start with warm water, a little dish soap, and steel wool if rust is present, and scrub until you hit clean metal. Dry with a towel, then set the pan on a burner for 2 to 3 minutes. Completely dry iron is non-negotiable before oil goes anywhere near the surface.
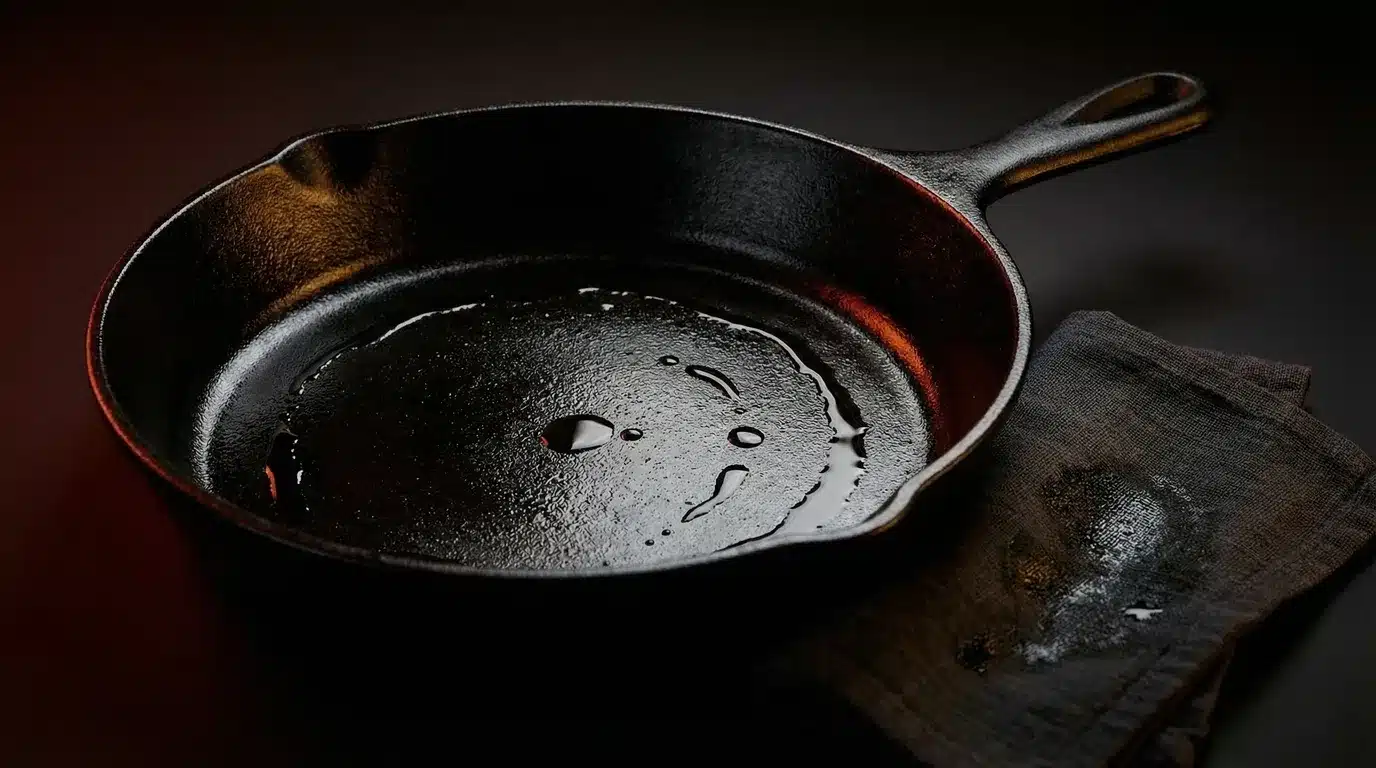
Step 2: Apply an Extremely Thin Layer of Oil
Use a high-smoke-point oil; grapeseed or canola work well, and they polymerize reliably without leaving residue. Skip flaxseed; it tends to flake over time. Rub oil across the entire pan, then wipe it almost completely off. If the surface looks wet, you have used too much.
Step 3: Bake the Pan Upside Down at 450–500°F
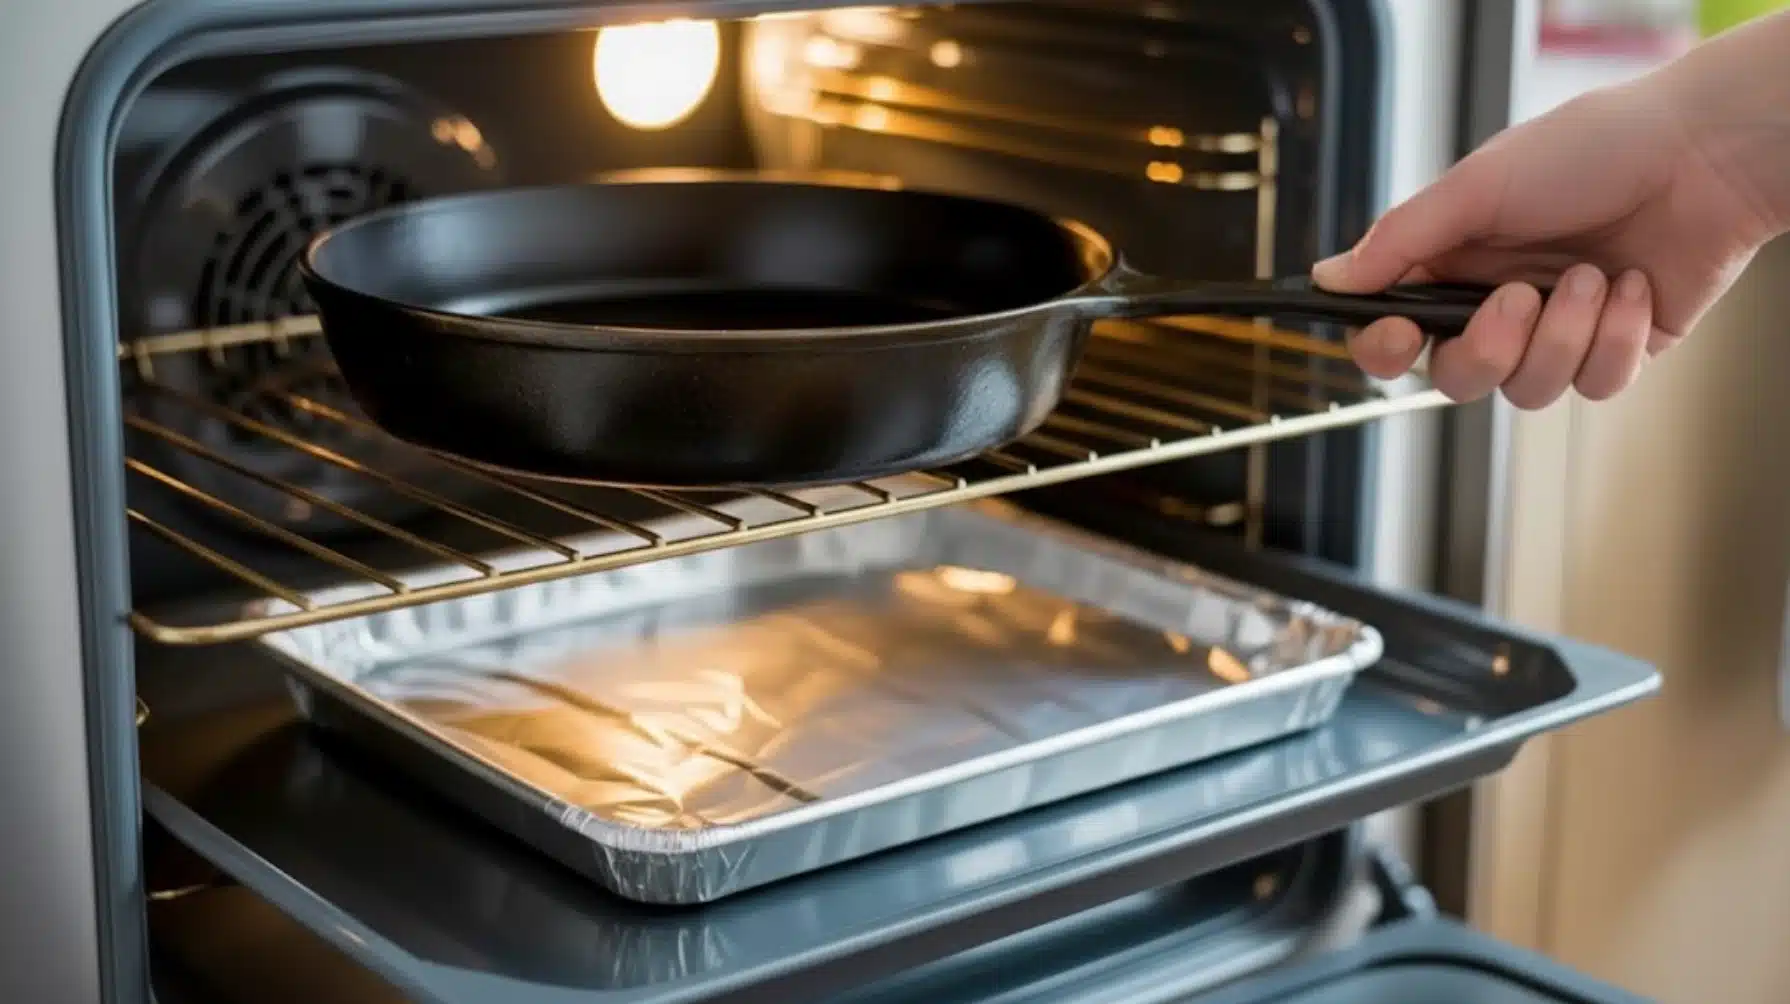
Flip the pan onto the top oven rack with a foil-lined sheet below to catch drips. Bake at 450–500°F for one hour; this temperature range fully bonds the oil to the iron. Let it cool completely inside the oven before handling to avoid stressing the fresh layer.
Step 4: Repeat the Process Two to Three Times
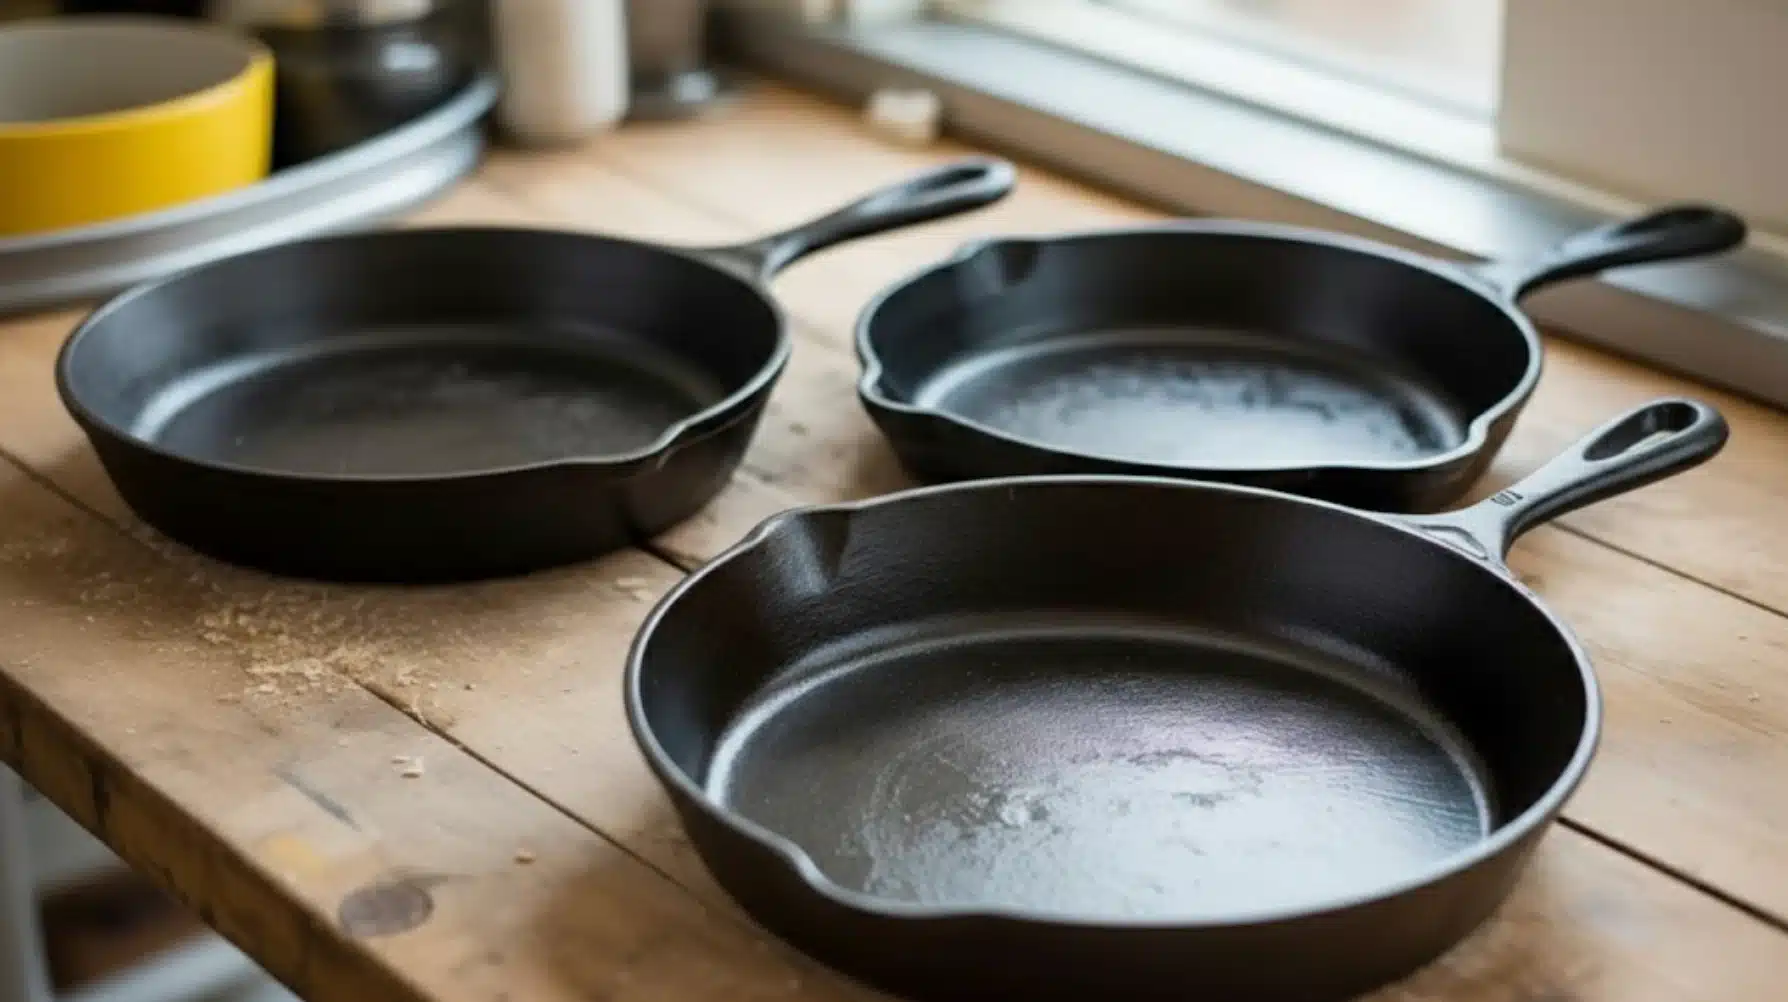
One cycle lays a foundation; two or three build a surface that genuinely performs. Each thin coat stacks on the last, producing a harder, darker, more durable seasoning over time. In my experience, a single weekend afternoon running through this sequence sets the pan up for months of solid use.
The Stovetop Method for Everyday Upkeep
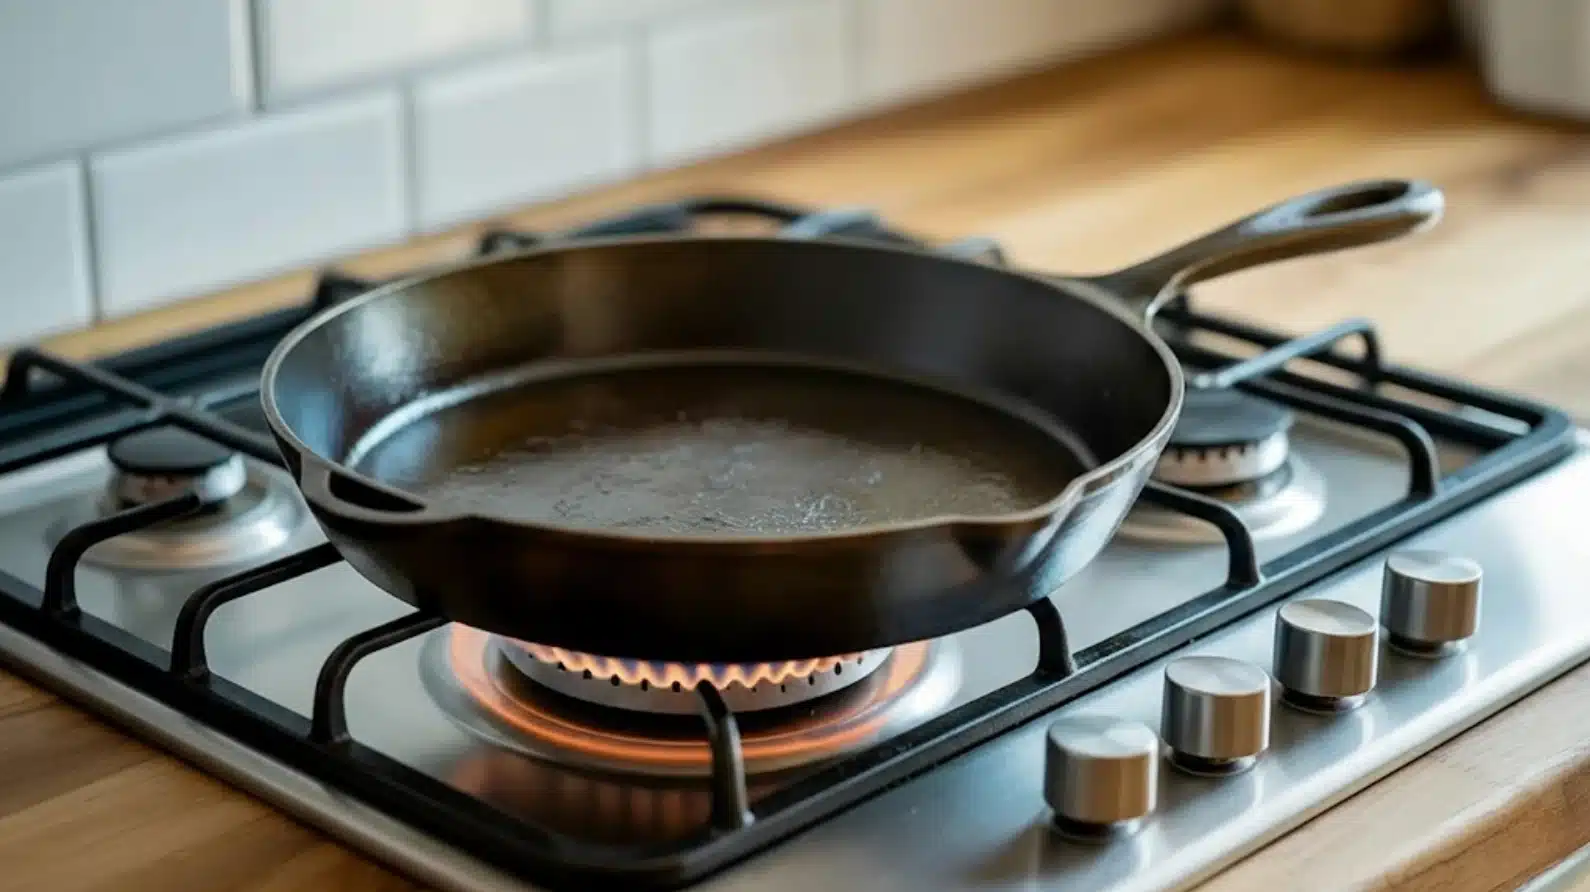
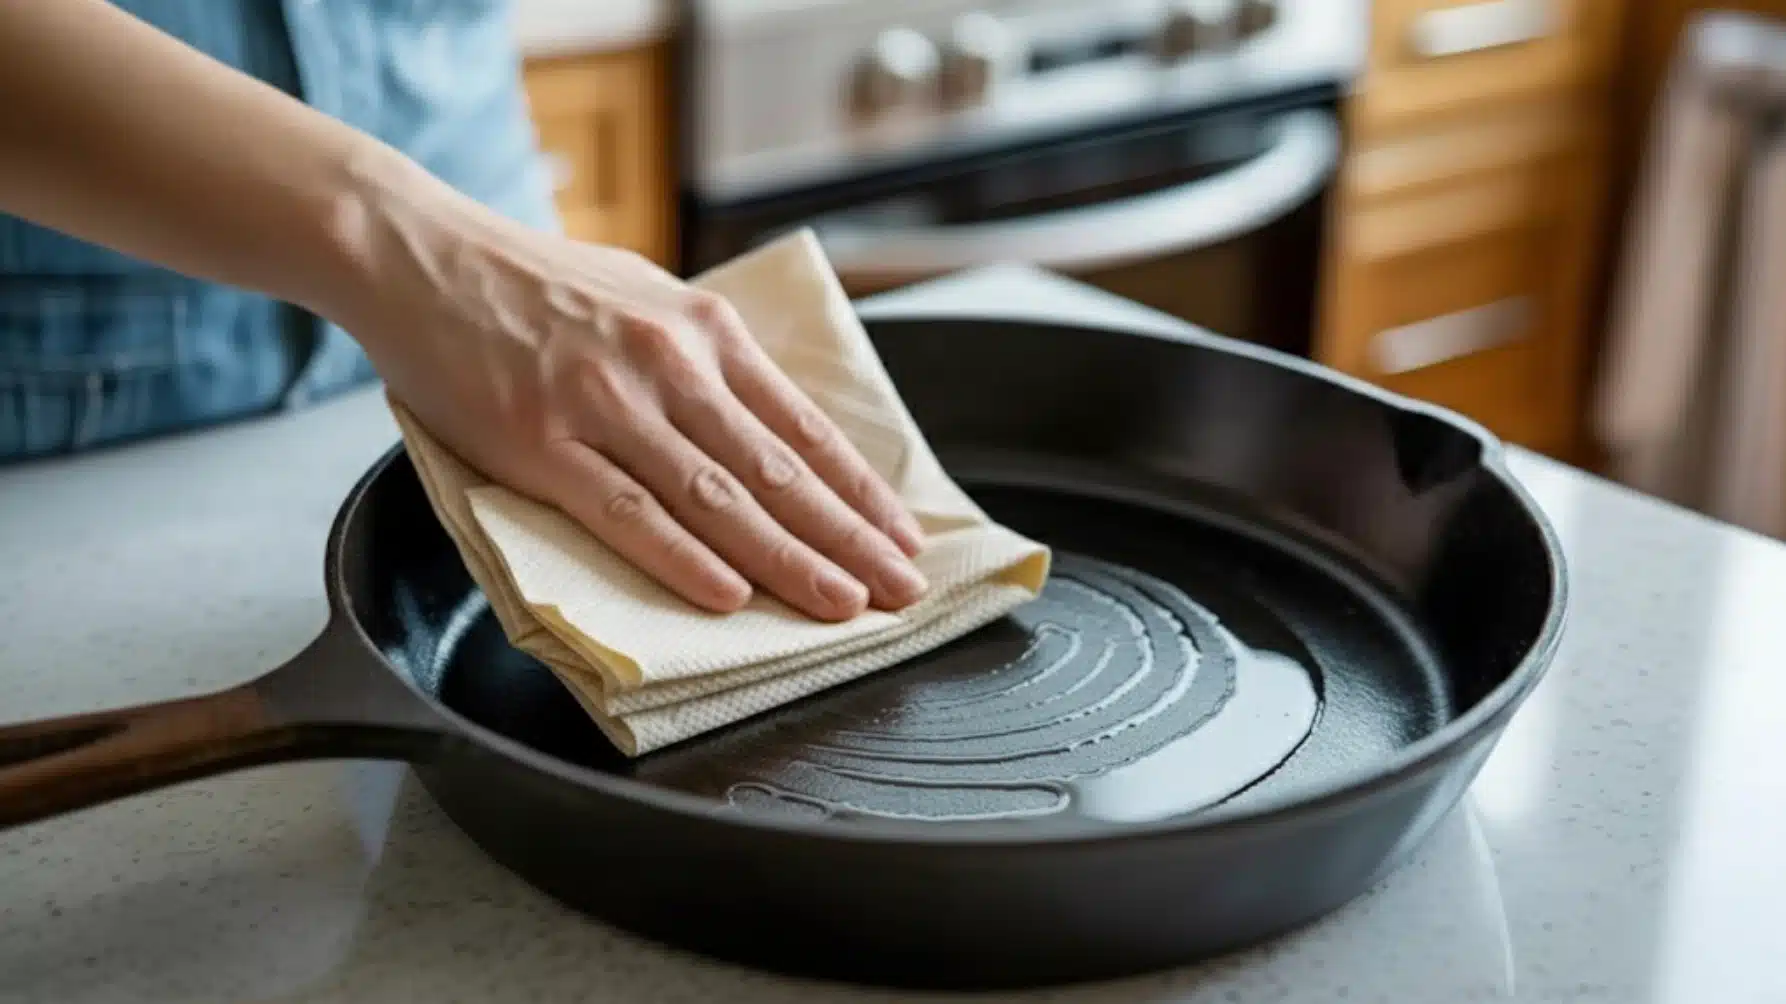
Once you make the stovetop method part of your after-cooking routine, you will rarely need to run a full oven conditioning cycle again. After washing and drying your pan on a live burner, apply a very small amount of oil to the warm surface and spread it evenly using a folded paper towel.
Heat the pan until the oil just reaches its smoke point, then switch off the burner. Follow that with a quick wipe using a dry towel to remove any excess. That is genuinely all it takes.
This simple, repeatable habit keeps your surface consistently conditioned without building up sticky residue. The more you commit to this process after each cook, the better your pan responds, growing darker, slicker, and more reliable with every single use.
Long-Term Care That Actually Works
Keeping cast iron in peak condition requires very little effort. A few consistent habits practiced after every cook will ensure your pan performs better with age and rarely needs serious attention. Here are few tips:
| Habit | How to Do It | Why It Matters |
| Clean while warm | Rinse or scrub soon after cooking | Residue lifts easily before it sets |
| Dry on the stove | Heat the pan on low until all moisture evaporates | Prevents rust from forming |
| Oil before storing | Wipe a thin layer of oil on dull surfaces | Protects the seasoning between uses |
| Cook with fat regularly | Use butter, oil, or animal fats | Builds and strengthens seasoning over time |
| Use it often | Cook with it as much as possible | Frequent use makes the surface darker and smoother |
Cast iron rewards regular use above all else. The more you cook with it, the better it performs. Keep it dry, lightly oiled, and on the stovetop often; that is all it takes.
Common Mistakes That Throw Off Your Setup
Most cast iron problems trace back to the same handful of errors, and the frustrating part is that they are all easy to avoid once you know what to look for. These are worth knowing before they cost you a good pan:
- Measuring from the wrong edge: Back edge to back edge cuts 4 feet off the playing distance. Always start at the front lip.
- Measuring hole to hole: The hole is 9 inches from the top, so this measurement falls short of the correct 27-foot spacing.
- Skipping the ground check: Sloped or uneven ground changes how bags behave on the board surface.
- Misaligning the boards: Boards angled toward each other create an uneven throwing lane. Sight down both boards before finalizing placement.
- Forgetting the foul line: Stepping past it during a throw affects the release point and fairness across a full game.
Fix these before the first toss, and the rest of the game takes care of itself. Most of these mistakes take under a minute to avoid; the payoff is a setup that actually holds up through a full game.
Final Thoughts
Knowing how to season cast iron properly is one of those kitchen skills that genuinely pays off for years. My most-used skillet is proof of that.
What started as a bare, unreliable pan is now one of the most dependable pieces of cookware I own, and I barely think about maintaining it anymore.
The method is not complicated once you commit to it. Thin oil, high heat, and consistent after-cook habits are all it takes to season cast iron and keep it performing at its best.
Get the process right once, and your pan rewards that effort every single time you cook with it. If you have any other questions about kitchenware, drop a comment below.