
If you’ve ever thought about how to oil wooden cutting board the right way, you’re in the right place. I made the mistake of ignoring my cutting board for months, and it ended up looking dry, dull, and cracked.
Not a great look, or a safe one. The good news? Oiling a wooden cutting board is one of the easiest things you can do to keep it in great shape for years.
I’ll walk you through everything you need to know, what oil to use, what to avoid, how to do it step by step, and how often to do it. If your board is brand-new or in need of serious TLC, I’ve got you covered.
Why You Need to Oil Your Wooden Cutting Board
To oil a wooden cutting board, clean and dry it completely, apply food-grade mineral oil generously to all surfaces, let it soak overnight, then wipe off excess oil. Repeat monthly or whenever the board looks dry to prevent cracking and warping.
Oiling your wooden cutting board is not just about looks. It protects the wood from drying out and cracking. When you skip oiling, the board can absorb water from washing and food prep.
Over time, this can cause warping, splitting, and even deep cracks. Dry wood can also trap moisture, which may allow bacteria to grow inside tiny cuts in the surface.
When you oil your board regularly, you create a protective barrier that keeps moisture out and helps it last for years.
A simple way to check if it needs oil is the “water bead test.” Sprinkle a few drops of water on the surface. If the water soaks in quickly, it’s time to oil.
What Oil Should You Use on a Wooden Cutting Board
Not all oils are safe for cutting boards. Picking the right one protects your board and your food; the wrong one can cause real problems.
| Category | Oil Name(s) | Reason |
|---|---|---|
| Best Options | Food-grade mineral oil | Easily absorbs into wood and protects from moisture. |
| Beeswax-based board cream | Seals the surface and adds a subtle shine. | |
| Refined coconut oil | Food-safe and stable; avoid unrefined versions. | |
| Oils to Avoid | Olive oil, vegetable oil, canola oil | Can go rancid, leaving unpleasant odors. |
| Tung oil, linseed oil | Not food-safe in raw form and unsafe for cutting boards. |
When in doubt, stick with food-grade mineral oil. It’s affordable, widely available, and the safest choice for keeping your cutting board in great shape.
Step by Step: How to Oil Wooden Cutting Board
Oiling your cutting board is easier than you think. Follow these simple steps, and your board will look and feel brand new again.
What You’ll Need
Here are the simple supplies I use to oil my wooden cutting board at home.
- Food-grade mineral oil
- Beeswax-based board cream
- Clean soft cloth or paper towels
- Mild dish soap and warm water
Board size: Works for any size wooden or bamboo cutting board
Time needed: About 2 minutes of active prep + 6–8 hours soaking time (overnight is best)
Step 1: Clean and Dry the Board Thoroughly
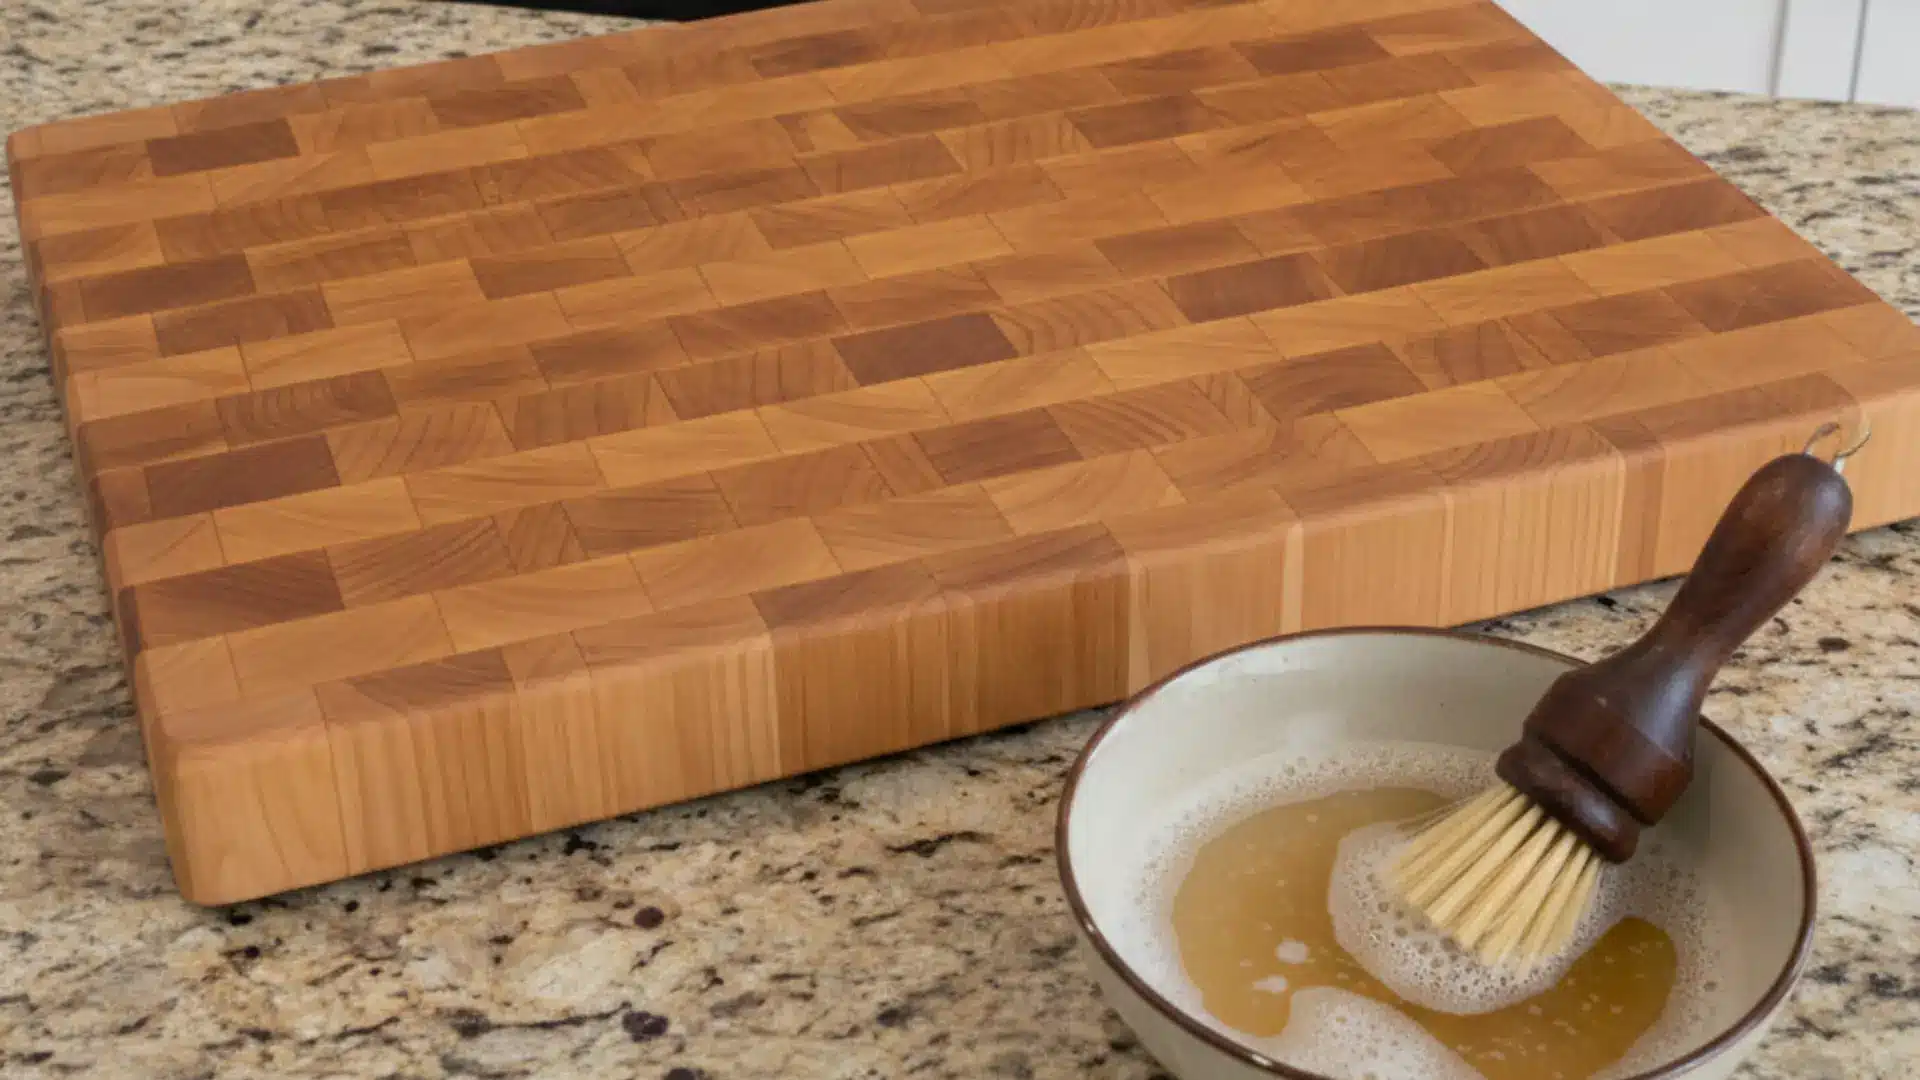
Start with a clean, completely dry board. Wash it with warm, soapy water and a stiff brush. Rinse well, then let it air dry for at least a few hours or overnight.
Applying oil to a damp board traps moisture inside the wood, which can lead to warping and cracking. Never skip this step.
Step 2: Apply Oil Generously to All Surfaces
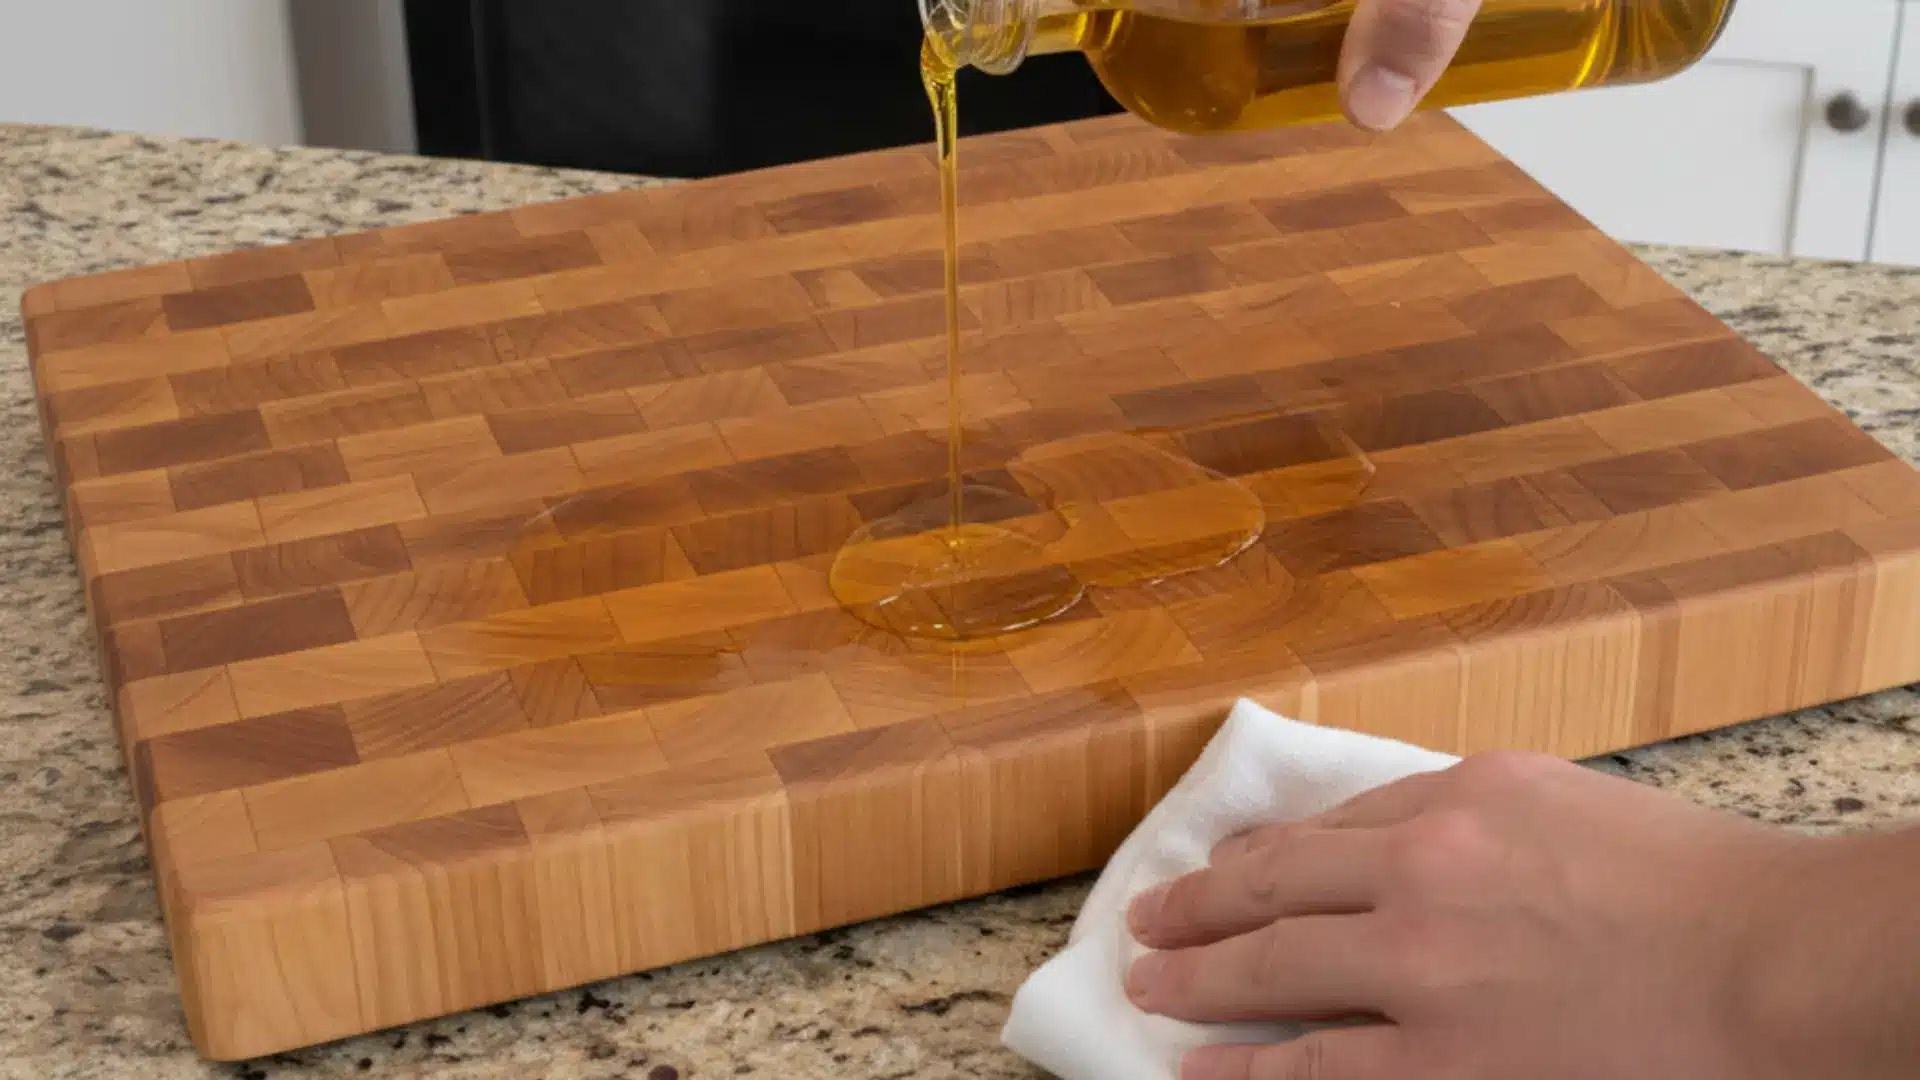
Pour a generous amount of mineral oil onto the board. Using a soft cloth or paper towel, rub it into the surface using circular motions.
Don’t just do the top, cover the bottom, all four edges, and any grooves or handles too. Every part of the wood needs protection, not just the cutting side.
Step 3: Let It Soak In (Timing Matters)
Once you’ve applied the oil, let it sit for at least a few hours. Overnight is even better. This gives the wood time to fully absorb the oil and lock in that moisture.
Rushing this step means the oil just sits on the surface instead of doing its job deep inside the wood fibres.
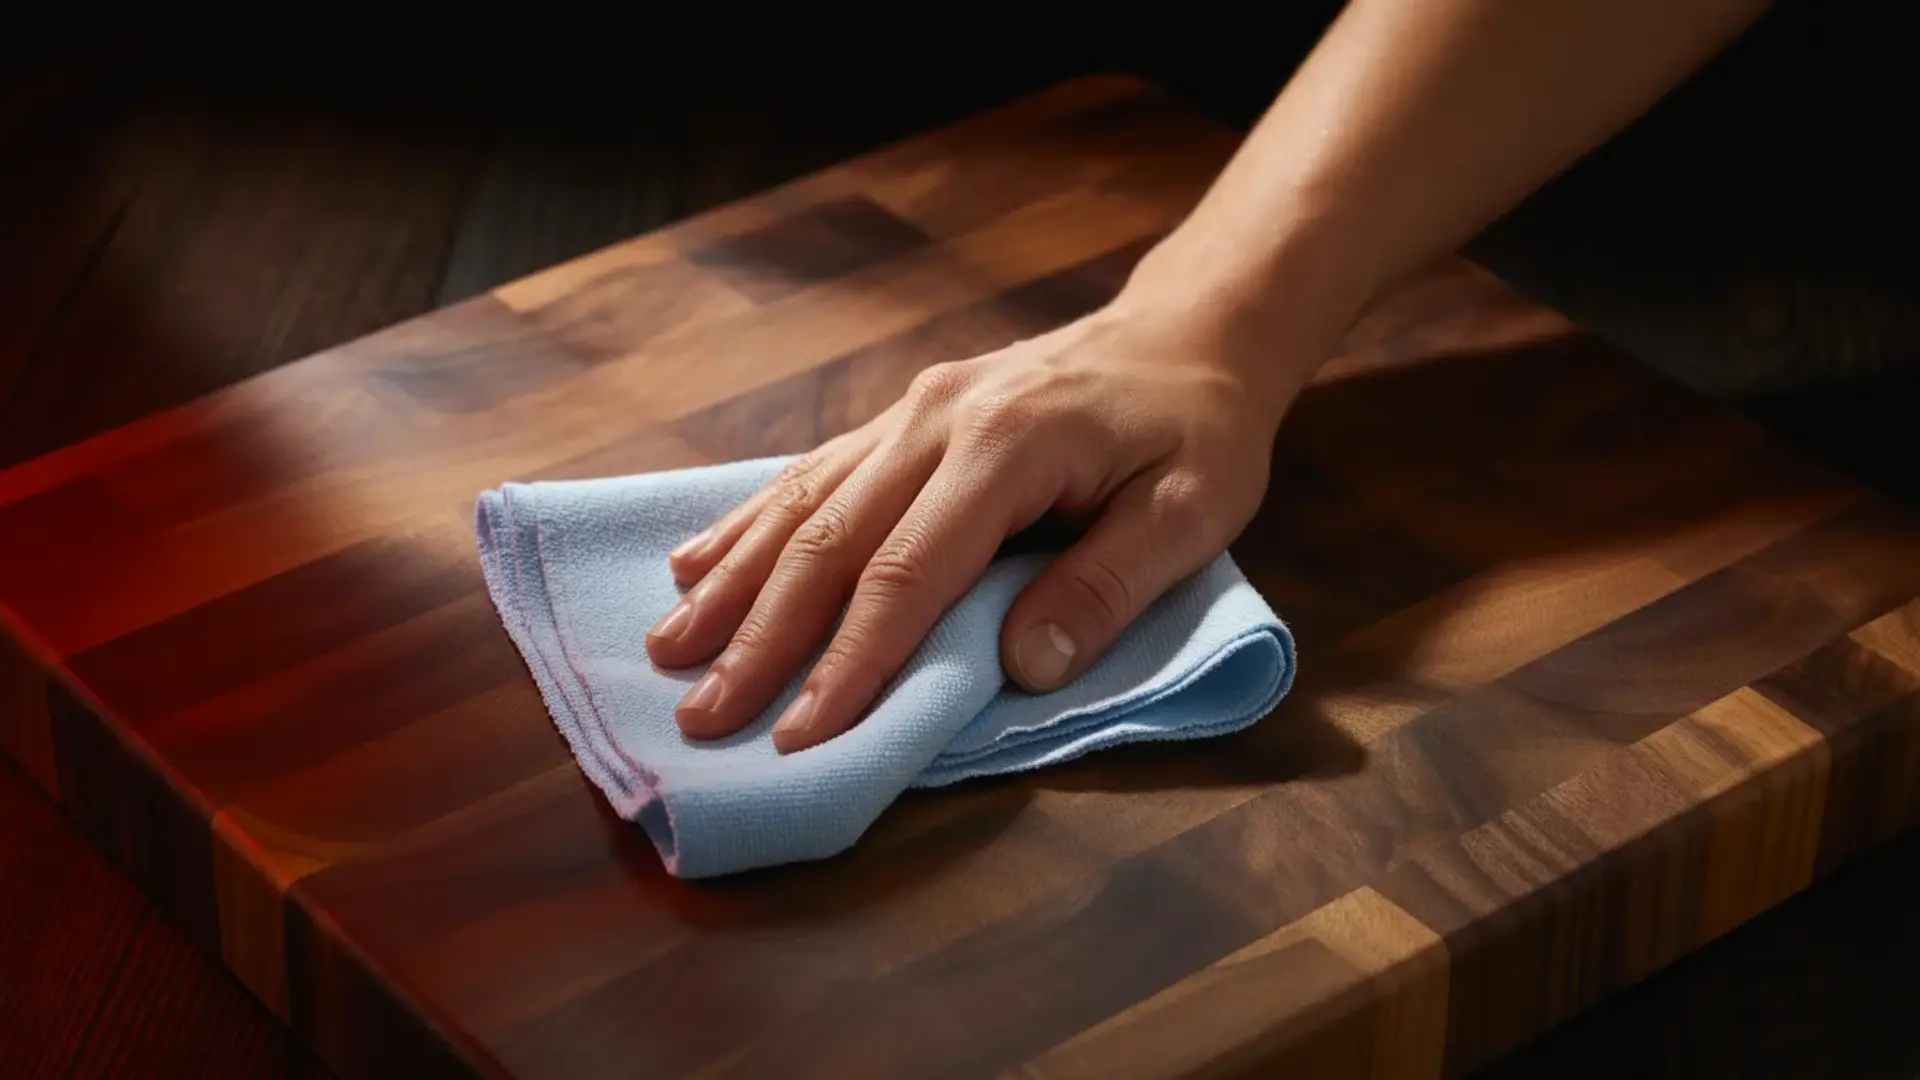
Step 4: Wipe Off Excess Oil
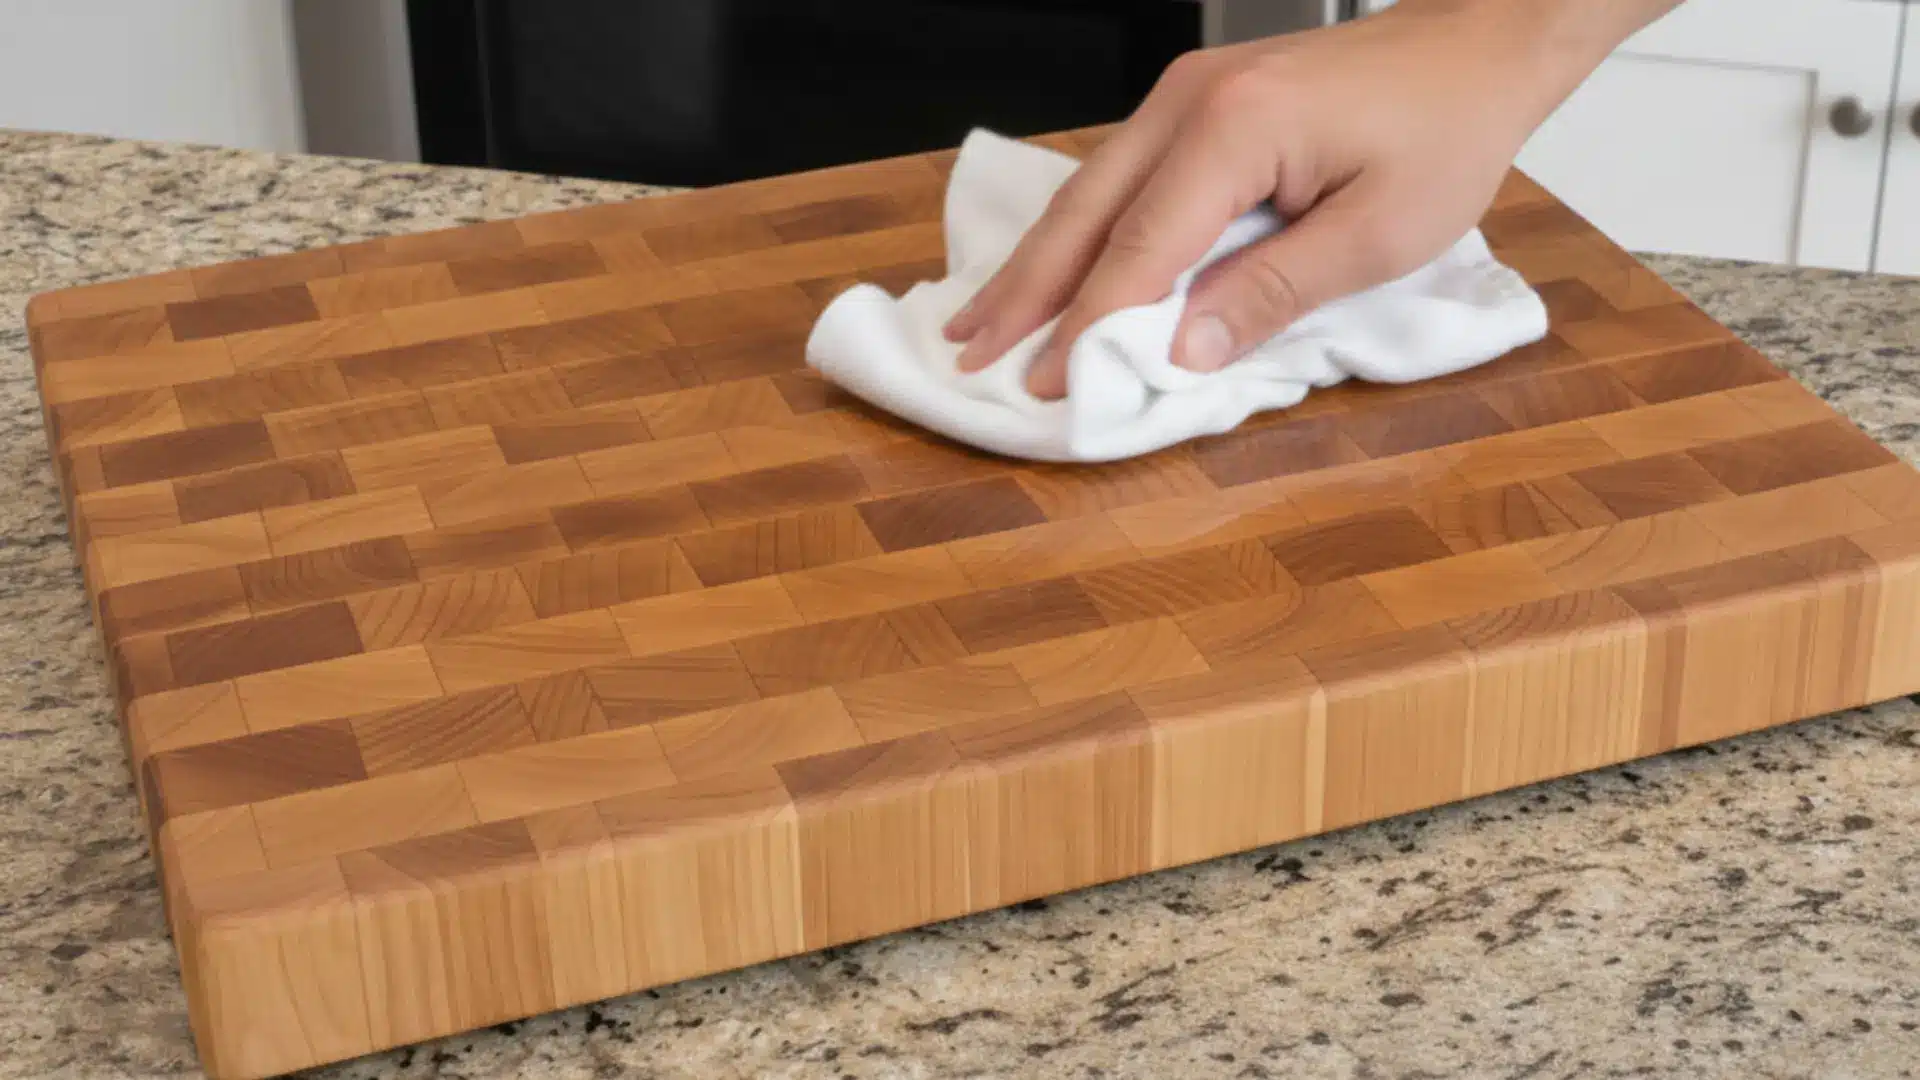
After the oil has soaked in, use a clean, dry cloth to buff off any remaining oil on the surface. Your board should feel smooth and slightly tacky, not slippery or greasy.
If it still looks wet, give it a little more time before wiping. A clean finish means it’s ready to use.
Step 5: Apply a Beeswax Cream for Extra Protection (Optional)
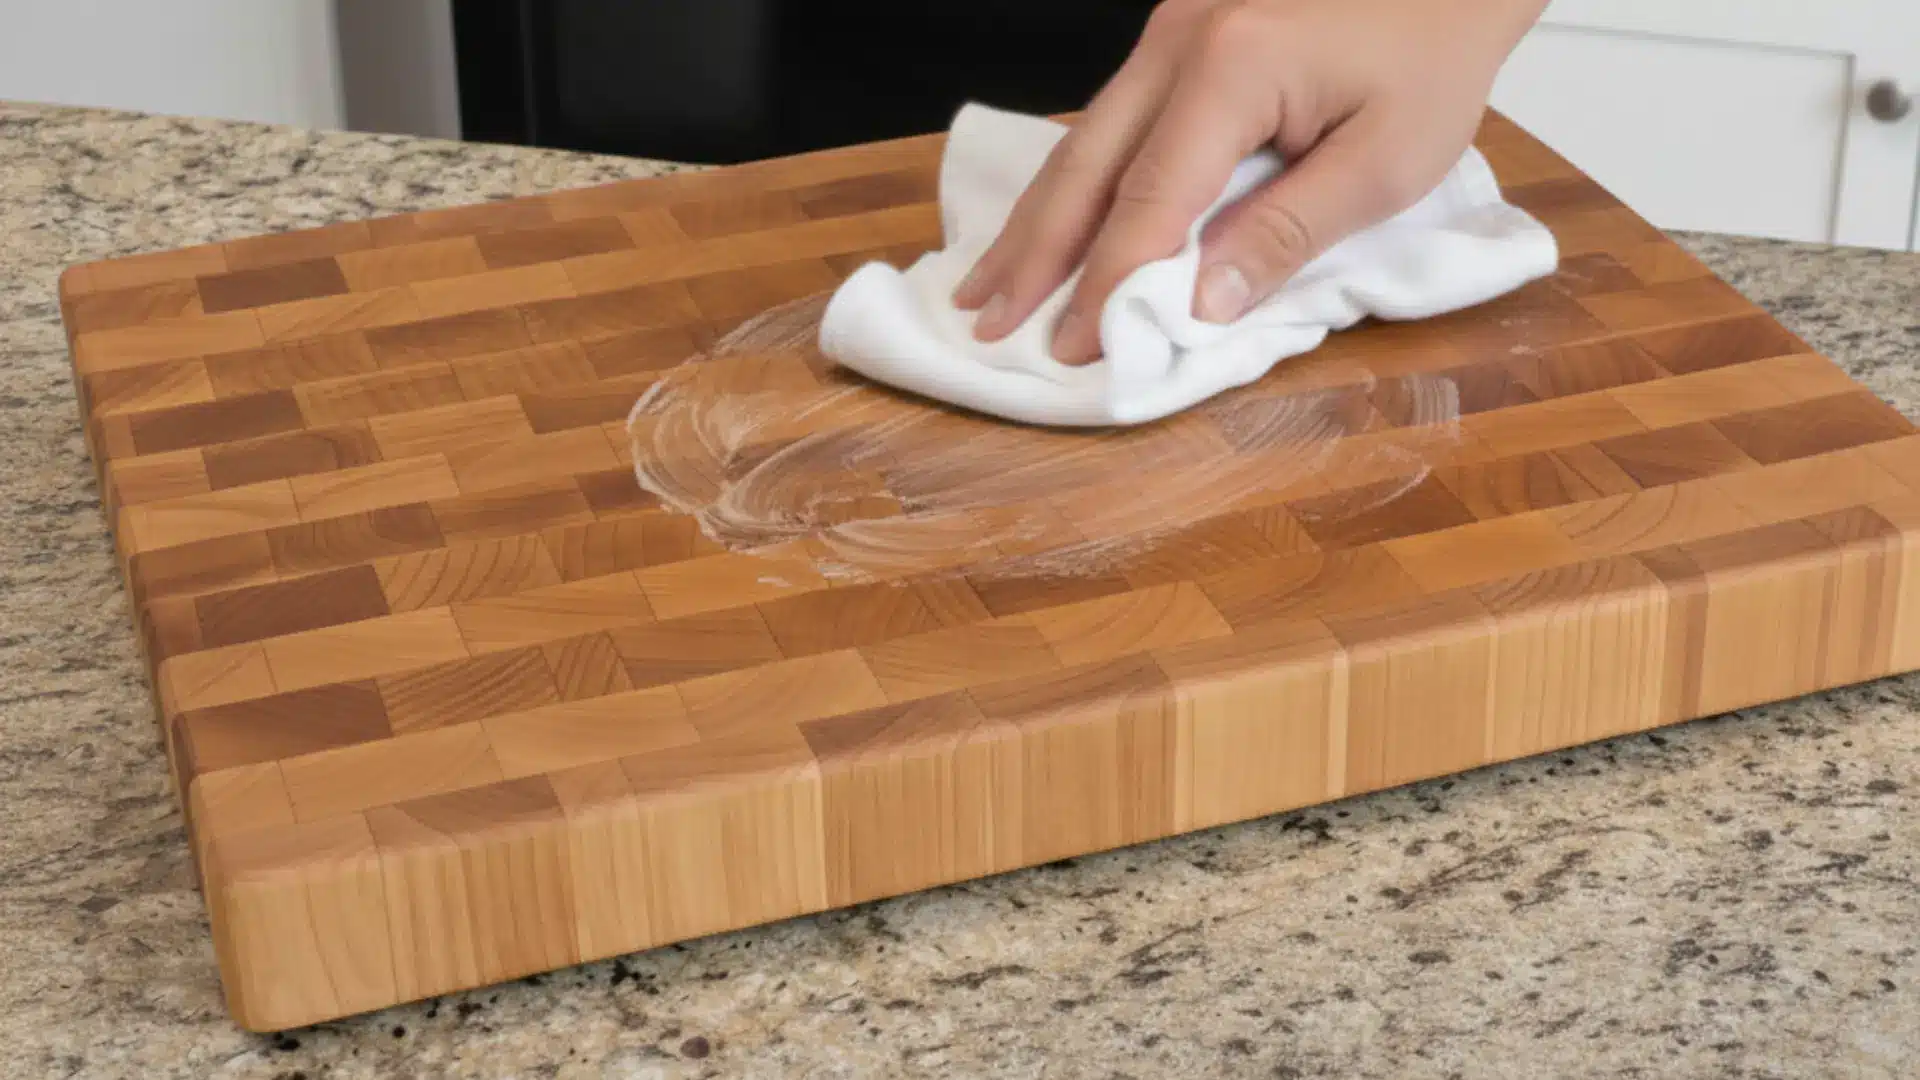
For an added layer of protection, rub a small amount of beeswax-based board cream over the surface after the mineral oil has soaked in.
The beeswax seals the wood and gives it a beautiful, subtle shine. This step is optional but highly recommended, especially for boards that see heavy daily use.
Step 6: Stand the Board on Its Side to Dry
Never lay the board flat to dry after oiling. Standing it upright or on its side allows air to circulate evenly around all surfaces.
This prevents one side from drying faster than the other, which is a common cause of warping. Give it a few hours before putting it back in use.
Note: When oiling a new cutting board, apply 2–3 coats, letting each coat soak in completely. For regular care, oil your board once a month or whenever it looks dry.
Follow these six steps once a month, and your wooden cutting board will stay smooth, protected, and ready for every meal you make.
Wooden Cutting Board Oiling Schedule Guide
| Usage Level | How Often to Oil | Why | Extra Tip |
|---|---|---|---|
| Light use (1–2 times per week) | Every 4–6 weeks | Minimal washing and moisture exposure | Do the water bead test monthly |
| Moderate use (3–5 times per week) | Every 3–4 weeks | Frequent washing dries out the wood | Apply oil overnight for deeper absorption |
| Heavy use (Daily cooking) | Every 2–3 weeks | Constant washing strips protective oils faster | Consider using beeswax cream after oiling |
| Brand-new board | 2–3 coats in first week | Wood is dry and absorbs oil quickly at first | Let each coat soak fully before reapplying |
| After deep cleaning or sanitizing | Immediately after drying | Cleaning removes natural protection | Never oil a damp board |
How to Deep Clean Your Board Before Oiling
Before you oil your wooden cutting board, clean it thoroughly to remove food residue, stains, and bacteria. Here’s how to do it safely:
- Salt-and-lemon scrub method: Sprinkle coarse salt on the board, then rub it with half a lemon. This naturally lifts stains, removes odors, and lightly exfoliates the wood.
- Vinegar or hydrogen peroxide for sanitizing: Wipe the surface with white vinegar or a diluted hydrogen peroxide solution to kill bacteria without harming the wood.
- Never soak or use a dishwasher: Submerging the board in water or putting it in a dishwasher can cause it to warp, crack, or split, shortening its lifespan.
Deep cleaning your board before oiling keeps it safe, fresh, and long-lasting, ensuring the wood absorbs oil properly and stays strong for years.
Signs Your Cutting Board Needs Oil
Knowing the signs your cutting board needs oil helps keep it smooth, safe, and long-lasting with minimal effort.
| Sign | Description |
|---|---|
| Lighter color than usual | The wood looks faded or dull compared to normal. |
| Rough texture | The surface feels uneven or dry to the touch. |
| Dry edges | The sides or corners appear dry or brittle. |
| Small surface cracks | Tiny splits or cracks are visible on the board. |
| Water absorbs instantly | Water no longer beads; it soaks into the wood immediately. |
Spotting these signs early ensures timely oiling, keeping your cutting board protected, smooth, and safe for years of use.
Common Mistakes to Avoid When Oiling a Cutting Board
Avoiding common mistakes keeps your board safe, smooth, and long-lasting. Small errors can lead to cracking, warping, or rancid smells over time.
- Using rancid-prone oils: Oils like olive or vegetable can go bad and leave odors.
- Not covering edges and bottom: Skipping these areas can cause warping or uneven absorption.
- Not letting the oil soak long enough: The surface may stay dry and unprotected.
- Oiling a wet board: Traps moisture and encourages cracking or bacterial growth.
By avoiding these mistakes, you ensure your cutting board stays healthy, safe, and beautiful, giving you a long-lasting surface for all your cooking.
Final Thoughts
Taking care of your wooden cutting board doesn’t have to feel like a chore. Learning how to oil wooden cutting board properly only takes a few minutes, and the results are worth it.
A well-oiled board stays smooth, resists bacteria, and looks beautiful on your counter, making prep safer and more enjoyable.
Just remember: use food-grade mineral oil, cover all edges, and let the oil soak in fully before wiping off the excess. Do this once a month, and your board will stay strong and long-lasting.
Ready to give your cutting board some love? Comment down below if you’ve tried oiling your board or have any tips to share!
Frequently Asked Questions
Can You Over-Oil a Wooden Cutting Board?
Yes, you can over-oil a cutting board if you apply too much too often without wiping off the excess. The wood can only absorb a certain amount. If oil sits on the surface, it may feel sticky or greasy. Always wipe off excess oil after soaking, and follow a monthly schedule instead of oiling weekly without need.
Should You Oil Both Sides of a Wooden Cutting Board?
Yes, you should always oil both sides and all edges. Oiling only the top can cause uneven moisture absorption, which may lead to warping over time. Treating the entire board evenly helps it stay balanced, stable, and protected from cracking or bending.
How Long Should Mineral Oil Sit on a Cutting Board?
Mineral oil should sit for at least a few hours, but overnight is best for deep absorption. The longer it sits, the more thoroughly the wood absorbs it. If the board still looks dry after soaking, you can apply another light coat the next day.
Can You Use Coconut Oil on a Wooden Cutting Board?
Only refined coconut oil is safe to use because it is more stable and less likely to go rancid. Unrefined coconut oil can spoil over time and create odors. However, food-grade mineral oil remains the safest and most widely recommended option for long-term care.