


Call me crazy, but 3-ingredient peanut butter cookies without eggs hit a hundred times better than traditional cookie recipes ever did. It’s simpler, quicker, and more forgiving, and it fills your kitchen with that warm peanut butter aroma like no complicated recipe can.
And honestly, I always hesitate when it comes to buying store-bought cookies or trying overly complex recipes, anyway, because no matter how many five-star reviews they have, I always wonder whether they’ll actually turn out right in my kitchen. Which is why I make my own from scratch at home.
At home, I can control the sweetness level while making it, and if something goes wrong, at least I didn’t waste two hours and a dozen ingredients on it.
If you’re as picky about your cookies as I am, this blog is for you. I’ll walk you through what ingredients you need, a step-by-step guide, and other additions for a diet-based cookie recipe.
Why These Cookies Changed My Baking Game
Let me be real with you. When I first heard about 3-ingredient cookies, I thought it was one of those internet hoaxes. Like, how can you possibly make actual cookies with just three things? But desperation hits different when you’re craving something sweet at 9 PM, and your pantry looks like a desert.
So I tried it. And these cookies are legit. No fancy equipment, no standing mixer, no egg substitutes that cost more than actual eggs. Just peanut butter, sugar, and a tiny bit of flour.
The peanut butter acts as your binder, your fat, and your flavor all in one. These aren’t your average peanut butter cookies either. They’re soft in the middle with slightly crispy edges that give you that perfect texture contrast.
The peanut butter flavor is intense and rich, not watered down by a million other ingredients. Because there’s no egg, they have this almost fudgy quality that makes them incredibly satisfying. Plus, they’re naturally egg-free, which means anyone with an egg allergy can enjoy them.
With a couple of simple swaps, they become vegan or keto-friendly without losing any deliciousness.
Ingredients for 3-Ingredient Peanut Butter Cookies
This recipe couldn’t be simpler. You only need three basic ingredients that you probably already have in your pantry, plus a couple of optional additions if you want to enhance the flavor even more.
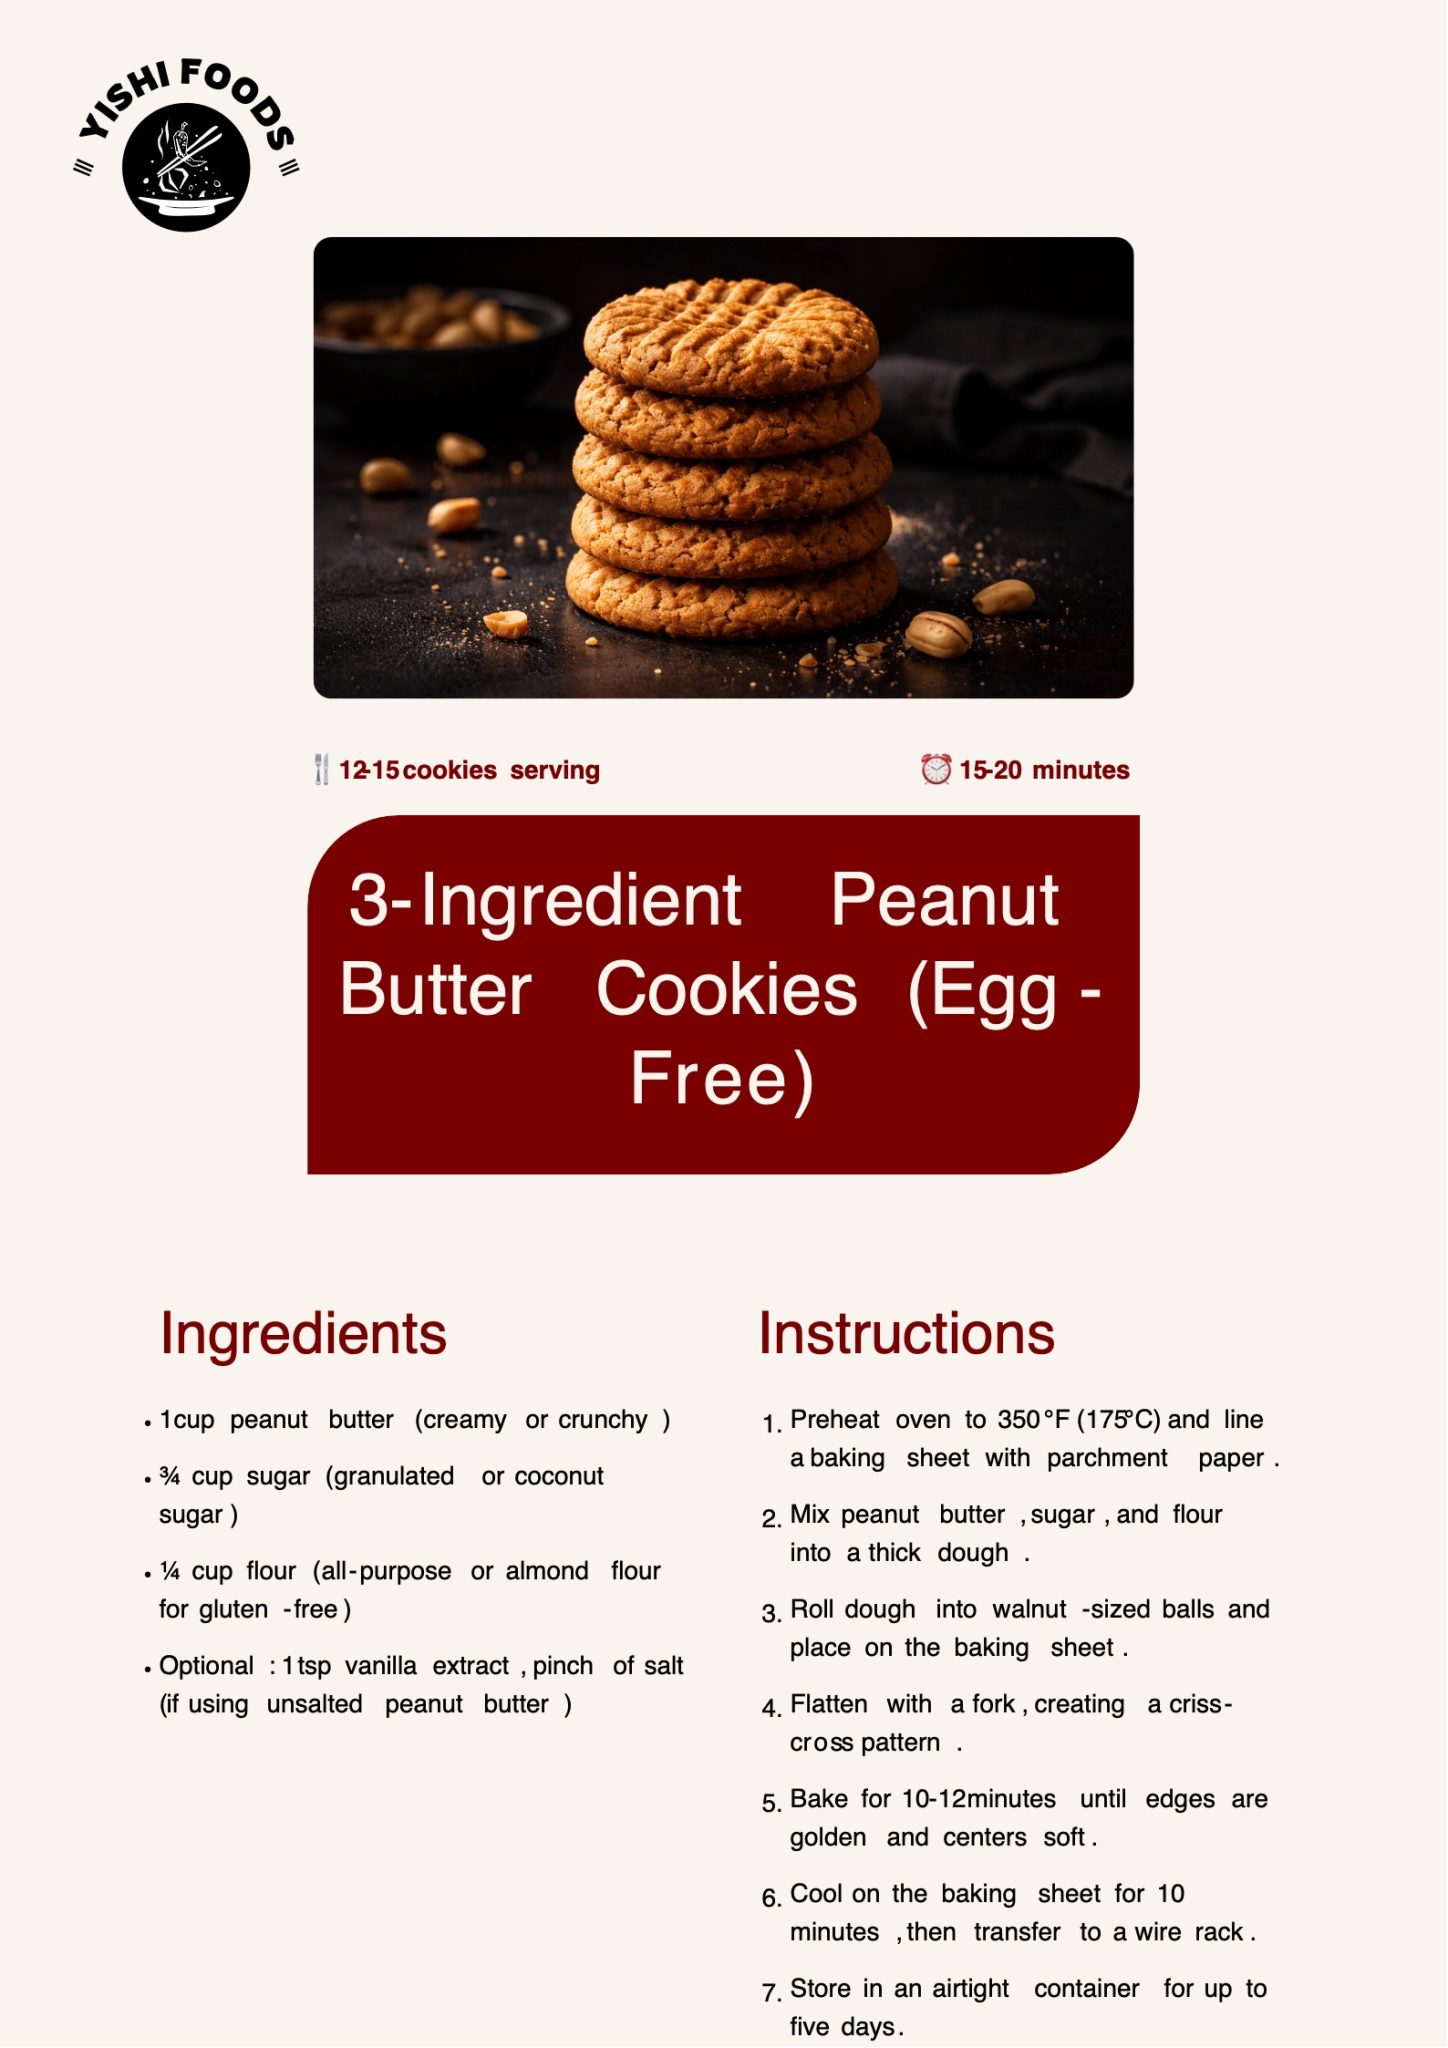
- 1 cup peanut butter (creamy or crunchy)
- ¾ cup sugar (granulated or coconut sugar)
- ¼ cup flour (all-purpose or almond flour for gluten-free)
- Optional: 1 tsp vanilla extract, pinch of salt (if using unsalted peanut butter)
That’s it. No eggs, no butter, no baking soda. The peanut butter binds everything together naturally, creating a cookie that’s chewy on the inside and slightly crisp on the edges. Simple ingredients, incredible results every single time.
How to Make These Cookies
Now let’s get into the actual baking process. I’ll walk you through these seven steps exactly how I make them, and by the end, you’ll have perfectly chewy cookies that’ll disappear faster than you can make them.
This recipe yields about 12 to 15 cookies, which is enough to serve 4 to 6 people, or just me over a couple of days.
Step 1: Preheat and Prep
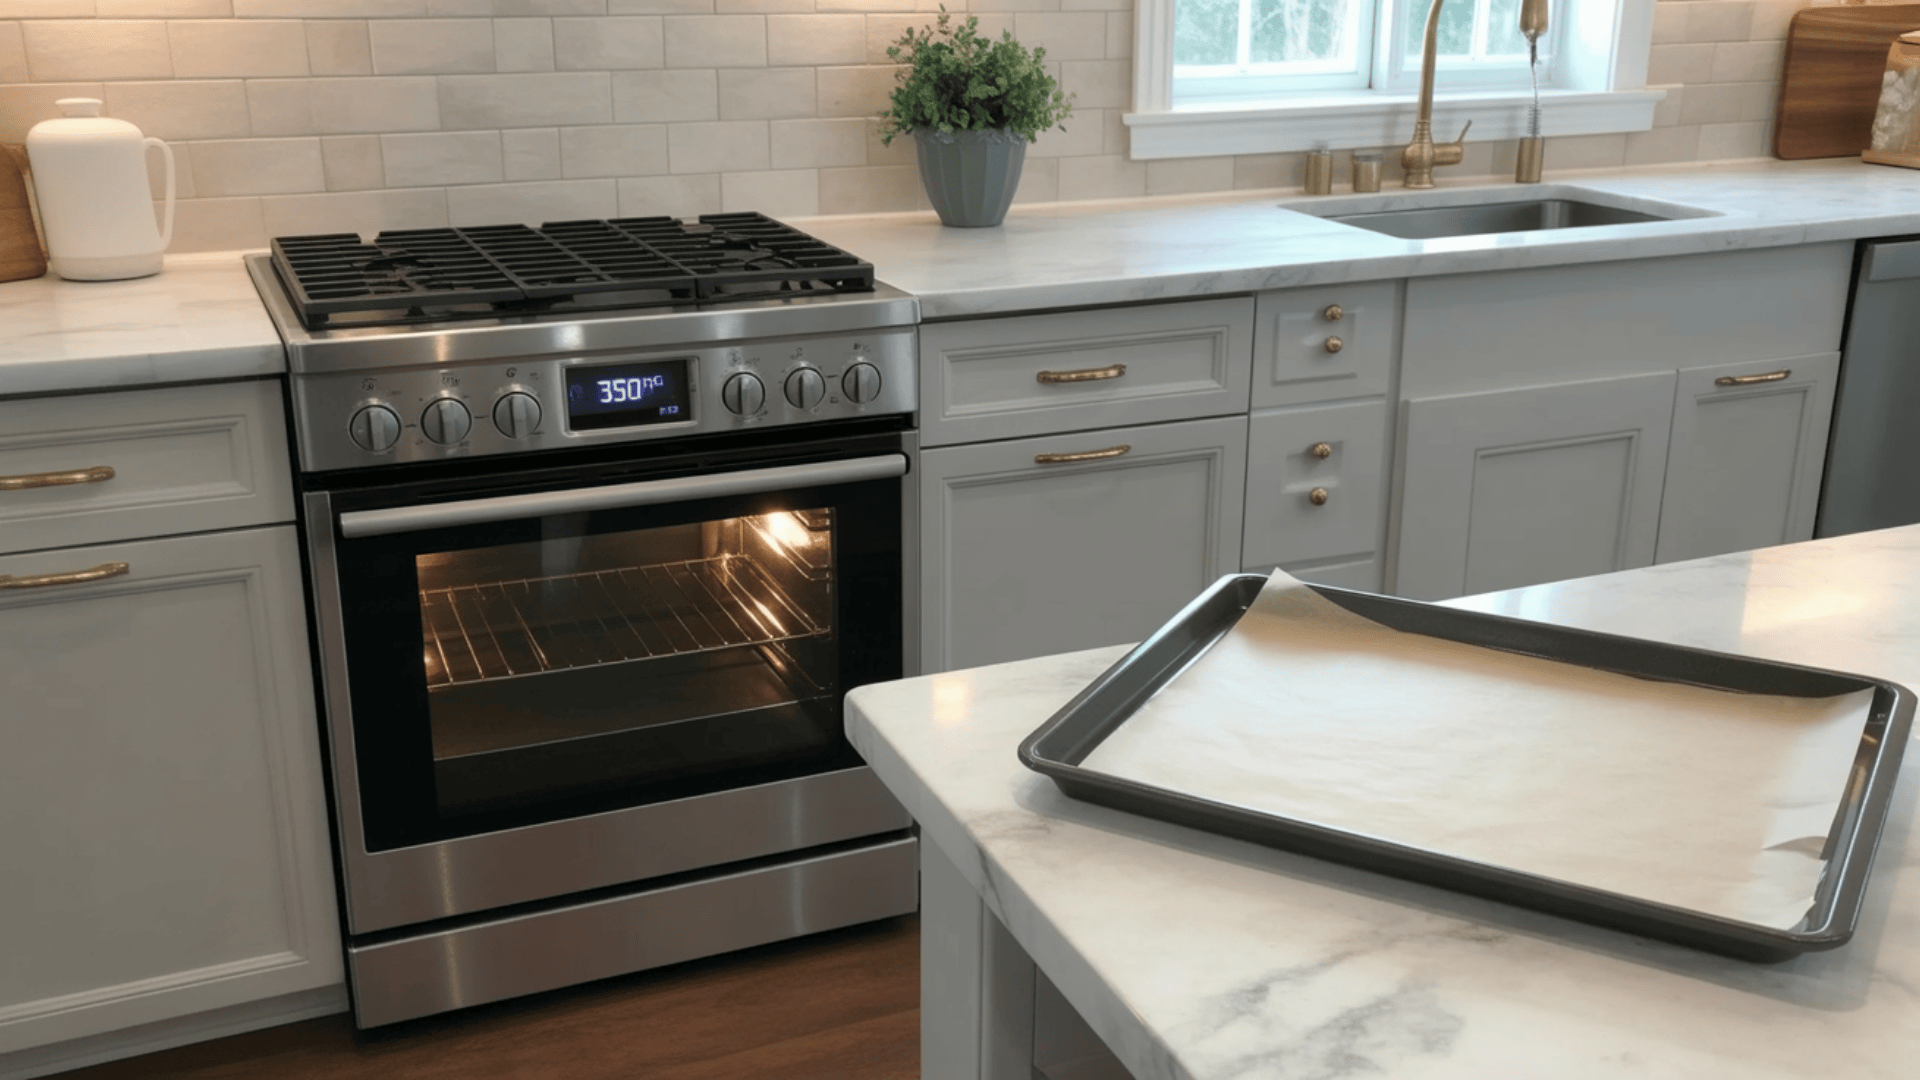
First thing I do is crank my oven to 350°F and line a baking sheet with parchment paper.
I’m telling you right now, I never skip the parchment paper anymore. I learned this the hard way when I had cookies glued to my pan like cement.
This prep work might feel unnecessary, but it’s the difference between cookies that slide right off and those that stick to the pan, requiring ten minutes of scraping with a spatula. I get this foundation right first, and everything else falls into place.
Pro Tip: I always preheat my oven fully before baking. I use an oven thermometer because mine runs 25 degrees cooler than the display shows.
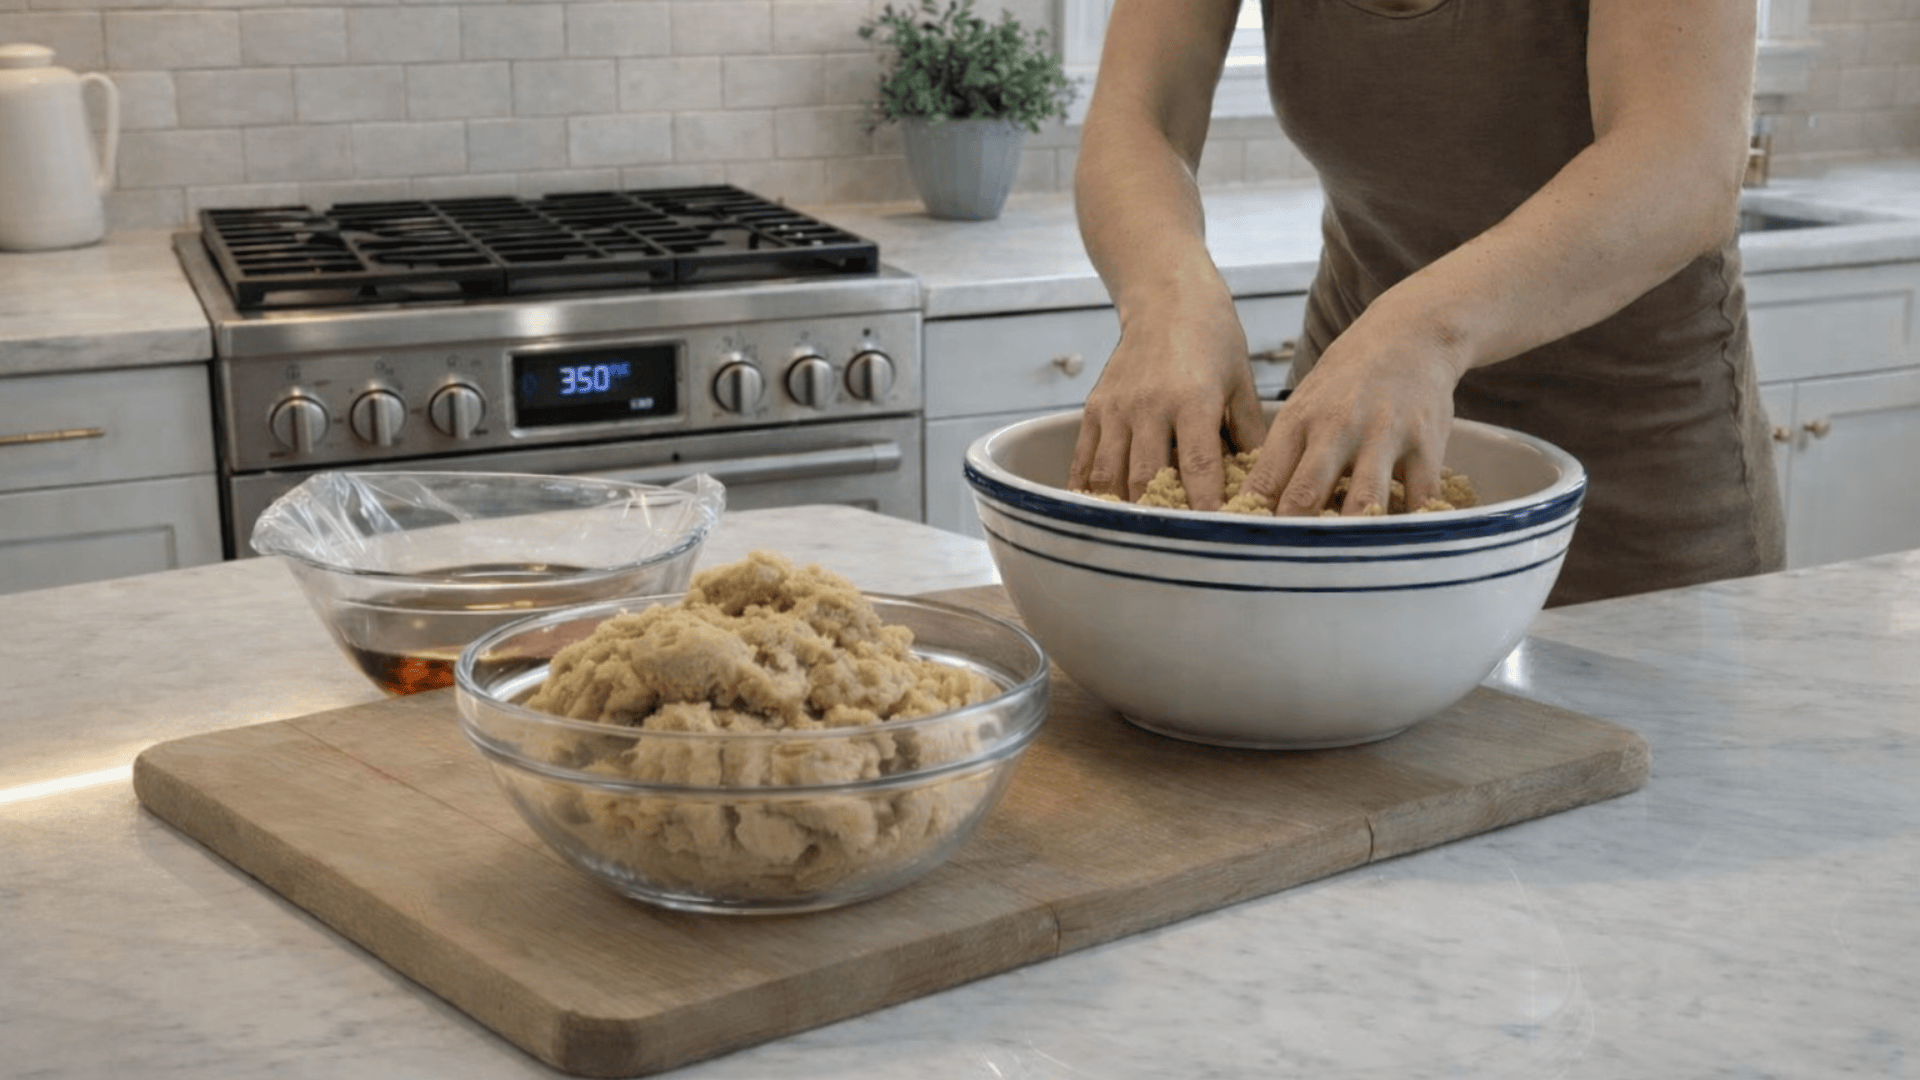
Step 2: Mix the Dough

Now I grab my mixing bowl and dump in the peanut butter, sugar, and flour. I mix everything together with a spoon, or just dive in with my hands, until it forms a thick, Play-Doh-like dough.
It takes me maybe two minutes max. I don’t overthink this step; I’m not making a soufflé, and the ingredients actually want to come together. I just keep mixing until I don’t see any dry patches.
Between you and me, I always use my hands because I can feel exactly when the texture is right.
Pro Tip: If my dough feels too sticky, I wet my hands before mixing or rolling. This trick prevents dough from sticking under my fingernails.
Step 3: Adjust Consistency if Needed
If my dough feels too crumbly, I add a tiny splash of water or a bit more peanut butter. If it’s too sticky, I pop it in the fridge for fifteen minutes. Different peanut butter brands have different oil contents, so my dough sometimes needs a little adjustment. This isn’t anyone’s fault; it’s just how baking works.
I’ve made this recipe with ten different brands, and each one behaves slightly differently. I pay attention to how the dough feels in my hands and trust my instincts about what it needs.
Pro Tip: If my dough feels too sticky, I wet my hands before mixing or rolling. This trick prevents dough from sticking under my fingernails.
Step 4: Roll into Balls
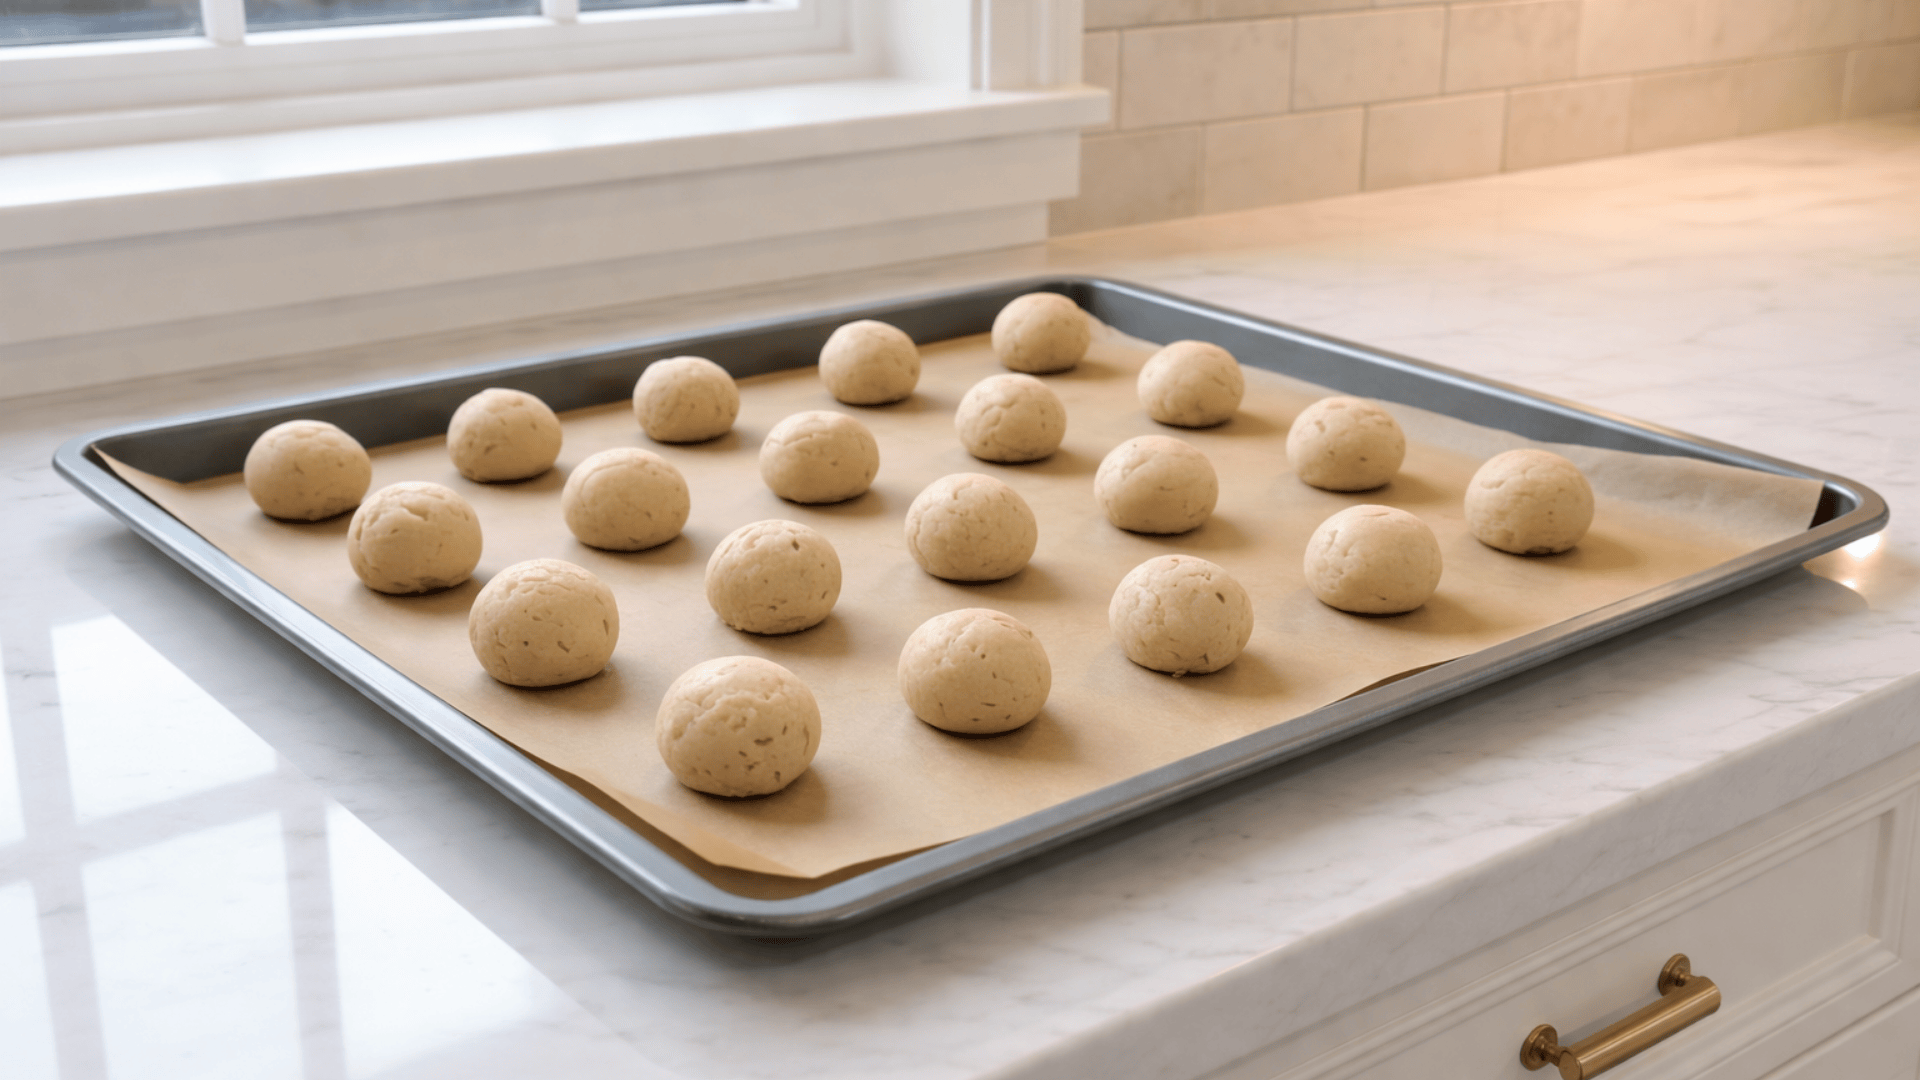
Once my dough is cooperating, I roll it into balls about the size of walnuts. I usually get around twelve to fifteen cookies, depending on how big I make them. I space them out on my baking sheet because they’ll spread a little.
I try to keep them roughly the same size so they bake evenly.
I know from experience that nobody wants some cookies burnt while others are still doughy. I leave about two inches between each ball so they don’t merge into one giant mega-cookie. Yes, I’ve done that too.
Pro Tip: I use a cookie scoop or tablespoon to portion my dough before rolling. It keeps my cookies uniform and ensures even baking.
Step 5: Create the Criss-Cross Pattern
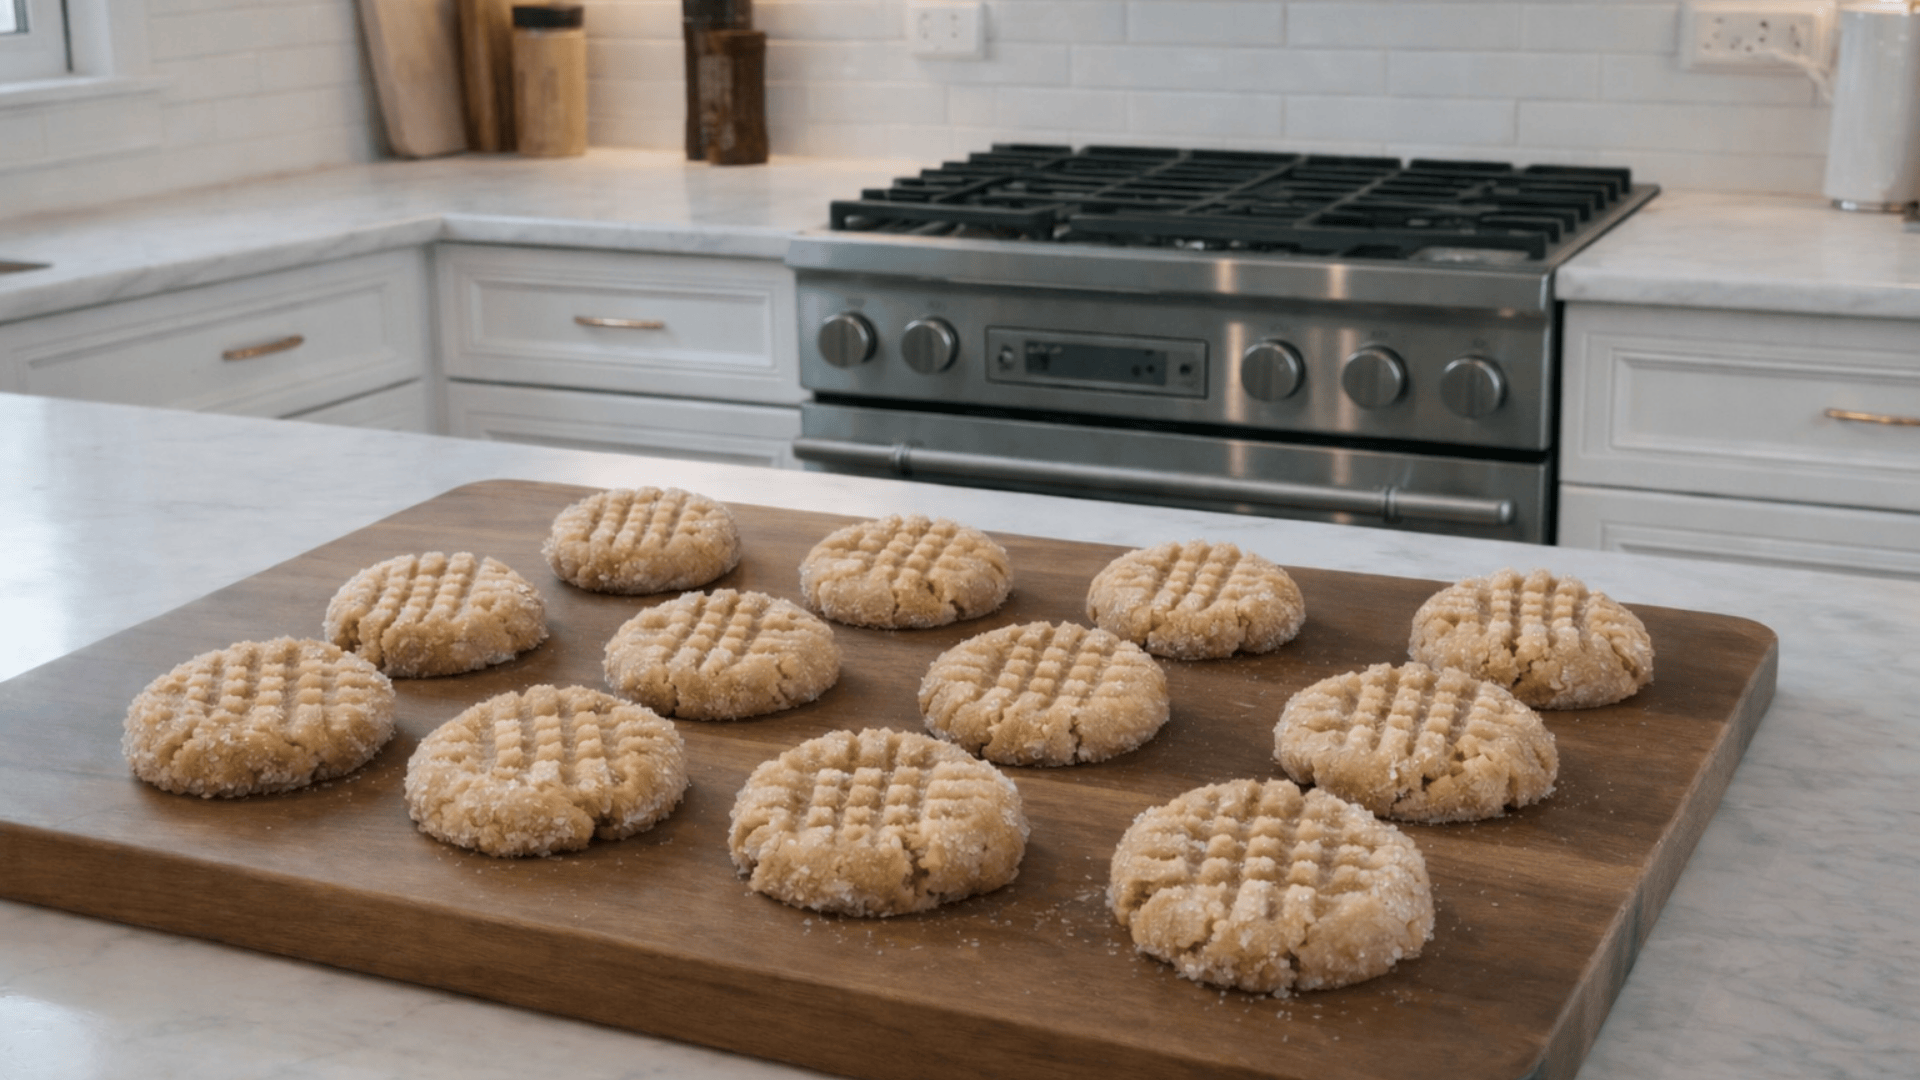
Now here’s the fun part. I take my fork and press down on each ball to flatten it. Then I rotate the fork ninety degrees and press again to create that classic criss-cross pattern. I need to tell you, it’s not just for looks.
The fork tines create little channels that allow heat to penetrate the cookie more uniformly, so I don’t end up with raw centers and overdone edges as I did in my first attempt. Plus, I find it oddly satisfying to make those perfect little hash marks on every single cookie.
Pro Tip: I sprinkle a pinch of sea salt on top before baking. It elevates the flavor and makes them taste bakery-quality.
Step 6: Bake
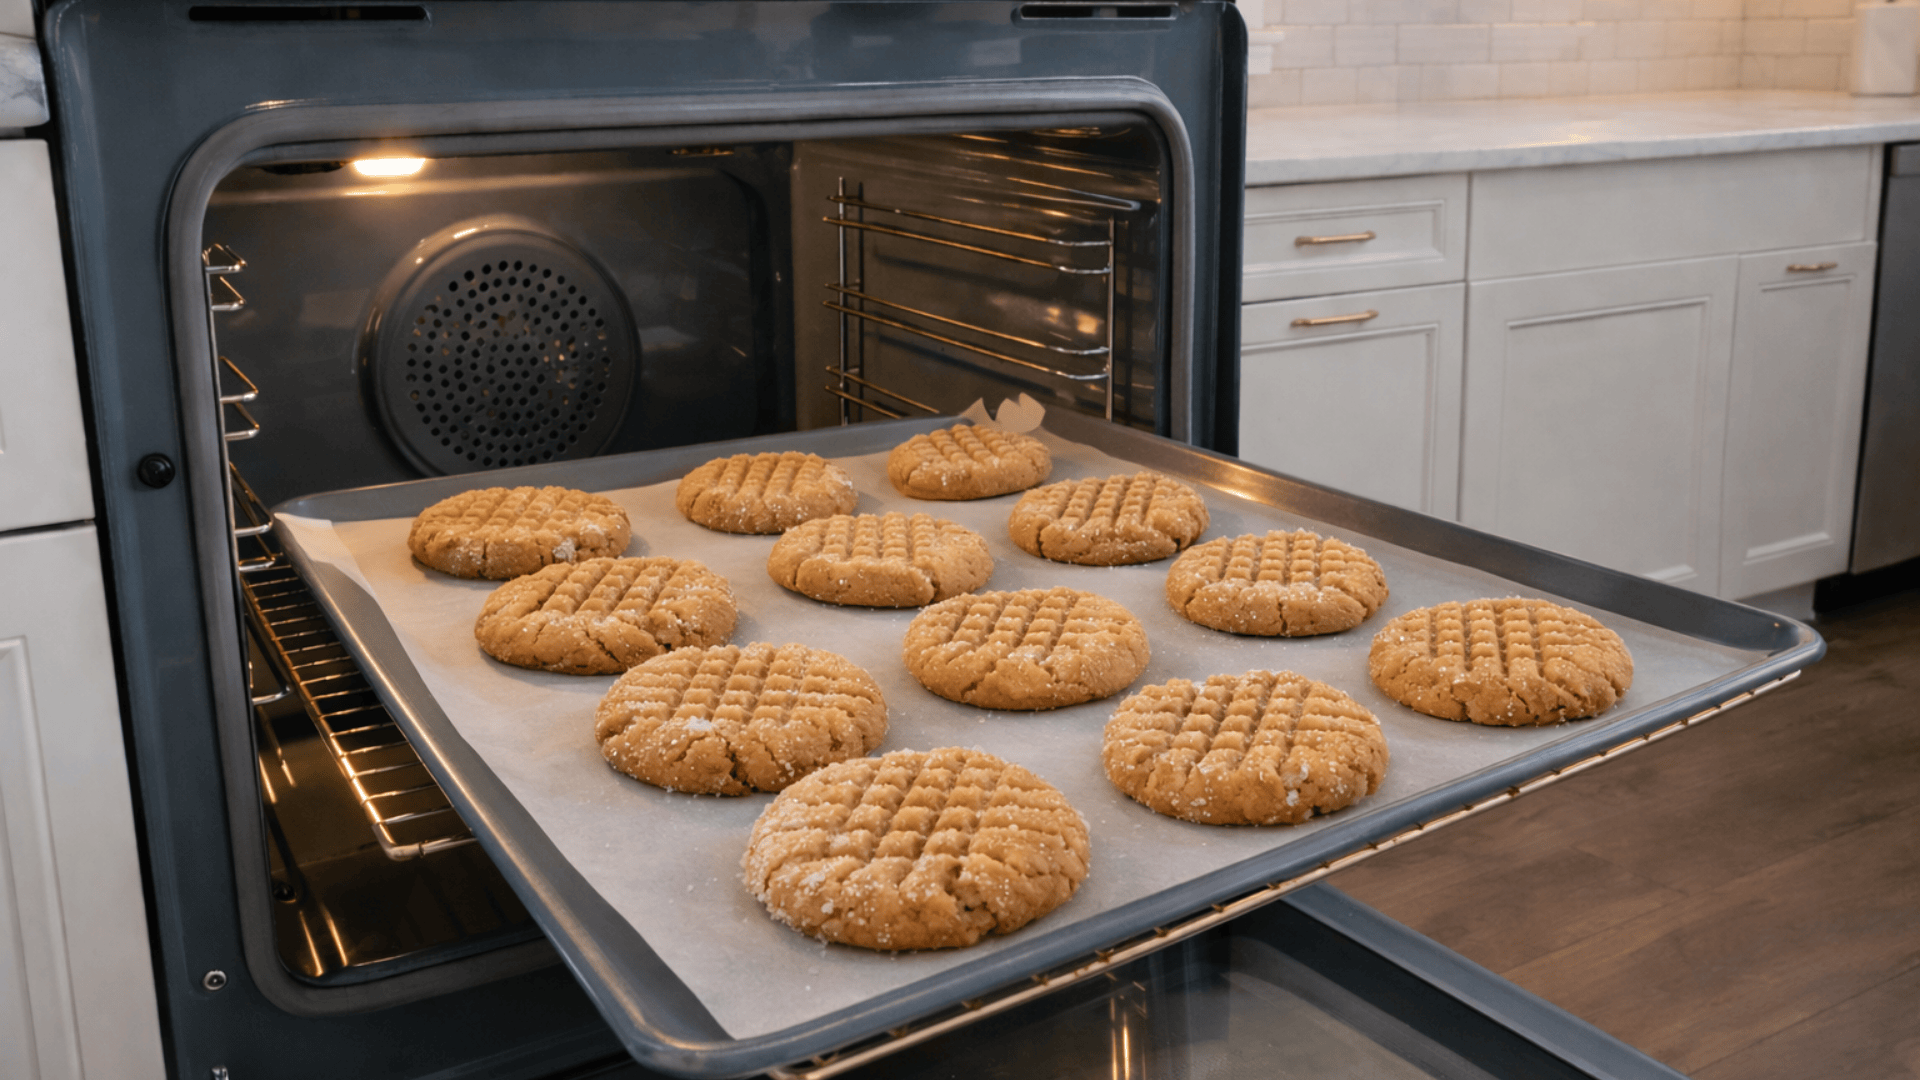
I slide my cookies into the oven for ten to twelve minutes. Here’s what I’ve learned: they’ll look slightly underdone when I take them out, and that’s exactly what I want. They’ll firm up as they cool.
The centers should still look soft, maybe even a little shiny, when I pull them out.
I know the temptation to leave them in longer, I’ve been there, but I resist that urge now. The residual heat from the baking sheet continues cooking them even after they’re out of the oven.
Pro Tip: I don’t overbake these; I remove them when the edges are golden, but the centers look soft. They look done about two minutes before they actually are.
Step 7: Cool Before Moving
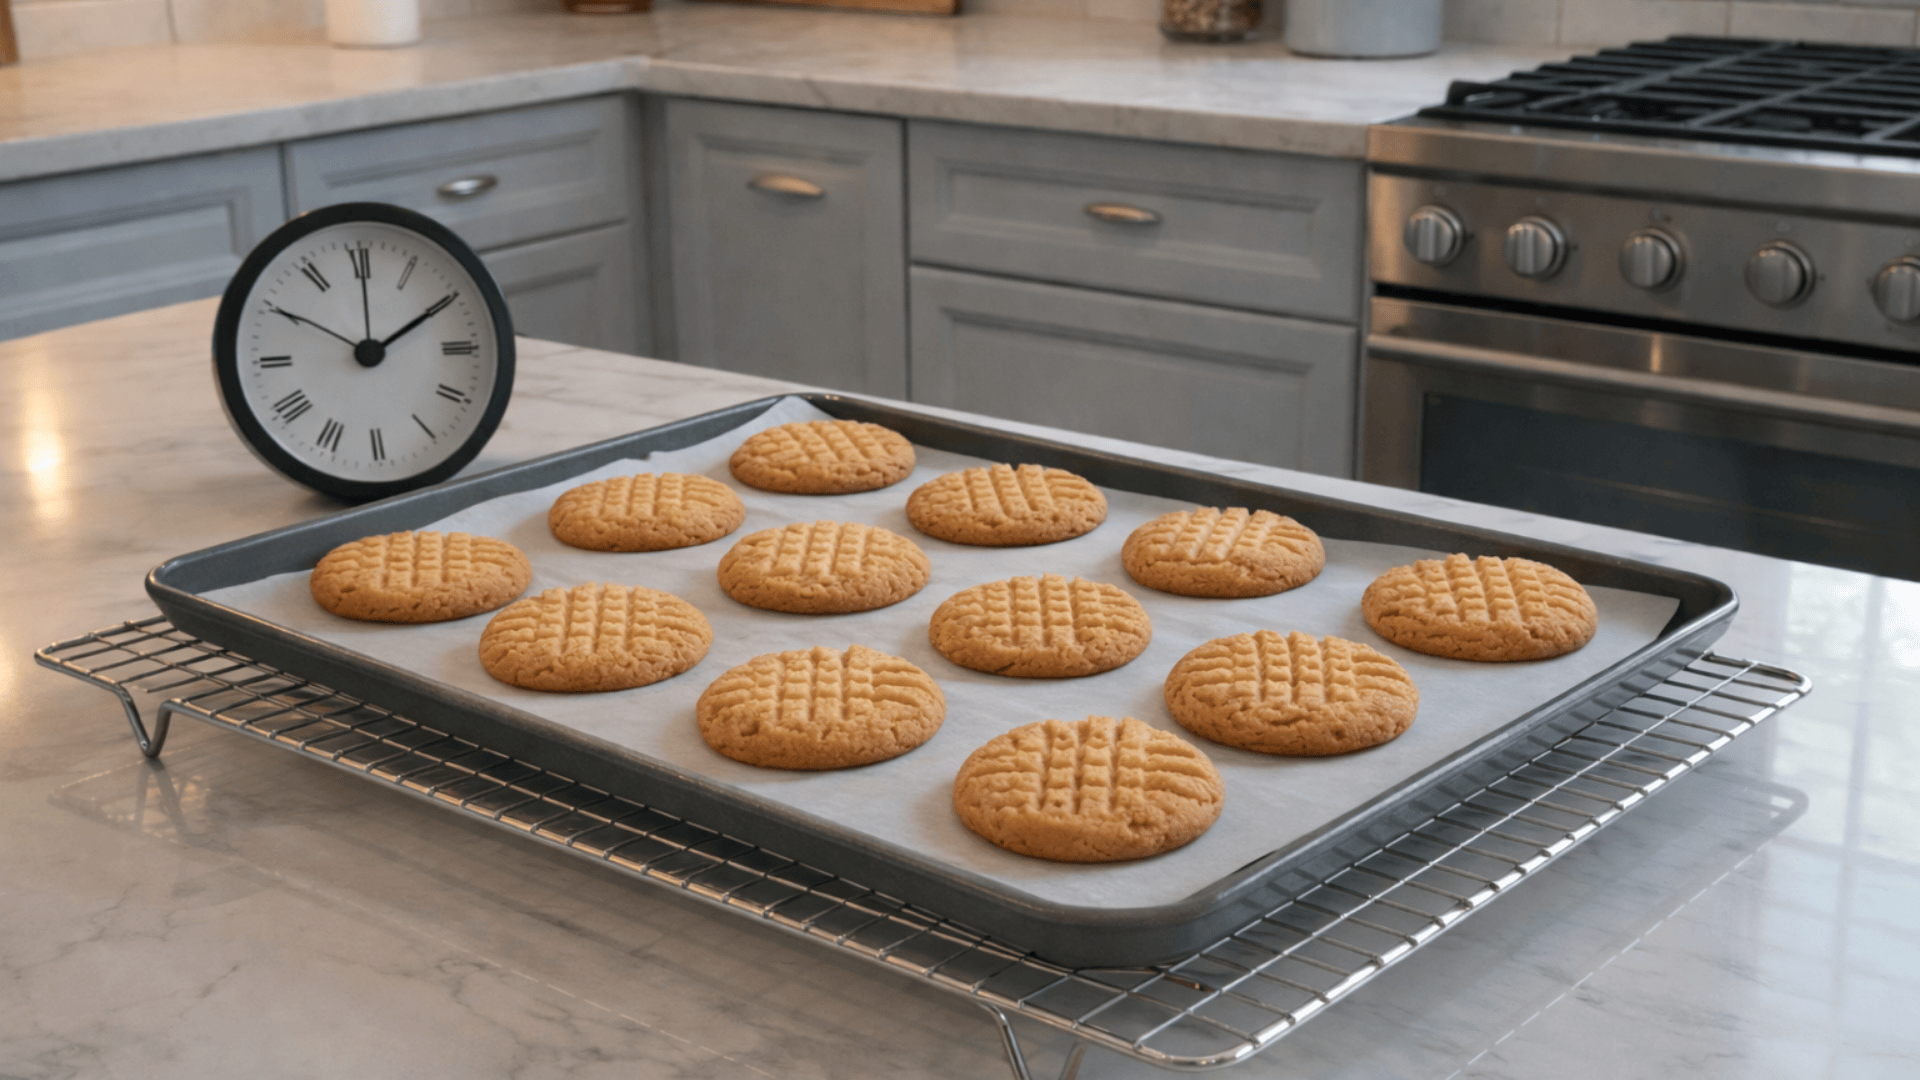
I let my cookies sit on the baking sheet for at least ten minutes before I try to move them, or they’ll fall apart, and I’ll be eating cookie crumbles with a spoon. I know it’s tempting, believe me, I’ve burned my mouth many times trying to sneak one early. But patience pays off here.
During those ten minutes, my cookies are setting up and developing their final texture. Once they’ve cooled, I transfer them to a wire rack or plate. They’re perfectly chewy with slightly crisp edges, exactly what I think a peanut butter cookie should be.
Pro Tip: I store my cooled cookies in an airtight container at room temperature for up to five days. They taste even better on day two, when the flavors meld.
Making Them Work For Your Diet
These cookies are incredibly flexible, and you can adapt them to fit almost any dietary need without sacrificing taste or texture. Here’s a quick guide to the most common substitutions that actually work. The following breakdown clarifies ingredient changes for your specific diet:
| Dietary Need | Swap This | For This | What Changes |
| Vegan | Sugar | Maple syrup or agave | Softer, different flavor |
| Keto | Sugar & flour | Erythritol & almond flour | Low carb, slightly different texture |
| Ozempic-friendly | 1 cup sugar | ½ cup sugar or substitute | Better blood sugar management |
| Dairy allergy | Peanut butter | Check the label for a dairy-free brand | Some brands contain milk powder |
| Lower sugar | 1 cup sugar | ½ cup of coconut sugar | Less sweet, more peanut butter flavor |
The reason these swaps work so well is that peanut butter does most of the heavy lifting. It holds everything together, provides moisture, and creates that chewy texture we all love.
Common Mistakes to Avoid
I’ve made every mistake possible with these cookies, so let me save you the trouble. Here’s what not to do:
- Using separated peanut butter: Stir it thoroughly first, or use regular peanut butter for consistent results.
- Skipping parchment paper: Your cookies will stick to the pan, and you’ll lose half of them when you try to remove them.
- Overbaking the cookies: They should look soft in the center. Fully baked in the oven means hockey pucks once cooled.
- Moving too soon: Touching them before ten minutes means crumbled cookies. Let them set up completely first.
Avoid these mistakes, and you’ll nail these cookies on your first try. I learned all of this the hard way, so you don’t have to repeat my failures.
Final Touches
These 3-ingredient peanut butter cookies with no egg prove that baking doesn’t have to be complicated to be delicious.
I’ve given you a recipe that takes you from craving to cookie in under twenty minutes, with minimal cleanup and maximum flavor. No fancy equipment, no complex techniques, just simple ingredients that come together perfectly every single time.
The beauty of this recipe is its forgiving, adaptable nature. Whether you’re dealing with dietary restrictions, late-night cravings, or just want something quick and satisfying, these cookies deliver.
Once you master this basic recipe, you’ll find yourself reaching for it again and again. It’s become my go-to for everything from emergency desserts to planned gatherings, and I hope it becomes yours too.


