A small yard corner can feel like its own tiny story when you give it a clear shape. One path, one house, and a few plants can do more than a basket of random mini pieces.
That is why fairy garden ideas landscaping works best when you start with the spot first. I like using places that already have texture, such as tree roots, old pots, stumps, stones, or flower bed edges.
These fairy garden ideas are meant to help you choose a setup you can copy, adjust, and build at your own pace, with simple items that still feel thoughtful. It keeps the project easy while giving your yard a small focal point.
Pick the Corner Before You Buy Mini Pieces
Before buying houses, figures, or lights, walk around your yard and find a small place that already has shape.
- A tree base gives you roots and shade.
- A stump gives you height.
- A walkway gives you a clear line.
- A pot gives you control if you have a patio or balcony.
The spot should be easy to see and easy to care for. Avoid low areas where rain collects. Also, think about who will use it. A low bed works well for kids, while a raised pot works better if you want something neat near a patio.
Pay attention to sunlight as well. Some fairy garden ideas look best with moss and shade-loving plants, while others rely on flowers or succulents that need several hours of sun.
Choosing the right location from the start helps plants stay healthy and reduces maintenance later. Once the spot is set, the ideas below become much easier to plan.
Fairy Garden Ideas Landscaping for Any Yard
A fairy garden can turn an ordinary outdoor corner into a small focal point filled with charm, texture, and personality.
Whether you have a tree base, flower bed, patio pot, or unused yard space, these ideas can help you create a miniature scene that feels like a natural part of the landscape.
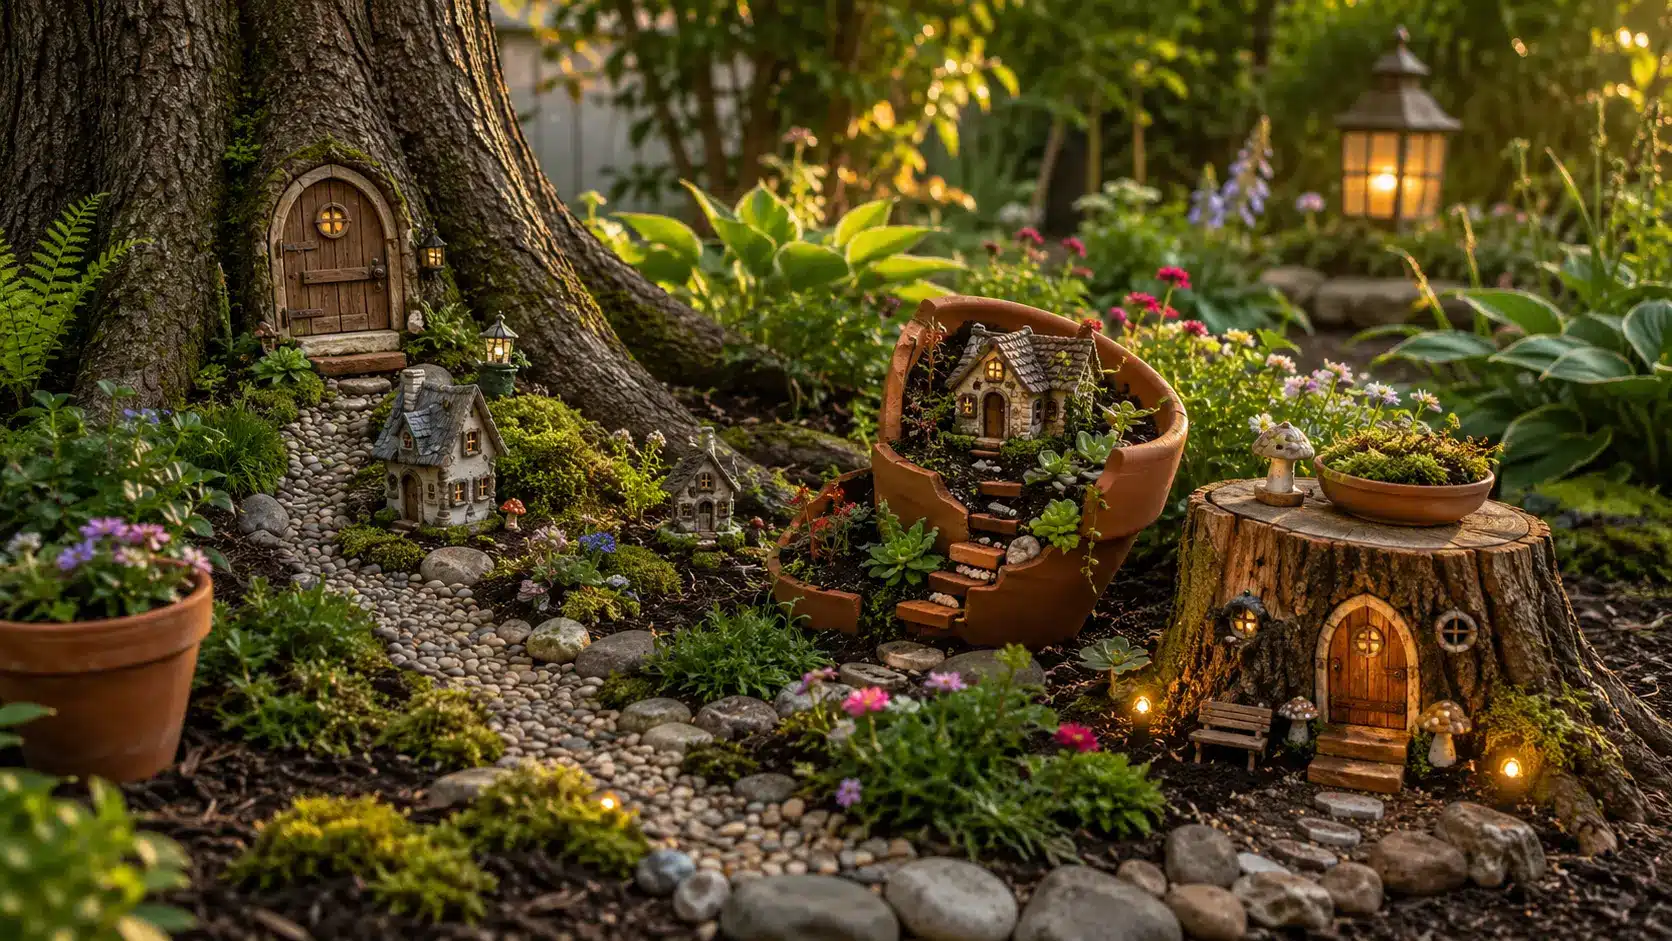
1. Tree Base Fairy Village

A tree base already has roots, shade, and small gaps that feel like natural streets. Add a mini door to the trunk, then place a pebble path between the roots.
Use moss, bark, smooth stones, and two small houses. If the tree gives deep shade, add ferns or small hostas nearby. Place one house partly behind a root so it feels tucked into the yard.
Best for: shaded yards, mature trees, and natural designs.
2. Tree Stump Fairy Home
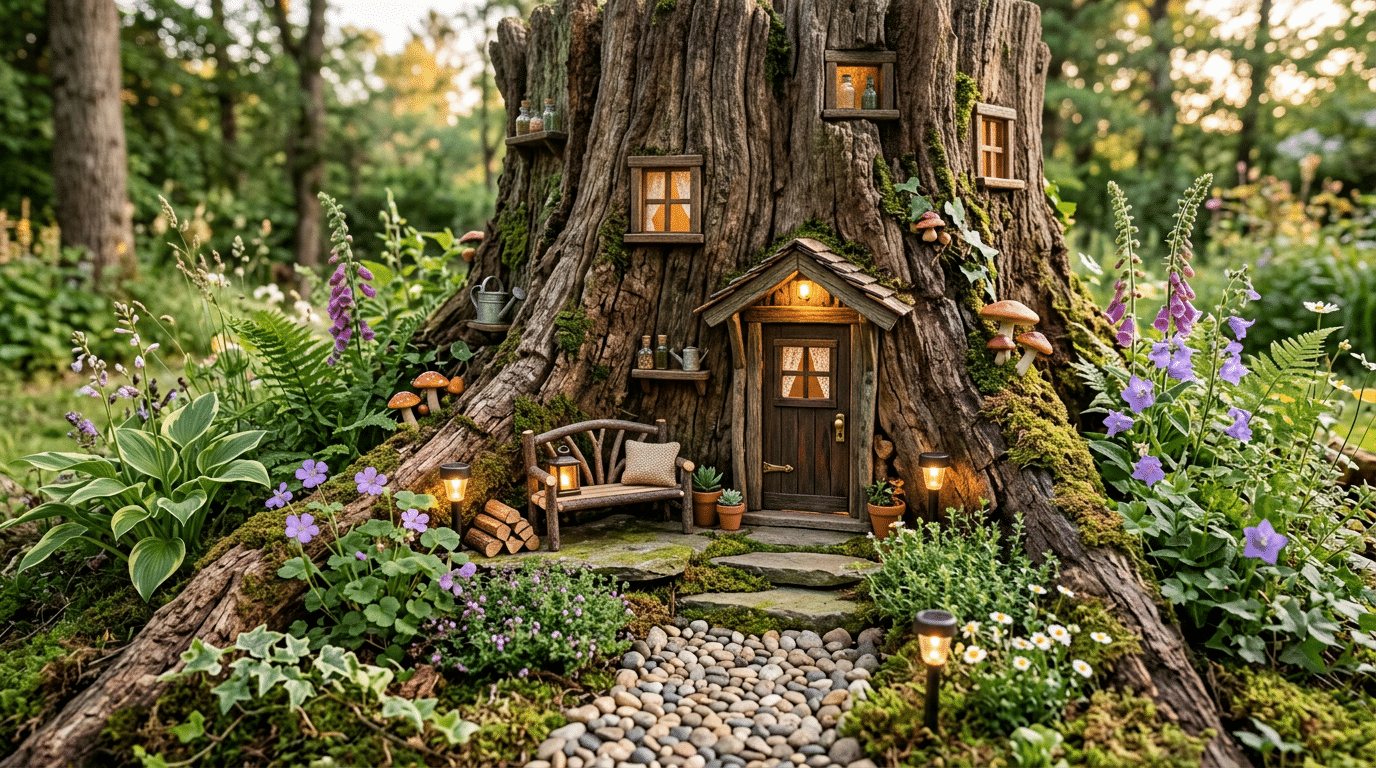
An old stump can become the main house, a raised platform, or a small village center. Add a door at the front, small windows on the sides, and steps made from flat stones.
Place mushrooms, a bench, or a tiny sign near the base. A short strand of solar lights can make the stump stand out at night. Keep the top simple so the shape of the wood stays visible.
Best for: rustic yards and unused stump areas.
3. Broken Pot Mini Garden
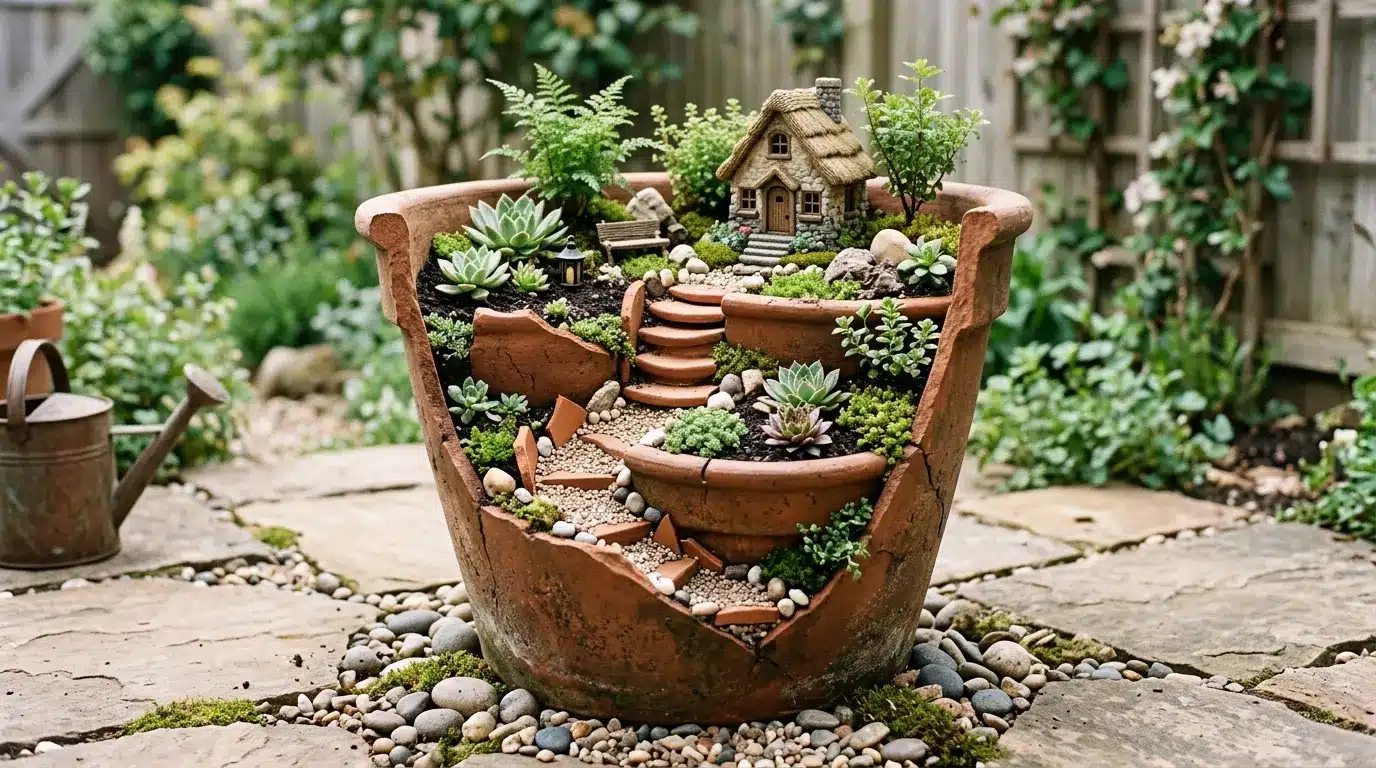
A broken clay pot can create levels, stairs, and small planting pockets. This idea works well when you want a full setup in a small area.
Fill the pot with soil, place the biggest shard near the back, then use smaller shards as steps. Add succulents, gravel, and one house near the top. The layers make it feel full without taking over your patio.
Best for: small spaces, patios, and first-time projects.
4. Tipped-Over Planter Scene
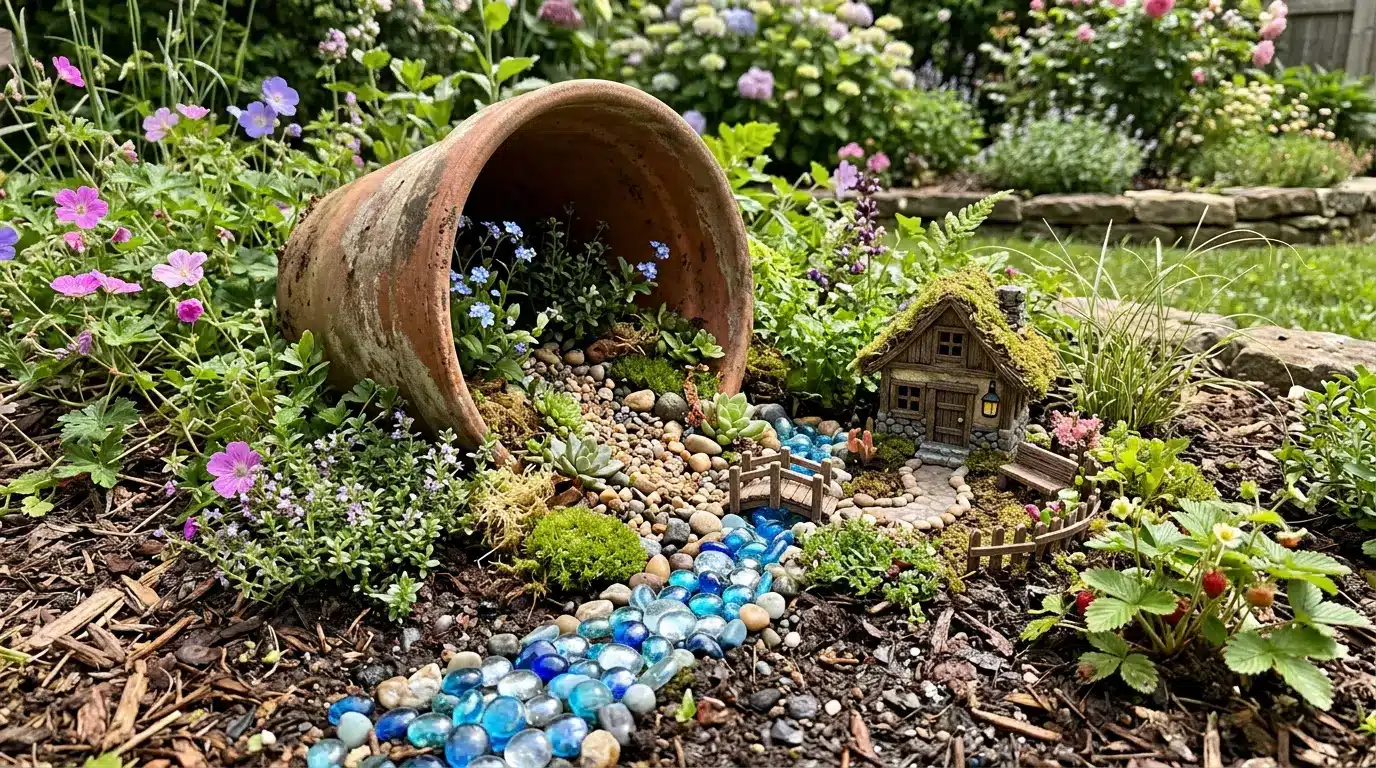
A planter on its side can make plants, pebbles, and mini pieces look like they are spilling into the bed. It is easy to make with an old pot.
Set the pot on its side and press it into the soil. Add pebbles in a flowing line, then place moss, flowers, and one small cottage near the opening. Blue glass gems can form a stream.
Best for: flower beds and low-cost outdoor projects.
5. Mossy Woodland Setup
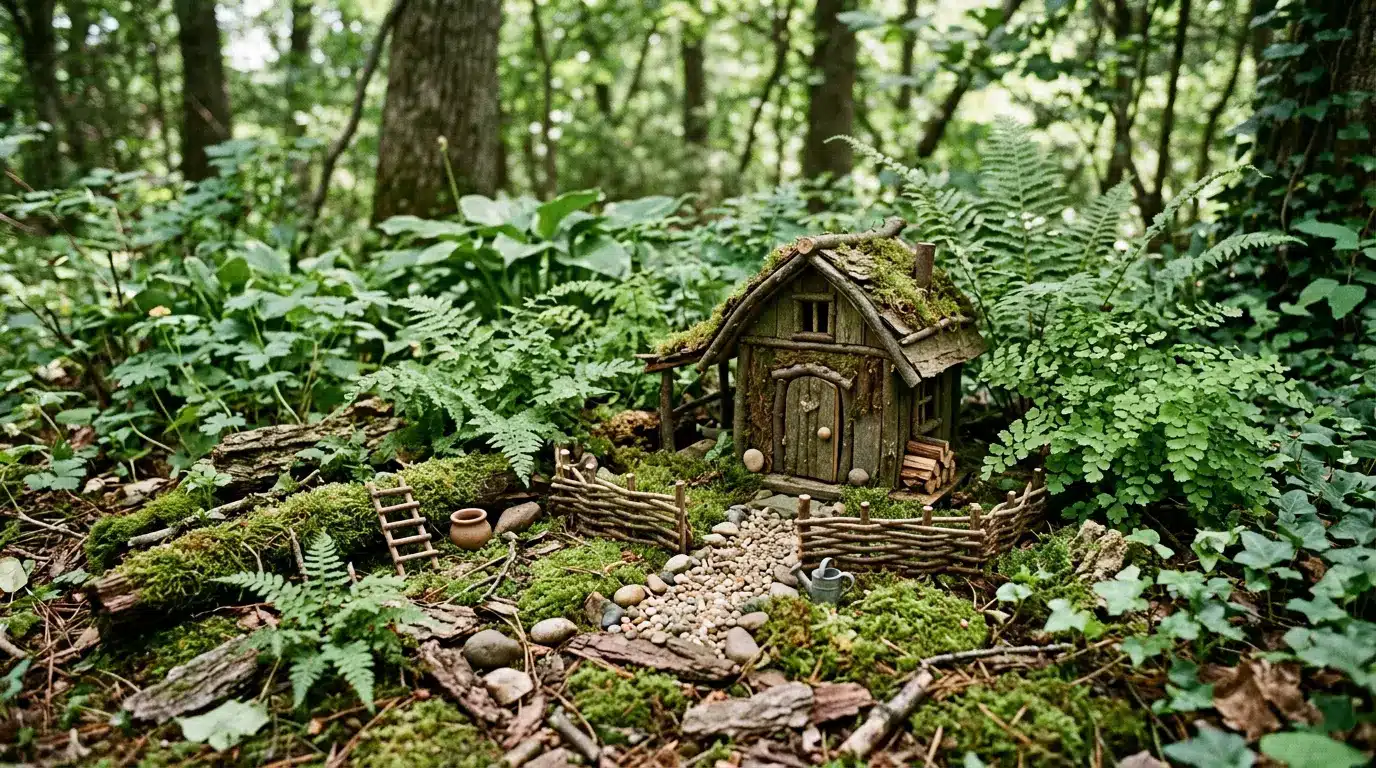
A mossy woodland setup works best in a shaded soil patch, fern bed, or quiet corner near shrubs. It does not need a tree base to work.
Use moss, ferns, bark, twigs, small stones, and a wood-style house. Keep bright pieces limited so the layout stays calm. Twigs can become a small fence, and acorn caps can work as tiny bowls or roof details.
Best for: shaded corners, tree bases, and natural materials.
6. Rock Garden Fairy Layout
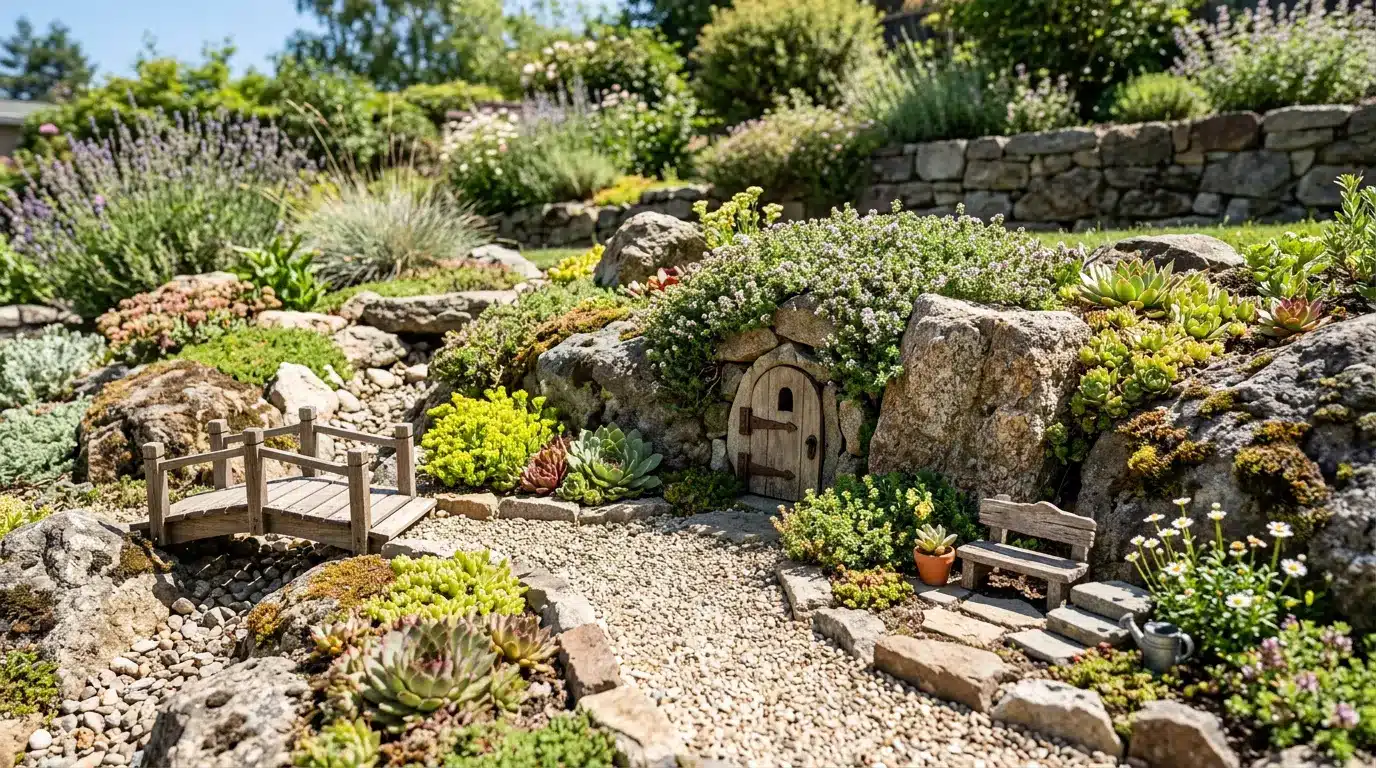
A rock garden gives your setup structure before you add anything else. Stones, gravel, and low plants help the small pieces sit neatly.
Place a tiny door between two rocks, then add pea gravel as a path. Use creeping thyme, succulents, or alpine plants nearby. A small bridge or bench can sit near the path without crowding the area.
Best for: sunny beds, slopes, and dry spots.
7. Walkway Edge Mini Village
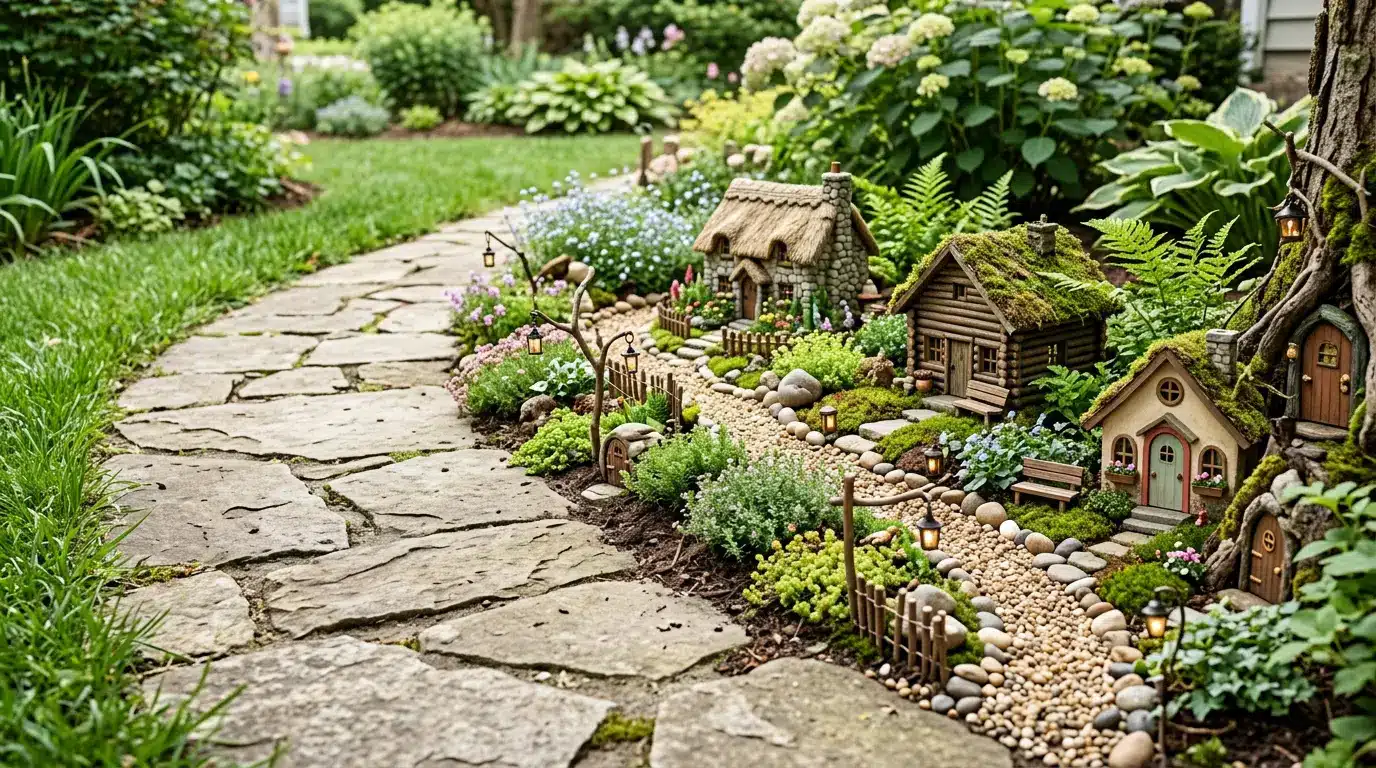
A path gives you a ready line to follow. Place tiny doors, signs, or lanterns along the edge so the walkway feels like it passes by a small village.
Use low flowers along the border and keep all pieces away from foot traffic. Add one sign near the start and one house farther down for a clear flow.
Best for: front yards, side paths, and narrow spaces.
8. Whiskey Barrel Fairy Village

A whiskey barrel gives you room for a fuller layout while keeping everything in one container. It works well on patios, decks, porches, and near gates. Use drainage holes at the bottom so rainwater does not sit around the roots.
Create a small mound at the back, add plants, then curve a gravel path through the front. Place two houses, a bridge, and a bench around the path. Taller plants should sit behind the houses.
Best for: renters, patios, and larger container displays.
9. Succulent Fairy Pot
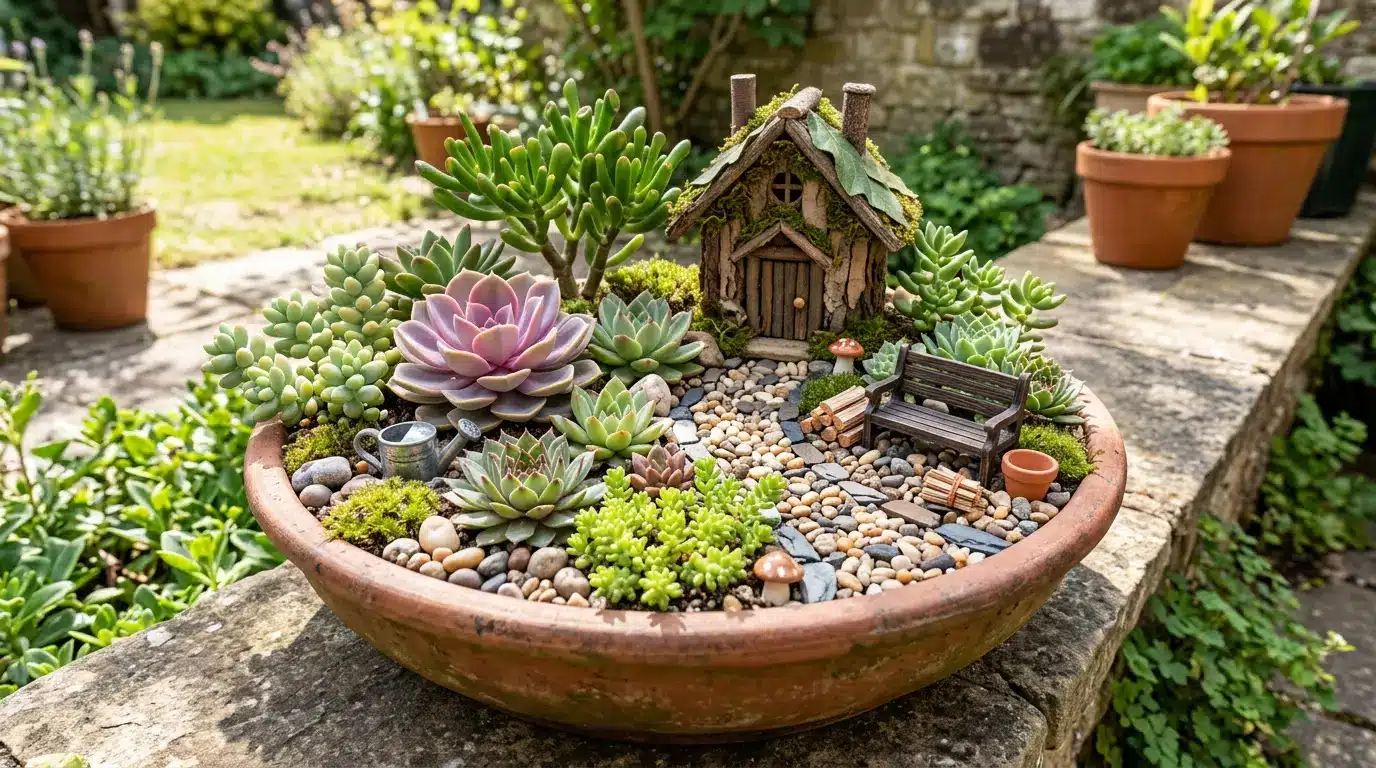
Succulents are useful for sunny spots because they stay compact and need less water than many flowers.
Use cactus mix, small pebbles, and a wide bowl or shallow pot. Place a few succulents at different heights, then add one house, a bench, and a narrow path. Leave space between plants so they can spread.
Best for: sunny patios, dry areas, and low-care setups.
10. Glowing Night Garden
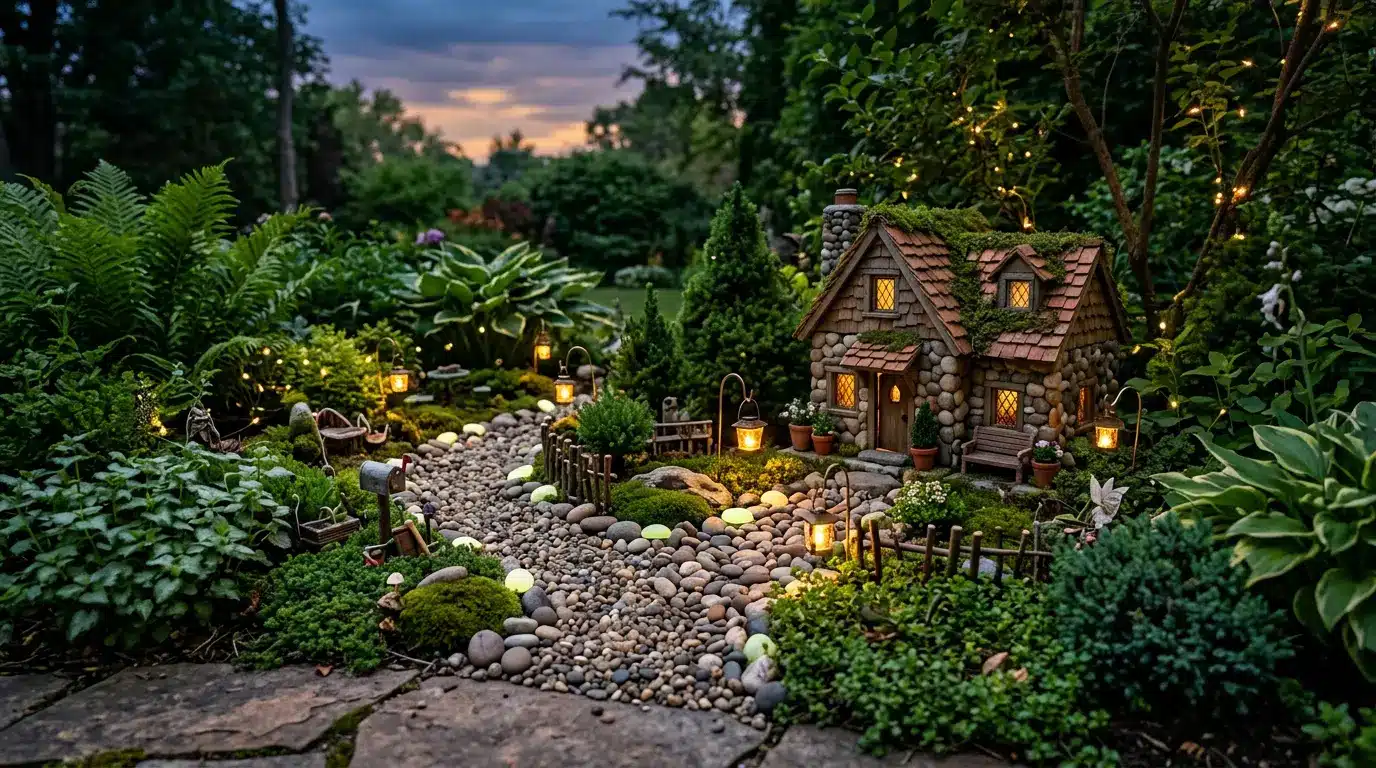
Lights can make a small setup feel special after sunset. Use solar lights, glow stones, mini lanterns, or an outdoor LED cottage.
Place one light near the house and a few glow stones along the path. Keep the lights spread out so the setup does not feel too bright in one spot. This works well near seating or walkways.
Best for: evening patios, paths, and family yards.
11. Mini Pond Layout
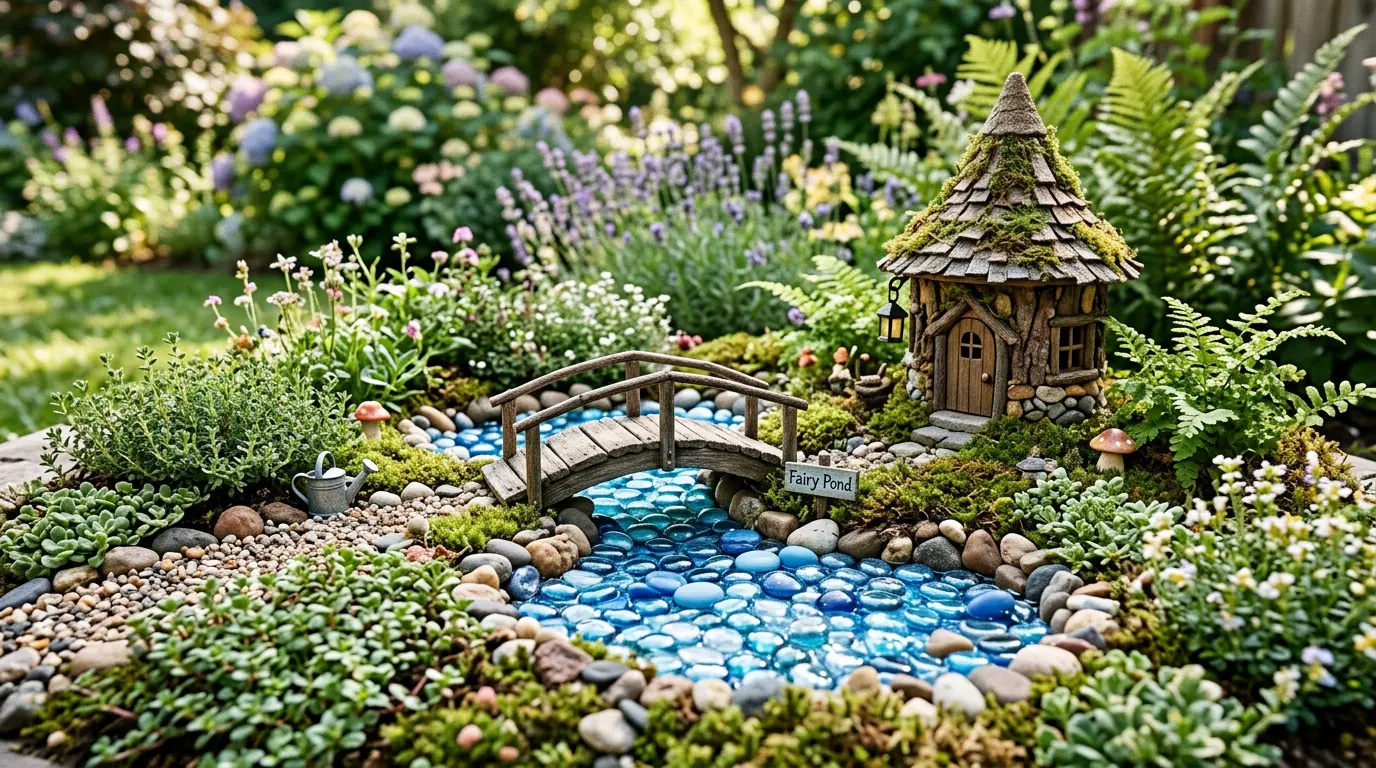
You can make a tiny pond without real water. Use blue glass gems, flat blue stones, or small tiles to shape the water area.
Add a pebble edge, then place a tiny bridge across the pond. Low plants around the side make it feel more settled. An oval shape usually feels softer than a perfect circle.
Best for: flower beds, large pots, and rock gardens.
12. Kids’ Playable Mini Garden

For kids, keep the setup sturdy and easy to move around. Choose larger houses, smooth stones, and pieces that can handle play.
Use a low container, raised bed, or small soil patch. Skip glass, sharp pieces, and anything too fragile. Leave one open area where kids can move animals, stones, and furniture.
Best for: families, grandparents, and backyard play spaces.
13. Tiny Farm Scene
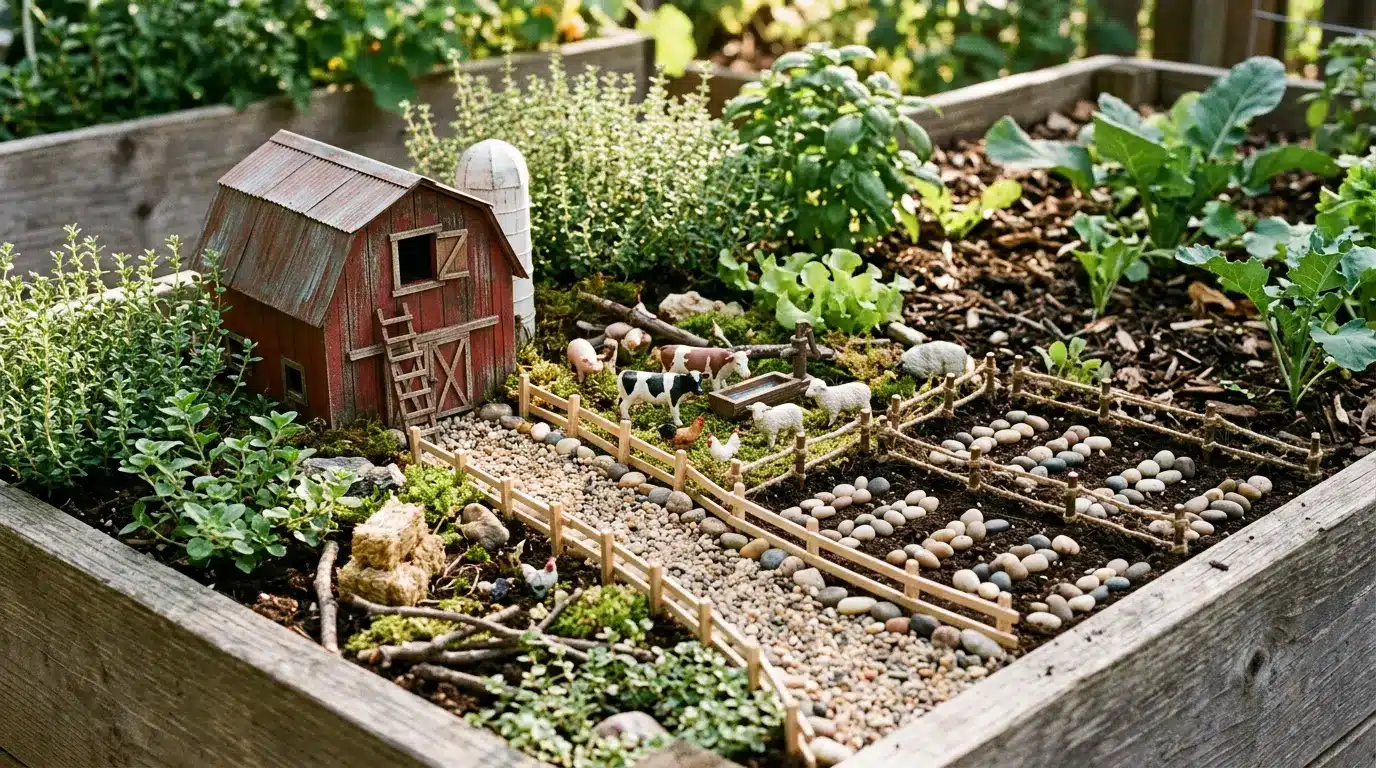
A farm setup is fun near herbs, vegetables, or raised beds. Use mini animals, a small barn, twig fences, and tiny rows made from pebbles.
Keep the layout clear with one barn and a few animals. Craft sticks can become fence posts, and jute string can work as rails. Place it near low greens so it feels connected to a growing space.
Best for: vegetable beds and kid-friendly corners.
14. Life-Size Fairy Corner
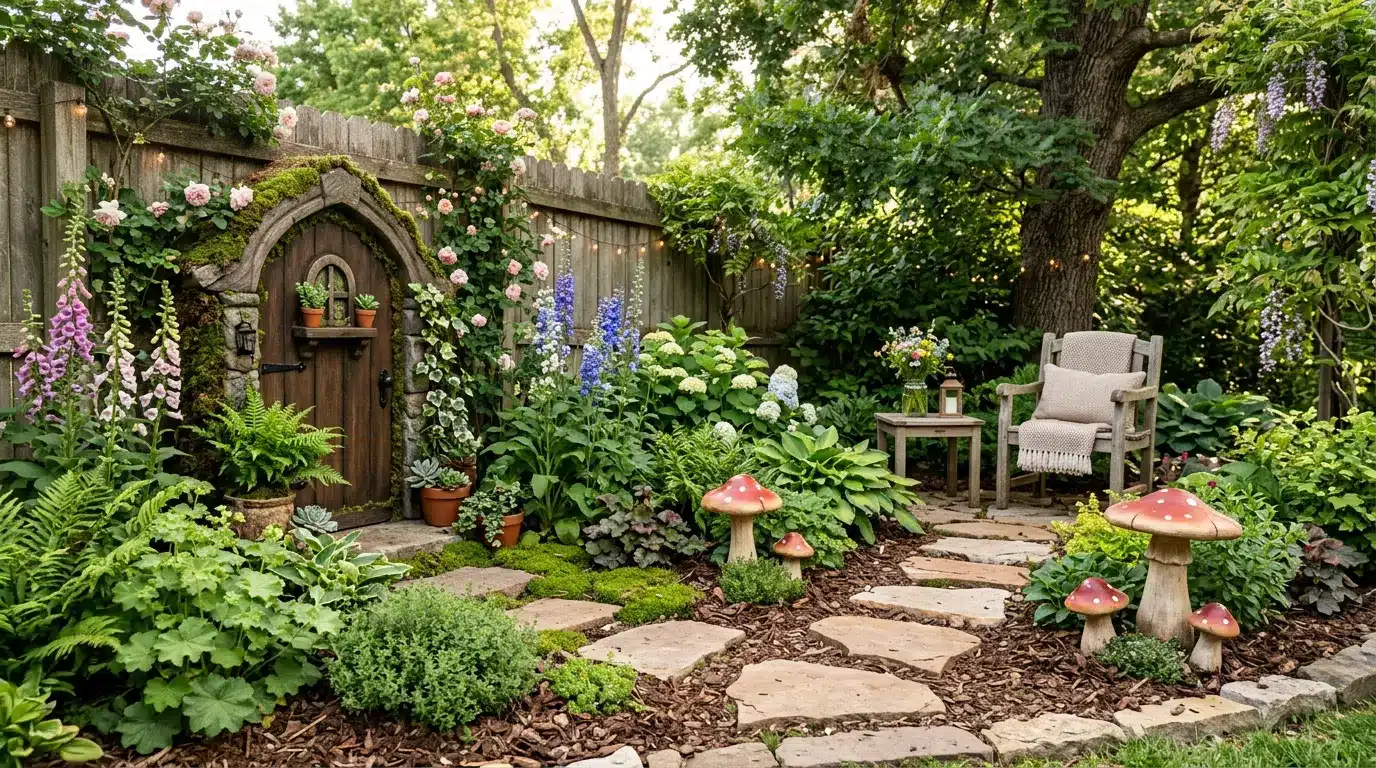
A bigger yard can handle larger pieces, such as a full-size door, tall mushrooms, stepping stones, and string lights.
Place this setup near a fence, tree, or back corner. Add tall flowers and a small seat nearby so the area feels useful, not just decorative. Keep the ground open enough to walk through.
Best for: large backyards, party areas, and play corners.
15. Seasonal Fairy Display
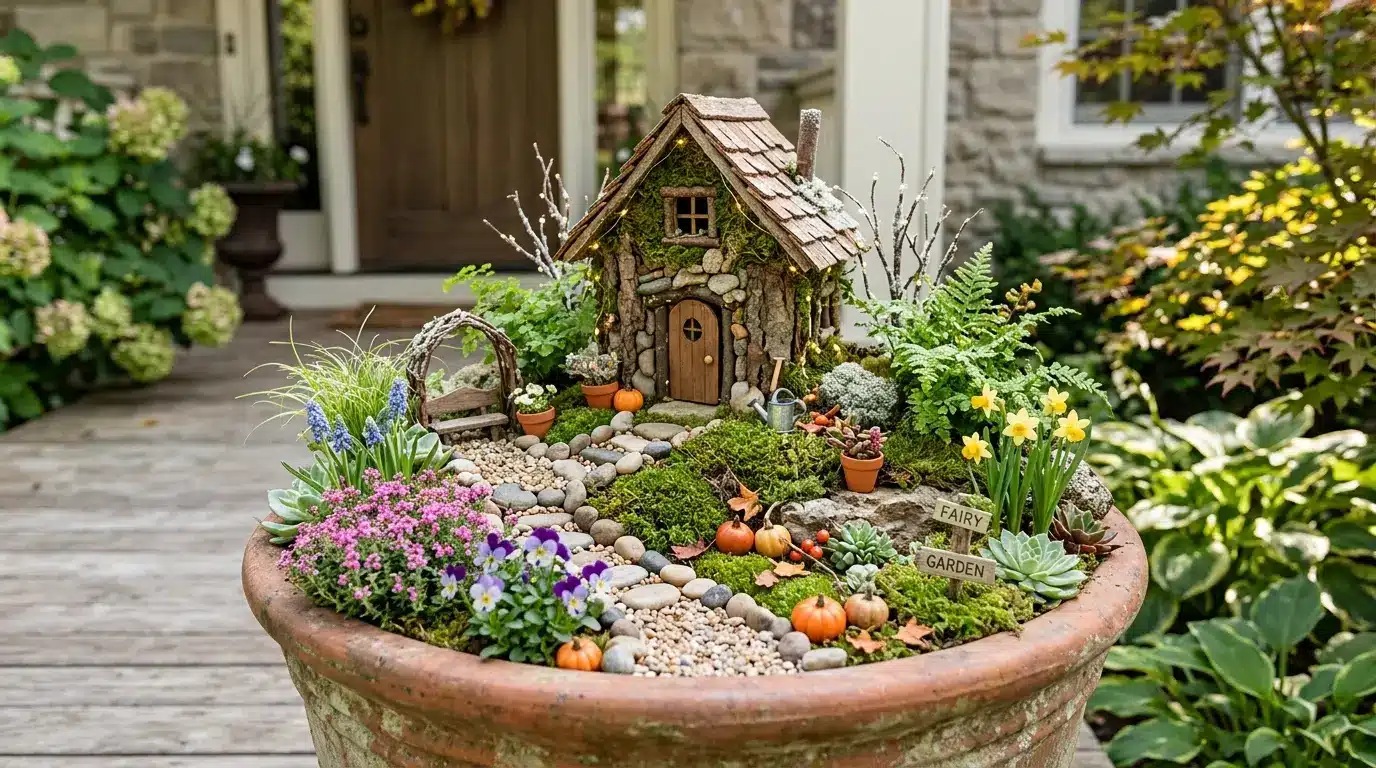
A seasonal setup lets you keep the same base and change small pieces through the year.
Use spring flowers, summer moss, fall pumpkins, or winter lights. Keep the main setup simple with one house, one path, and one border. Store small extras in labeled bags so updates take only a few minutes.
Best for: front yards, porch pots, and family projects.
16. Birdbath Base Setup
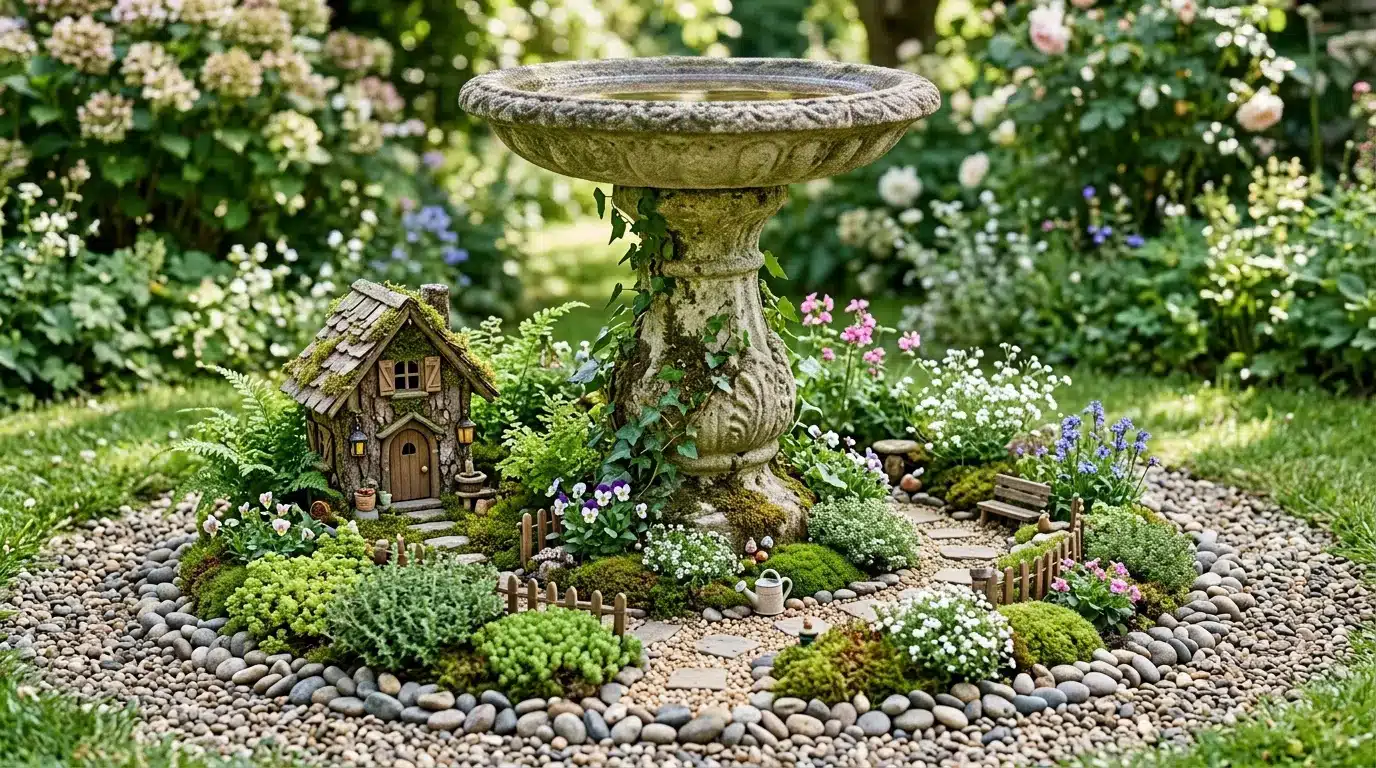
The base of a birdbath gives you a round frame for a mini layout. It works well because the shape already feels planned.
Add a pebble ring, low flowers, moss patches, and a small path around the base. Place a tiny house on one side instead of the center so the birdbath still stands out.
Best for: cottage yards, front beds, and small lawns.
17. Fence Line Fairy Doors
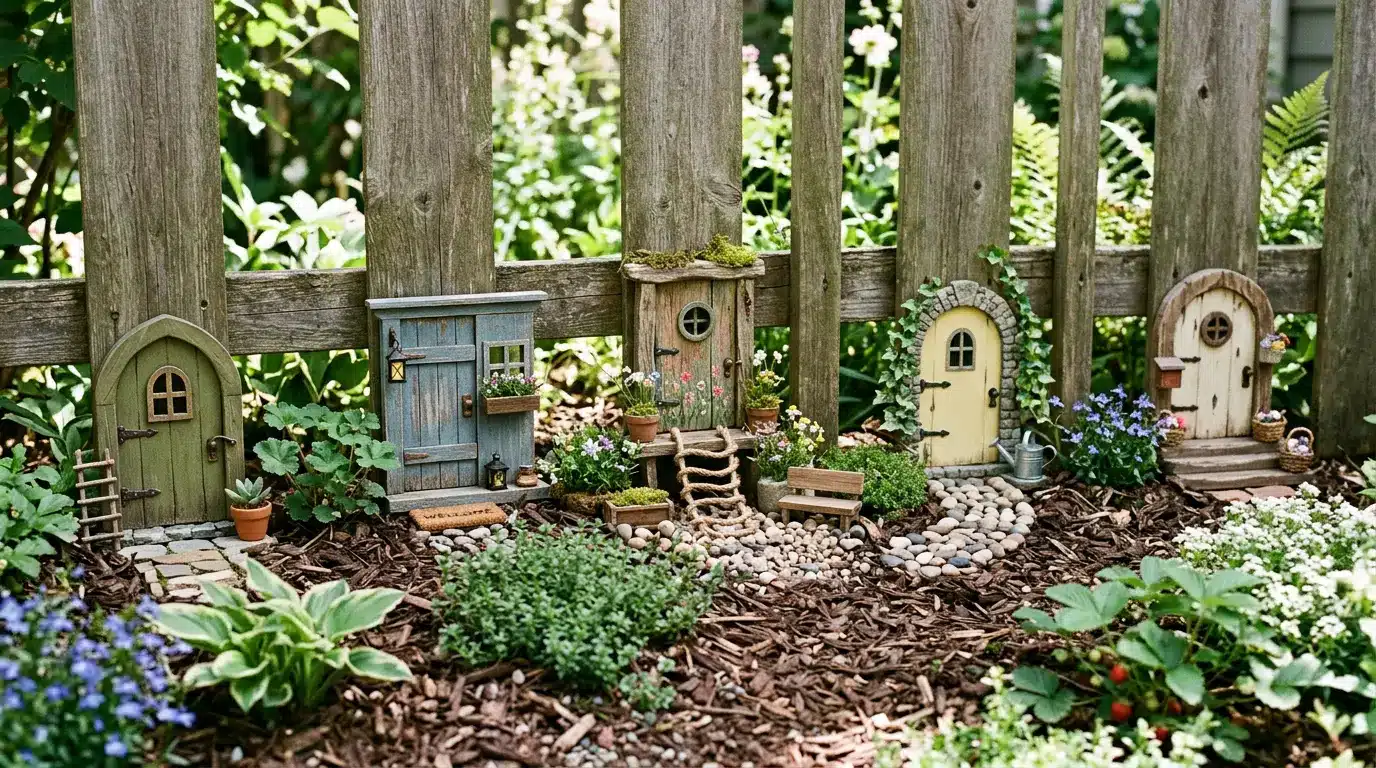
A fence line can become a row of tiny homes. Add small doors, windows, ladders, and planters at ground level.
This is helpful in narrow yards where bed space is limited. Use mulch or low flowers along the base to soften the fence. Space the doors apart so each one has its own small area.
Best for: side yards, fence borders, and slim outdoor spaces.
18. Teacup Patio Fairy Garden
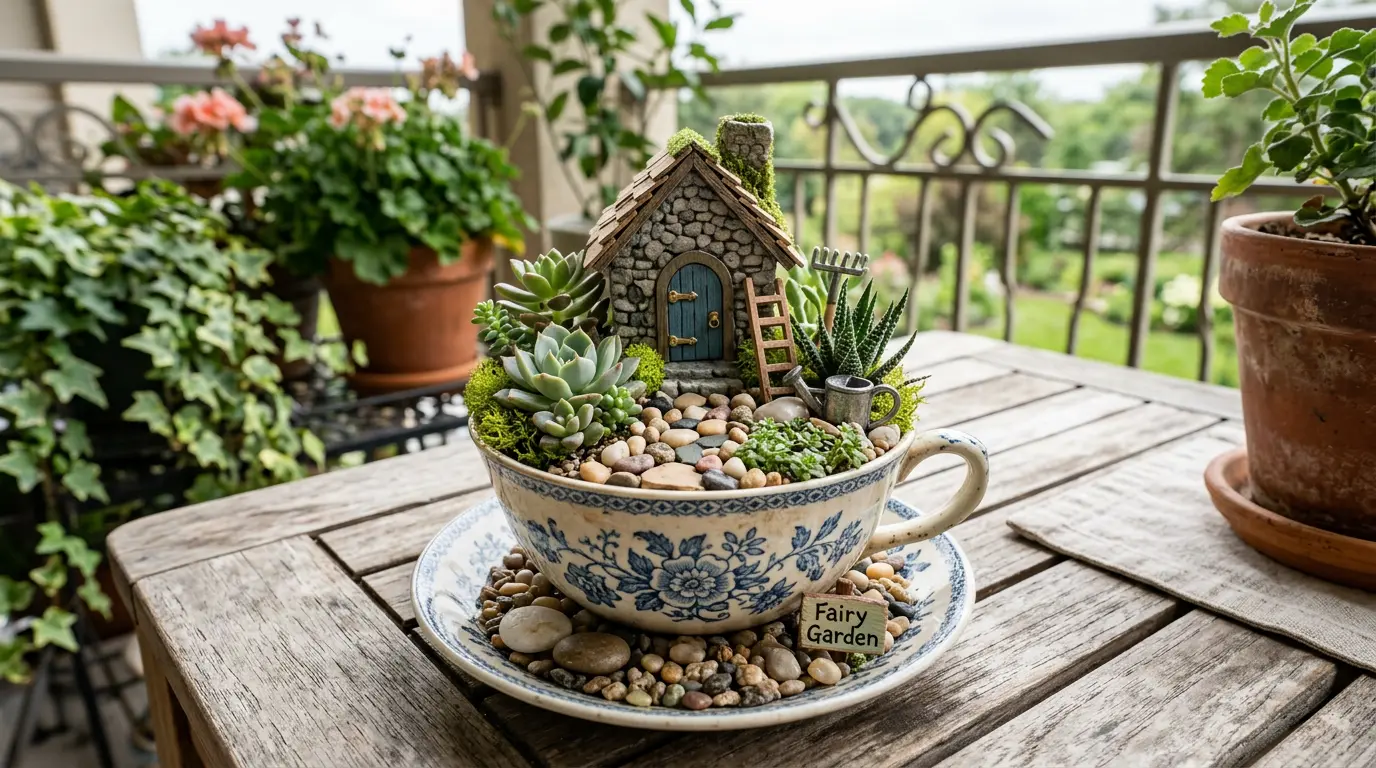
A teacup or small teapot can become a charming outdoor fairy display when placed on a porch table, patio shelf, or balcony.
Fill it with tiny succulents, pebbles, and a miniature house. Use faux or preserved moss if you want a softer look without adding extra moisture. A small saucer underneath can hold extra stones or a tiny path. Keep the design simple so the container remains the focal point.
Best for: patios, balconies, and compact outdoor spaces.
19. Budget Fairy Garden Setup

You can make a full mini setup without spending much. Start with a pot, tray, or small soil patch.
Use painted rocks, twigs, bark, gravel, faux moss, and simple craft supplies to create houses, fences, and paths. Natural materials help the setup blend into the landscape while keeping costs low.
Best for: weekend projects, kids’ activities, and tight budgets.
Small Details That Make the Scene Feel Finished
A few extras can make a simple setup feel more complete. The key is not to use everything at once. Pick two or three details and repeat them in small ways.
| Detail | What It Adds |
| Curved pebble paths | Creates movement and guides the eye through the scene |
| Twig fences | Adds structure and a handmade look |
| Mini bridges | Connects different areas and adds charm |
| Bark doors | Makes trees, stumps, and logs feel like fairy homes |
| Painted rock mushrooms | Adds color and a whimsical touch |
| Small signs | Gives the garden personality and direction |
| Stone borders | Defines the space and keeps it looking tidy |
| Blue glass gems | Creates the look of water or streams |
| Small benches | Makes the scene feel lived in |
| Tiny animals | Adds character and storytelling elements |
| Solar lights | Creates a magical glow after dark |
| Moss patches | Softens edges and blends pieces into the landscape |
One repeated material, such as bark, gravel, or stone, helps the setup feel connected instead of busy.
Best Plants for Fairy Garden Landscaping
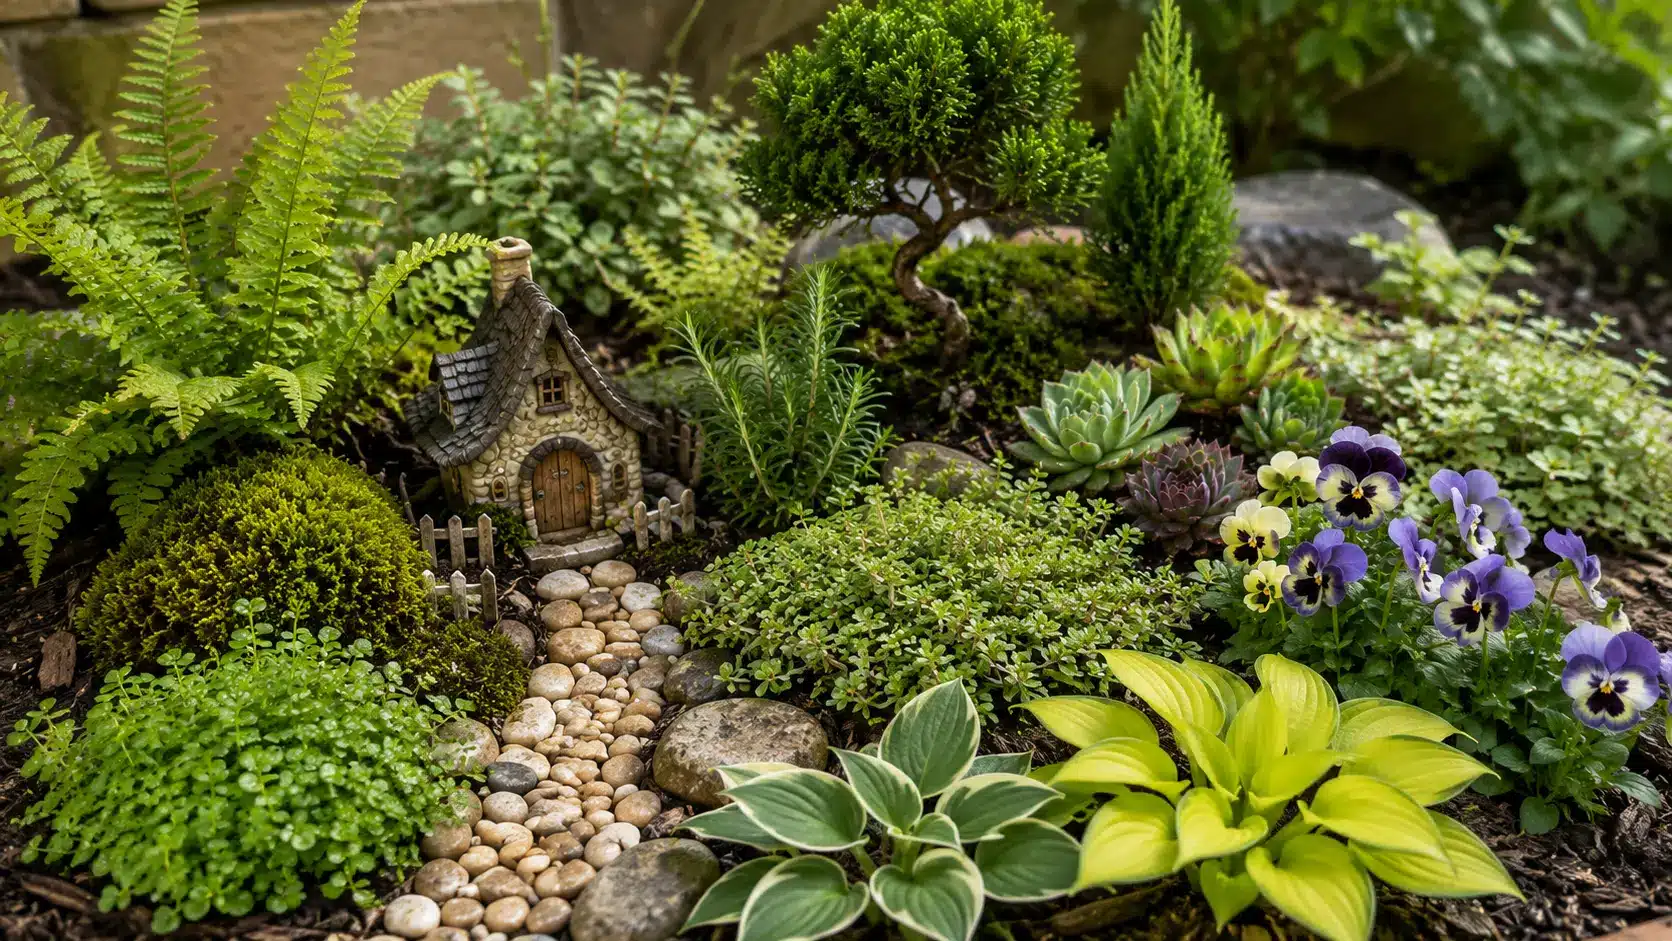
The right plants help a fairy garden feel like part of the landscape instead of a collection of mini decorations. Look for varieties that stay compact, grow slowly, and keep the houses, paths, and details visible throughout the season.
- Plant selection: Choose plants with small leaves, low growth, and slow spread to keep the setup in scale.
- For shade: moss, ferns, baby’s tears, miniature ivy, and small hostas.
- For sun: succulents, creeping thyme, alyssum, pansies, violas, and mini roses.
- For tiny tree effects: dwarf conifers, small boxwood, rosemary, tiny juniper, or a bonsai-style plant kept trimmed.
- For low-maintenance setups: preserved moss, faux succulents, bark mulch, gravel, and hardy herbs.
- Maintenance: Trim larger plants regularly so houses, paths, and accessories remain visible.
- For outdoor beds: loosen the soil first, remove weeds, and add mulch or moss around the plants to keep the setup neat.
With a few well-chosen plants, your fairy garden will stay balanced, easier to maintain, and more believable as a tiny outdoor world.
Common Fairy Garden Mistakes to Avoid
A few small mistakes can make an outdoor fairy garden harder to maintain or less attractive over time. Keeping these in mind can help your setup last longer and look more natural.
- Using too many mini pieces in one small space, which can make the design feel crowded.
- Choosing plants that grow too quickly and hide the houses, paths, or decorations.
- Placing the garden in a low spot where water collects after rain.
- Using lightweight decorations without anchoring them with soil, mulch, stones, or short stakes.
- Mixing too many colors, materials, or themes in one layout.
- Forgetting to leave open space around key features such as the main house or path.
- Skipping drainage in containers, which can lead to soggy soil and unhealthy plants.
- Not checking the setup after heavy rain, which can shift paths, signs, and small accessories.
A simple layout with a clear focal point, a few well-chosen plants, and durable outdoor materials usually looks better than a setup packed with decorations. Start small, then add details gradually as the garden develops.
Frequently Asked Questions
Can a fairy garden stay outside all year?
Yes, if you use weather-resistant materials and secure lightweight pieces. Some decorations may need to be stored during harsh winter weather.
How often should a fairy garden be refreshed?
Most outdoor fairy gardens benefit from a quick cleanup every few weeks and seasonal updates once or twice a year.
Can real water be used in a tiny pond?
Yes, but standing water can attract insects. Small containers need regular cleaning and refilling to stay fresh.
Is a fairy garden safe for pets?
Usually yes, but avoid toxic plants, sharp decorations, small choking hazards, and chemicals that pets could reach.
Can renters make one without changing the yard?
Yes. Use containers, barrels, pots, or portable planters so the entire setup can move with you.
Final Thoughts
A good fairy garden starts with one small choice, not a long supply list.
Pick a corner that already has shape, such as a tree base, stump, pot, or flower bed edge. Then choose one idea that fits your space and build from there without making it feel hard.
If you want fairy garden ideas landscaping that feel natural outdoors, focus on the base, path, plants, and one main house first. The extra pieces can come later.
These fairy garden ideas are easy to scale up or down, so you can start small and still get a setup that feels personal. Choose your spot today, gather a few simple pieces, and begin.