

I used to think garlic bread was only good when it came frozen in a box. Then I tried making it at home, and everything changed.
You’ve probably stood in your kitchen wanting something warm and comforting, but not wanting extra work. That’s where a garlic bread spread recipe really helps.
With a few basic ingredients, you can control the flavor, the texture, and how crisp the bread turns out. I also learned that small choices, like the type of garlic or how you bake it, make a big difference.
Below, I break it all down step by step, so you can make garlic bread that fits your taste and your schedule.
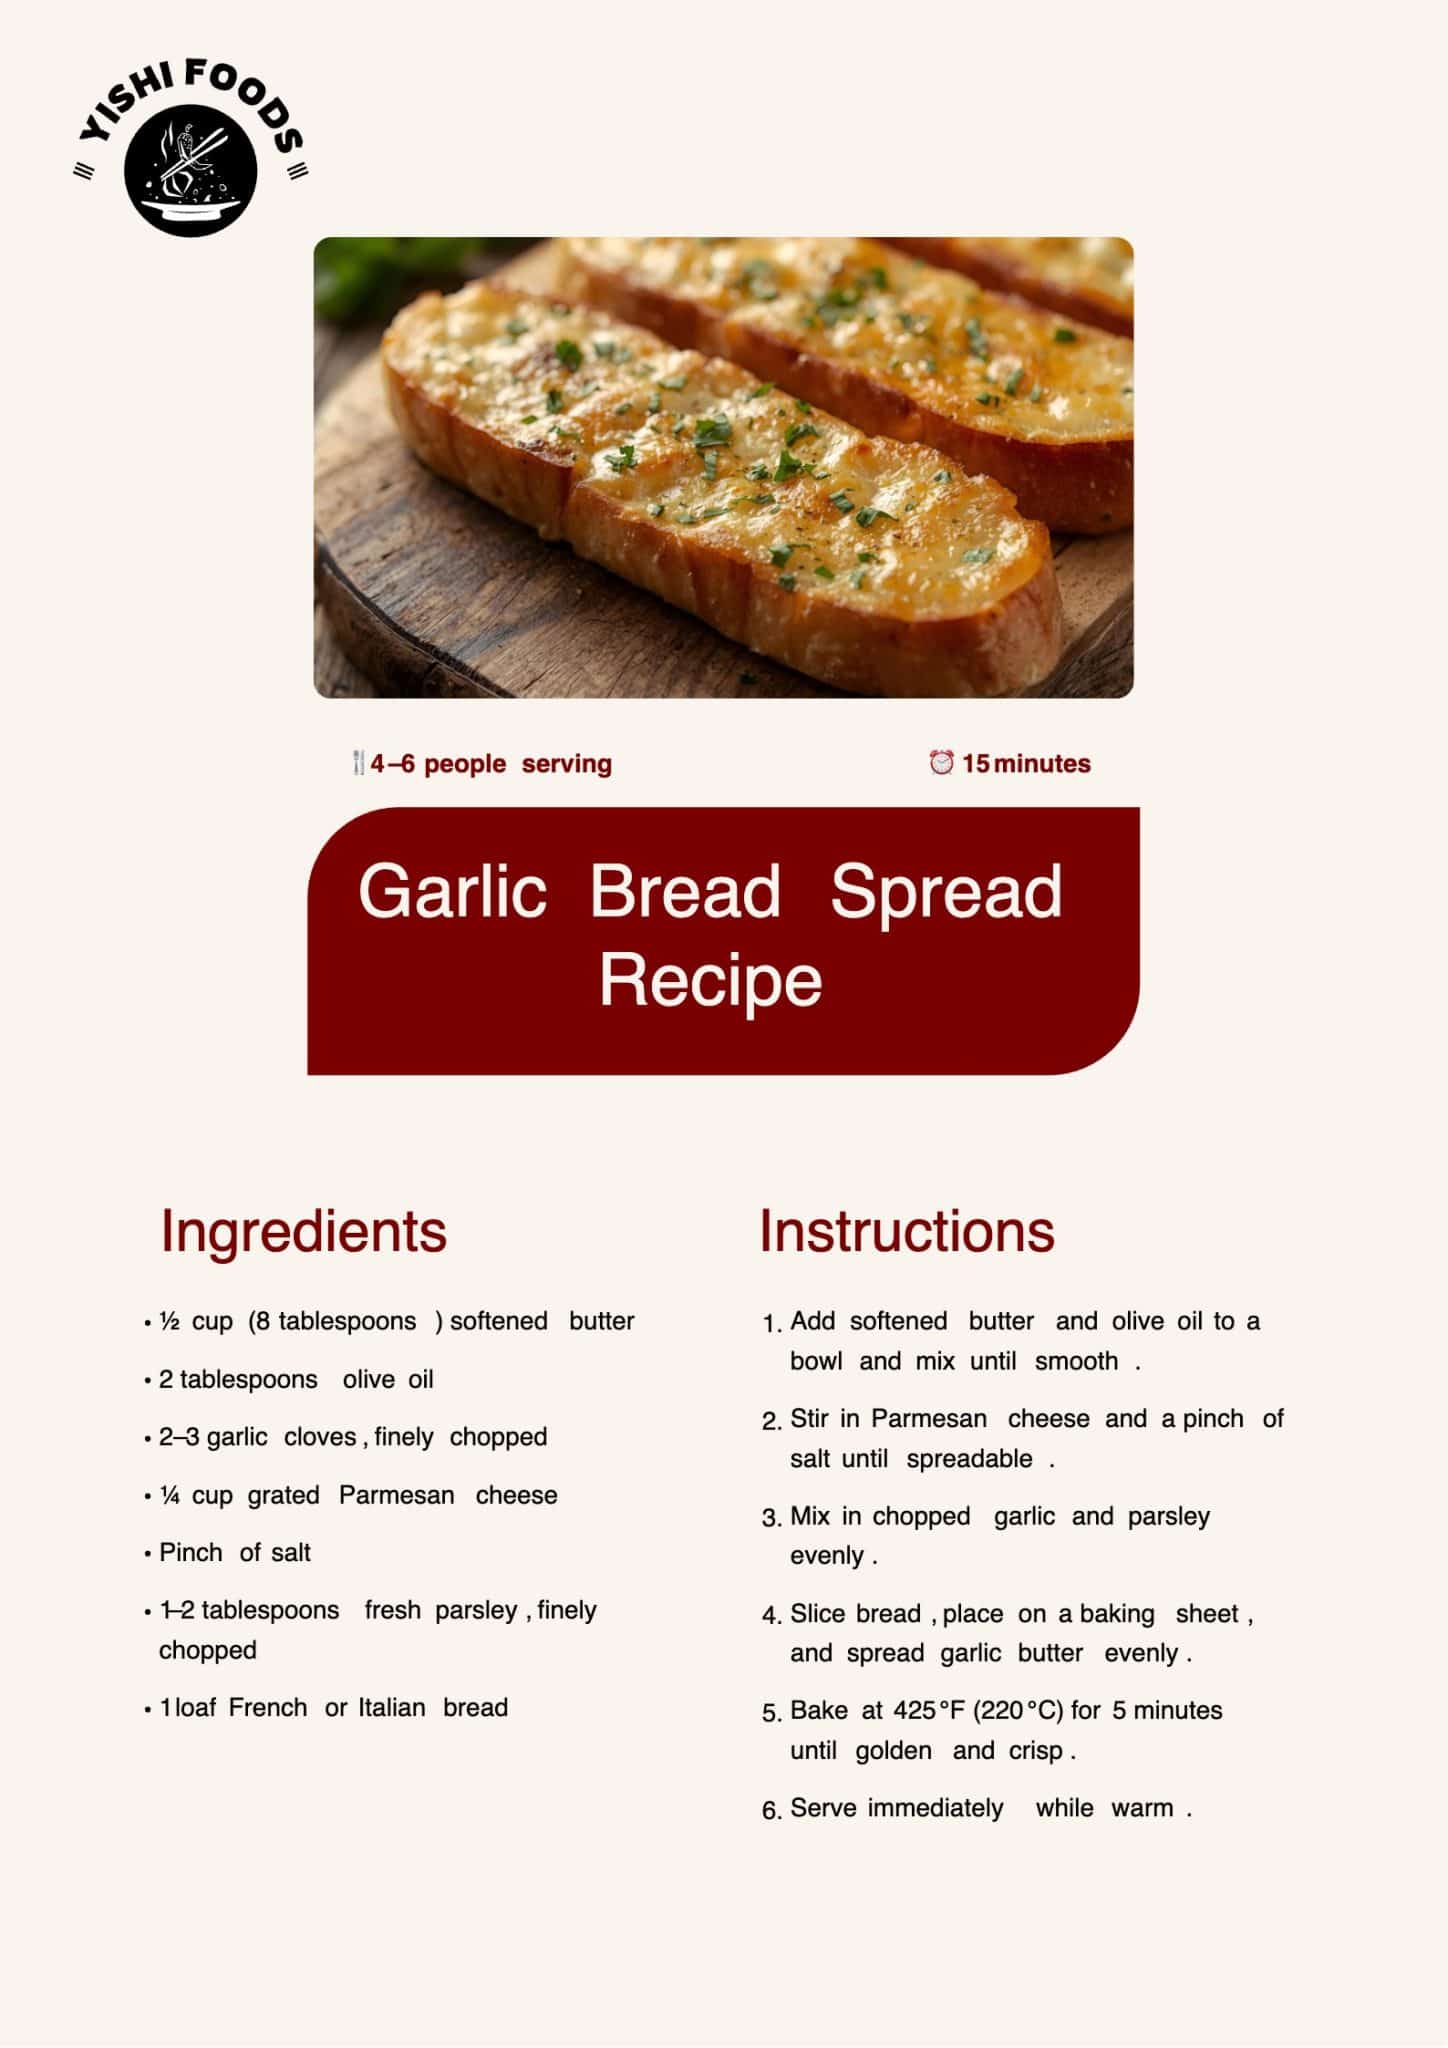
Garlic Bread Spread Recipe
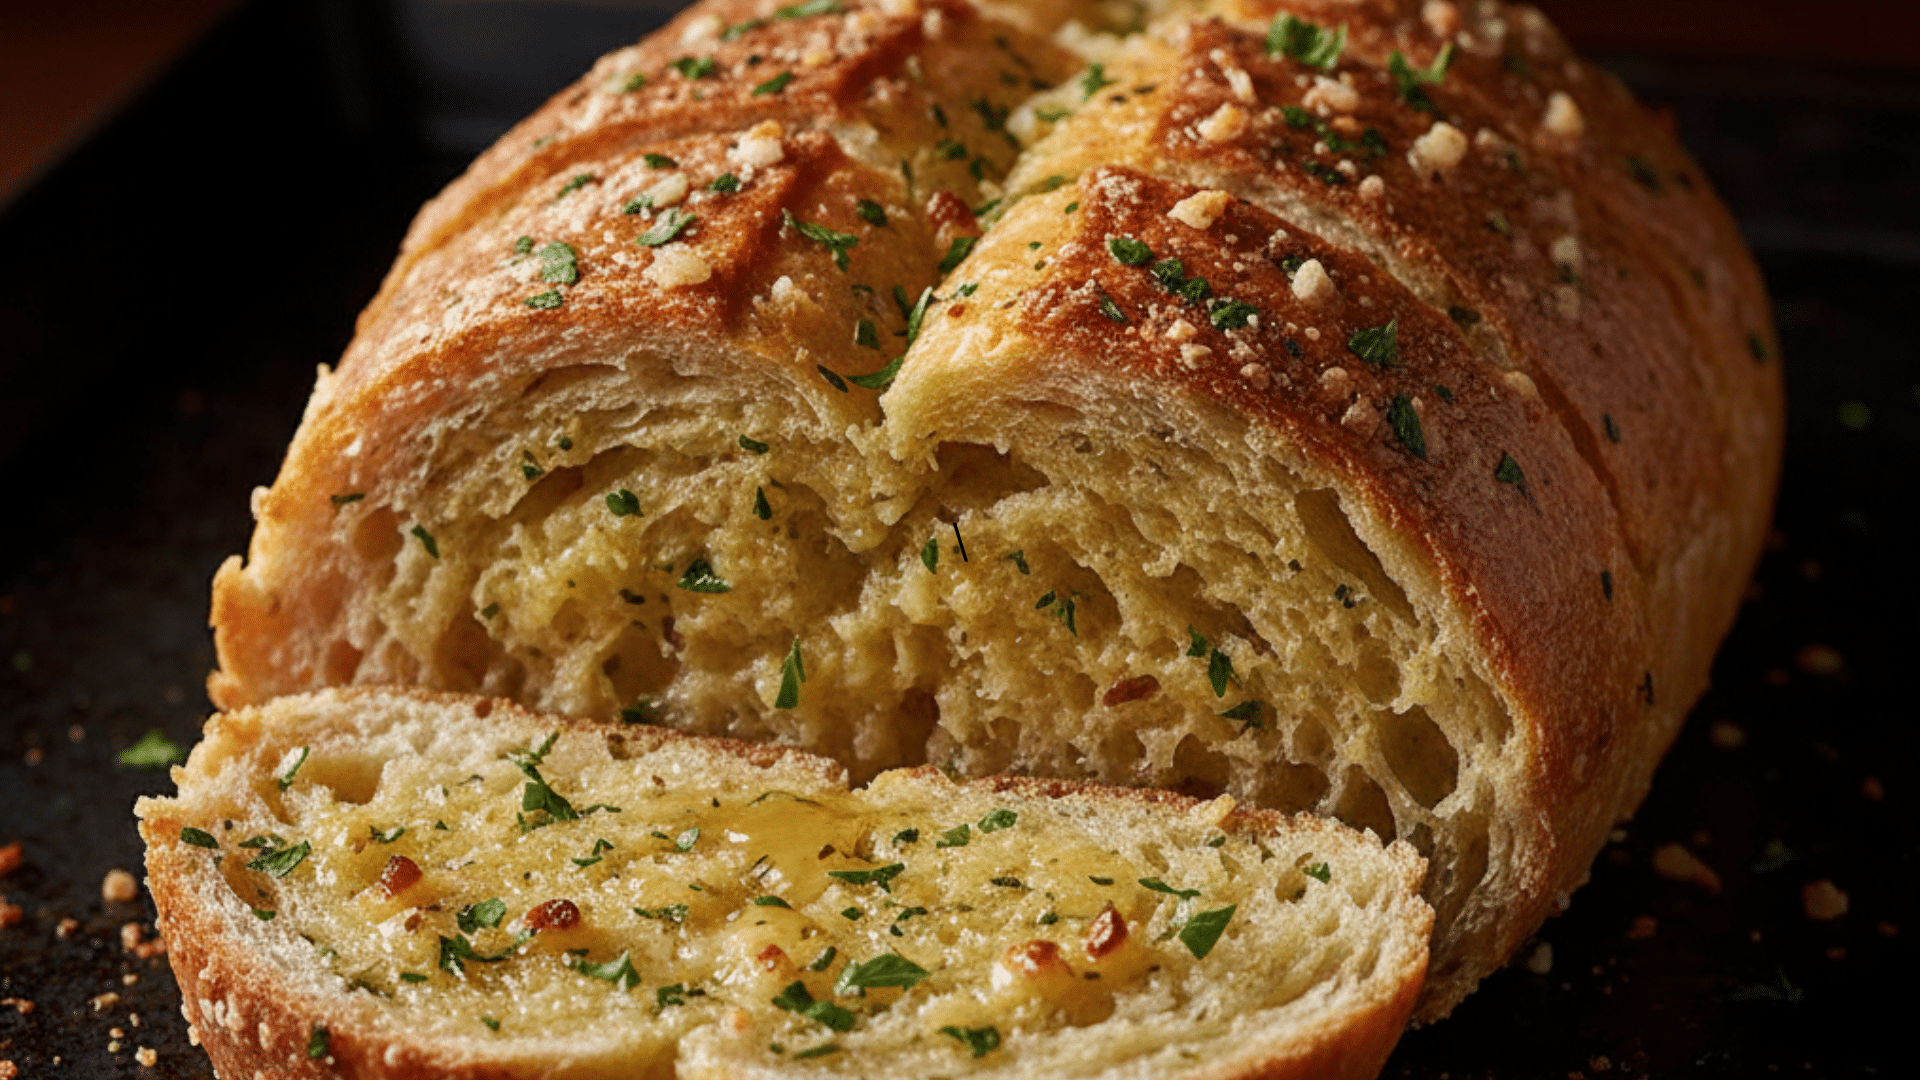
One evening, a loaf of bread sat on the counter while butter softened nearby. Nothing fancy was planned. Just something warm, crisp, and full of garlic flavor, ready in minutes.
A small bowl, a fork, and a hot oven were all it took. The butter stayed rich, the garlic stayed bold, and the bread baked evenly without burning. The result was toasted bread with crisp edges, a soft center, and a steady garlic taste that never felt harsh.
This is the kind of garlic bread that works any night of the week. Fast, reliable, and easy to repeat.
Serves: 4–6 people
Ingredients
- ½ cup (8 tablespoons) softened butter
- 2 tablespoons olive oil
- 2–3 garlic cloves, finely chopped
- ¼ cup grated Parmesan cheese
- Pinch of salt
- 1–2 tablespoons fresh parsley, finely chopped
- 1 loaf French or Italian bread
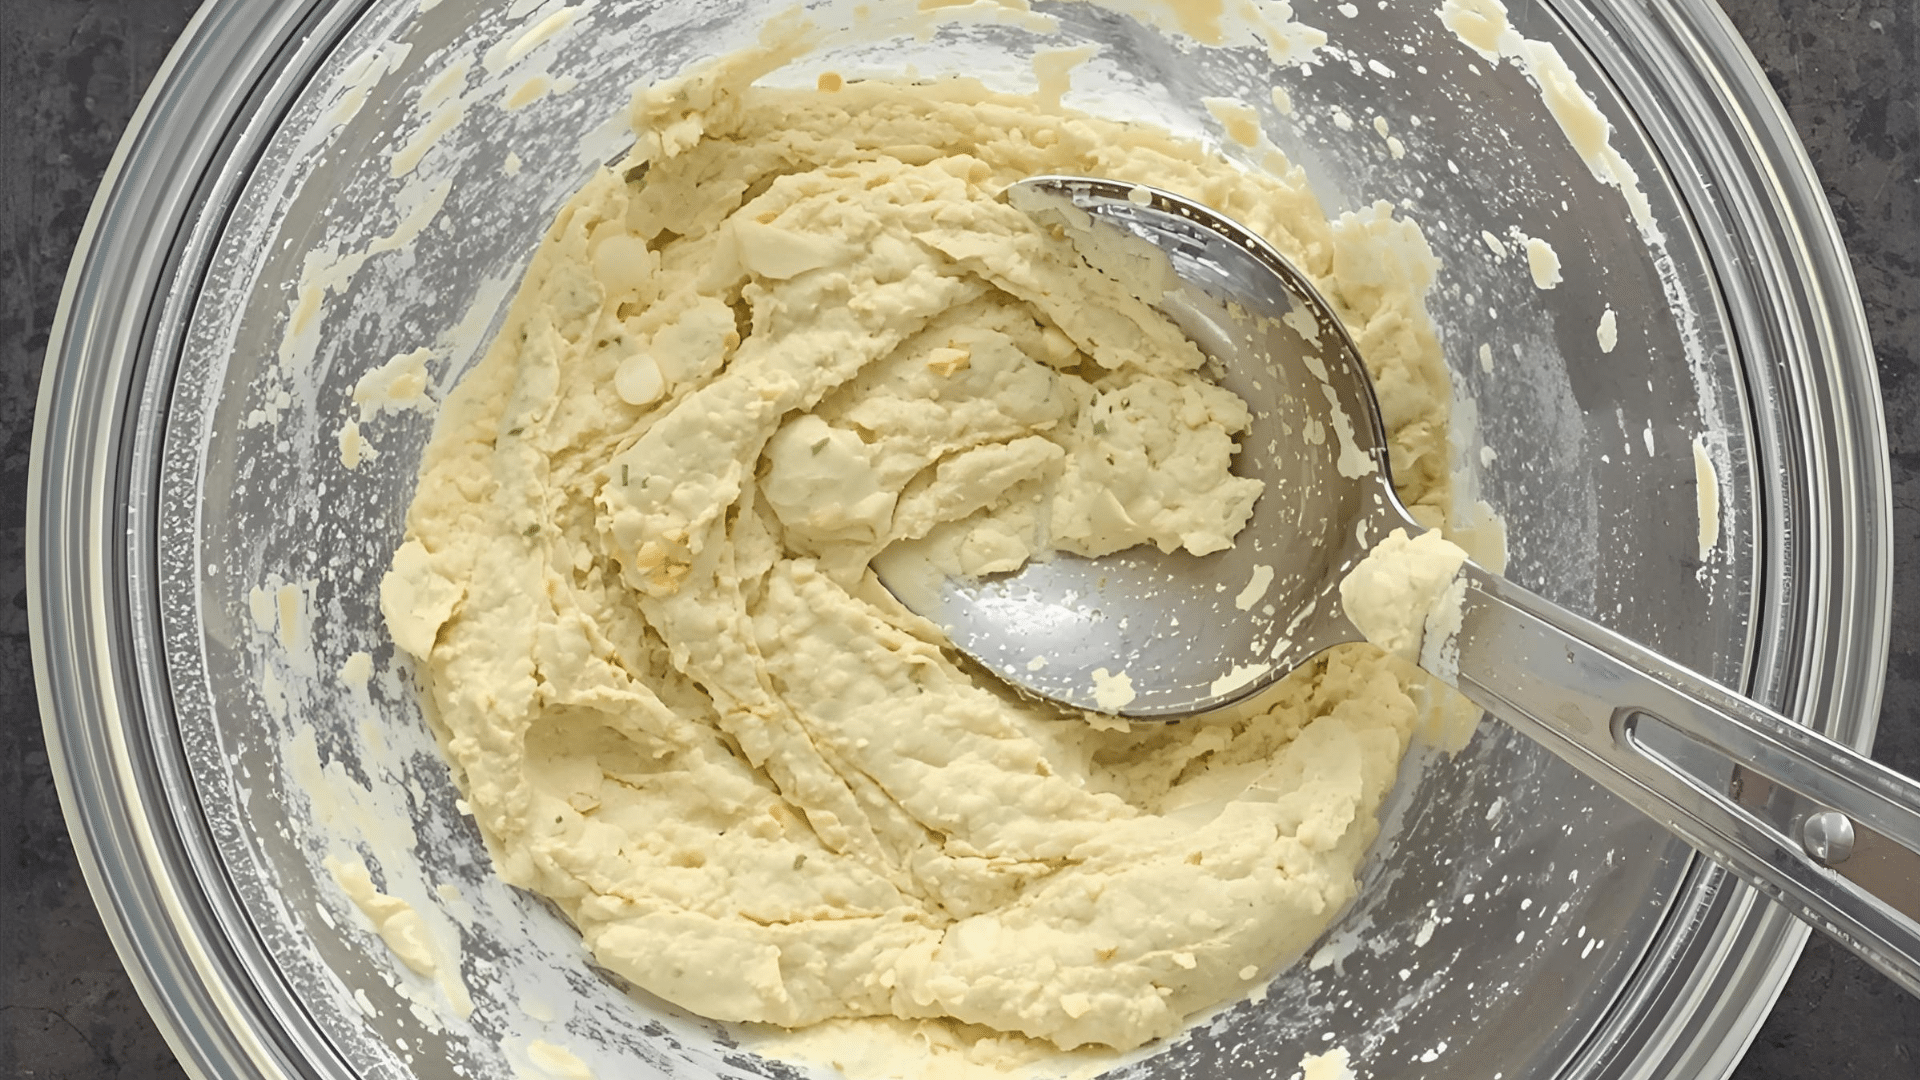
Step 1: Mix the Butter and Oil
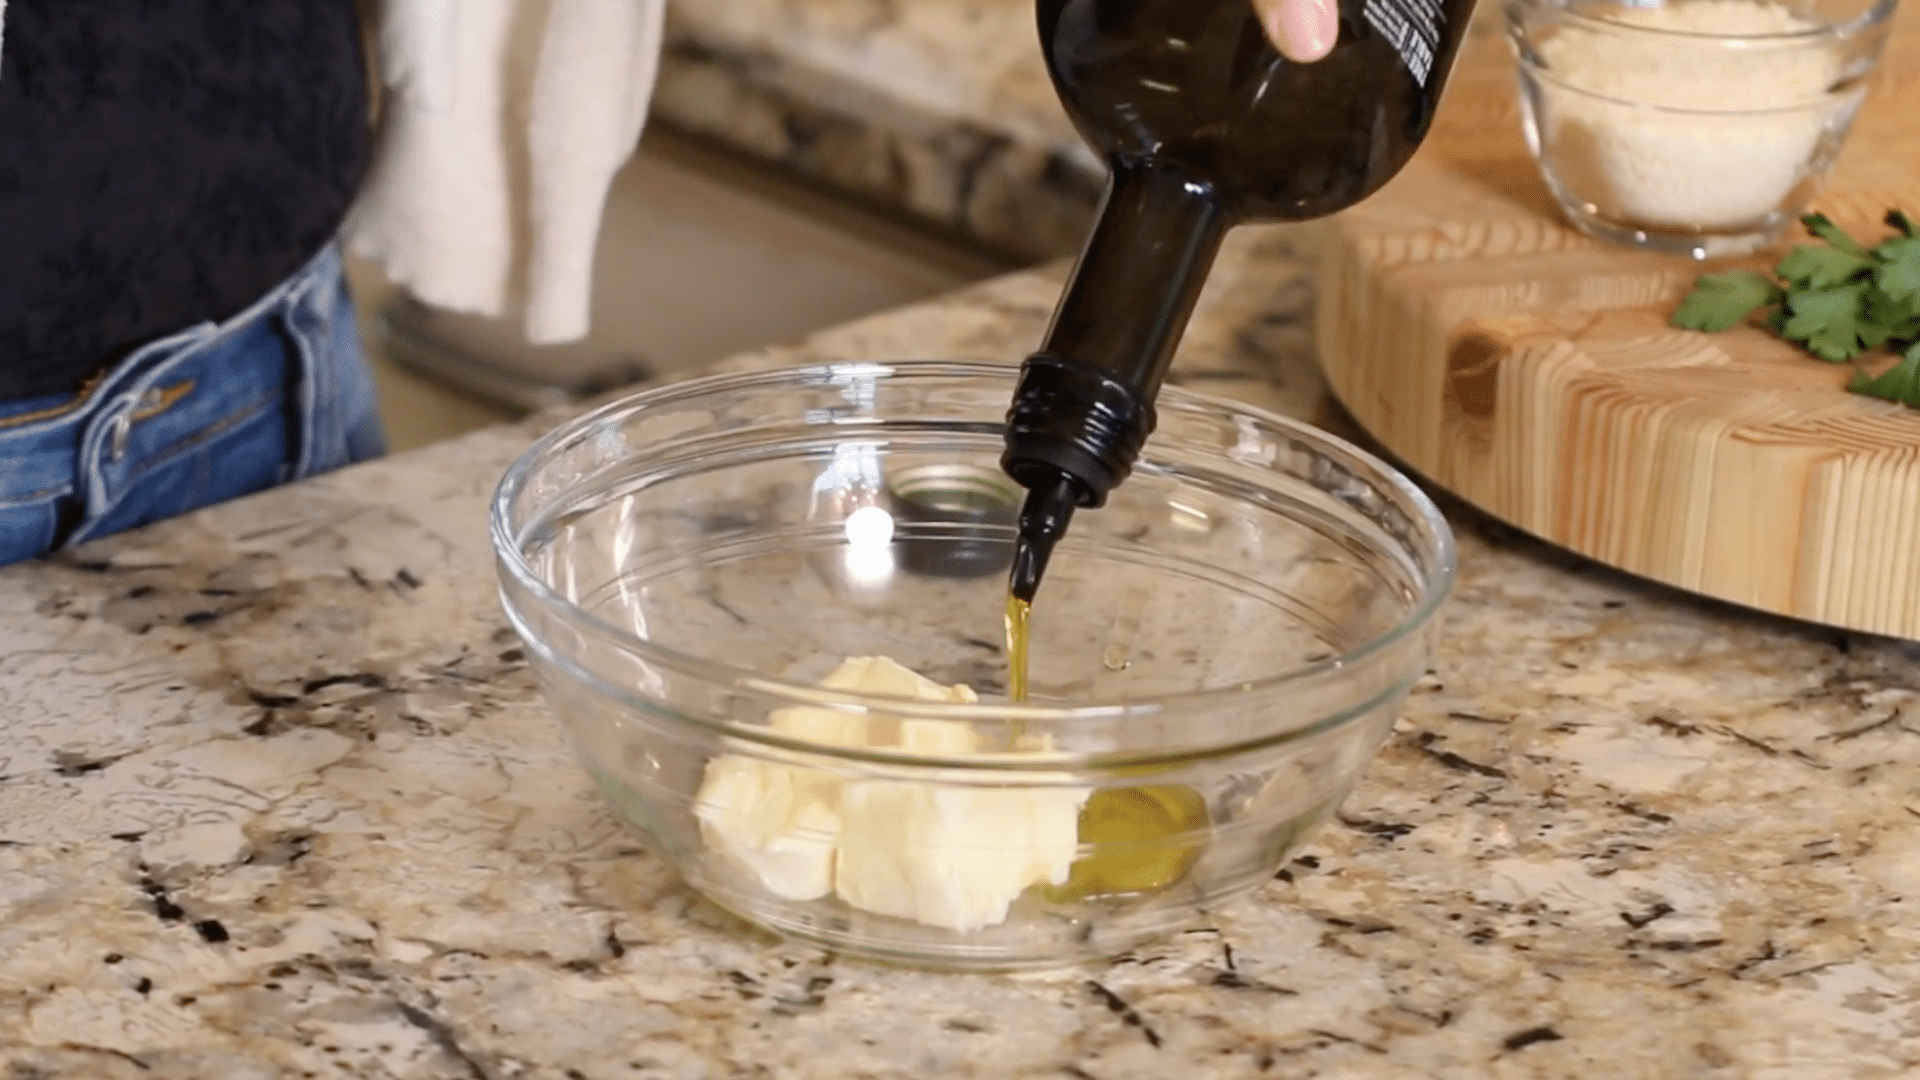
Place the softened butter into a medium bowl. Add the olive oil and use a fork to press and stir the two together until fully combined.
The butter should stay thick but smooth, not melted. The olive oil plays an important role here. Butter browns quickly at high heat, while olive oil holds up better.
Mixing the two helps the spread cook evenly in the oven, keeping the bread from darkening too fast while still letting the surface toast properly. The mixture does not need to look perfect, just evenly blended.
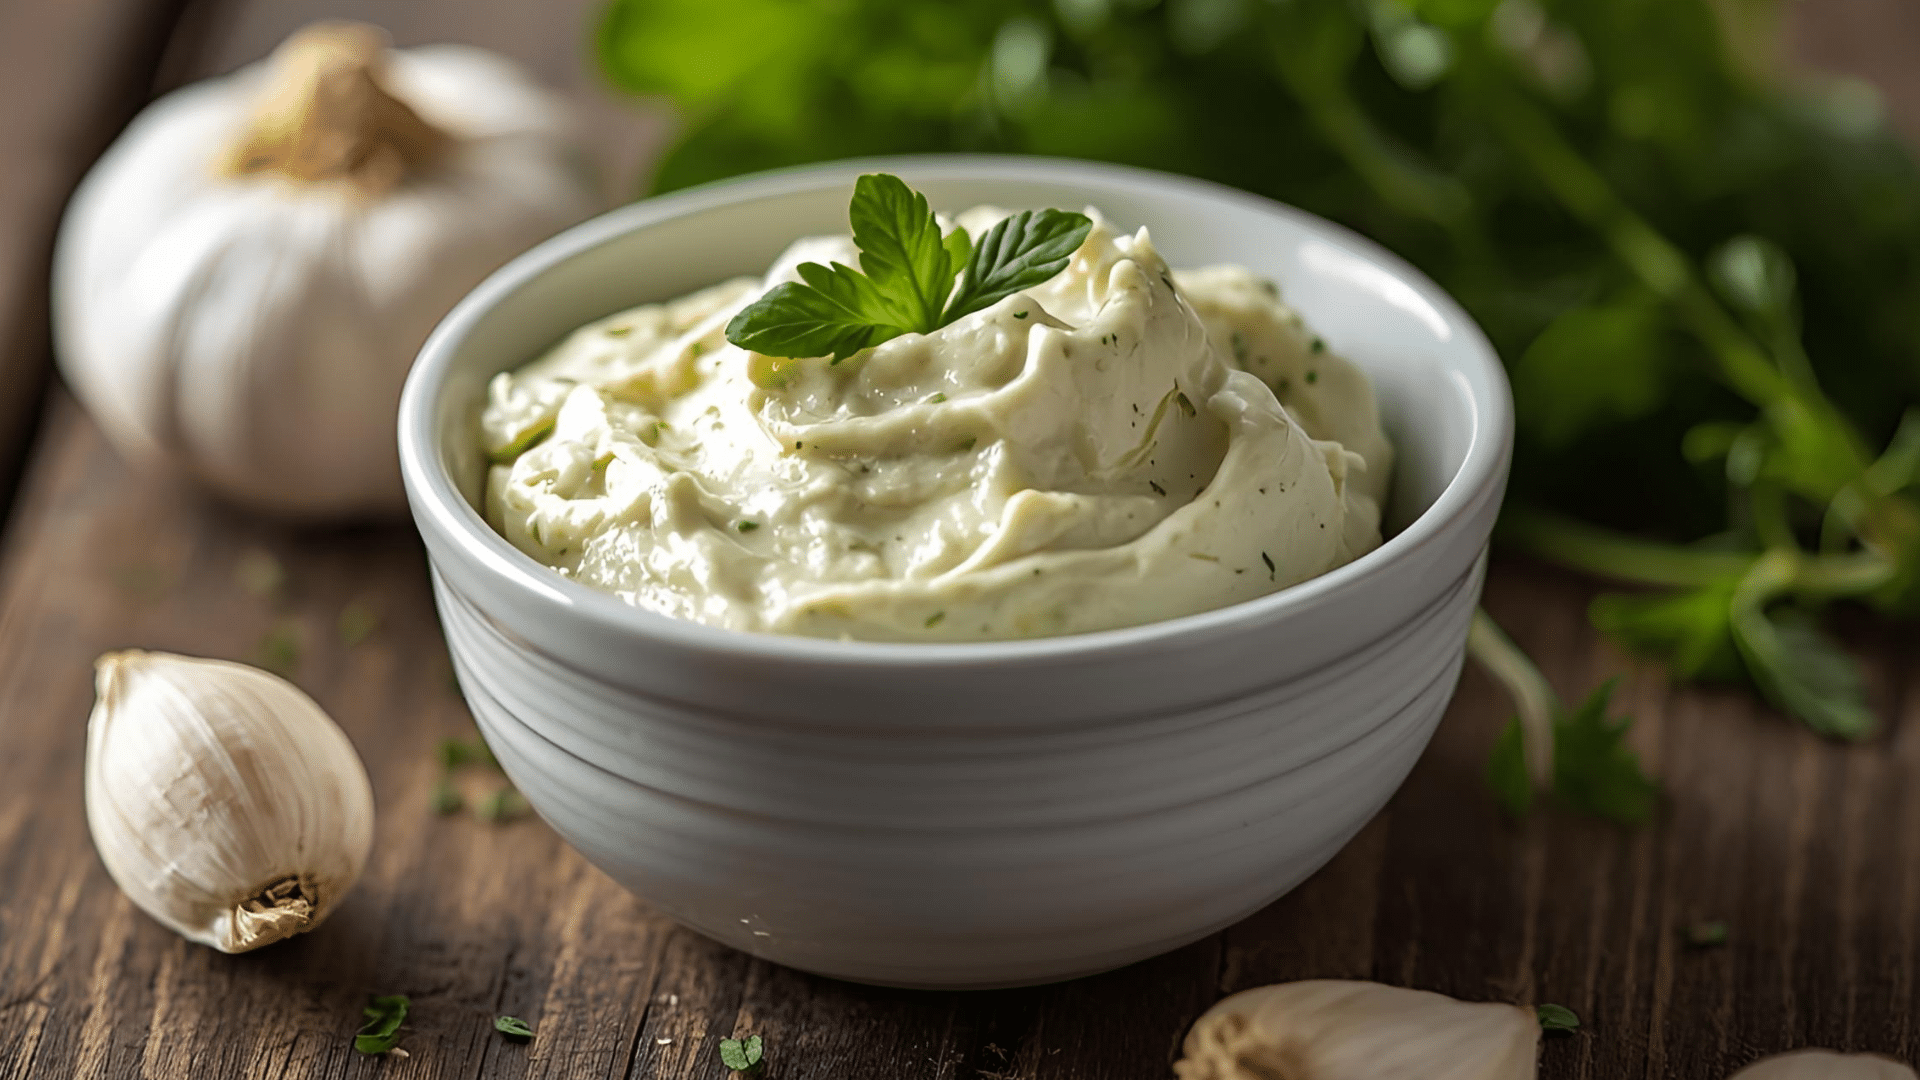
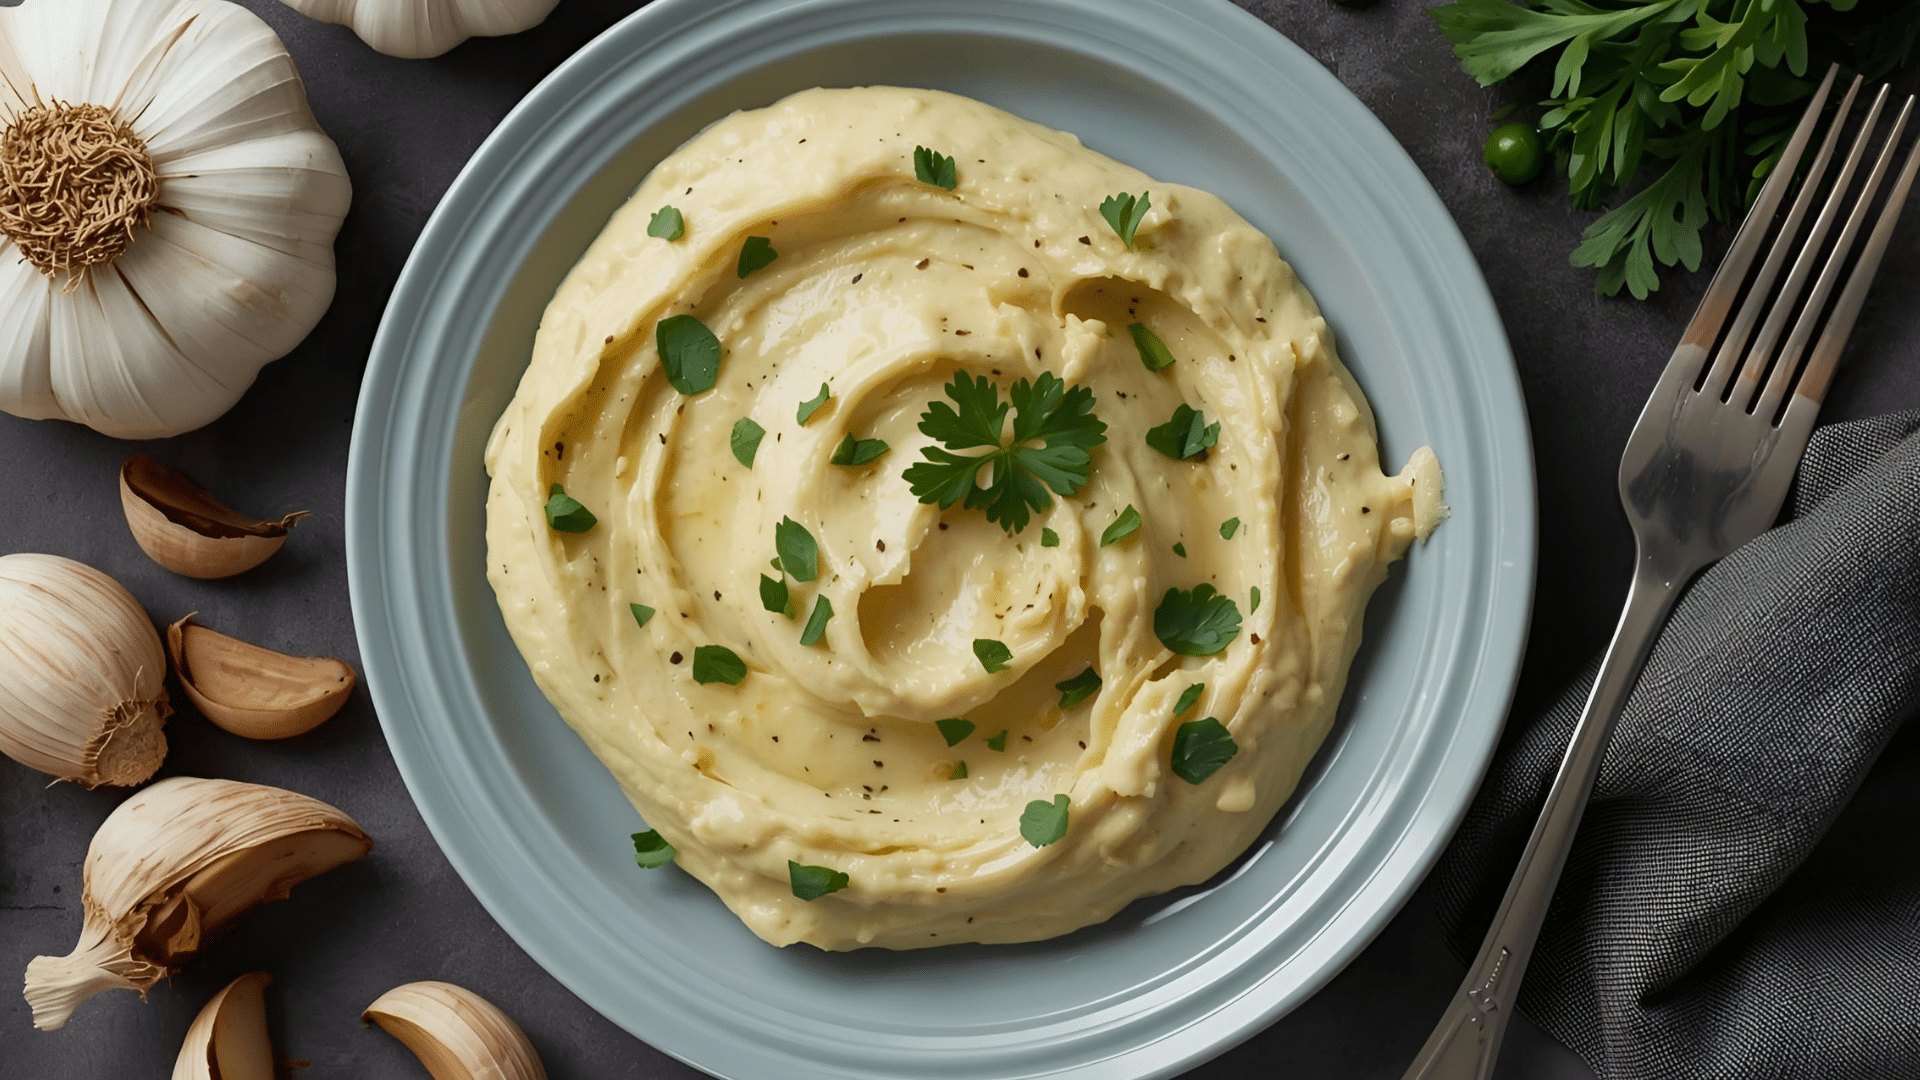
Step 2: Add Cheese and Seasoning

Sprinkle the grated Parmesan cheese into the butter mixture. Add a small pinch of salt, keeping it light since the cheese already carries salt.
Stir slowly until the cheese is fully mixed through the butter. The texture should stay spreadable, not stiff or whipped. This step helps build depth without overpowering the garlic.
If the mixture feels too firm, let it rest for a minute at room temperature. The goal is a smooth spread that will melt evenly across the bread instead of soaking in or sliding off during baking.
Step 3: Prepare the Garlic and Parsley

Peel the garlic cloves and chop them as finely as possible. Smaller pieces cook more evenly and reduce the chance of sharp bites after baking.
Add the garlic directly to the butter mixture. Chop the parsley until fine and stir it in as well.
The parsley adds freshness and light contrast to the rich butter. Mix everything together until the garlic and herbs are evenly distributed. The spread should look consistent, with no large clumps of garlic or herbs gathering in one spot.
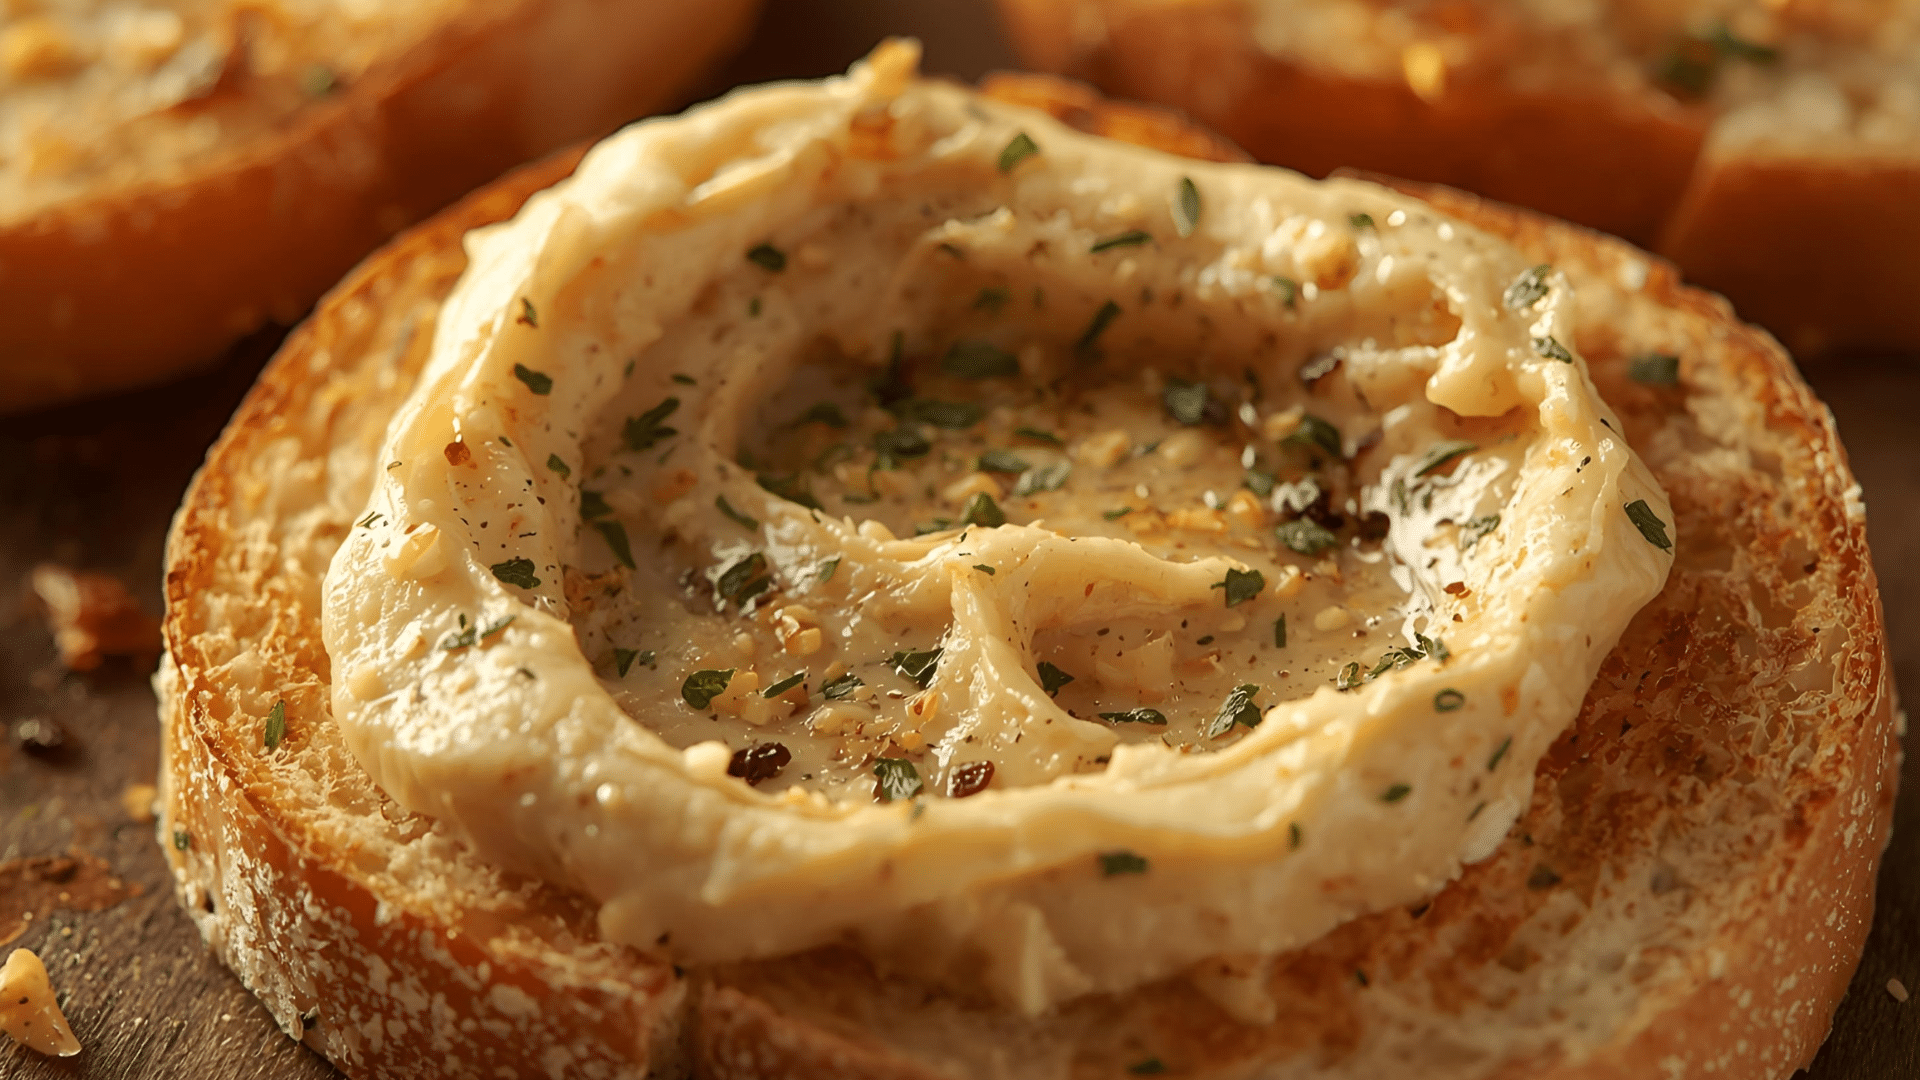
Step 4: Slice and Spread the Bread
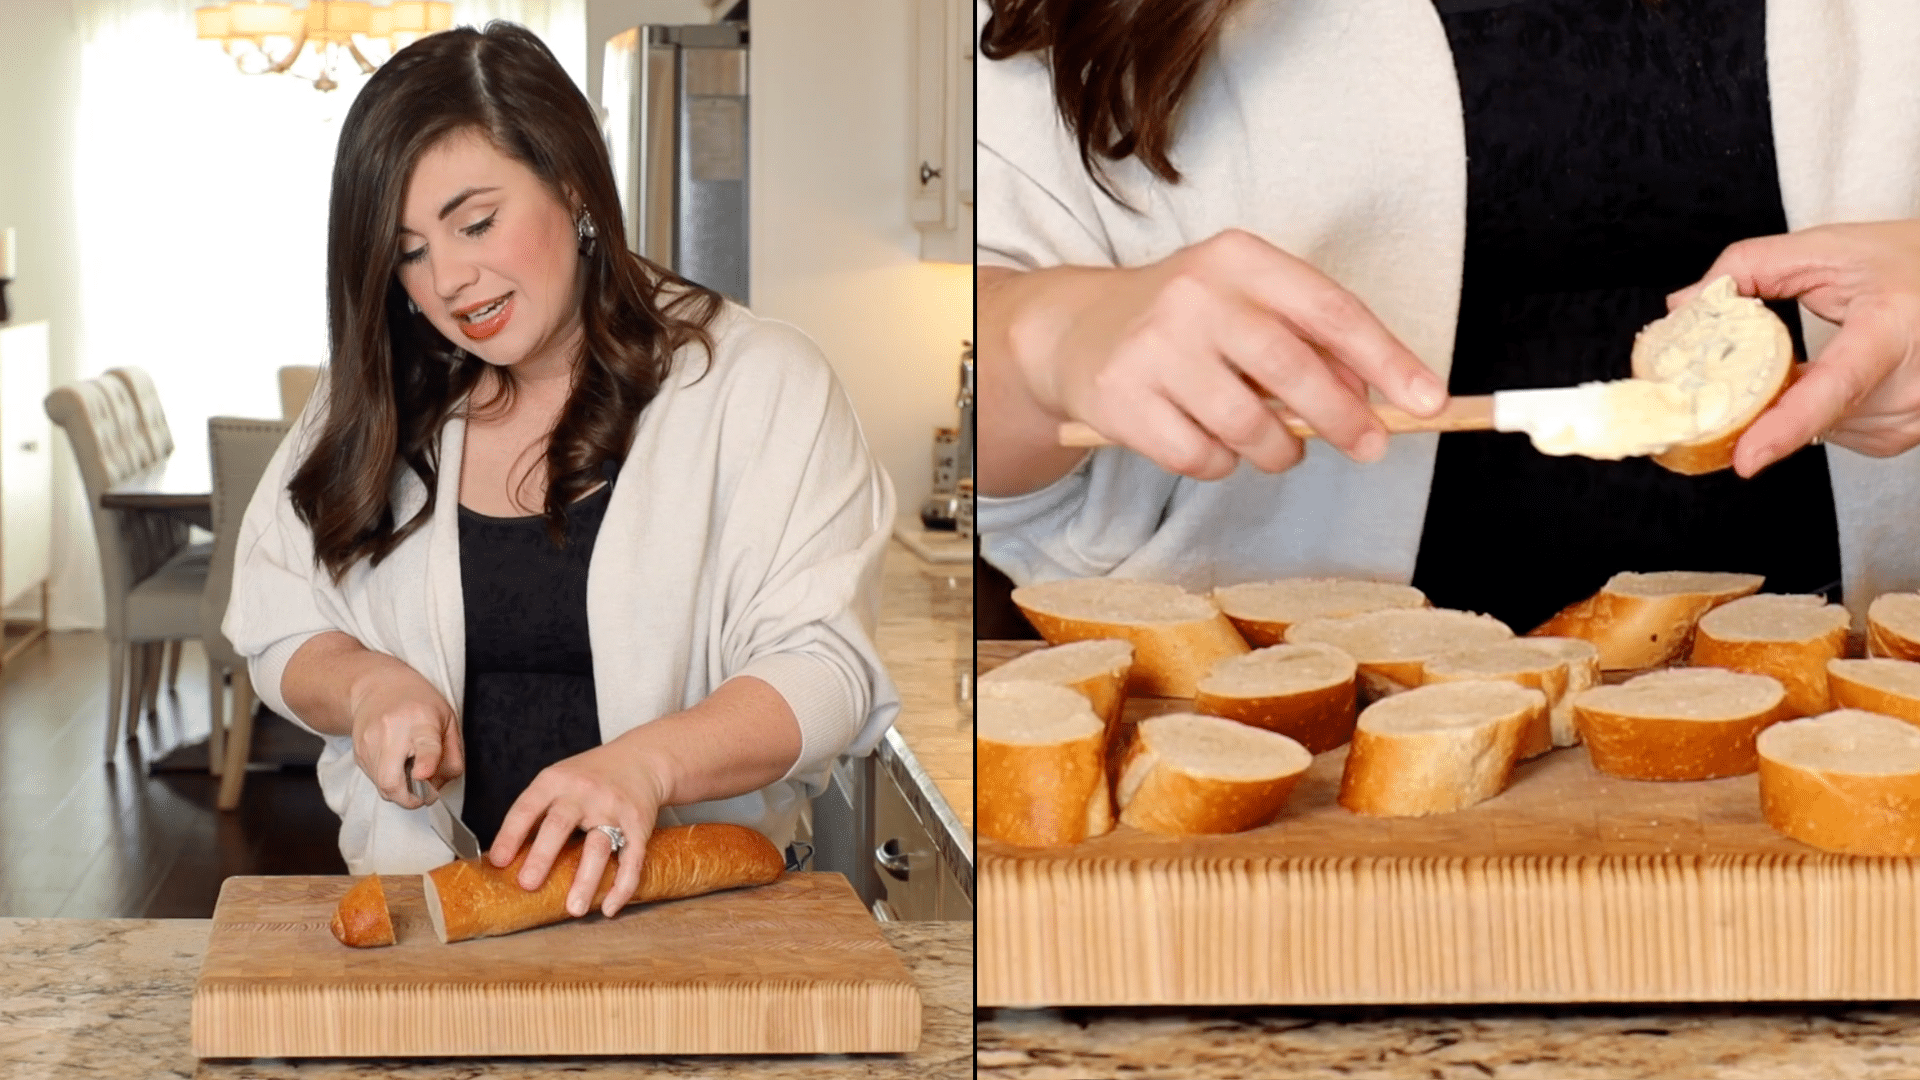
Slice the bread into pieces about three-quarters to one inch thick. Cutting on a slight angle gives more surface space for the spread and helps the edges toast evenly.
Turn each slice cut-side up and place them on a baking sheet, leaving a little space between each one. Spoon the garlic butter onto each slice and gently spread it across the surface.
Cover the bread evenly without pressing down. An even layer helps the bread toast at the same rate across every piece.
Step 5: Bake Until Toasted

Place the baking sheet into a 425°F oven on the middle rack. Bake for about 5 minutes, keeping an eye on the color.
The bread is ready when the top turns evenly golden, and the edges feel crisp. There is no need to flip the slices. Remove the bread from the oven and serve it right away while warm.
For softer bread, bake a whole loaf cut lengthwise instead of slices. For more crunch, continue baking for another minute, watching closely.
Which Garlic Bread Spread Should You Make?
The right garlic bread spread depends on taste preference, available ingredients, and timing. Each option below uses the same base but changes flavor strength, texture, and how the garlic behaves during baking.
Fresh Garlic Spread
This option uses finely chopped fresh garlic mixed directly into softened butter. It delivers the strongest garlic taste and a sharp, direct bite once baked.
Fresh garlic cooks quickly, so keeping the pieces small helps prevent uneven cooking or harsh spots. This spread works best when the bread is baked quickly at a higher heat and served right away.
It suits meals where garlic is meant to stand out and pairs well with simple pasta or meat dishes that do not compete with its strength.
Garlic Powder Spread
Garlic powder creates a smoother, more even garlic taste without sharp edges.
Since the garlic is already dried, it blends fully into the butter and spreads easily across the bread. This version browns evenly and is less likely to burn, making it forgiving for busy cooking nights.
It is a reliable choice when fresh garlic is not available or when a steady, familiar garlic taste is preferred. This option also works well for children or anyone who prefers milder flavors.
Mixed Garlic Spread
This version combines fresh garlic with garlic powder to balance strength and consistency. The fresh garlic adds depth, while the powder fills in gaps and smooths the overall taste.
The result is a garlic spread that feels full without being overwhelming. This option works well for shared meals because it appeals to a wide range of tastes.
It bakes evenly, spreads easily, and holds up across different bread types, making it a safe and dependable choice for gatherings or family dinners.
Roasted Garlic Spread
Roasted garlic is soft, mellow, and slightly sweet once mashed into butter. The cloves lose their sharp bite during roasting, creating a spread that feels gentle but rich. This version works well for larger batches because the flavor stays consistent even after freezing.
It is also less likely to overpower other dishes on the table. Roasted garlic spread suits slower meals, make-ahead prep, or situations where the bread may sit briefly before serving without losing balance.
Best Bread for Garlic Bread
The bread you choose affects texture, crispness, and how well the spread melts, but many common options work well with simple adjustments.
- Best classic loaves: French bread, Italian bread, and baguettes toast evenly and hold the spread without turning soggy.
- Thick-slice options: Texas toast or thick sourdough slices stay soft inside while the edges crisp nicely.
- Use-what-you-have choices: Dinner rolls, hamburger buns, or hot dog buns still work when sliced and baked properly.
How to Bake Garlic Bread
Baking method controls texture, browning, and timing. Each approach below suits different needs, from advanced prep to quick servings.
Soft Foil-Wrapped Garlic Bread
This method works best when you want bread that stays tender from edge to center. Slice the loaf lengthwise, spread the garlic butter evenly, then place the halves back together.
Wrap the loaf tightly in foil to trap heat and moisture. Bake in a hot oven until the butter melts fully and warms the bread through.
The foil prevents drying and slows browning, which helps when the bread needs to sit briefly before serving. This method also works well for freezing, reheating, and feeding a larger group.
Crispy Open-Face Garlic Bread
This is the most common method and gives the best balance of crunch and softness. Slice the loaf or individual pieces, spread the garlic butter on the cut side, and place the bread uncovered on a baking sheet.
Leaving the surface exposed allows heat to dry and toast the top while the inside stays soft.
Bake until the edges turn golden and the surface looks evenly toasted. This method is reliable, easy to control, and works well for most weeknight meals.
Broiled Garlic Bread Slices
Broiling is the fastest way to make garlic bread and works best for small batches. Slice the bread first, spread each piece evenly, and place them on a baking sheet close to the heat source.
Use the broiler setting and watch closely, as the bread can darken quickly. This method creates crisp edges and a toasted surface in minutes.
Because broiling is intense, it requires attention, but it is useful when time is short, and only a few slices are needed.
Garlic Bread Spread Add-Ins and Variations
Small changes can shift flavor without changing the base recipe. These Yishi approved add-ins work with any garlic spread and can be adjusted based on taste or what is available.
| Add-In Type | Options | How It Changes the Spread | When to Use |
|---|---|---|---|
| Herbs | Parsley, Italian-style seasoning, fresh thyme | Adds freshness and light contrast | Works well with butter-heavy spreads |
| Extra Flavor | Onion powder, red pepper flakes | Adds depth or gentle heat | Suitable for stronger main dishes |
| Oil Addition | Olive oil | Helps spread and slows browning | Useful at higher oven heat |
| Cheese Swap | Parmesan, cheddar | Changes the salt level and melts | Choose based on the baking method |
| Dairy-Free | Plant-based butter | Keeps texture similar | Works for most methods |
These variations are optional. The base spread still works well alone, but small additions help match different meals or preferences without extra effort.
Storage and Make-Ahead Tips for Garlic Bread Spread
Proper storage keeps the spread ready to use and helps save time when meals need to come together quickly without extra prep.
- Refrigerator storage: Keep the spread in an airtight container for short-term use. Let it soften at room temperature before spreading.
- Freezer storage: Portion into small amounts using trays or wrap into a log. Freeze for later use as needed.
- Make-ahead bread: Spread butter on bread, wrap tightly, freeze, then bake straight from frozen with added time.
Common Garlic Bread Problems and Fixes
Problem: Butter runs off the bread
Fix: The oven heat is usually too high, or the butter melts too fast. Add a small amount of olive oil to the spread and bake on the middle rack. Leaving space between slices also helps the butter settle instead of pooling.
Problem: Garlic burns or tastes bitter
Fix: Garlic pieces are likely too large or exposed to direct heat for too long. Chop garlic very finely or reduce bake time slightly. Roasted garlic or garlic powder can also prevent this issue.
Problem: Bread turns too hard
Fix: The bread is drying out before the butter fully melts. Use foil wrapping for part of the bake, or lower the oven temperature slightly. Thicker slices also help keep the center soft.
Problem: Spread tastes bland
Fix: The butter may need more salt or garlic. Add small pinches of salt and mix again. Parmesan cheese can also help boost flavor without changing texture.
Ways to Use Garlic Bread Spread Beyond Bread
Garlic bread spread can be used in many everyday meals, saving prep time while adding a steady flavor beyond simple toasted bread.
- Use it on roasted vegetables like potatoes or carrots, where it melts evenly and replaces plain butter without extra seasoning.
- Stir a small spoon into hot pasta or rice to add richness without needing sauce or additional ingredients.
- Place a small amount on cooked steak, chicken, or fish, letting it melt slowly and finish the dish gently.
- Cook eggs in the spread instead of plain butter to add flavor without extra steps or spices.
- Mix it into mashed potatoes or brush it on vegetables before roasting for consistent results across meals.
Conclusion
By now, you’ve seen how simple it is to control flavor, texture, and timing when making garlic bread at home.
From choosing the right garlic to picking the best baking method, each step helps you get steady results without extra effort. I like knowing I can adjust things based on what I have on hand or how much time I have that day.
A good garlic bread spread recipe gives you that flexibility and saves you from guessing. If you try one version, notice how small changes affect the final result.
Want to keep building on this? Take a look at the other recipes on the blog and keep experimenting with simple, dependable kitchen ideas.


